


lraia
-
Posts
22 -
Joined
-
Last visited
-
Days Won
1
Content Type
Profiles
Forums
Gallery
Posts posted by lraia
-
-
I believe the front driver and passenger windows are laminated, so maybe something is reacting to the bonding agent between the glass, either way, I would have the dealer order and replace under warranty. On a side note, I had some issues with my driver's side window failing (cracking) at the window regulator attachment, I had it replaced three times at the dealer under warranty. I was told the problem was due to over-torqued screws at the connection.
-
I remedied the same creaking noises by wiping down the door seals with silicone spray. Mine sounded more like styrofoam rubbing against metal, if that make any sense.
-
When I had my 2011 AWD Limited, I mostly drove around town, flat roads (i'm in south Florida), with the A/C on the entire time I owned the car, and averaged between 17 and 18 mpg.
-
Really missing the BAMR from the Edge!
-
My 2011 AWD Limited with 20" chrome clad wheels would slightly veer to the right if I let it, not really a pull like others, I just learned to get used to it. I didin't have any uneven tire wear or brake issues for the 30,000 miles I had the vehicle.
-
When my Edge Limited '11 lease is up in March '13, Im going for the Xploder Sport for sure, I want the cooled seats in FL and more horsepower, gas mileage has never been a deal breaker for me.
Made the switch this week, It only has 100 miles on it so far, my thoughts: Thigh support is better in the X, but side bolster is better in the Edge. obviuosly X is larger inside, I got the second row buckets in the X, but the the Edge rear bench felt like it had more legroom, weird. Steering in definately different, ambient lighting more prevalent (brighter, more points of illunmination) in Edge. Air conditioned seats are the bomb. Power and transmission, absolutely no comparision. All city driving, never better than 17.0 mpg in the Edge, I will follow up on X mpg.
-
I'm very photosensitive.
I don't like my picture taken either.
-
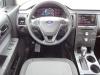
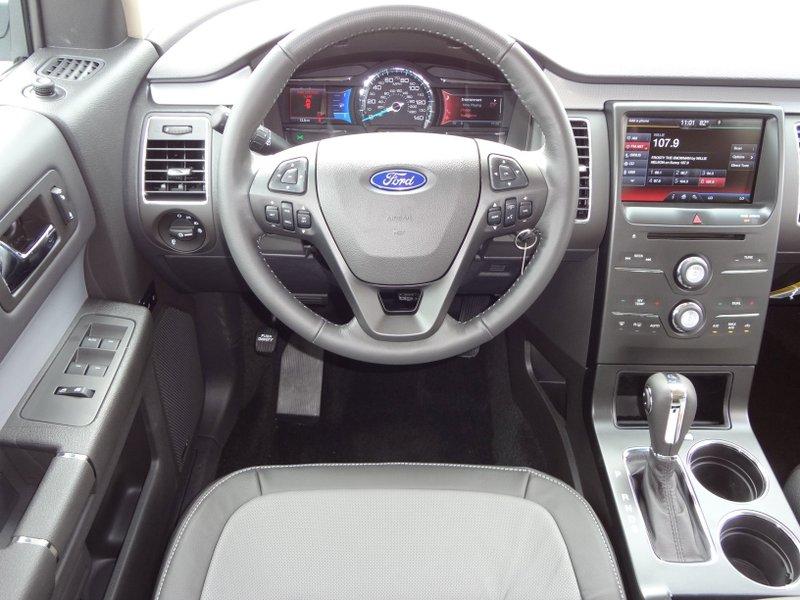
Has anyone seen the 2013 Flex with a dark steering wheel insert/bezel? I was think on swapping out the bright silver one in my 2011 LTD Edge, but my lease in up in March. I am switching over to a 2013 Explorer Sport and seriously thing about the swap there, but I can't find the part number in the Flex parts catalog on the ford parts website.
-
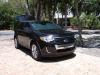
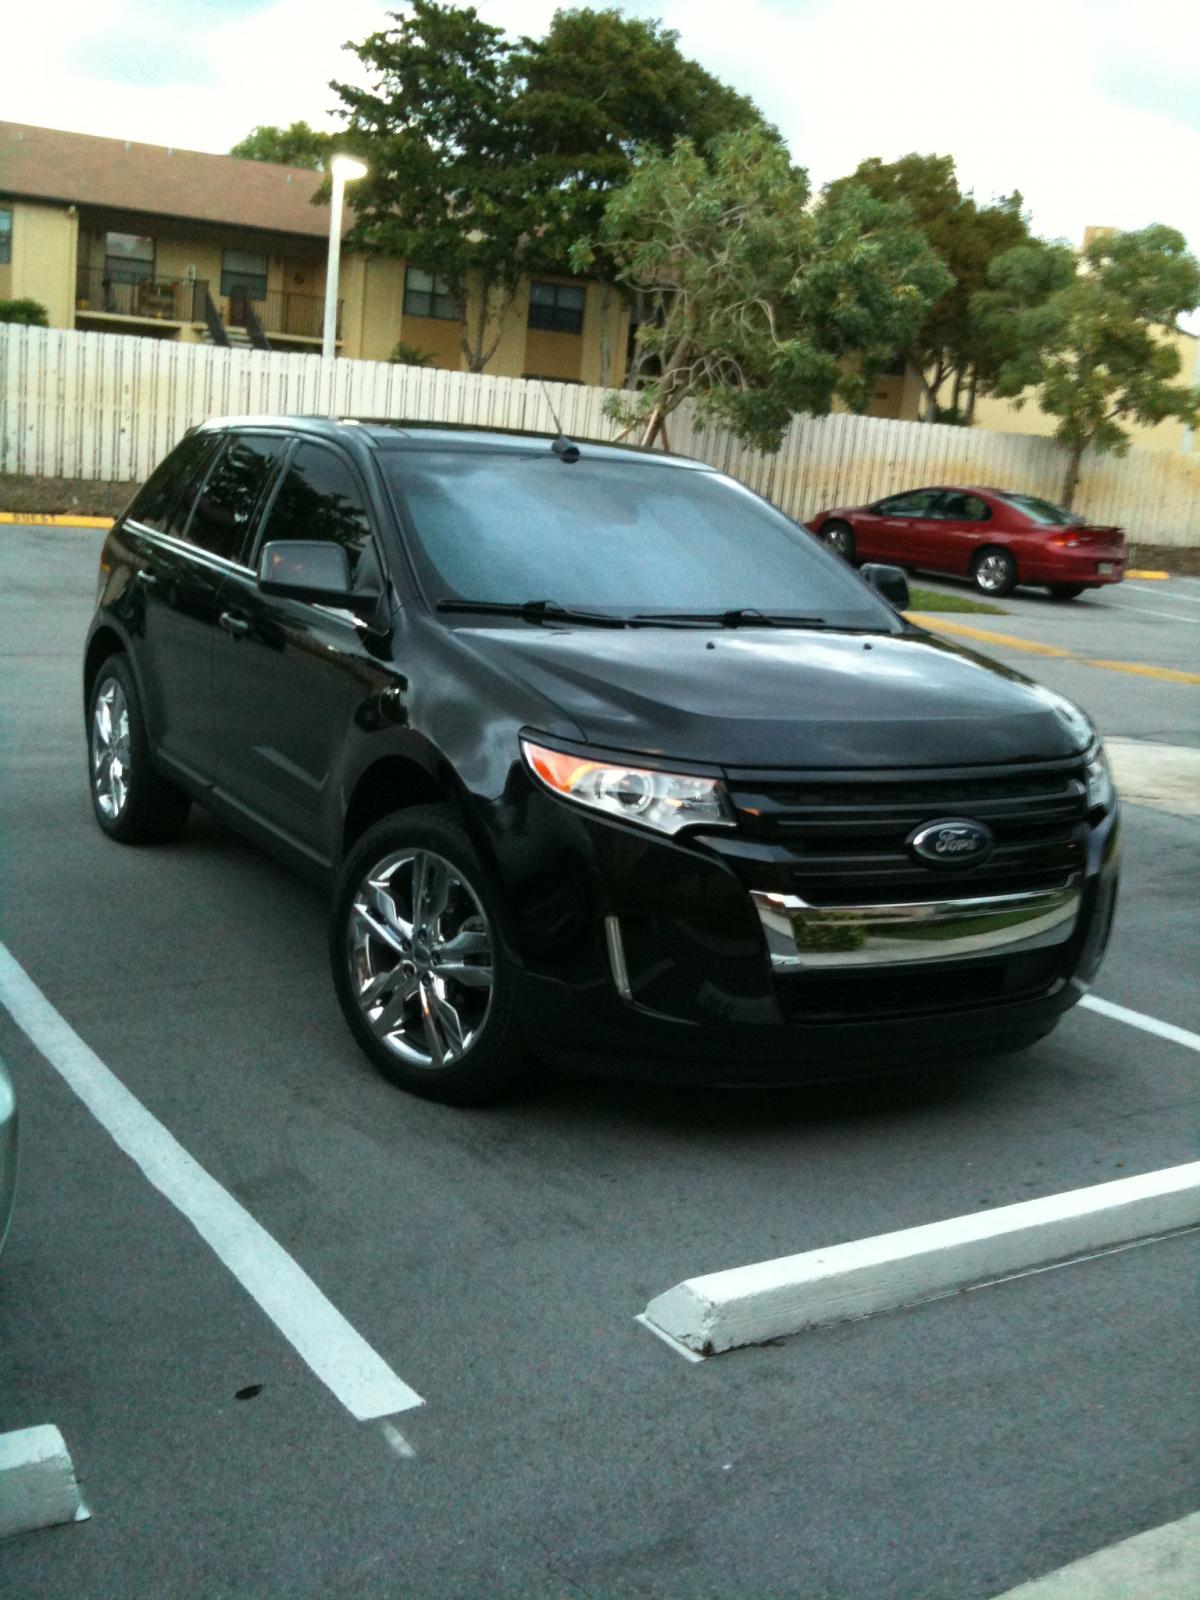
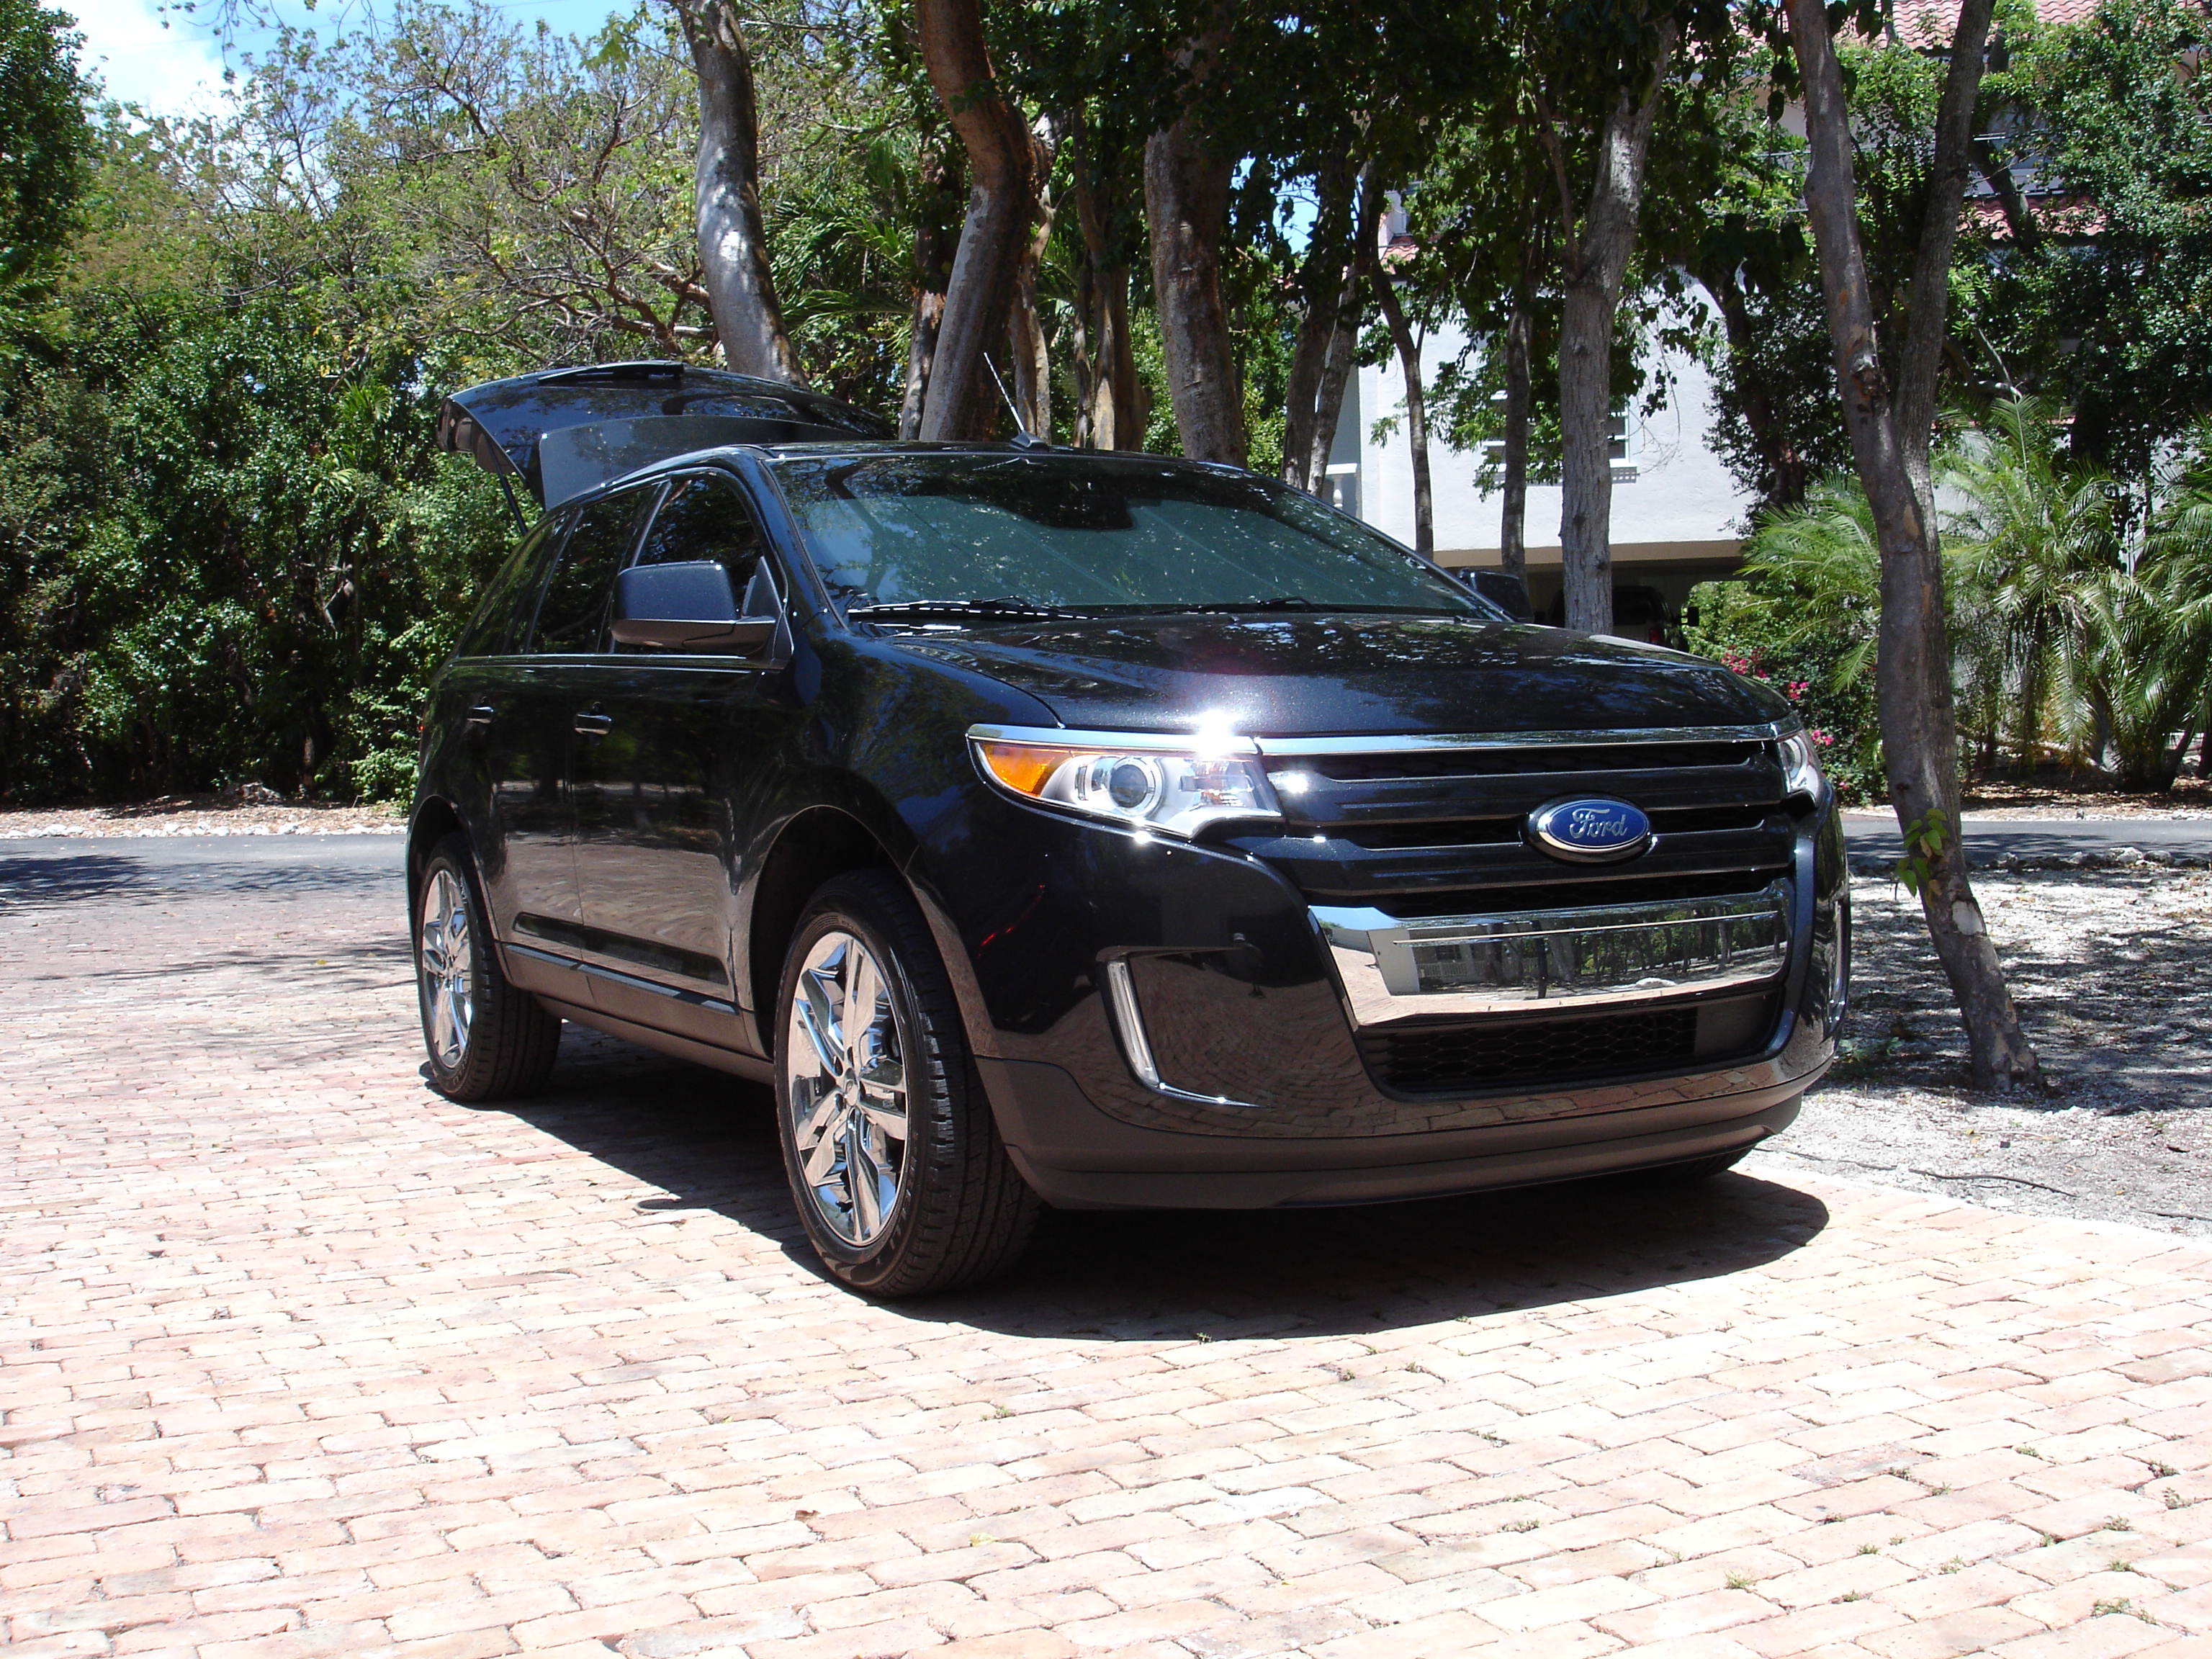
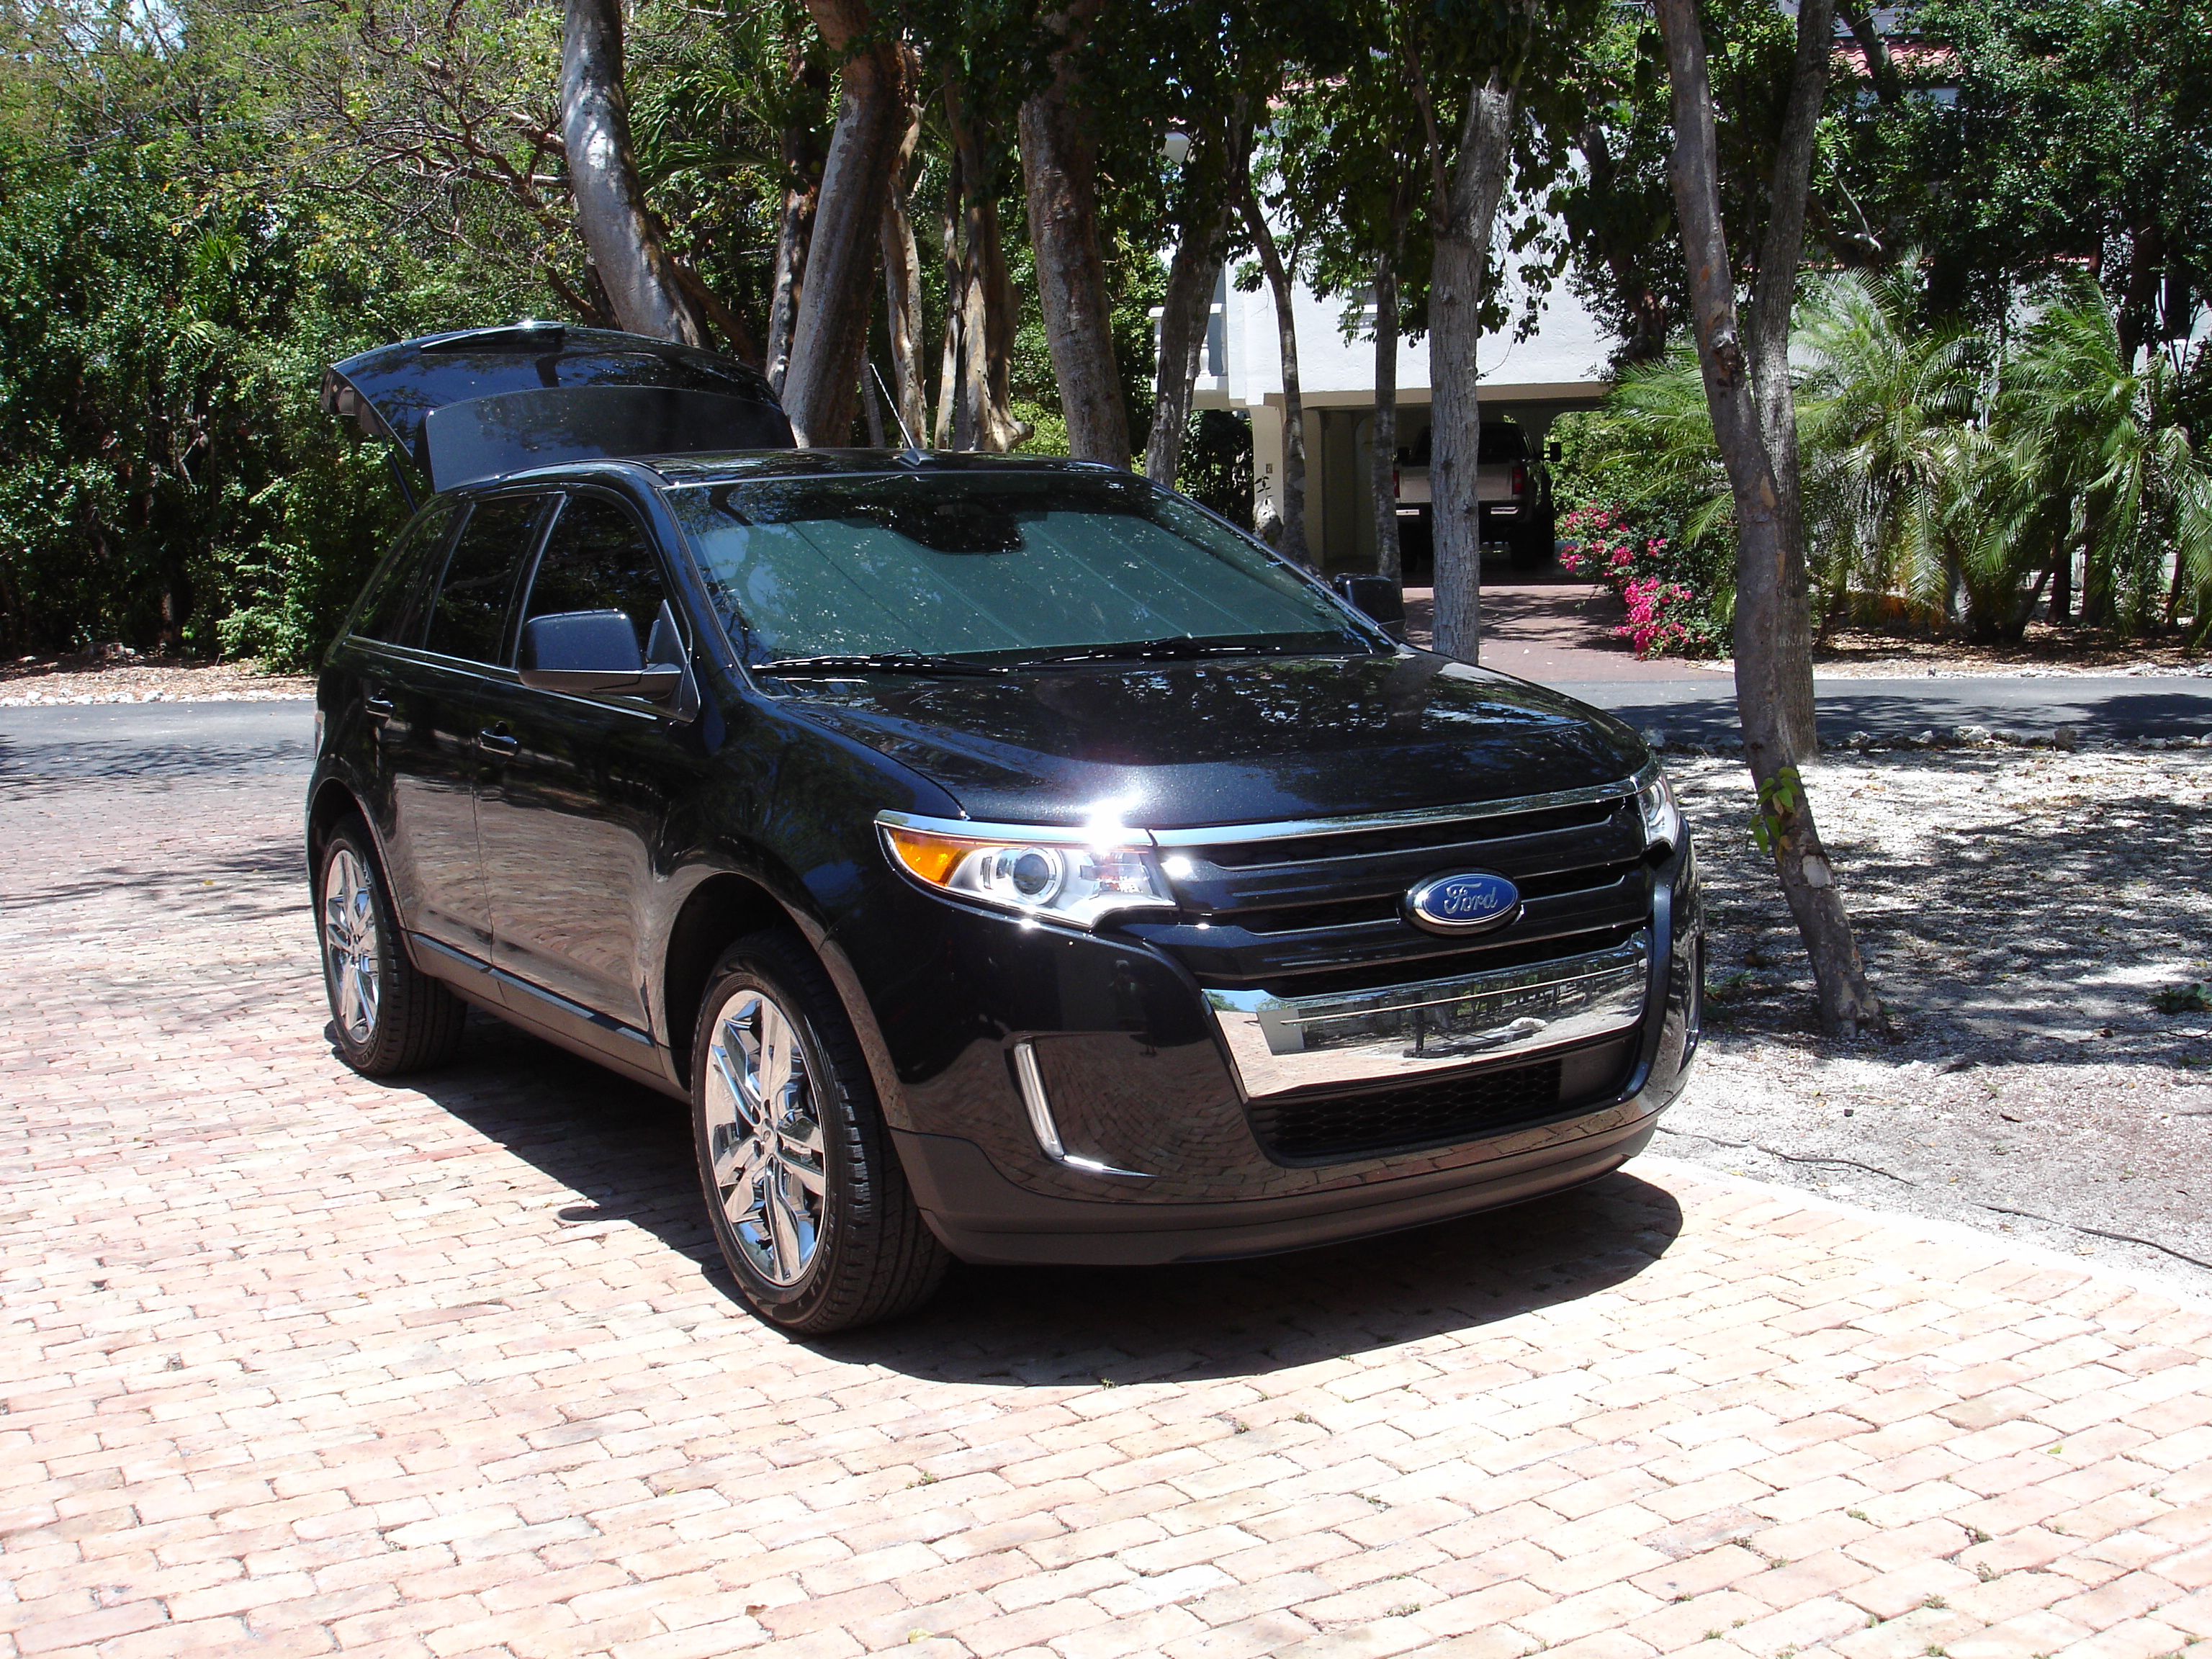
My 2011 LTD is a lease and I didn't care for all the chrome on the grill, so I bought the top two grill pieces (primed) at 139.00 + the eblem holder (chrome) for 31.00, had my local dealership paint them for 150.00. Wrapped the upper chrome piece with 3M 1080 G212 Scotchprint Gloss Black Metallic Vinyl Wrap (20.00). Attached are the results.

-
My 2011 limited does it as well when adjusting the power recline feateure.
-
Cooled seats aren't available in the Explorer Sport. The feature set of the Sport is comparable to the XLT, whereas the luxury features are only available on the Limited.
Included in Package 402A - See Ford website
-
When my Edge Limited '11 lease is up in March '13, Im going for the Xploder Sport for sure, I want the cooled seats in FL and more horsepower, gas mileage has never been a deal breaker for me.
-
Which fuse disables the steering wheel airbag for removal?
-
Funny you should ask, I like to park in an end spot on the passenger side of the car next to me, here in South Florida, it seems that everybody drives their own car, therefore no passenger, no egress. Oh and on windy days, I try to find the same spot, and park into the wind...you ask why?...in South Florida again, some d-bag's on their phone, get out of their cars and let the door go, wind catches it, your car stops it. I hate that! (side note, I always ASK my girlfriend when she gets out of my car to " watch her door, its windy", she hates that...she's a blonde)
-
Received my leased vehicle upgrade package today in South Florida
-
Check out Buzzman's thread here.
-
My iPhone 3GS on iOS 5 displays track/artist info when BT streaming from the Music app randomly, and wil only change with the song when I restart from the touch screen on dash. It would not display track info from Pandora only shows "unknown".
-
Check this thead for front grille options.
http://www.fordedgeforum.com/index.php?/topic/6265-body-color-grille-on-2011-sport/
-
I didn't want to drive without a grille for a week.
The replacement was relatively cheap.
I can always switch back to chrome.
Was not a fan of the ALL chrome grille as well, purchased, painted and switched my top two grille pieces on my Limited to the same body color. To replace the grille pieces only took about 20 minutes.

-
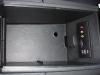
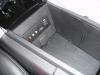
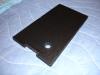
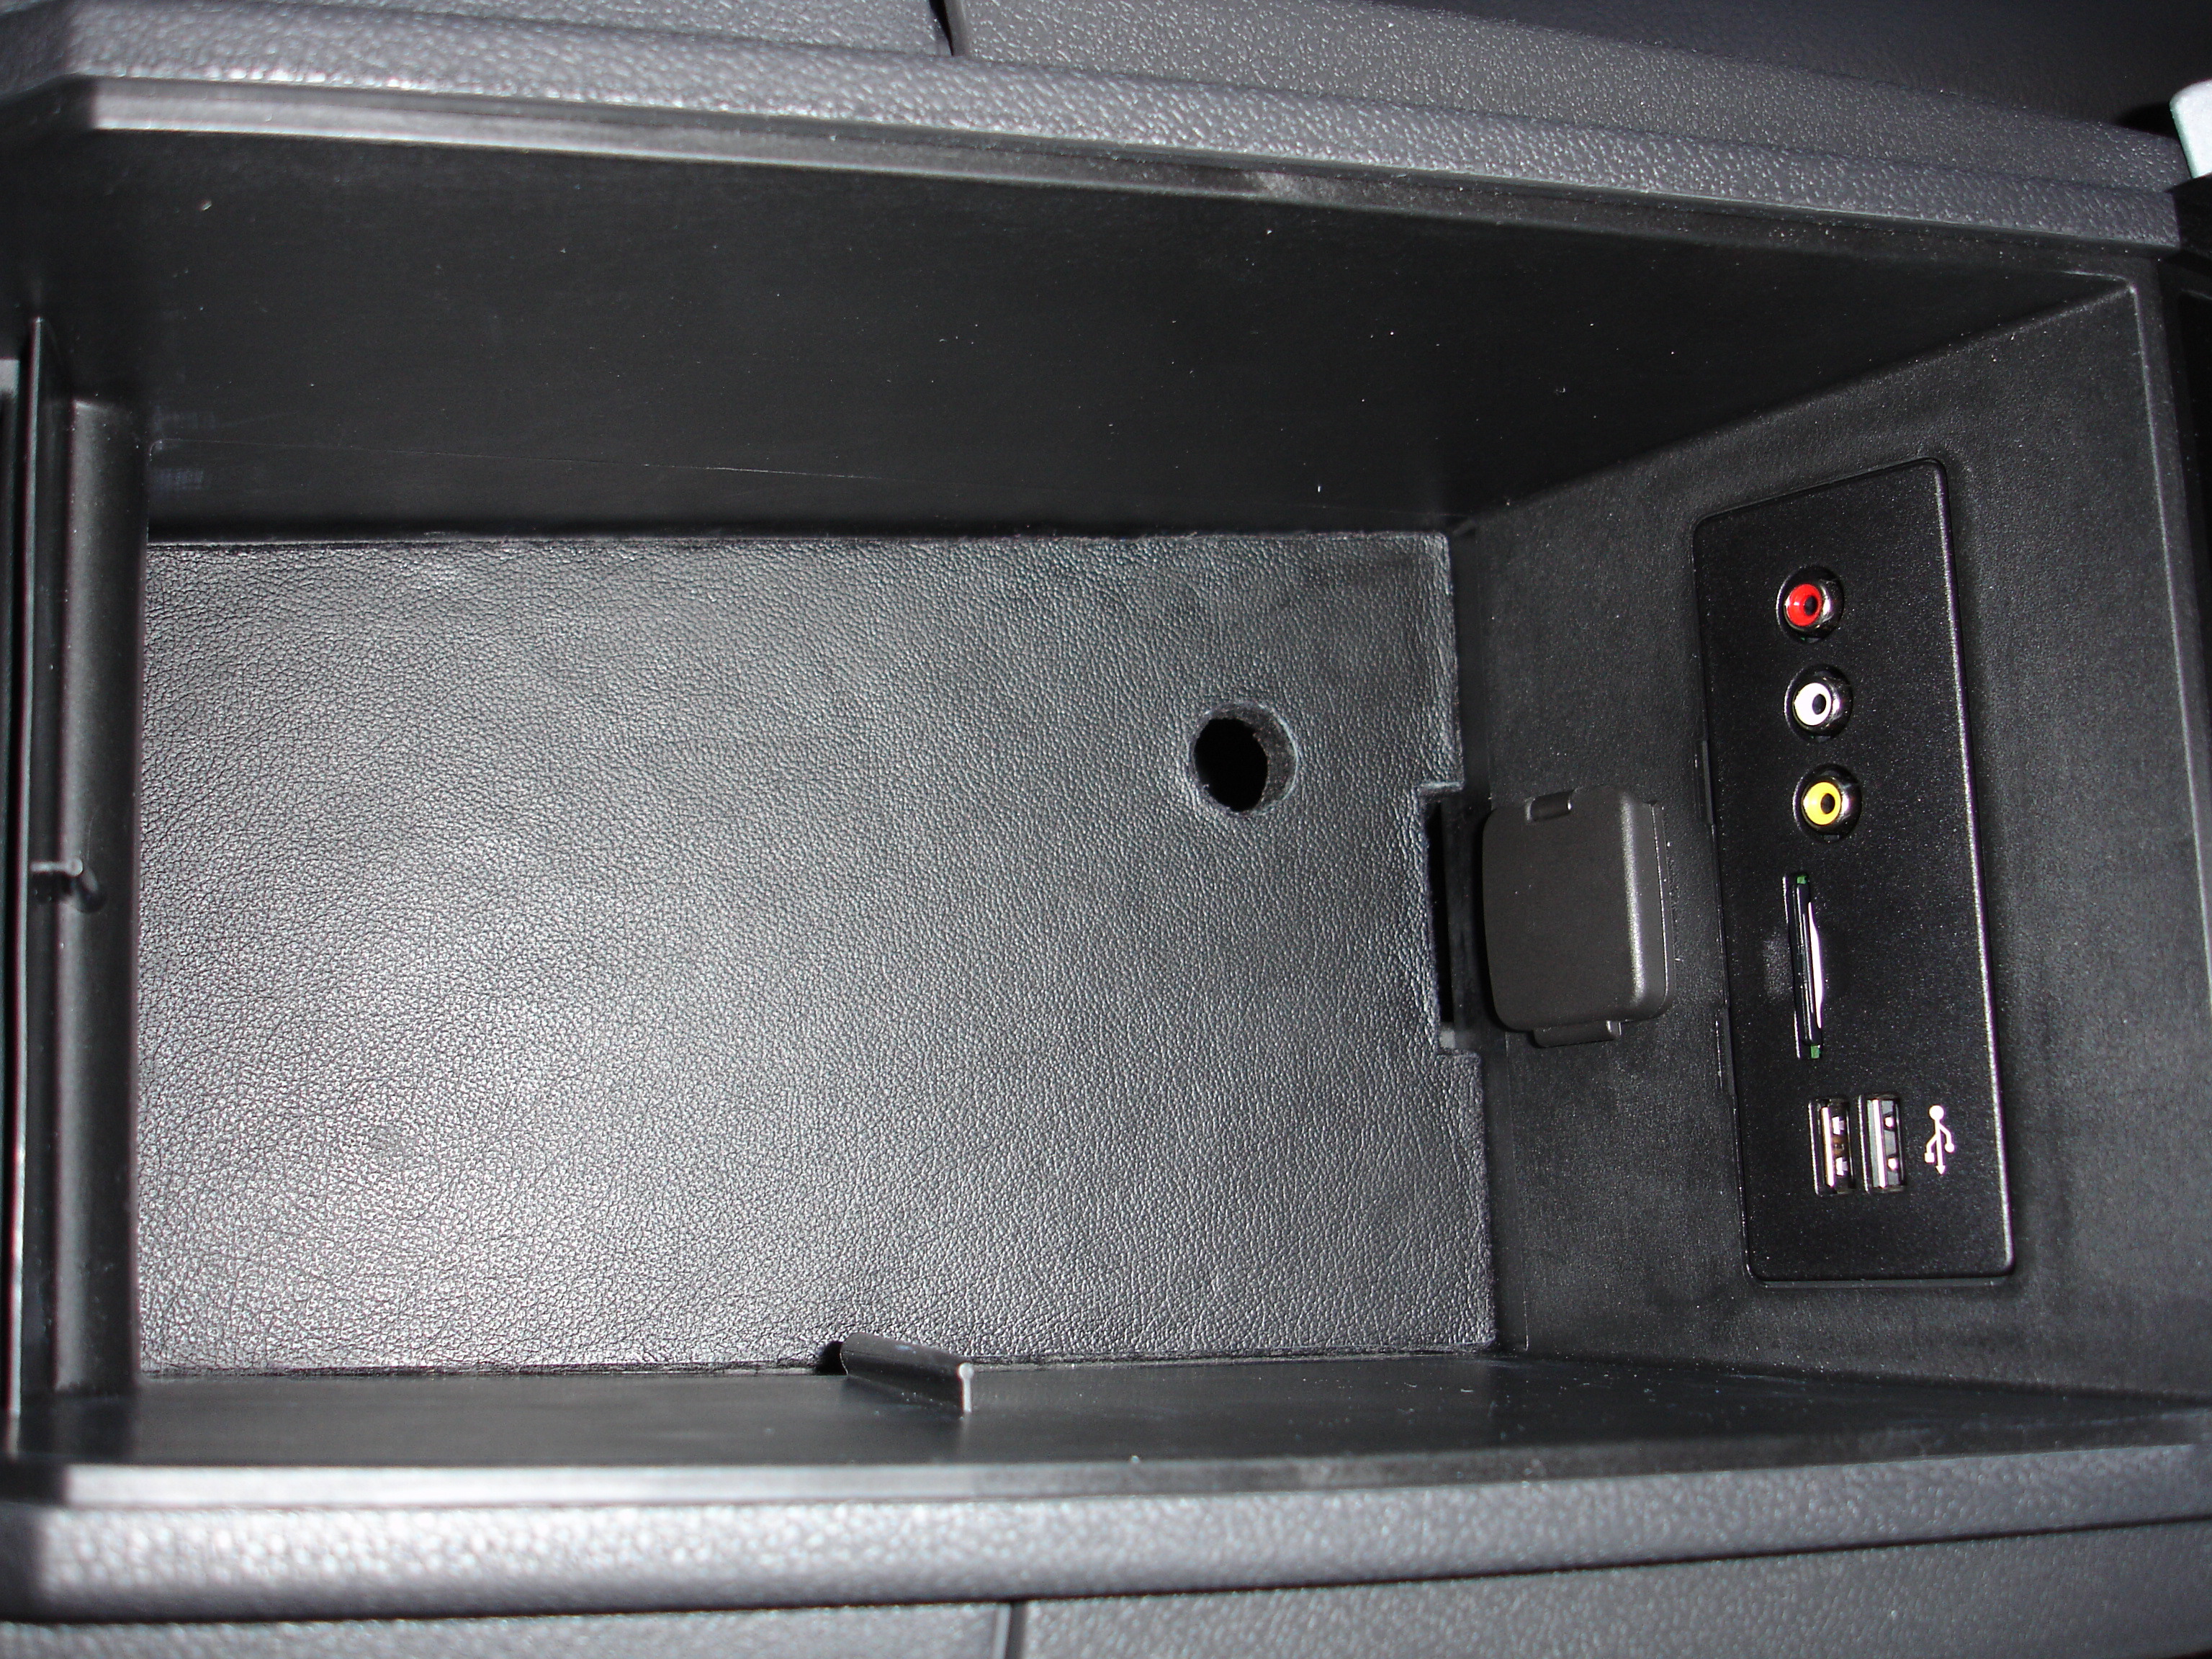
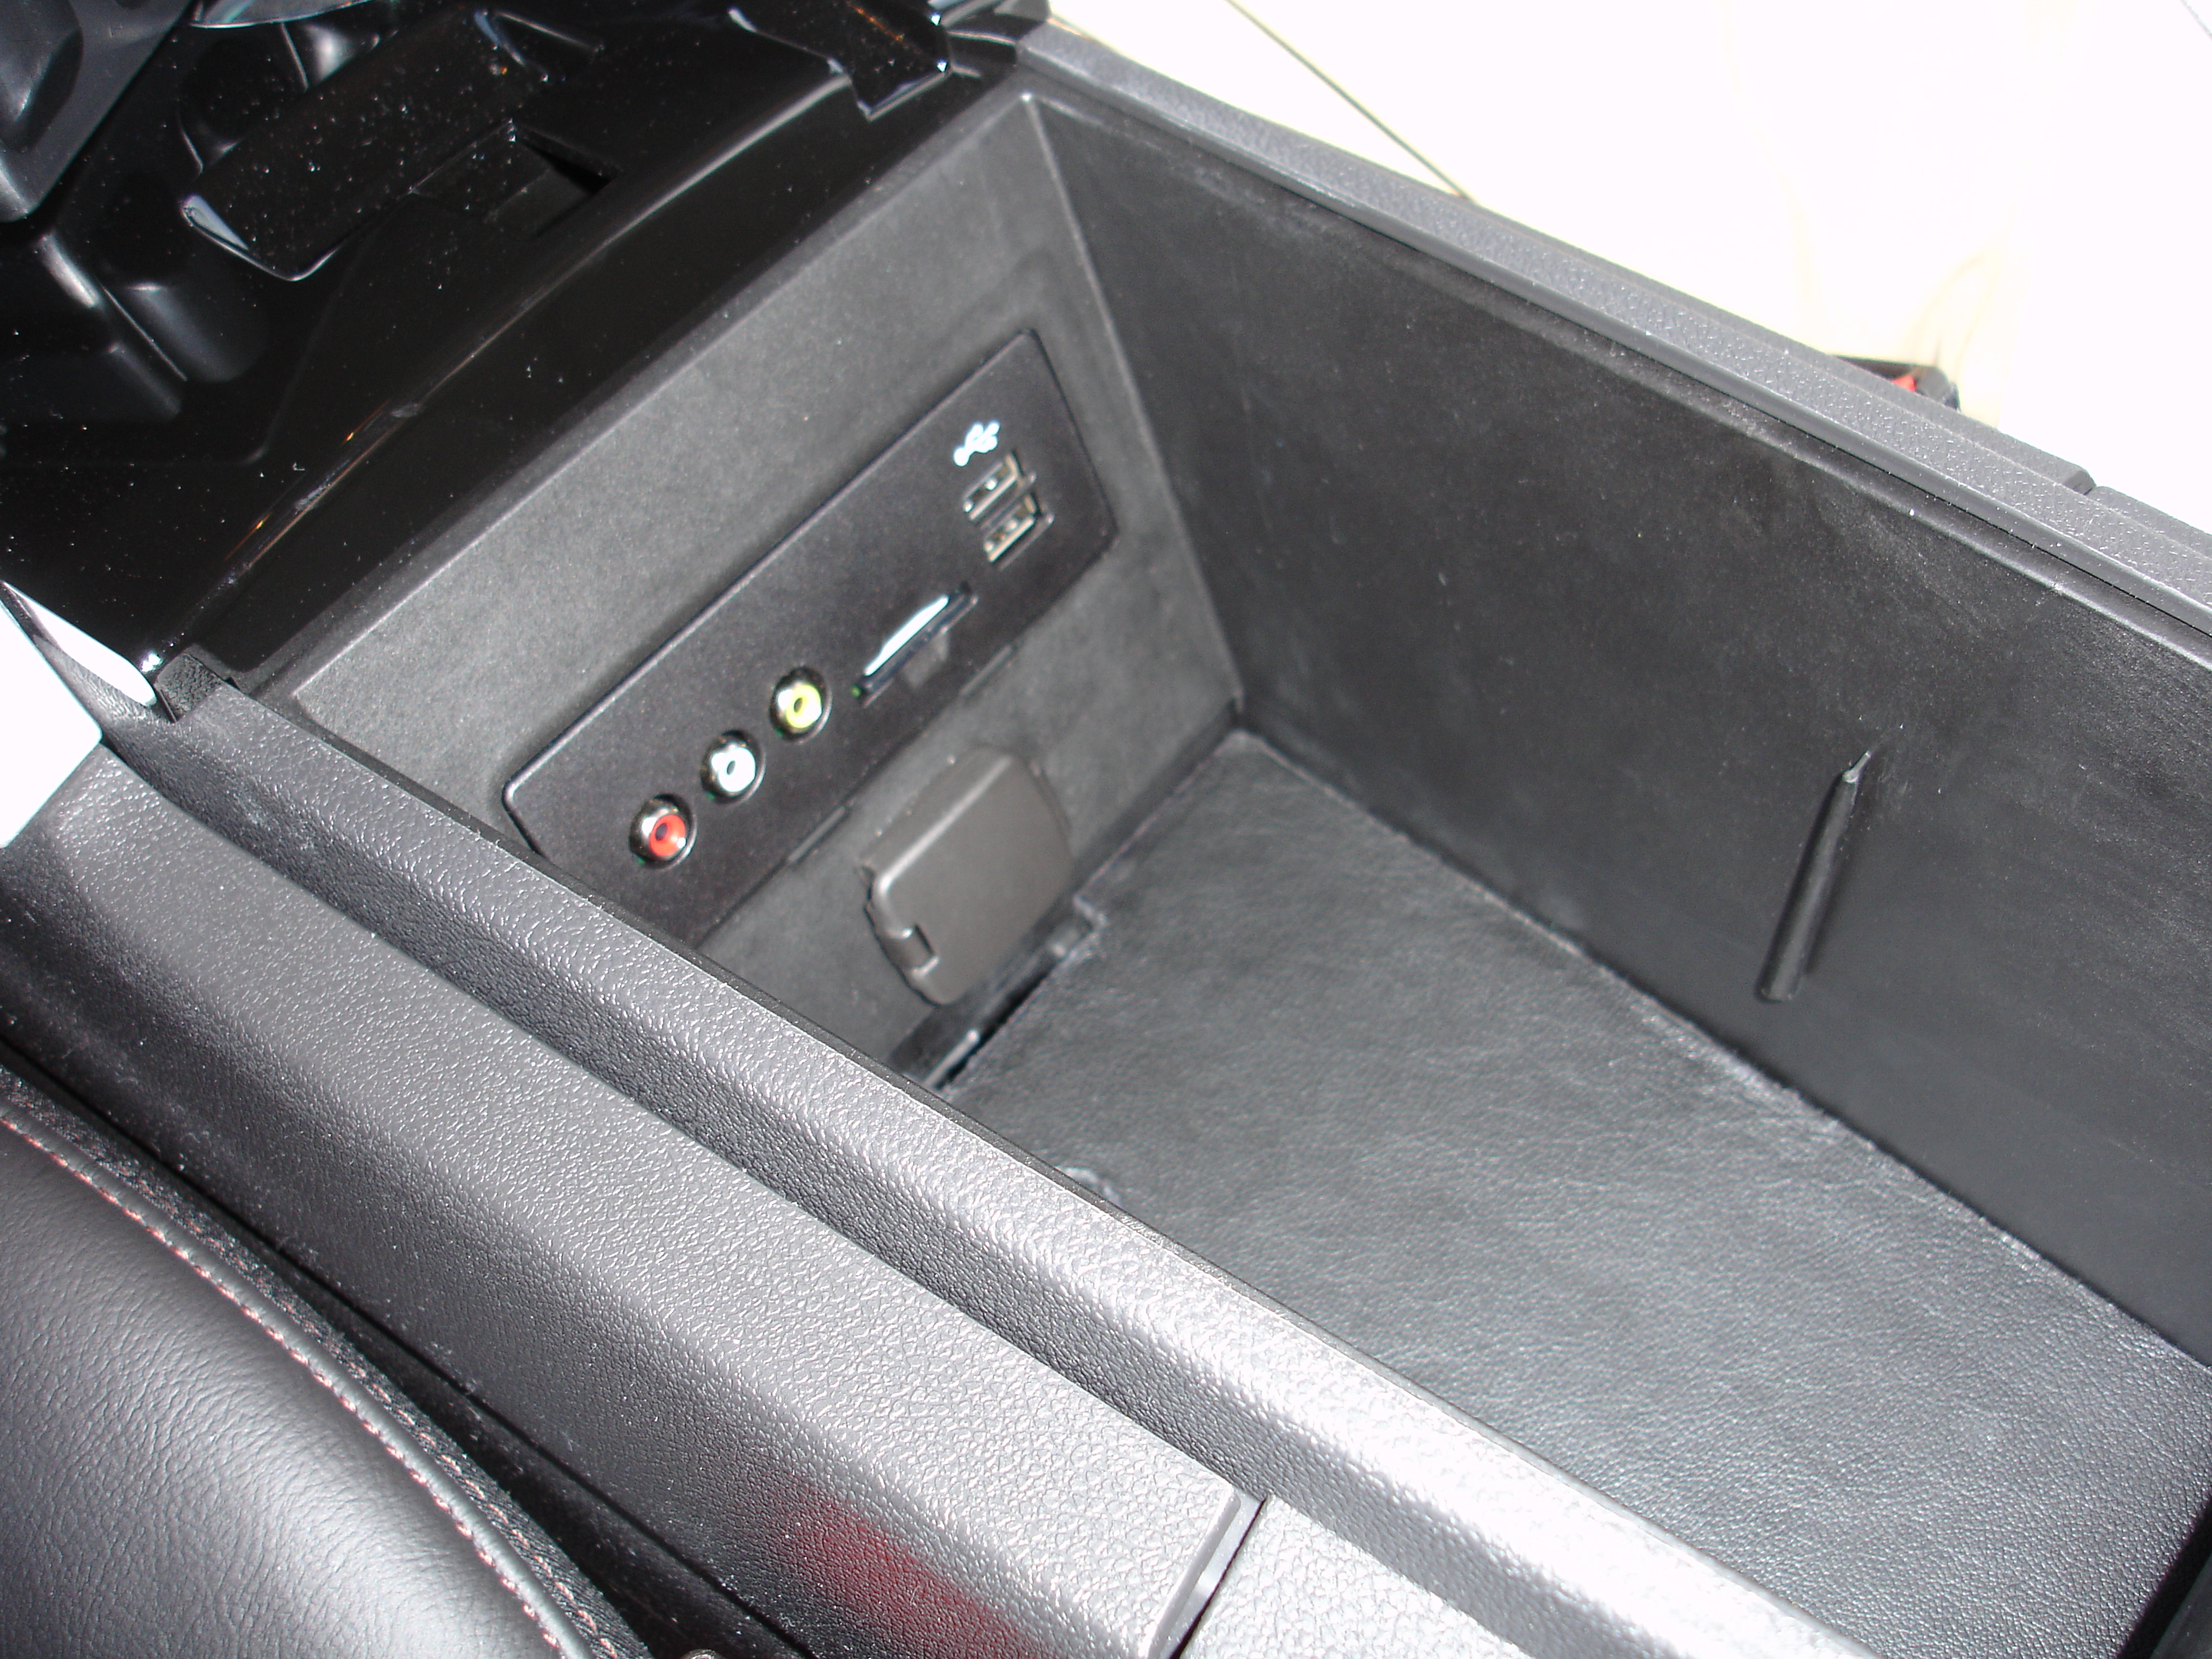
First and foremost, KUDOS to Razorback for this project. Good for me on a rainy weekend.
How I made it:
The dimensions razorback gave were spot on. I used 3/8" 5-ply plywood instead of the "masonite" for this project. I also used a pretty stiff black felt to cover all side except the top, for that a used a piece of black leather. Used "Loctite" vinyl , fabric and plastic flexible adhesive to attach all fabric, worked great...purchased all supplies from craft / hobbie store for around $30.00, the piece of leather was the most expesive item, $13.00. I also reduced the dimensions 1/16" all around to accommodate the felt thickness. Drilled a 3/4" hole 1-1/2" from the drivers side and top for the finger pull plus a 3/8" deep x 1-3/4" wide notch on the top for the power outlet cover clearance. I can still remove the tray without removing the coin holder, not shown in pictures for clarity. the hardest part was attaching and trimming the fabric, just take your time its easy. All pictures are showing the top side.
Thanks again Razorback, and good luck to others who fabricate.
-
 3
3
-
-
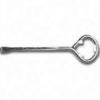
Ordered the aluminum pedal kit with instructions #SKBR3J-9G757-AA, but received the instructions written in French. Does anyone have the instructions written in English?
No worries, installed using pictures.
Re: Best tool to use to install brake pedal pad is the paint can opener you get from the Home Depot. :beerchug:
Off topic irony = paint can opener also doubles for a bottle opener, and I thought all painters were high from the paint fumes. :beerchug:

Horn lost its "sound"
in Alarms, Keyless Entry, Locks & Remote Start
Posted · Edited by lraia
On my 2011 Edge, one of the horns failed after about a year, I never repaired it, just turned it in at lease end.