


jnight99
-
Posts
29 -
Joined
-
Last visited
Content Type
Profiles
Forums
Gallery
Posts posted by jnight99
-
-
I have the 55 watt kitt from retro and mine works... I have the harness
-
+ 1 for Dan to offer halo's and LED headlights through Daytime Brightlites.
I'm in no rush for these so the lead time is not a concern, but if you went to market with these, I will be very interested.
-
I have the factory 22's in the summer on my sport model but run 17's in the winter.
-
I bought mine from Retro Solutions. Mixed reviews on this site but my experience was good. My purchase came with the relay kit and I went with the 55w 6K series.
I use them in combo with the vertical LED DRL's from Dan (Daytime BrightLites)
-
+1 on the LED brightness. If those were brighter it would be very nice! I do love the halos
-
Will these work with the Sport model? Interested...
-
Now if only they were power folding mirrors they would be perfect!
-
+1
Great experience with them. Repeat customer here as well.
-
 1
1
-
-
I just ordered my DTBL DRL/LED's. Just sell it to the wife in terms of vehicle safety. With more lighting on the road, you are better protecting the young one. That's my business case for my son.
-
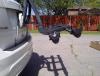
Update -
I took the Edge on a 7 hour tour with the rack installed + 1 bike. Lots of highway and twisty roads and a good mix of weather (ie. heavy rains, wind, etc)
The rack stood strong the entire trip.
I don't have confidence yet to put 2 bikes though so for the meantime I am going to stick to a single bike use.
JN
-
Very nice rack. I cringe at the thought of trunk racks, but this one seems very good and similar to the Saris bones.
Are you able to open the hatch with that thing on there?
Not able to open the hatch, no, as per the directions from Thule anyways. That's the biggest downside and the part my wife hates.
-
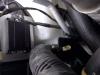
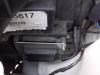
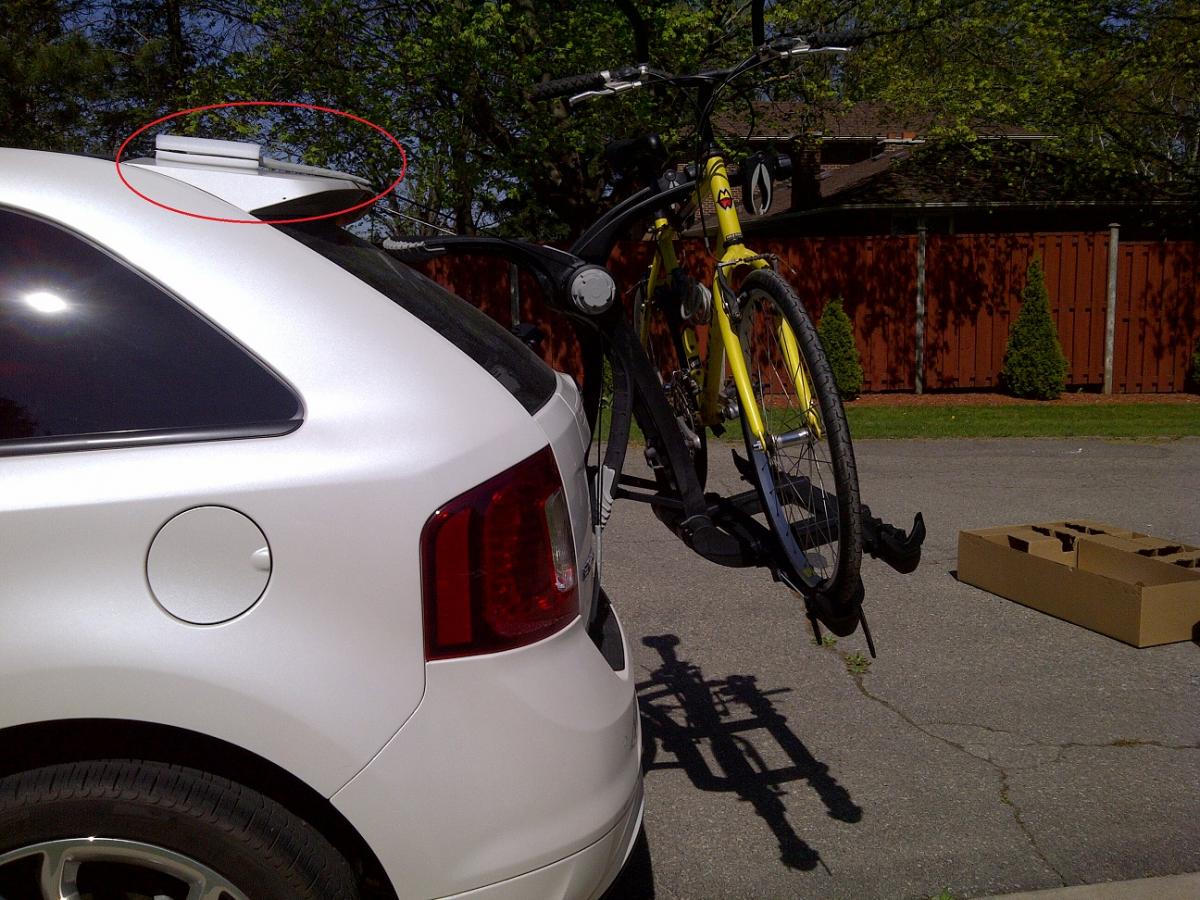
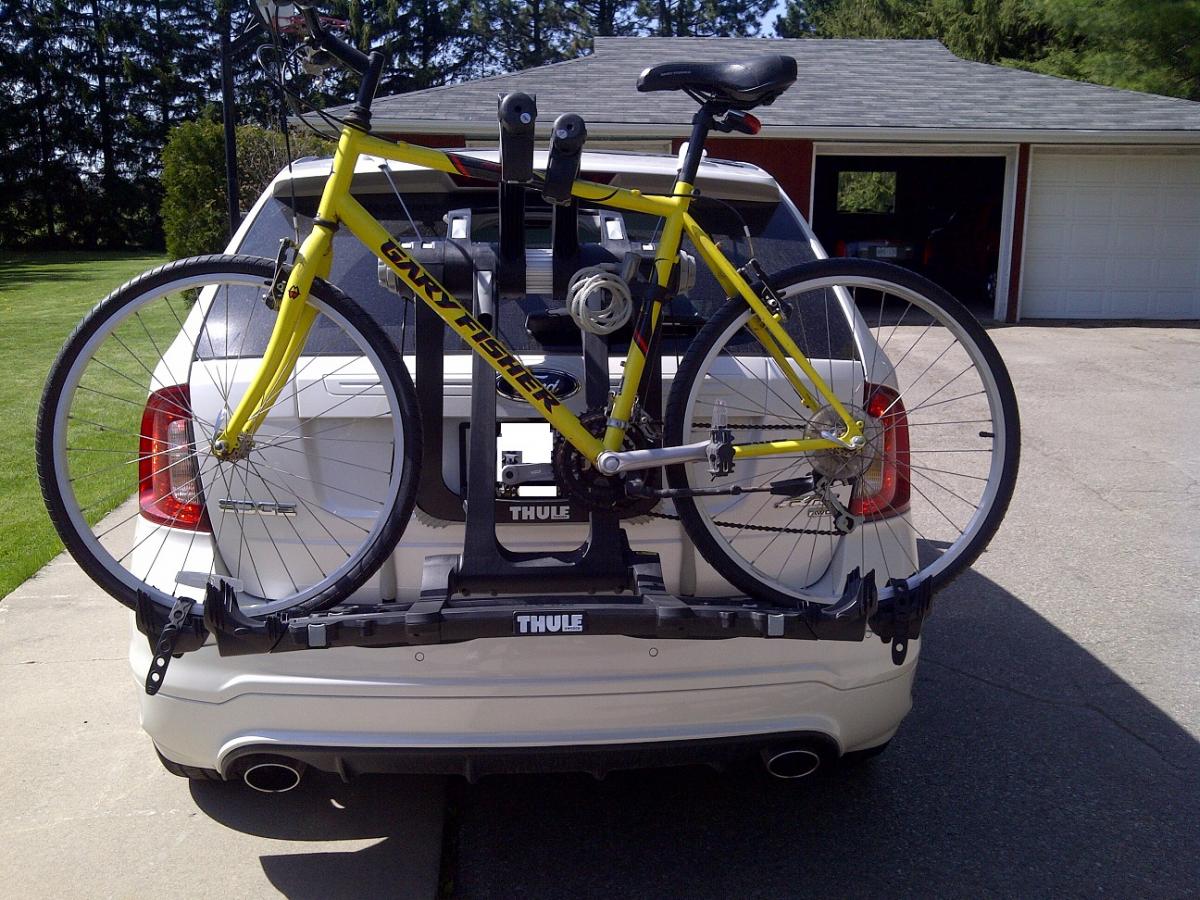
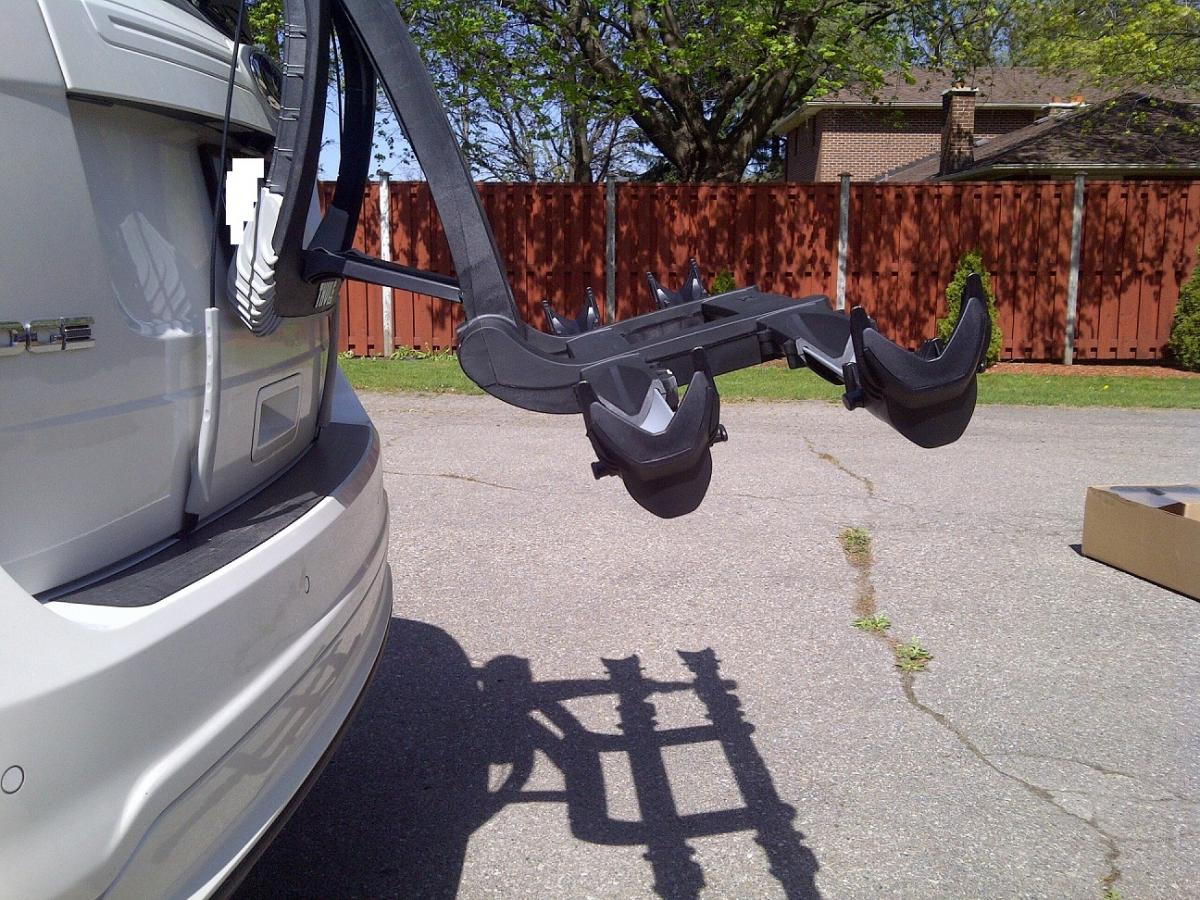
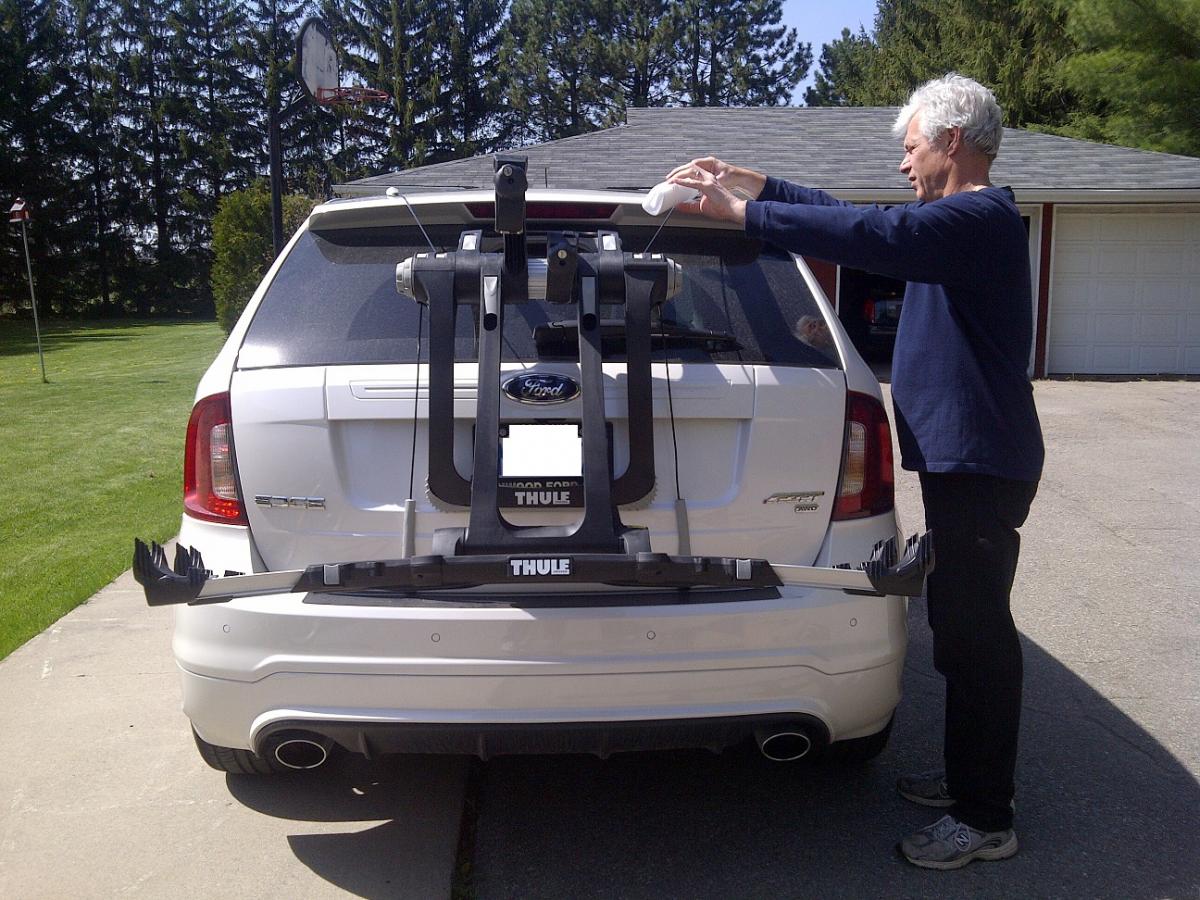
I installed my Thule 9003 Trunk Mount bike rack today and wanted to share some pics.
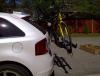
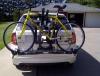
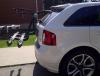
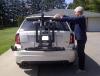
You can see in the first pic that we added a piece of foam to protect the paint.
The rubber cable cover provided by Thule was not sufficient in my opinion.
I am also playing with the actual position on the vehicle. Thule recommends Fit Dial setting "9" which is what is shown in the pictures.
I will probably make adjustments to lower the platform a few inches and to level it out as it is slightly angled in current state.
Overall I am happy with it and it held up well on my driving tests (including highway).
JN
-
FYI - I bought a set of the red ones. You can use the coupon code 'military' for $20.00 off
-
I think the theories on the Canadian delay were semi correct. I noticed an "FR" written in blue marker on the lable of the package, which I'm making the assumption that these packages had to be created special for the CDN market. The software was likely fine, just some packaging / documentation changes.
Has anyone in the GTA seen the "Photo Realistic" turn pics yet? I'm guessing we only have about 5-10 turns in Canada that have them, but they are really cool. DVP north to 401 East has one and the sign looks identical to the real signs, very impressed as it was even followed by a second showing to stay on the Express, highlighting the 401 express sign and showing a transparent collectors/ Victoria Park that is in the other lane, again identical to the real sign.
Still yet to see a 3D building though and I think I had a few on the old version around Young/Bloor in downtown TO.
So far I'm quite happy. New graffics taking a bit to get used to. I think I liked the old visuals better, but it is much faster.
I've seen lots of the 3D buildings > pretty cool but they were also visible in the previous nav version I had > just more added now.
-
I called my local dealer this morning - Erinwood Ford (Mississauga Auto Mall)
They have them in stock and had mine installed in just over an hour.
WOW. Much faster and the new maps are pretty cool. Glad I got the update done.
JN
-
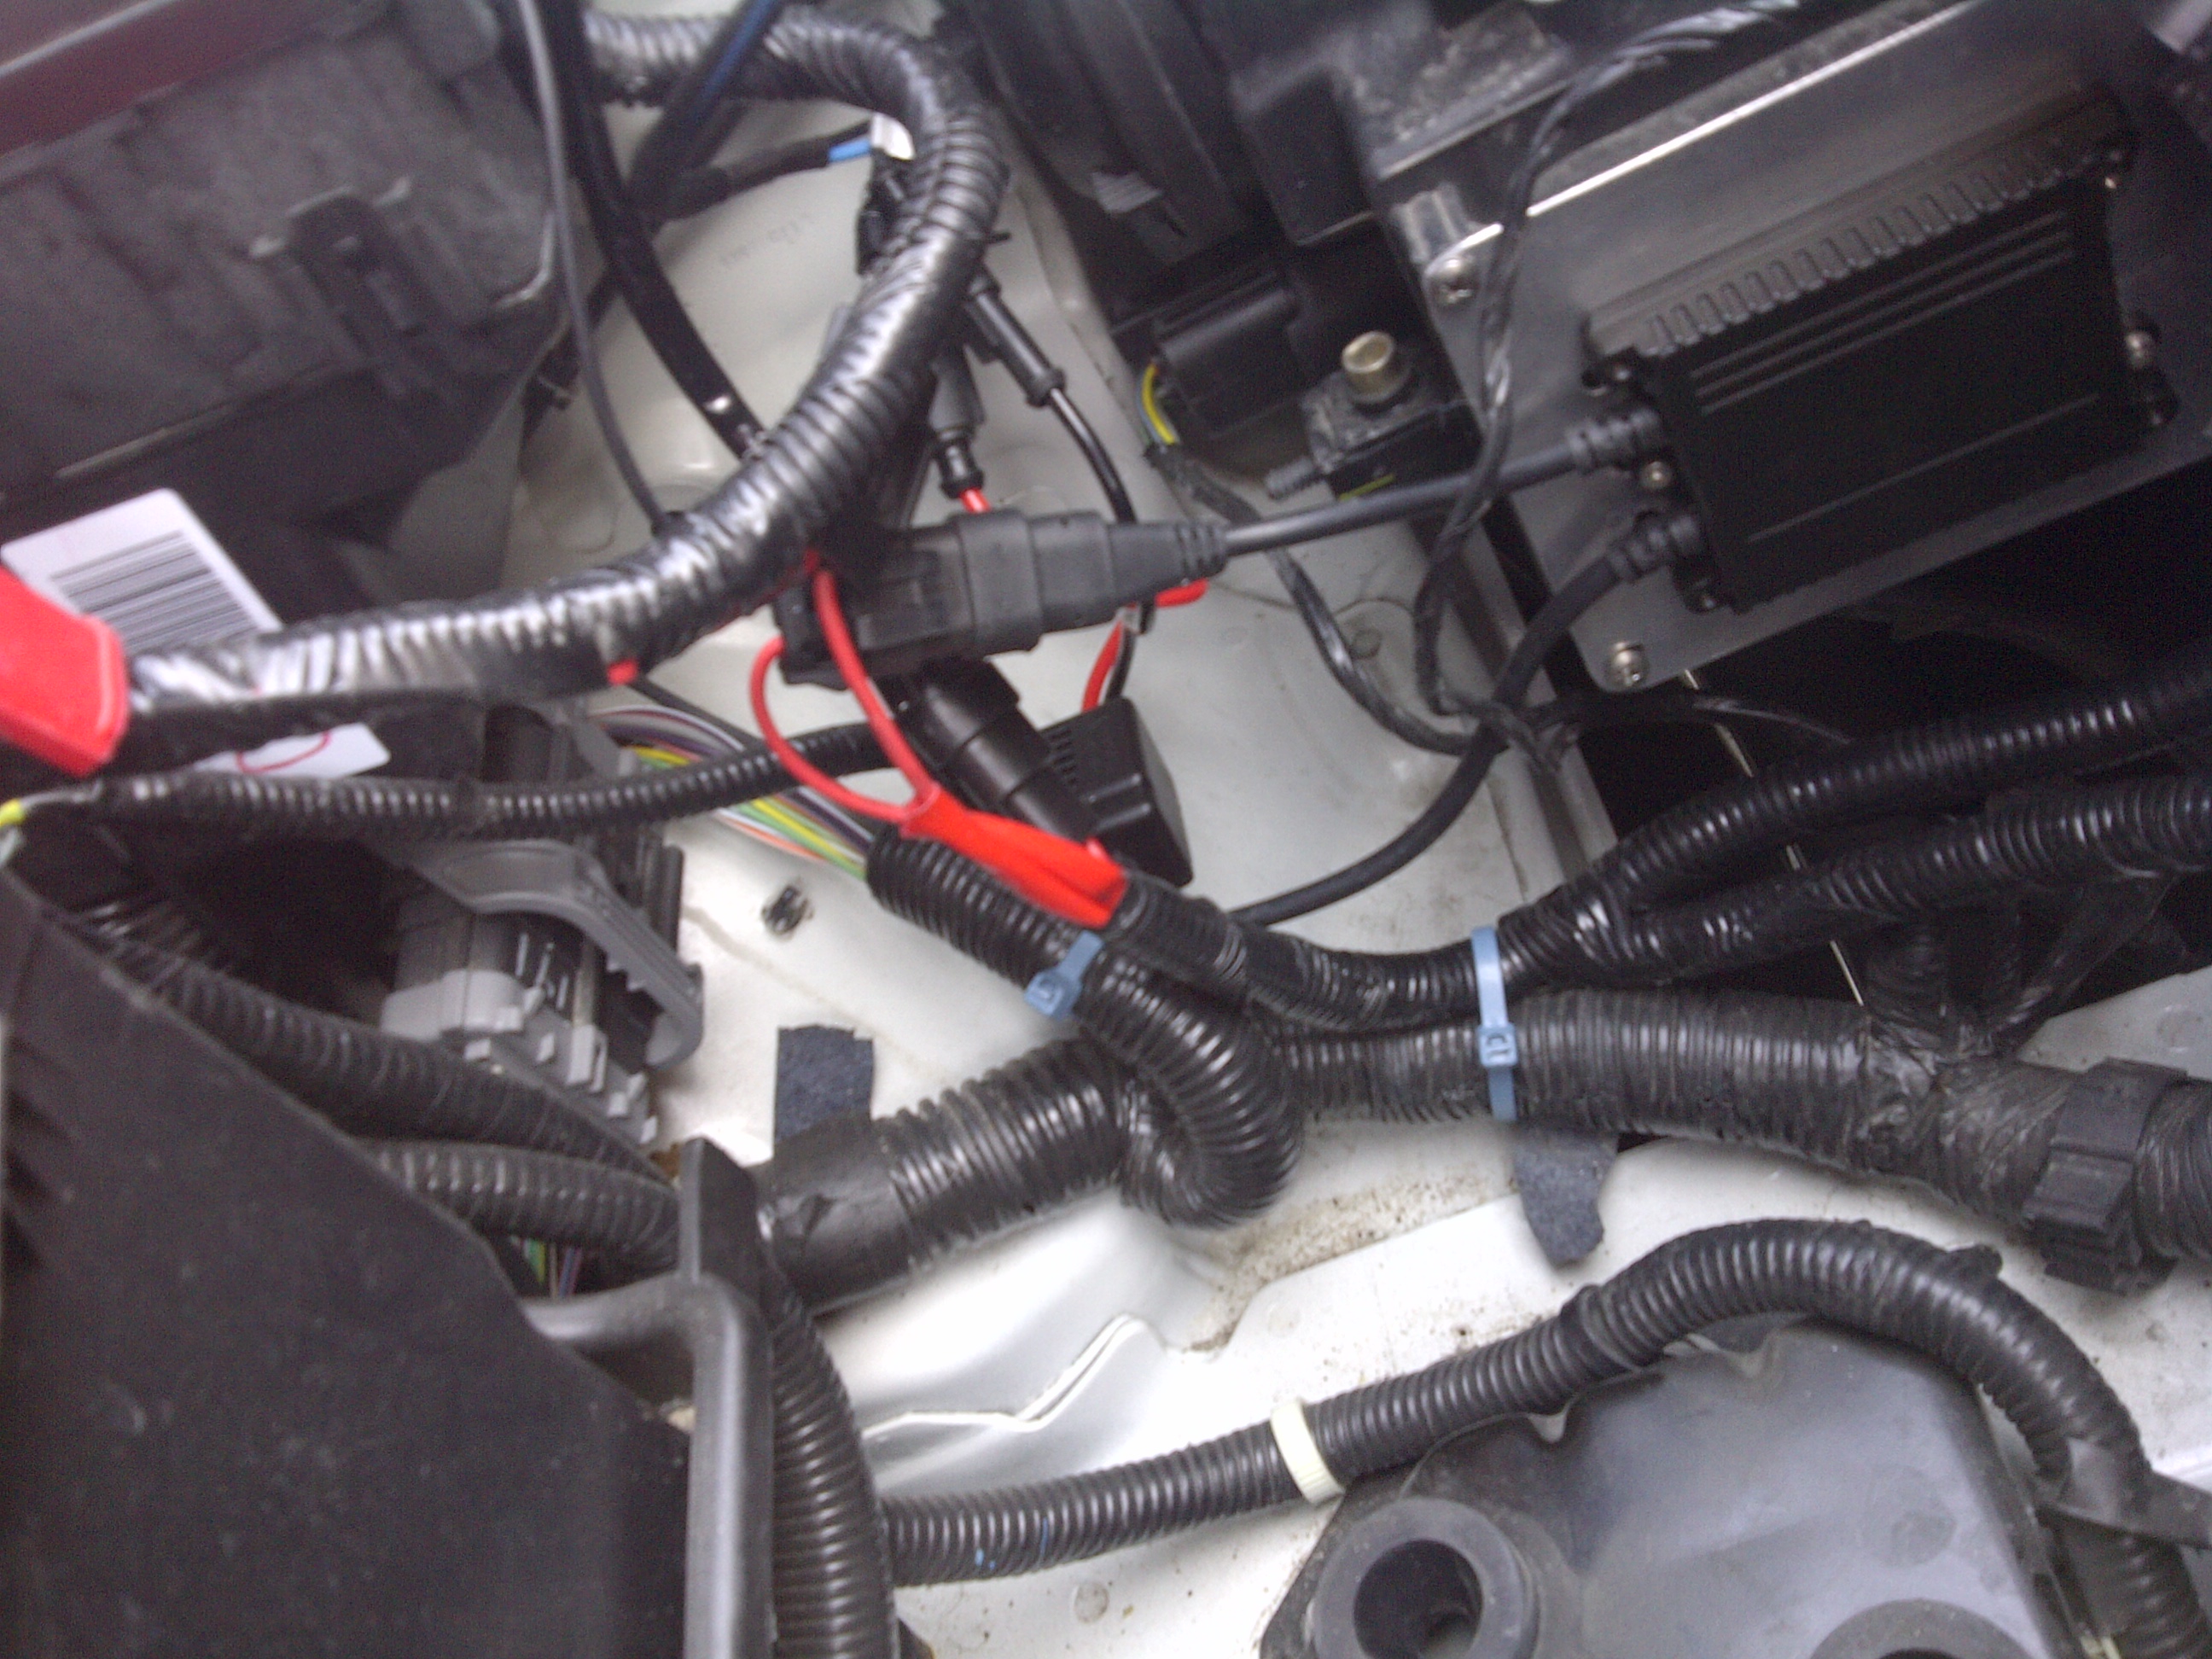
Great job J! Very clean install and love the mounting plate idea. My mounting straps are working fine, but your plate idea is much slicker. Nice job routing the wires through the flex tubing as well. Looks OEM!
I do have a question about your statement, "WHERE you want to place the 3 grounds." The retro-solutions kit requires grounding? I thought it was a plug and play system. Or is the grounding needed for the optional wire harness? I installed the DDM Tuning kit, but without the wire harness. All I had to do was plug everything in. Looking forward to hearing back from you.
Thanks. I happen to have the plates kicking around so I just cut them to size and drilled holes to support the factory mounting points.
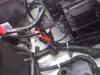
Glad you noticed the tubing! I picked up a single 3 ft piece from an electronics store for under 4 dollars. I wanted to protect the wiring and make it appear OEM.
I may want to go back and change those tie wraps to black ones but I only had blue ones available at the time of install.
The 3 grounds were all on the relay kit - correct. It came with the kit from retro-solutions and they recommended I use it, so I did. I was thinking I would not need it originally as well but this has proven to work well for me.
JN
-
Folks,
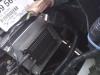
I recently installed a set of HID headlights into my 11' Edge Sport.
I did a lot of reading on here and learned quite a bit from others based on their experience, such as kc300c and dingo - thanks guys.
I wanted to make a few of my own comments just to share my perspective.
First, my kit was the 55W 6000K slim ballast set from retro-solutions.
The ordering experience was very smooth and I had my lights in about a week after ordering (I am in Ontario, Canada) so I was quite happy with that.
The install itself took me a total of about 3 hours collectively.
Based on what I had learned, I think I could repeat it now in half that time easily.
Some of my advice.... (some of which may sound obvious!)
No 1.
Start the task in the morning! I was so excited to put this kit in, I ended up doing it after work one later afternoon/early evening and the loss of daylight made it extremely difficult.
No 2.
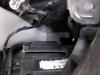
If you plug everything in as per the schematic and the bulb doesn't light - check the negative/ground position. I had an issue with my ground that made a world of difference.
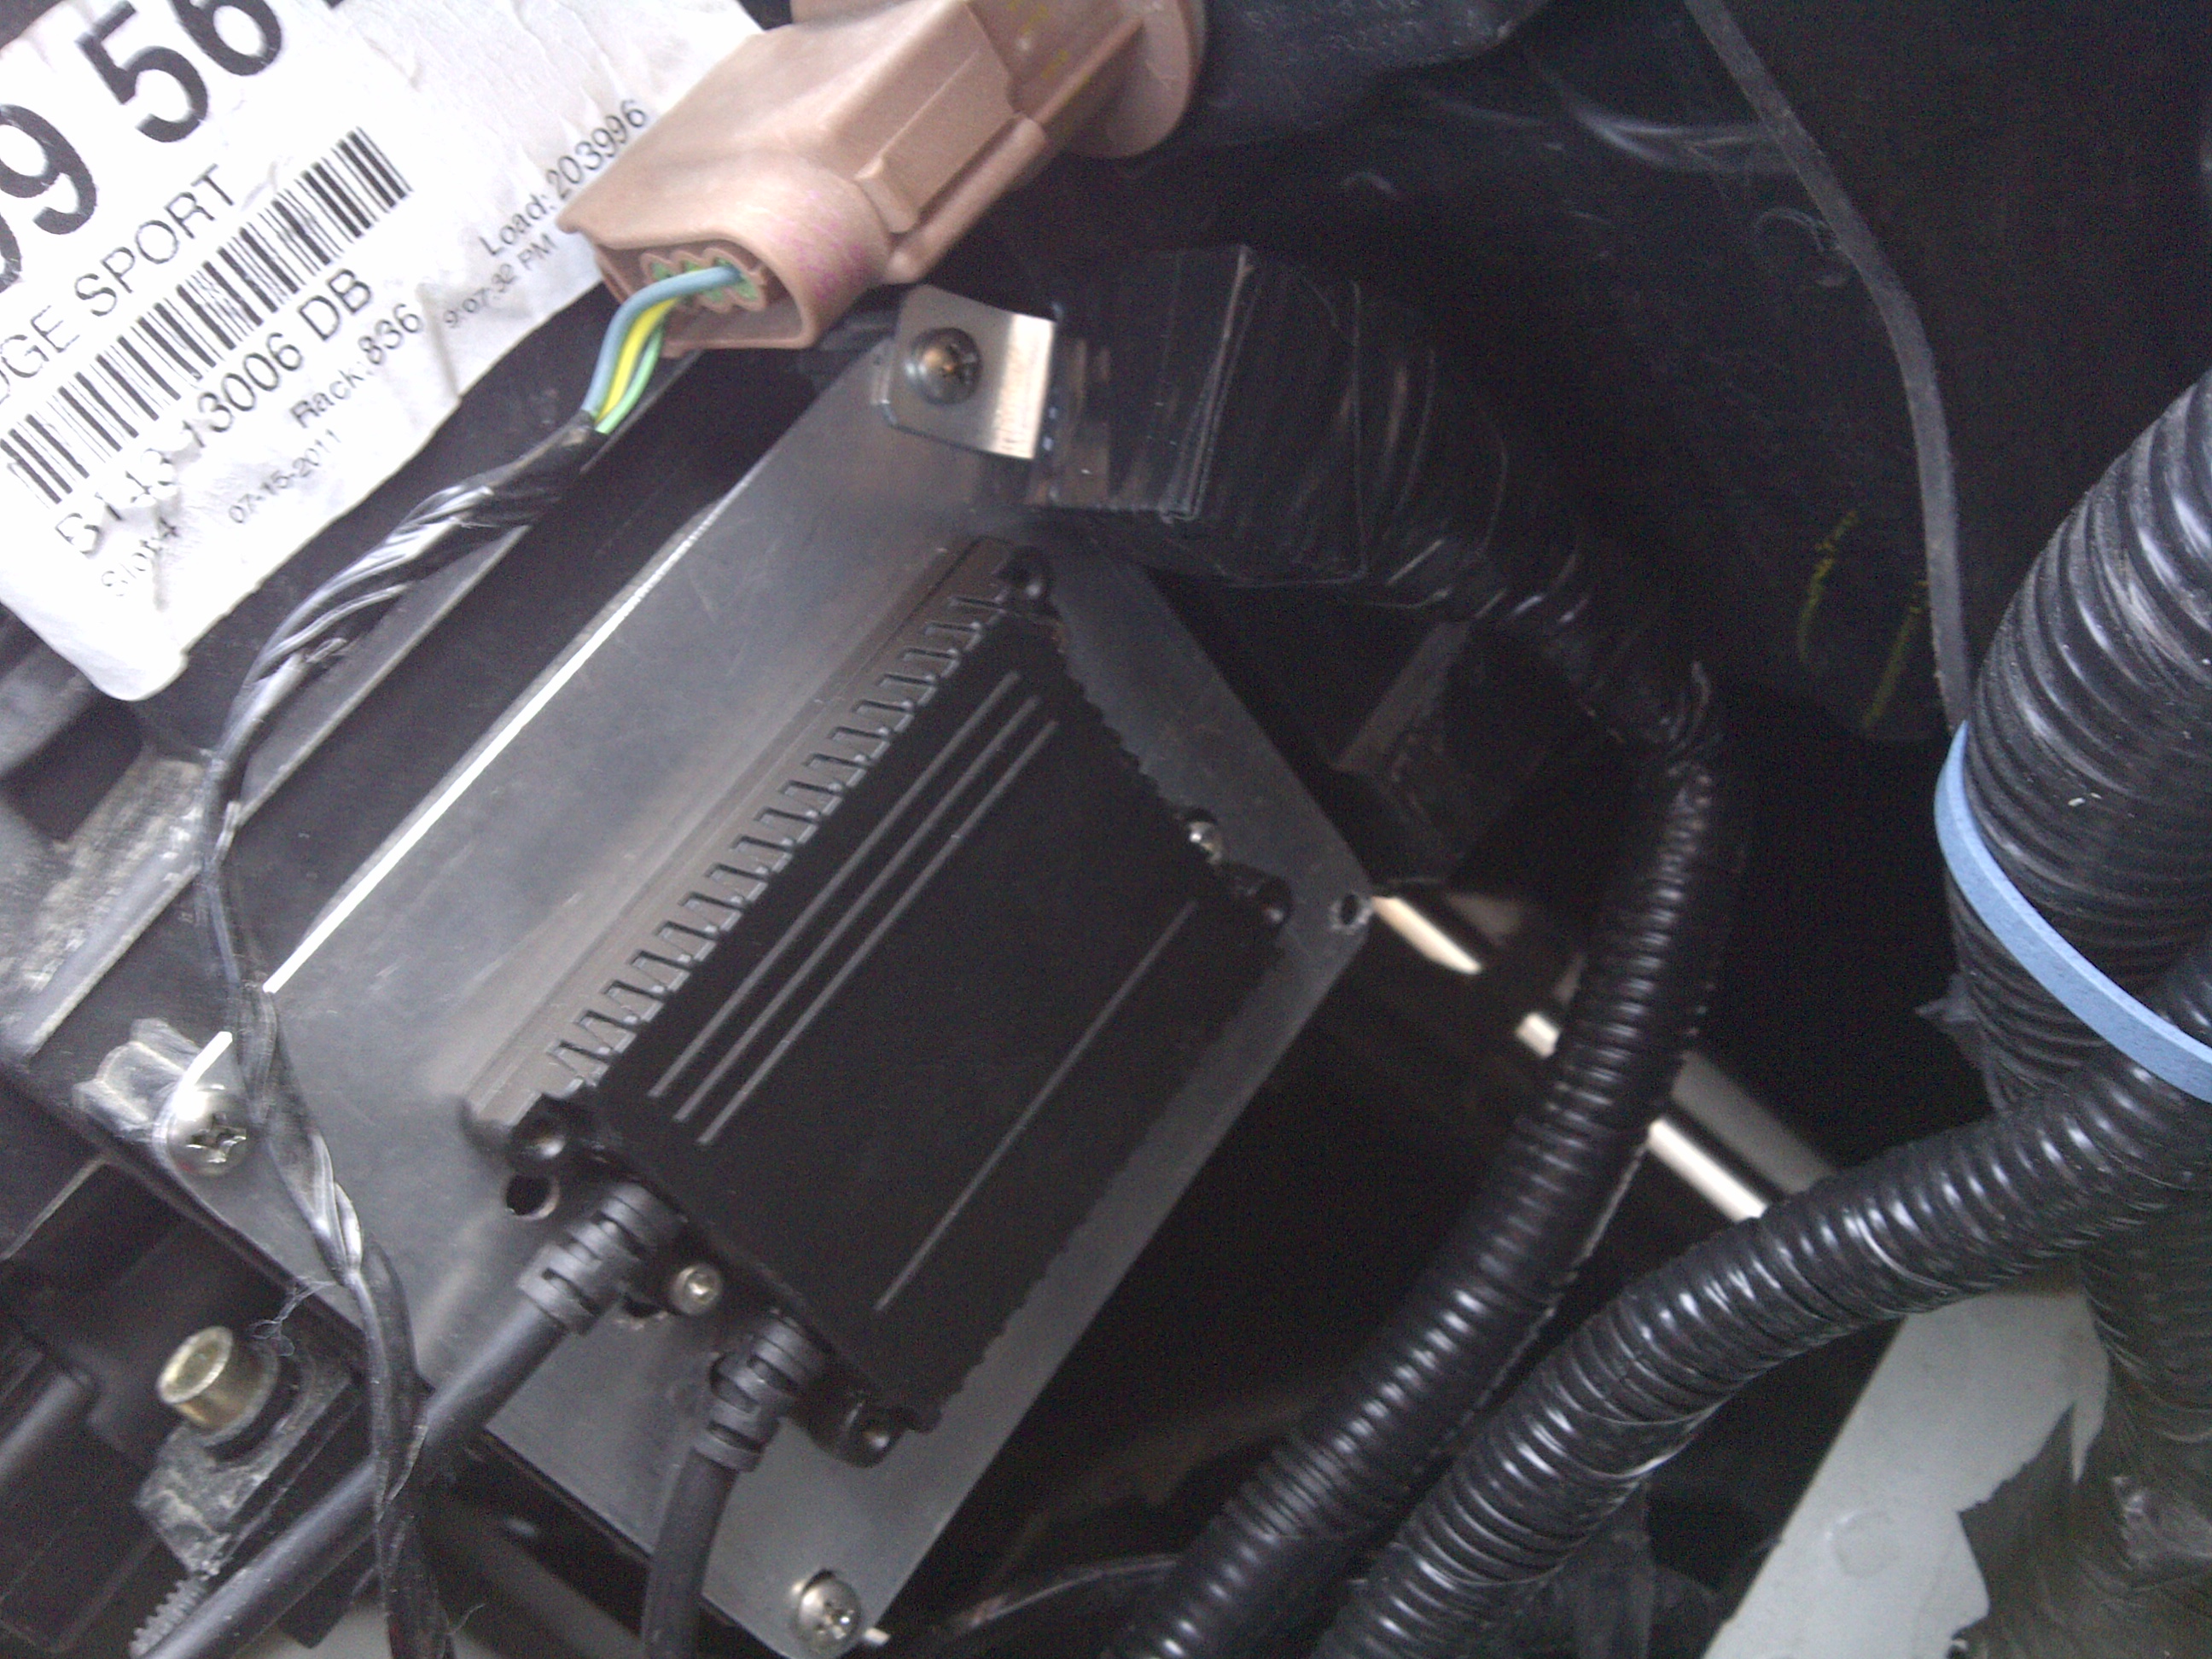
No 3.
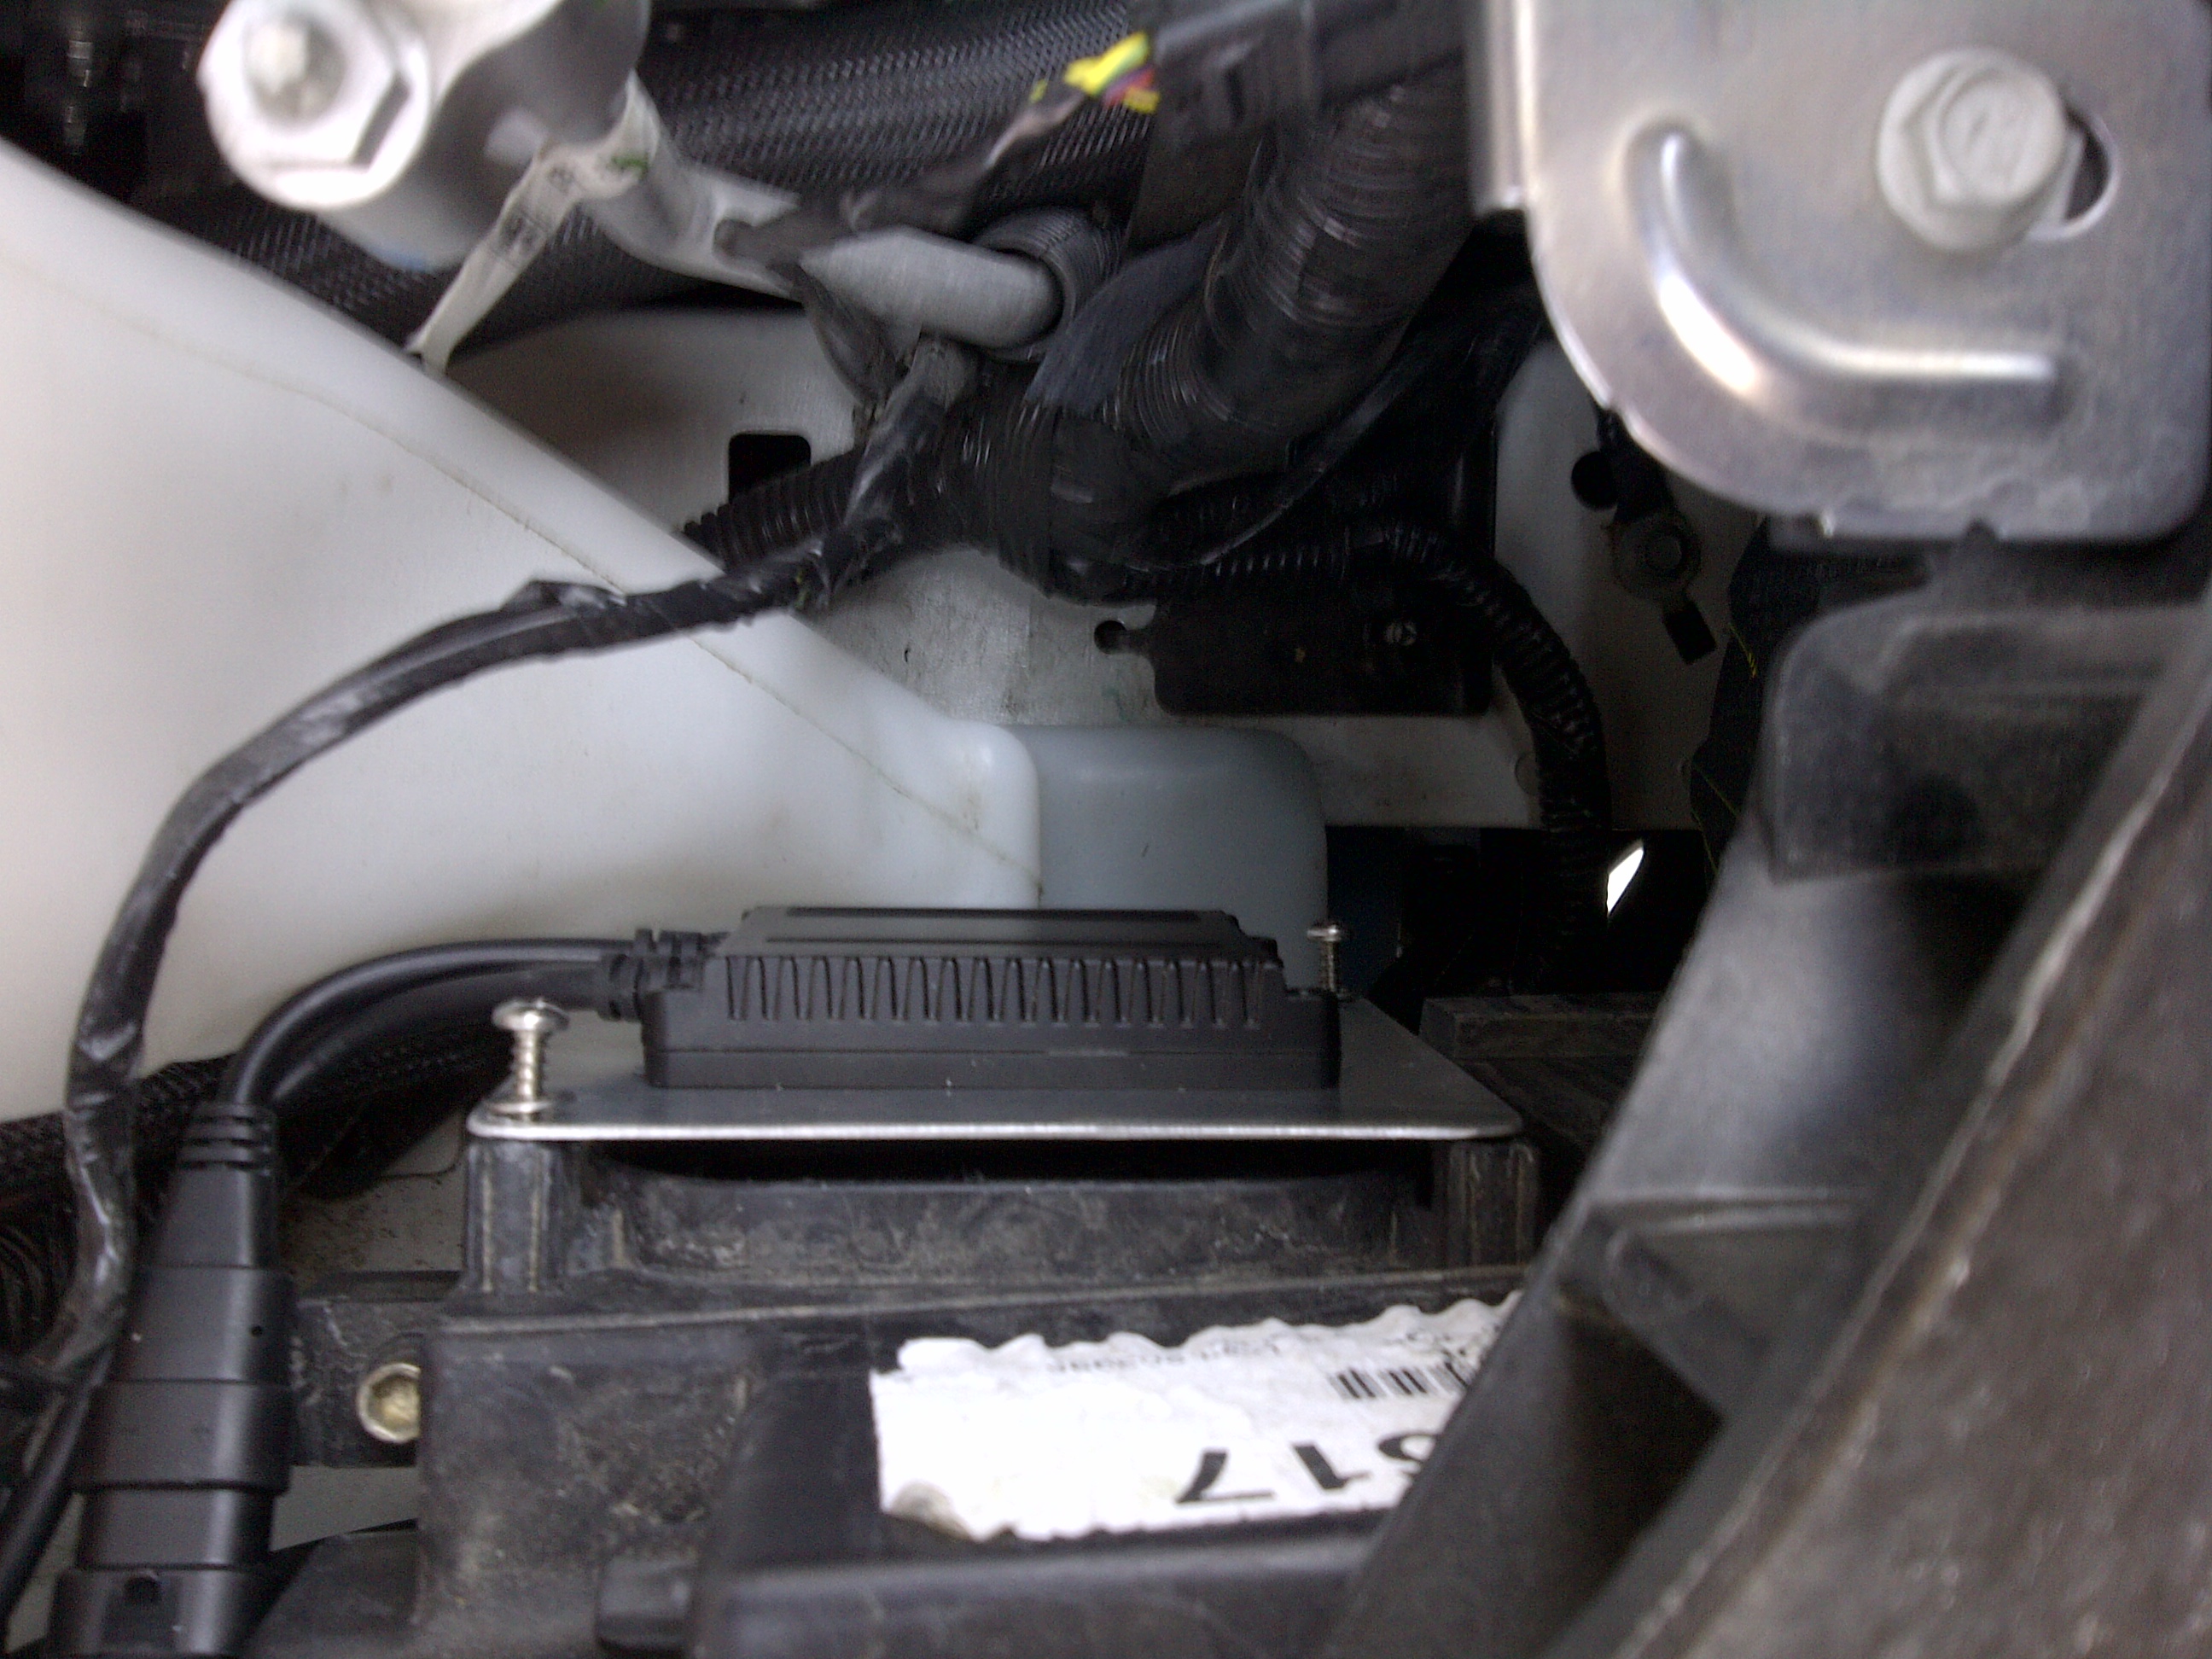
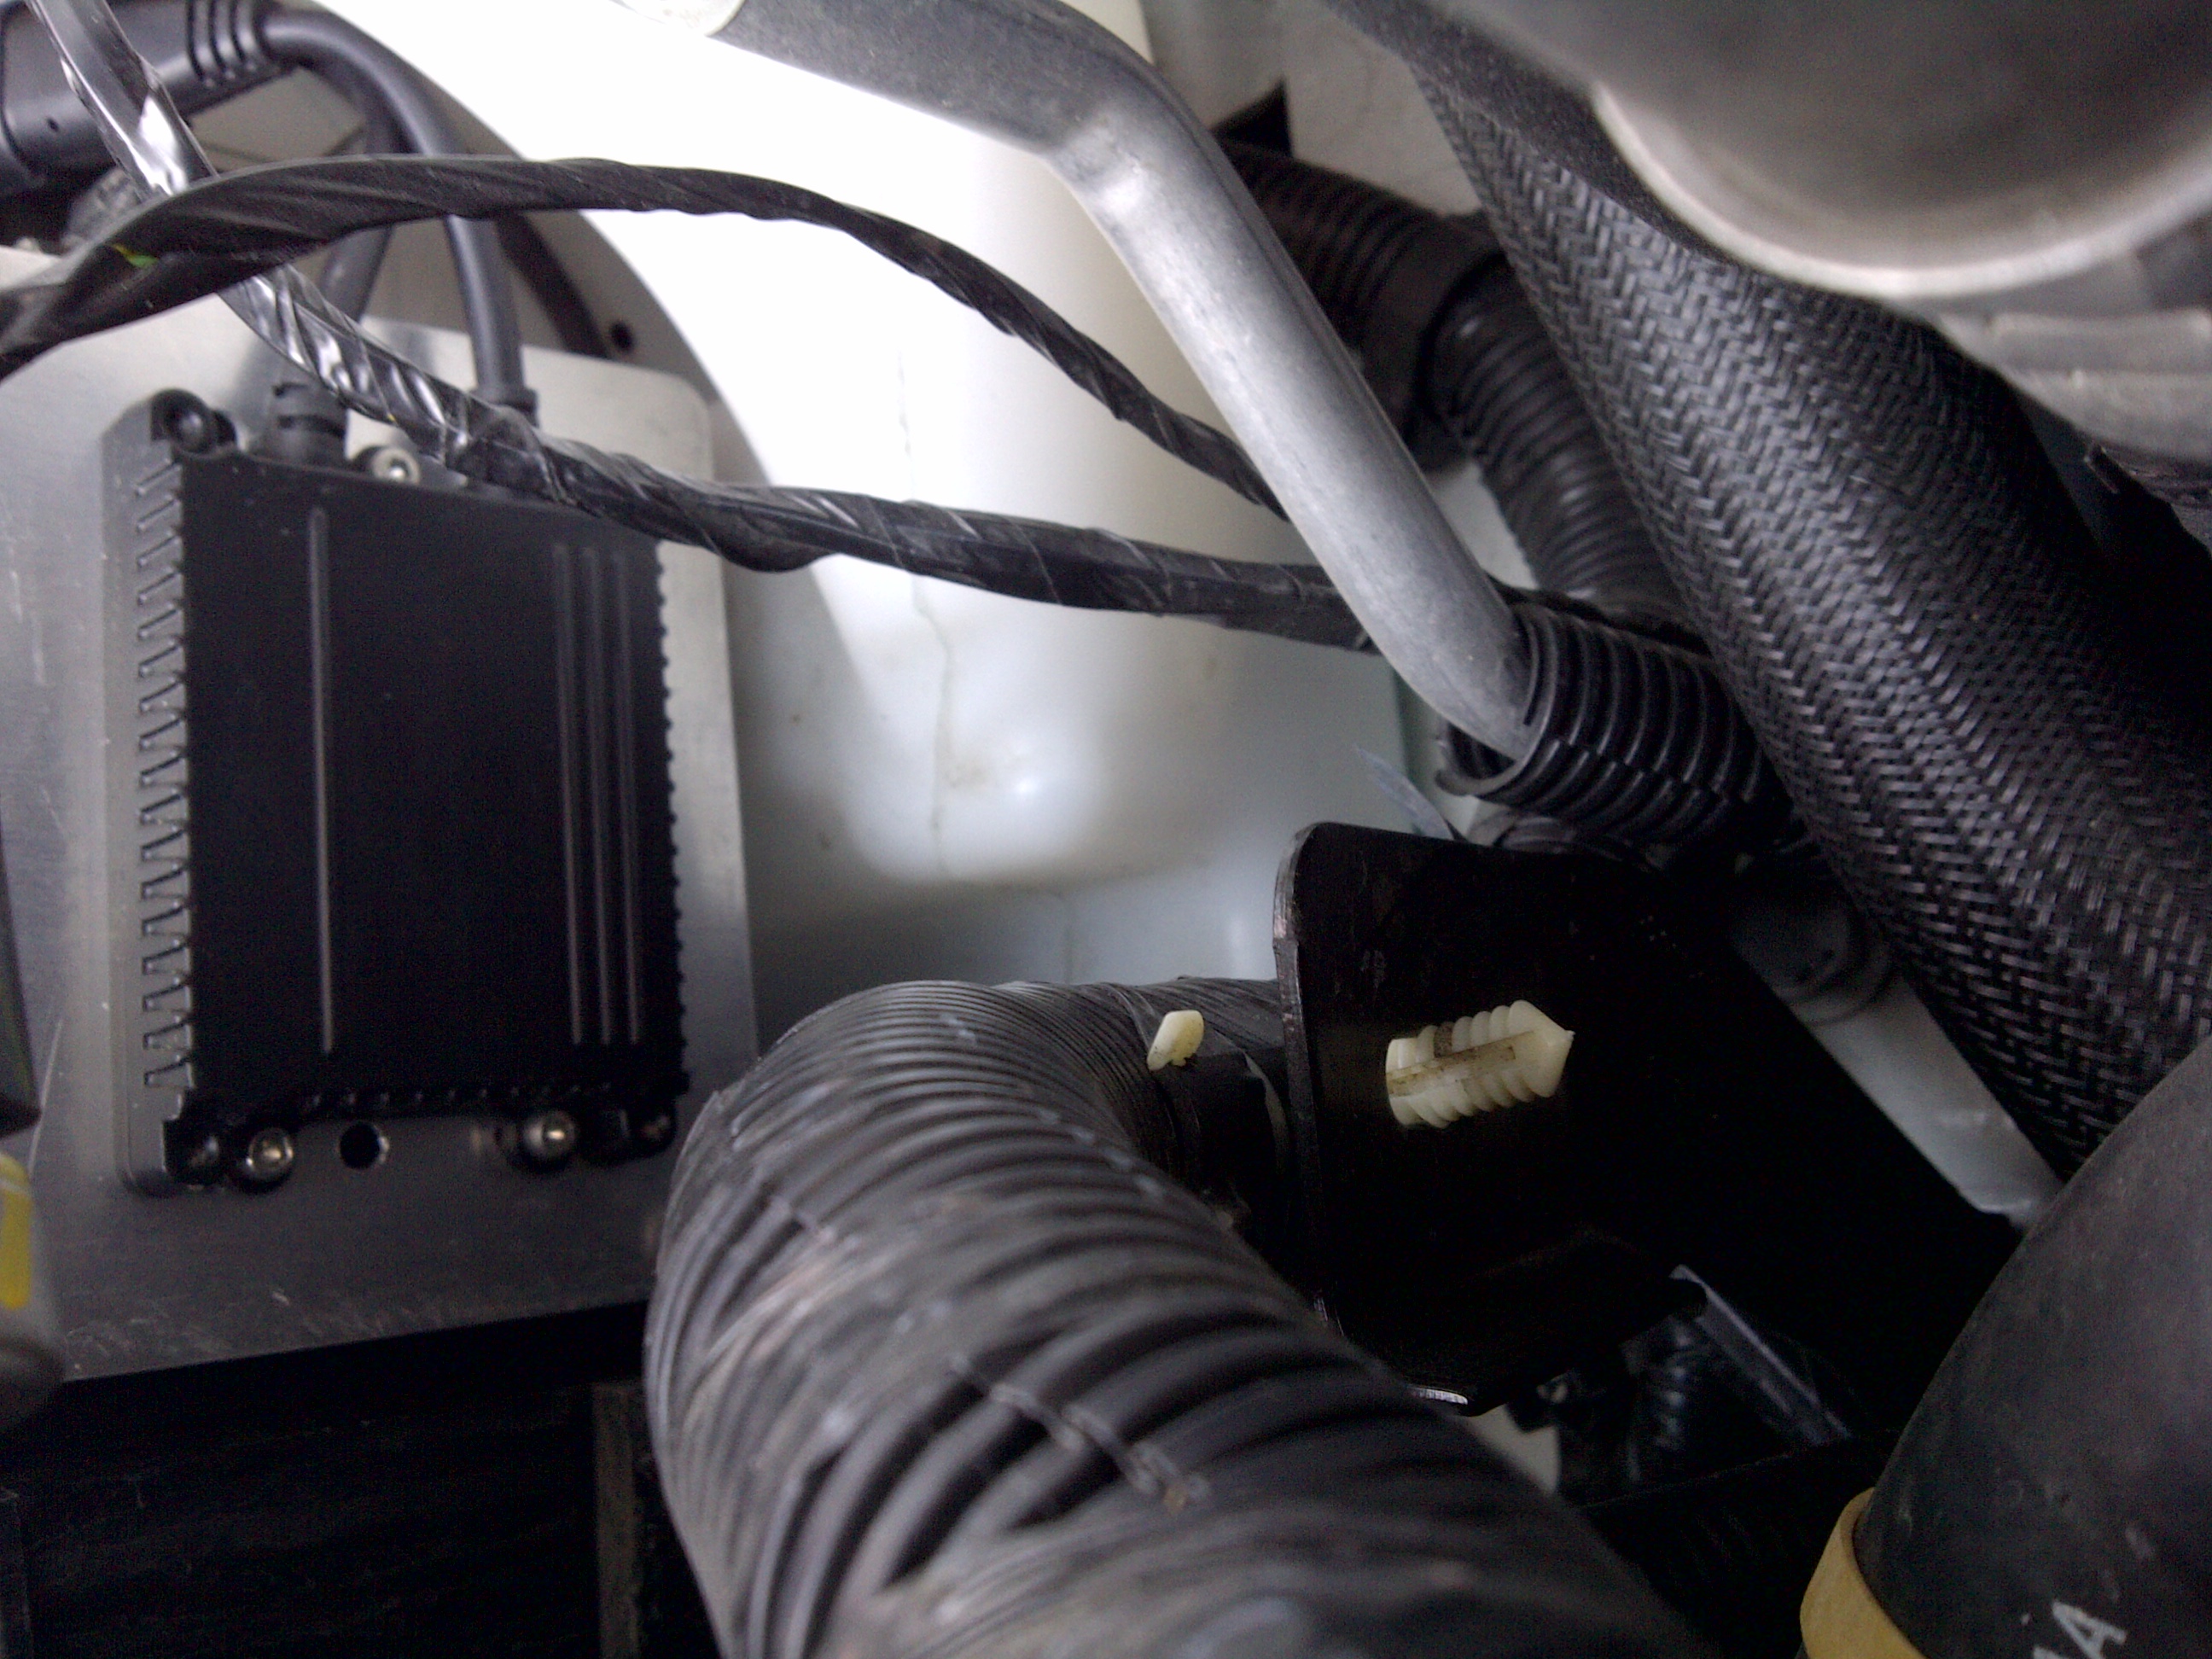
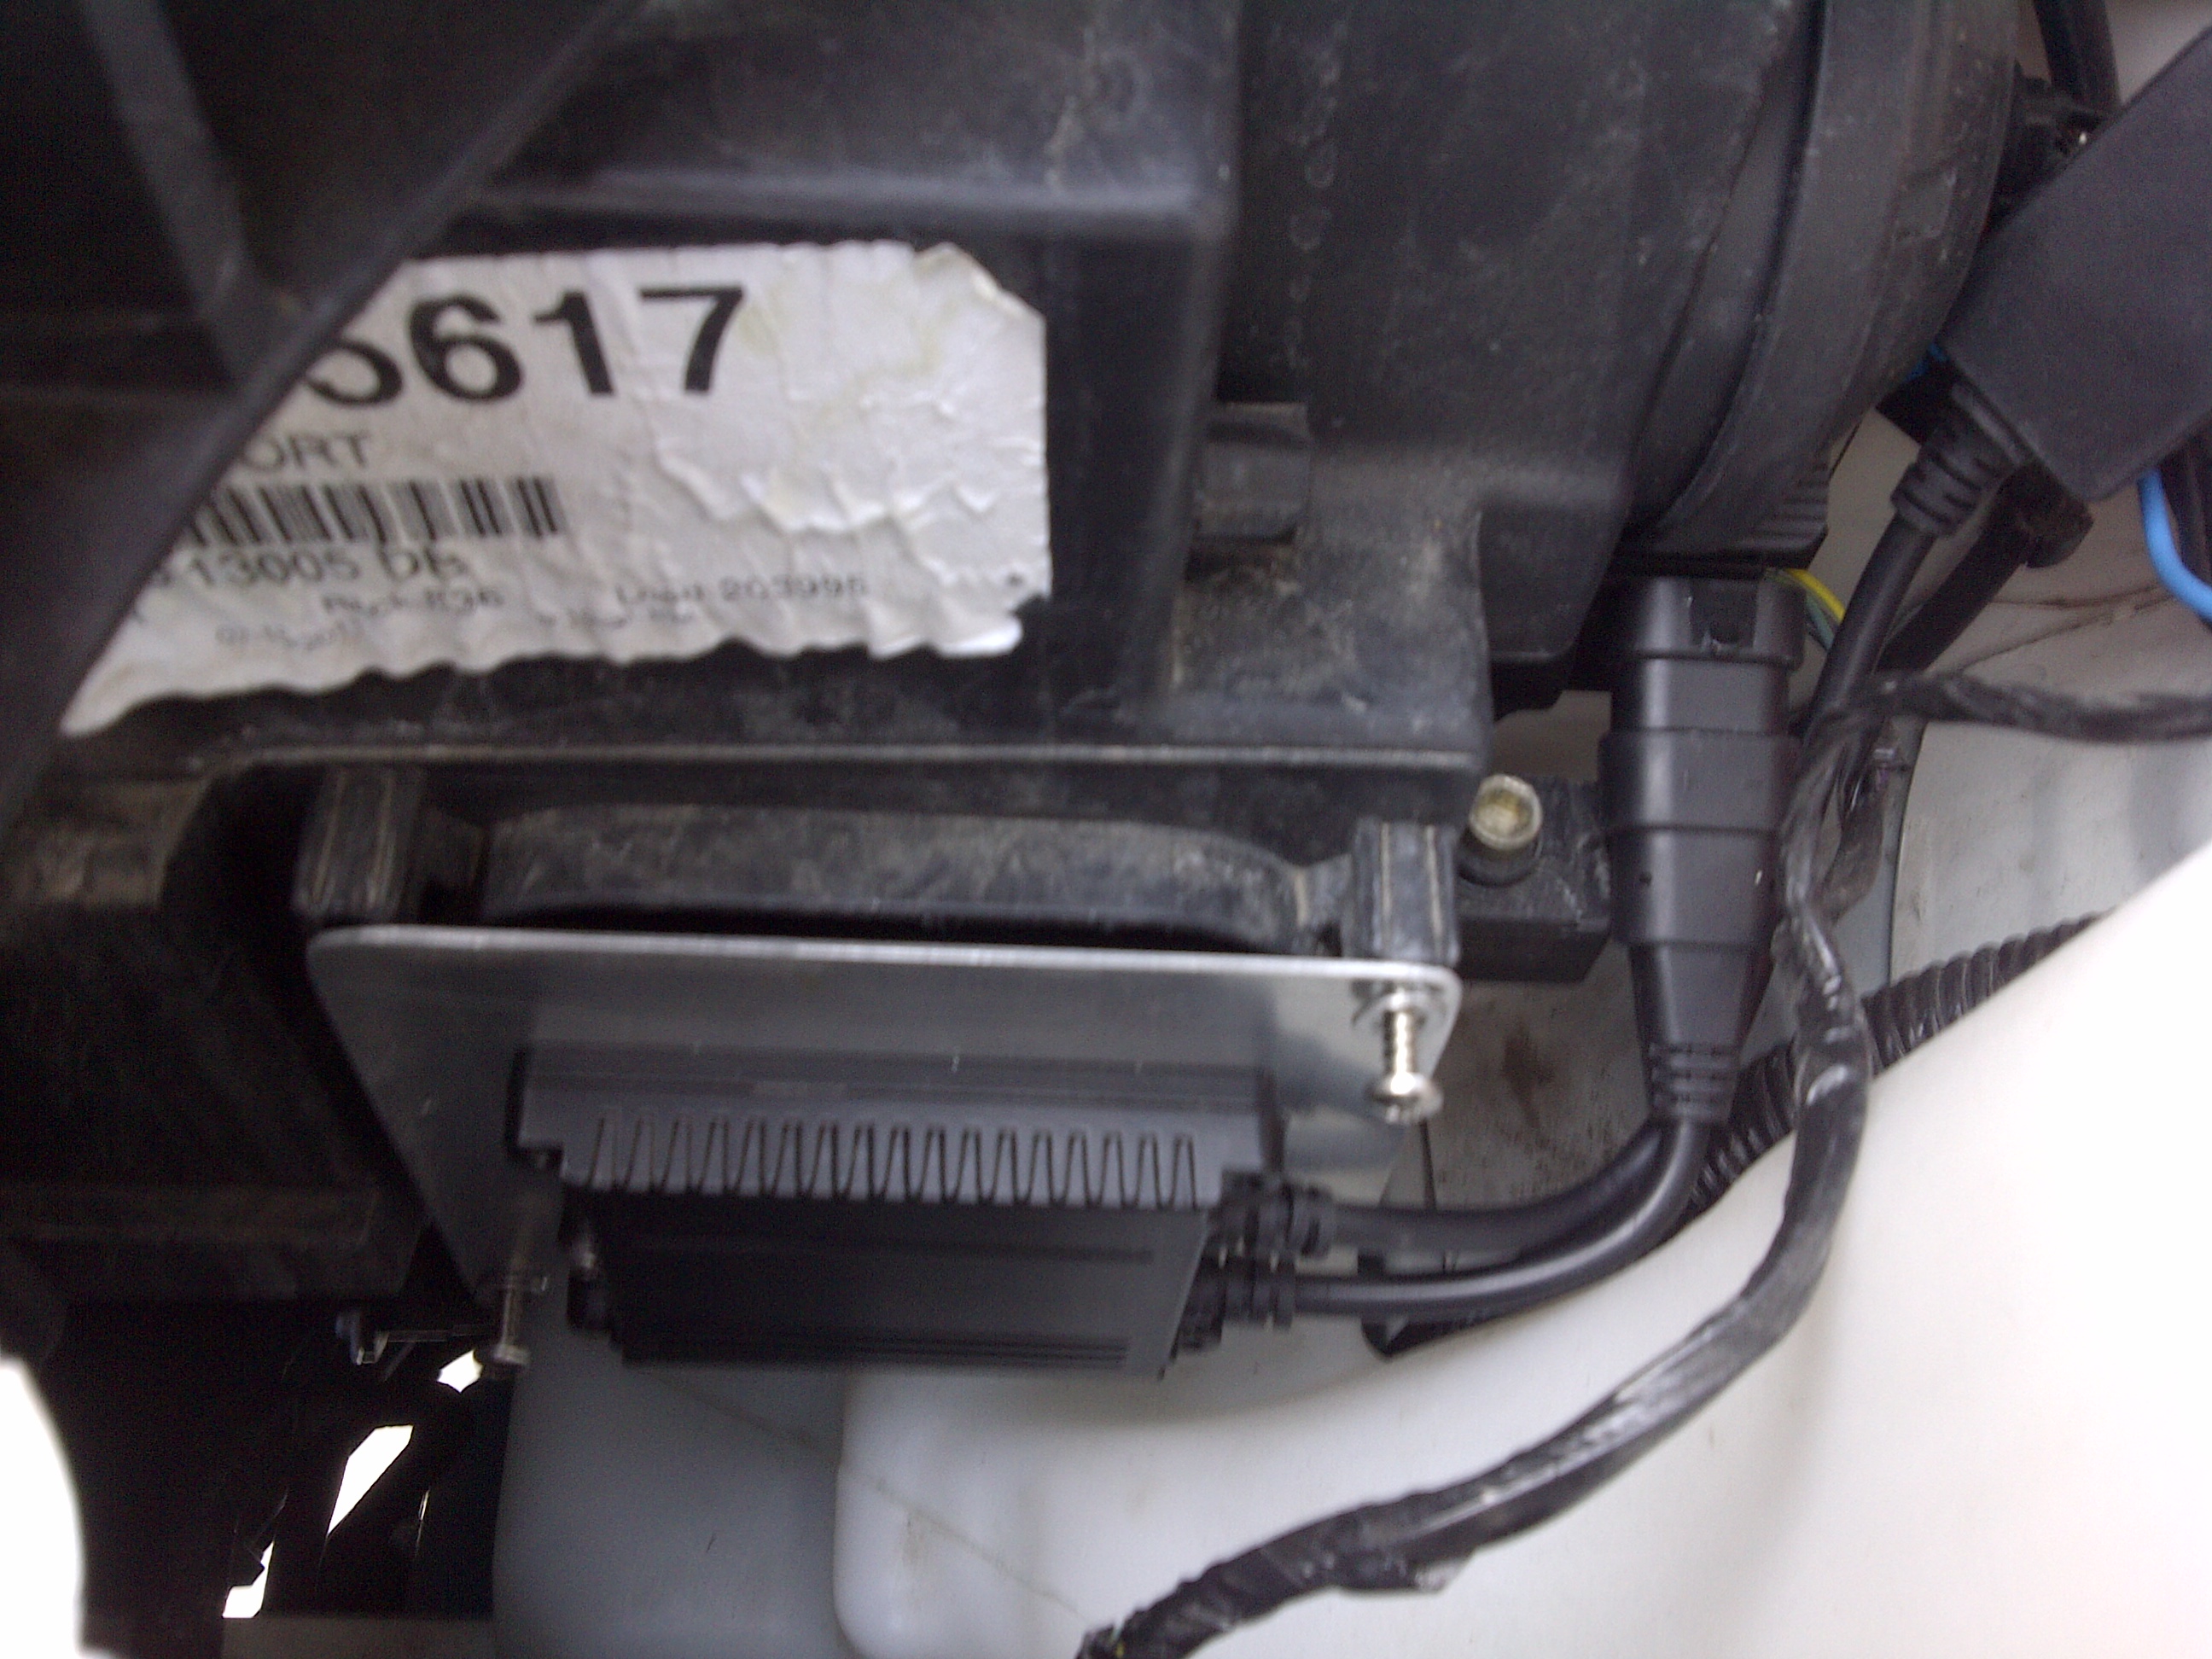
Organize yourself and have a plan set out before you start. This includes HOW you want to mount the ballasts, WHERE you want to place the 3 grounds, and most importantly, having your tools ready.
Note: Most of the bolts are either 8mm or 10mm in size. The airbox uses 2-8mm bolts holding it in and 2 plugs at the bottom where you just pull straight up.
I chose to mount the ballasts on a stainless steel plate and screw it into the factory ballast mount holes. I also used stainless steel screws.
Some pictures to show...
-
very nice! Love the red Sports
-
For those interested, here is a link to the K&N product for the 3.7L
-
If the deal falls through, I'll be second in line!
-
yes - they fit. I run 17's on my Edge Sport in the winter.
-
looks like he sold them already on a Subaru forum in SoCal.
-
Looks pretty slick; please post a picture once you have it installed as I'm curious as to where those upper hooks will be placed.
will do. I will be getting it next month (April) and will post pics once installed.
-
And how exactly would you mount such a device on the Edge liftgate?
I am getting this one for my Edge.

WTB - 2011+ EDGE SPORT WHEEL
in Classifieds
Posted
Hi Everyone,
I am looking to purchase a single edge sport wheel from a 2011+ model.Pls PM me if you are selling.
I would need someone who either lives or can ship to Ontario Canada.
For the record, I did not curb mine. I just want a backup for a spare tire.
JN