

Adarcla3
-
Posts
33 -
Joined
-
Last visited
-
Days Won
3
Content Type
Profiles
Forums
Gallery
Posts posted by Adarcla3
-
-
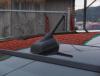
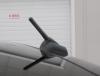
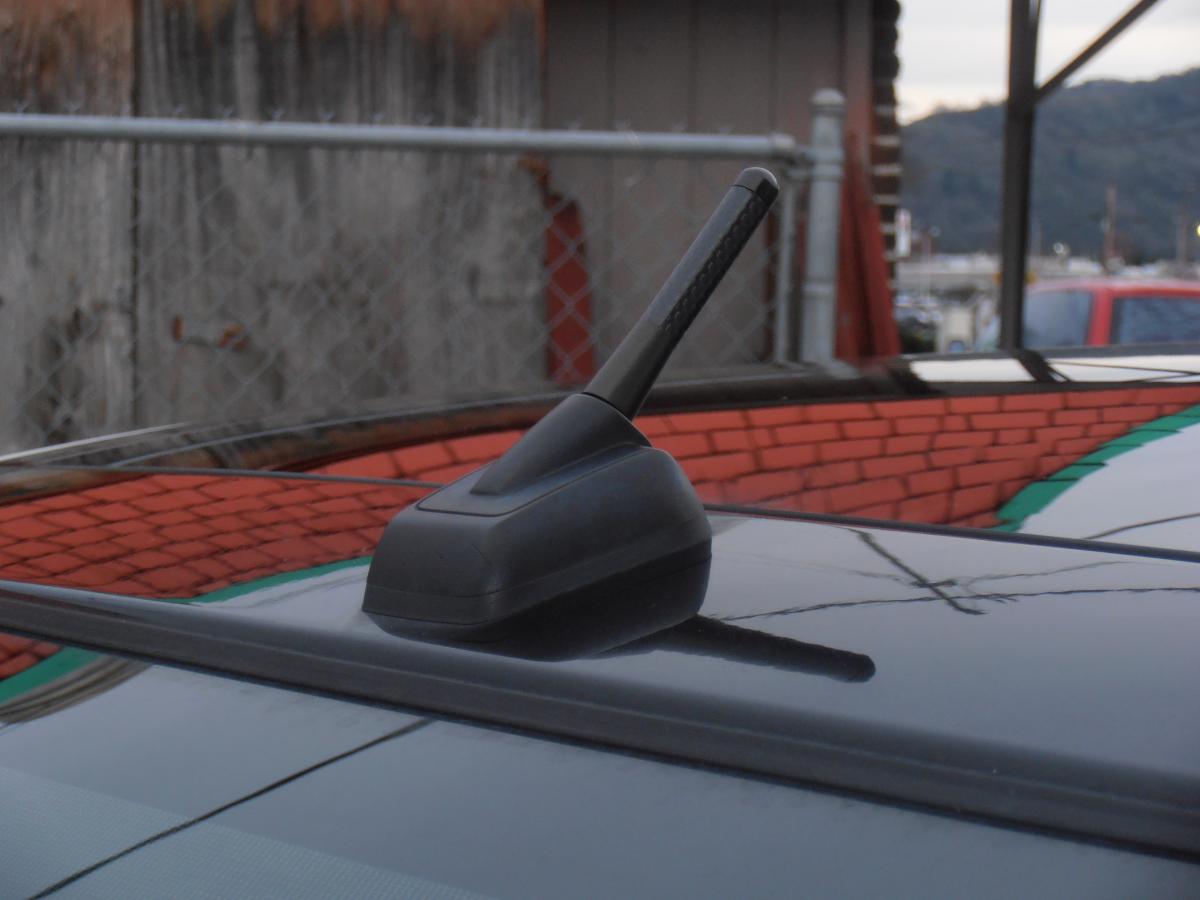
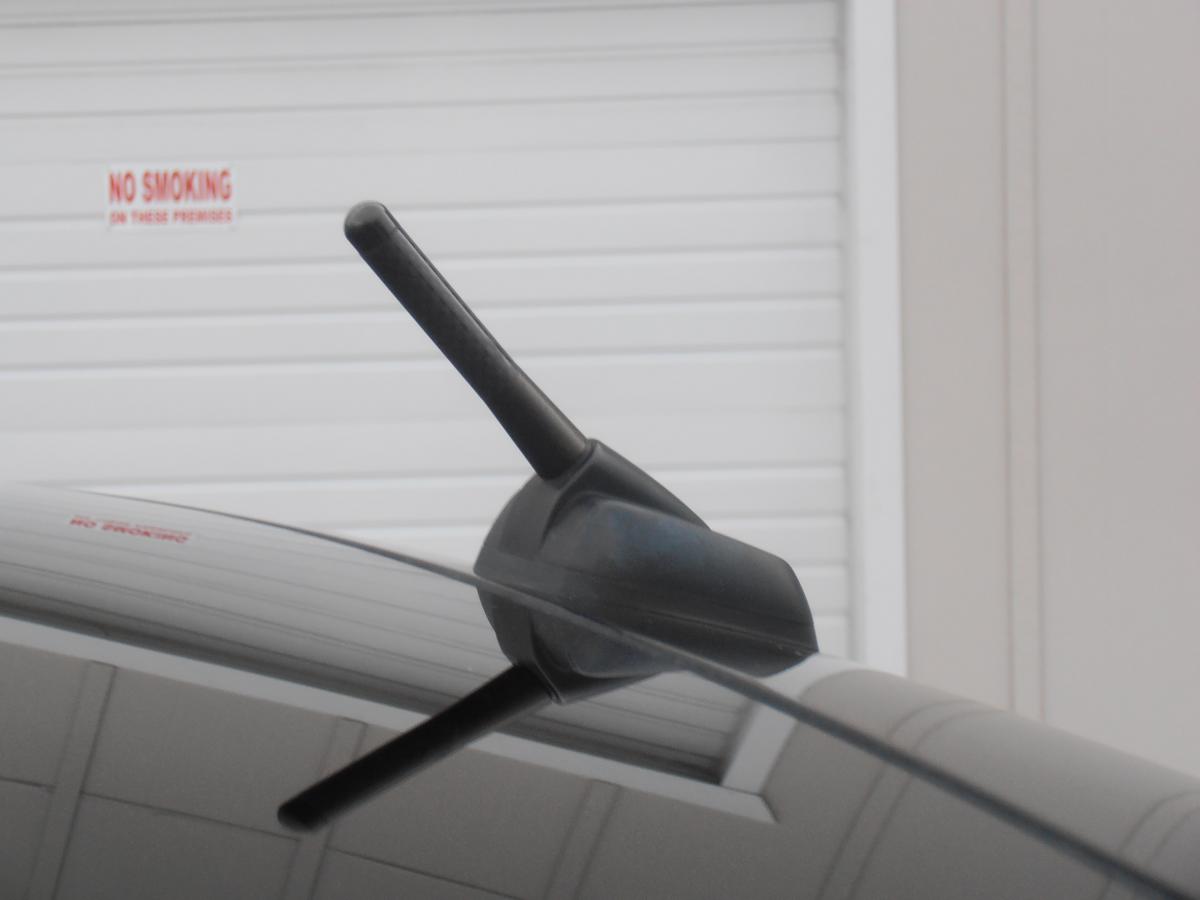
I have no issues with reception, though I have not gone out of town recently. And honestly I listen to more XM than anything else. Plus I have the regular antenna in the glove box and quickly change if needed. The large sun roof is good for something :-)
-
Does nothing but look good.
-
Just the normal T10 5smd bulbs you can get anywhere. I purchase most of my LEDs from tmart.com (I am cheap and they have good deals) The big change is that removed the bulb housings and lined the interior of them with silver reflective tape.
-
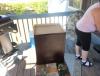
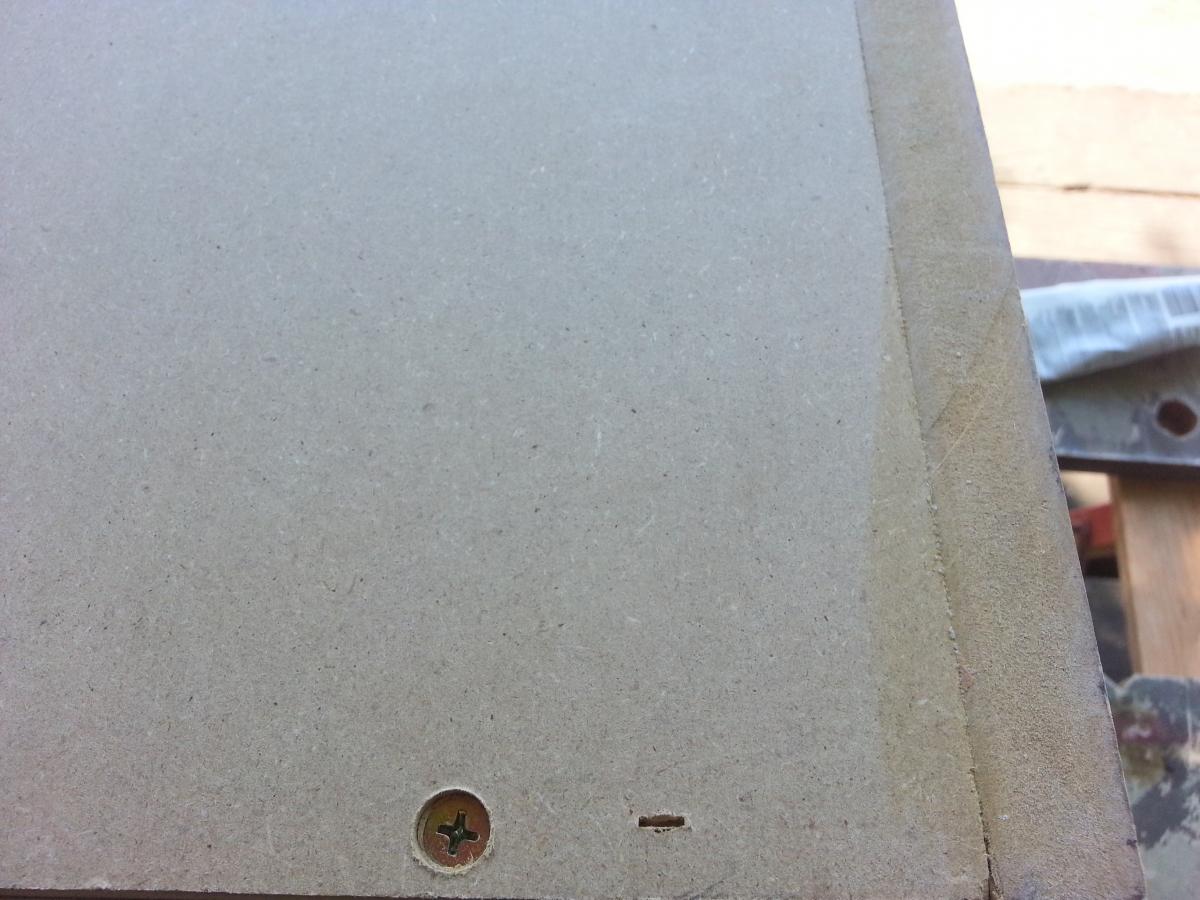
You can see that I had to drill a small hole in the 'dead' space to run the wire. I then ran it to the fuse box under the hood and tapped an circuit that is only 12v with the key on. 2 Amp fuse in line just to be safe.
-
 2
2
-
-
Slow and easy

-
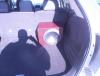
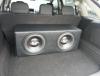
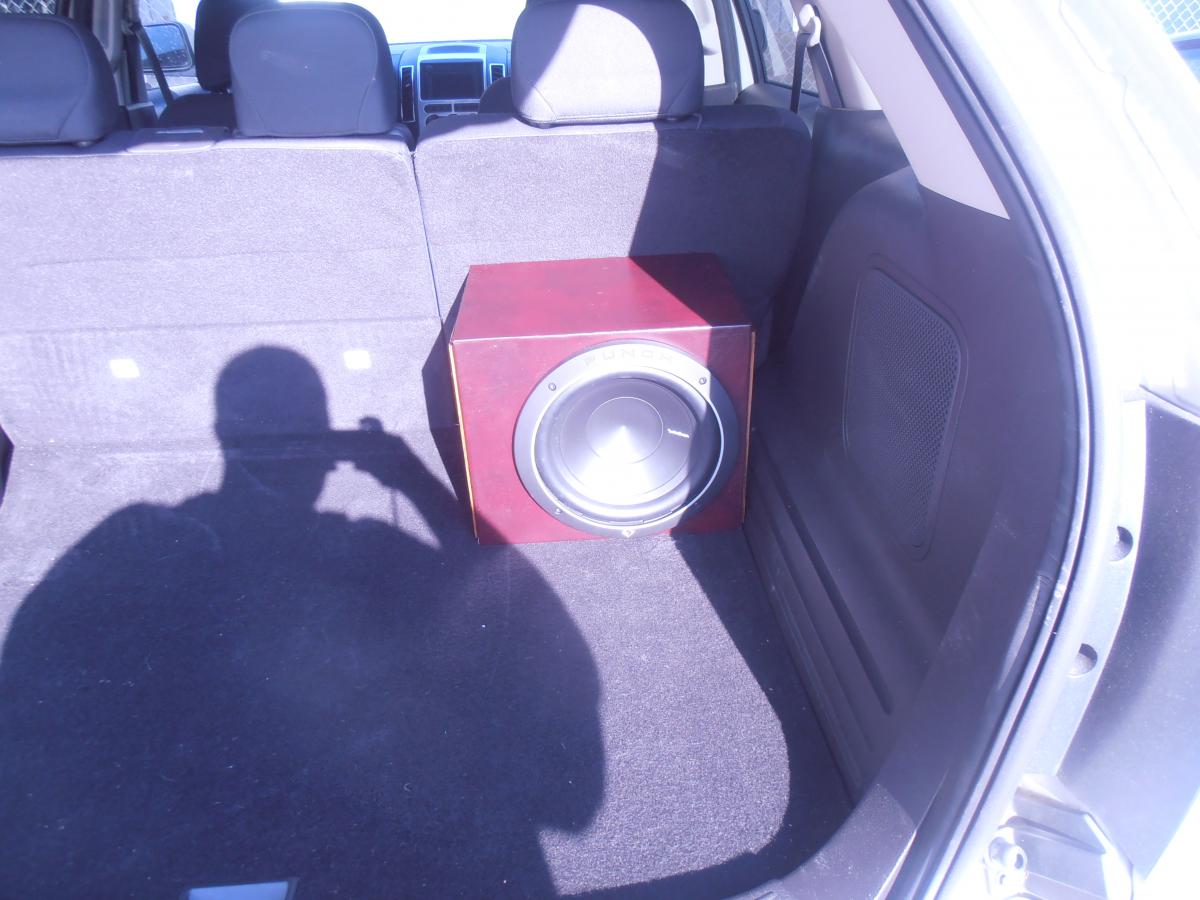
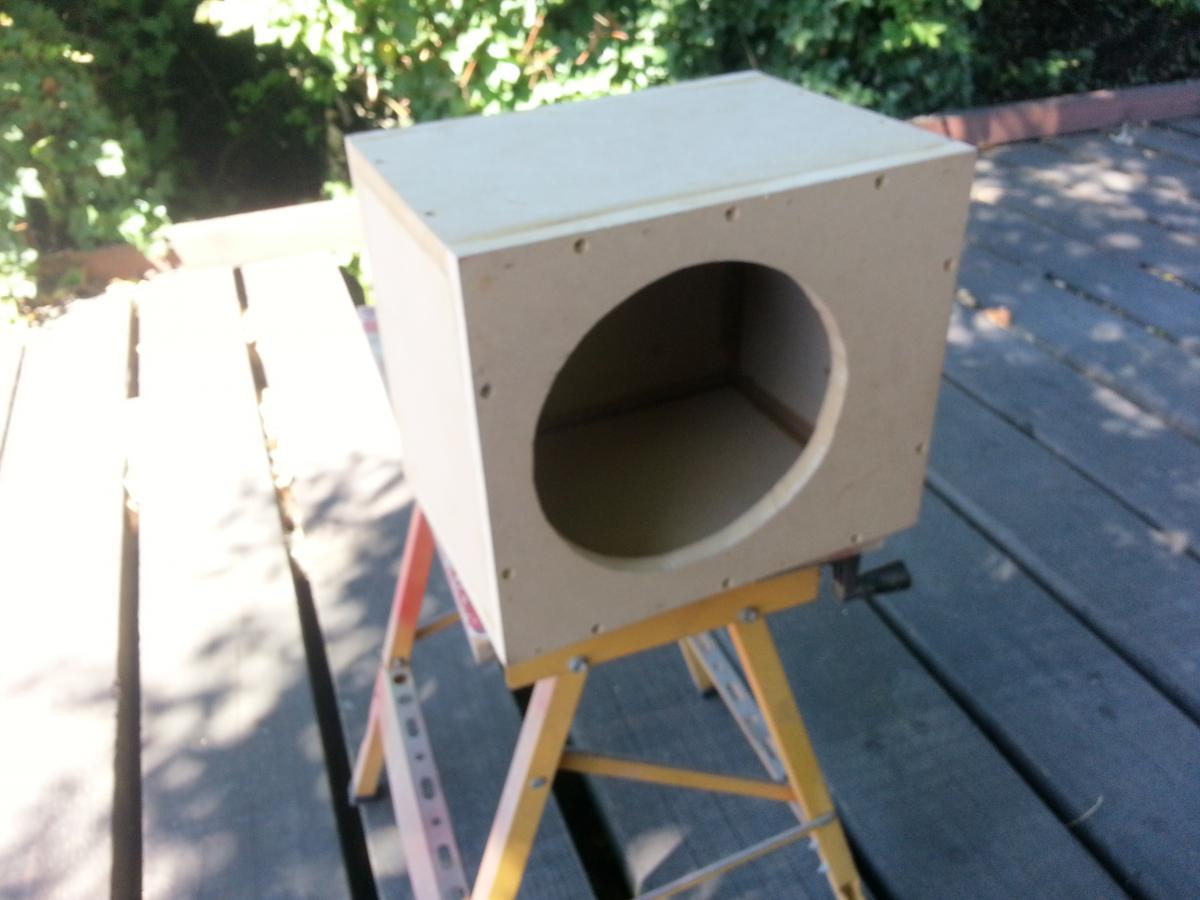
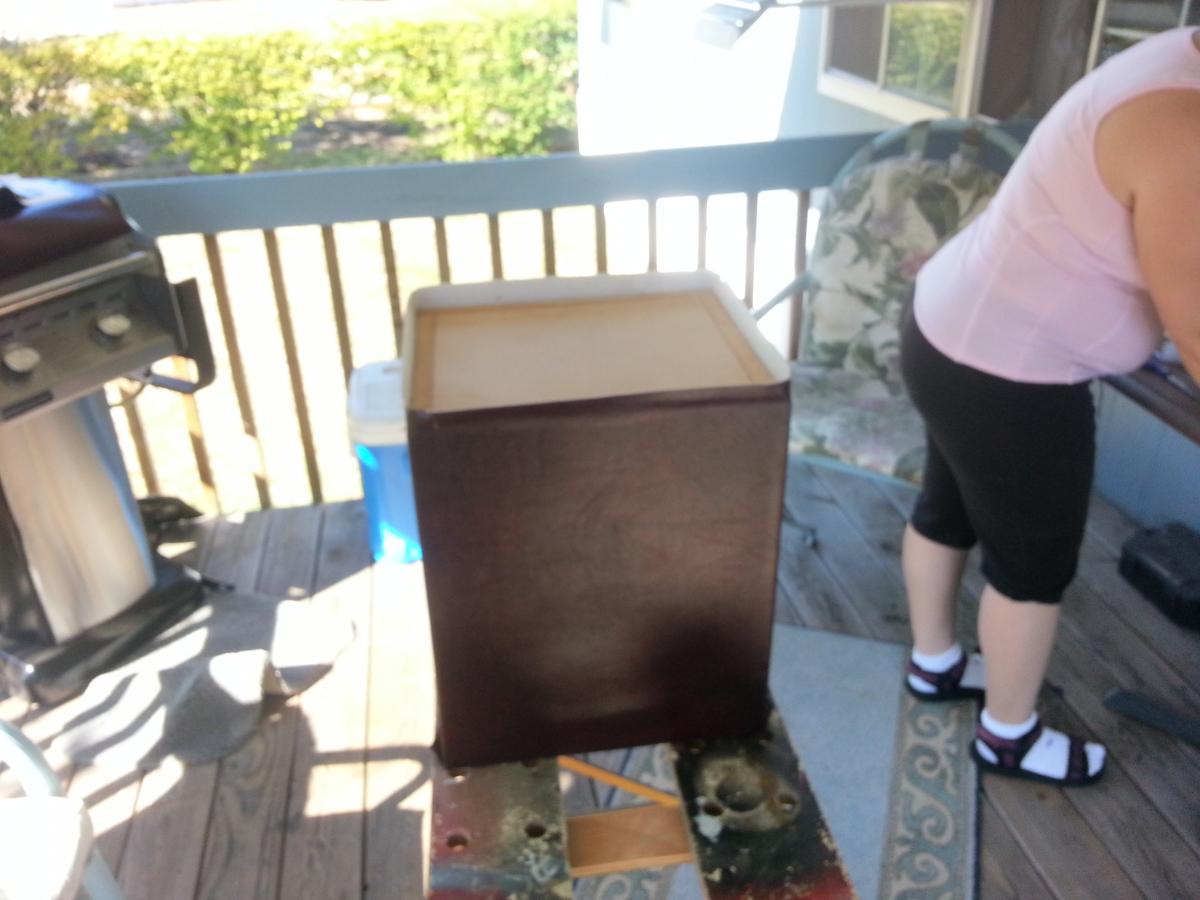
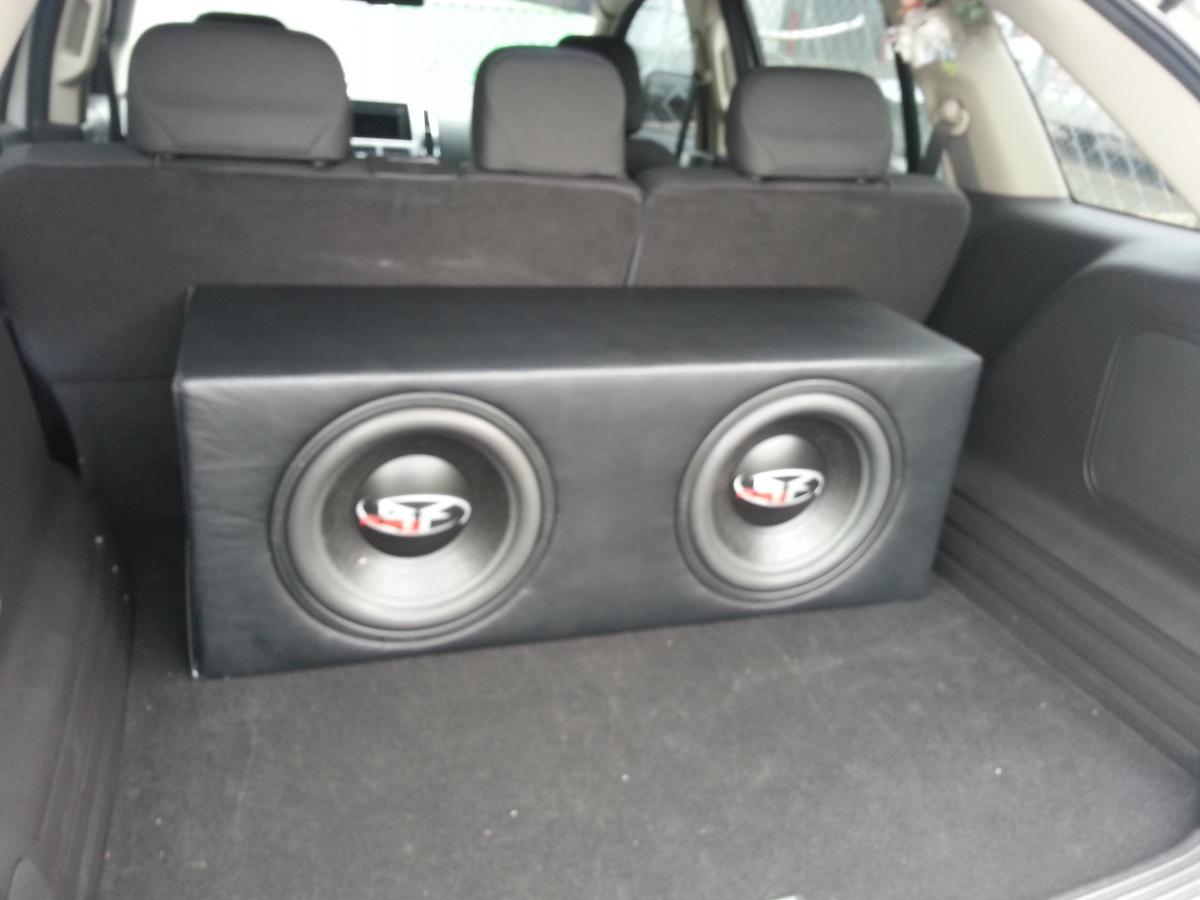
When I need the room I have 10" Fosgate that can put in back, and when I want to be a kid again I can put the two 12" Fosgates in.
The box with 12's I have had for almost 10 years, just changed the woofers a couple times and added some vinyl. The 10" box the wife and built last summer in case we need more cargo room. (The red vinyl was on close-out $2 for the whole piece)
** Yes she is 7 months pregnant in the picture - so I knew I would need more room
Both boxes are driven by an Old School Punch 200dsm mounted in the spare tire well. (Tuning is needed when swapping, but can have the change done in about 10min)


-
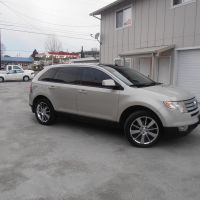
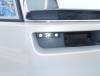
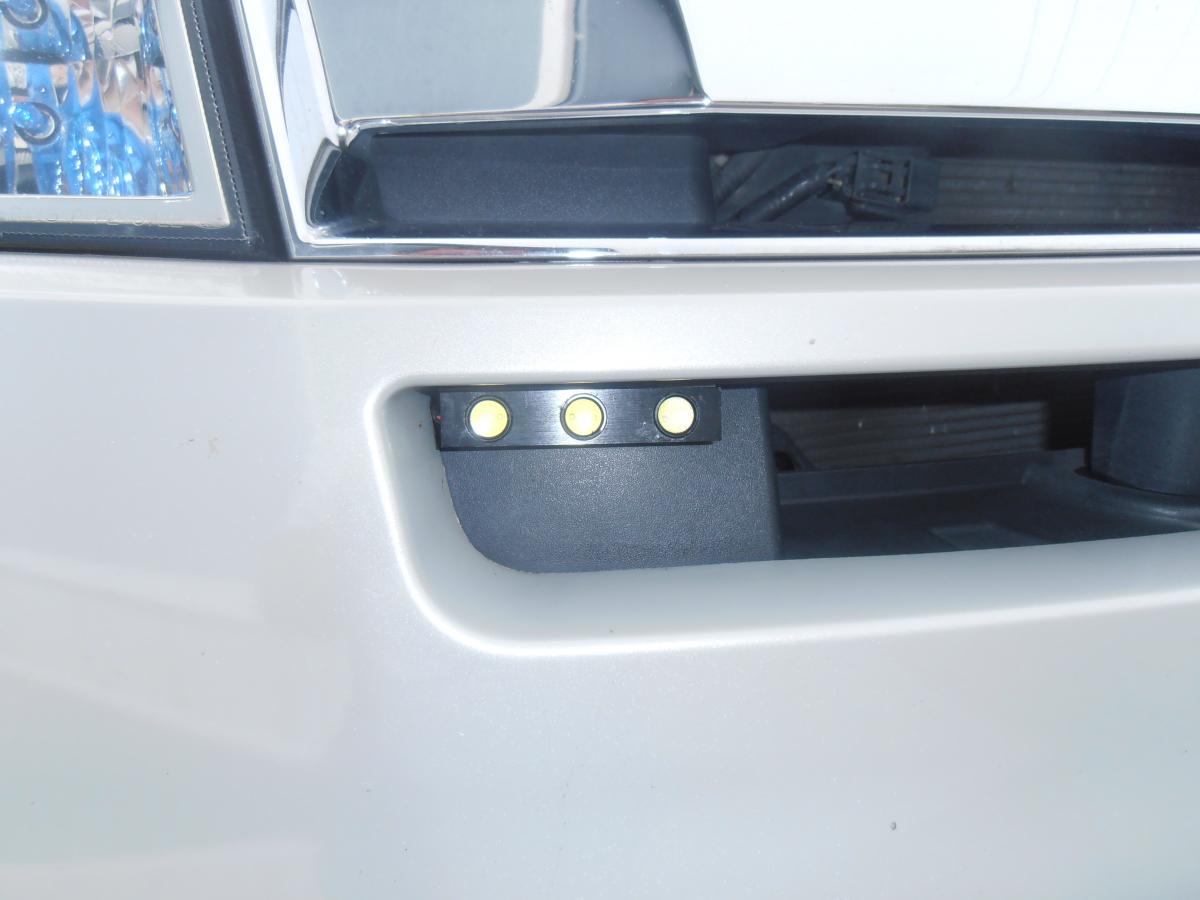
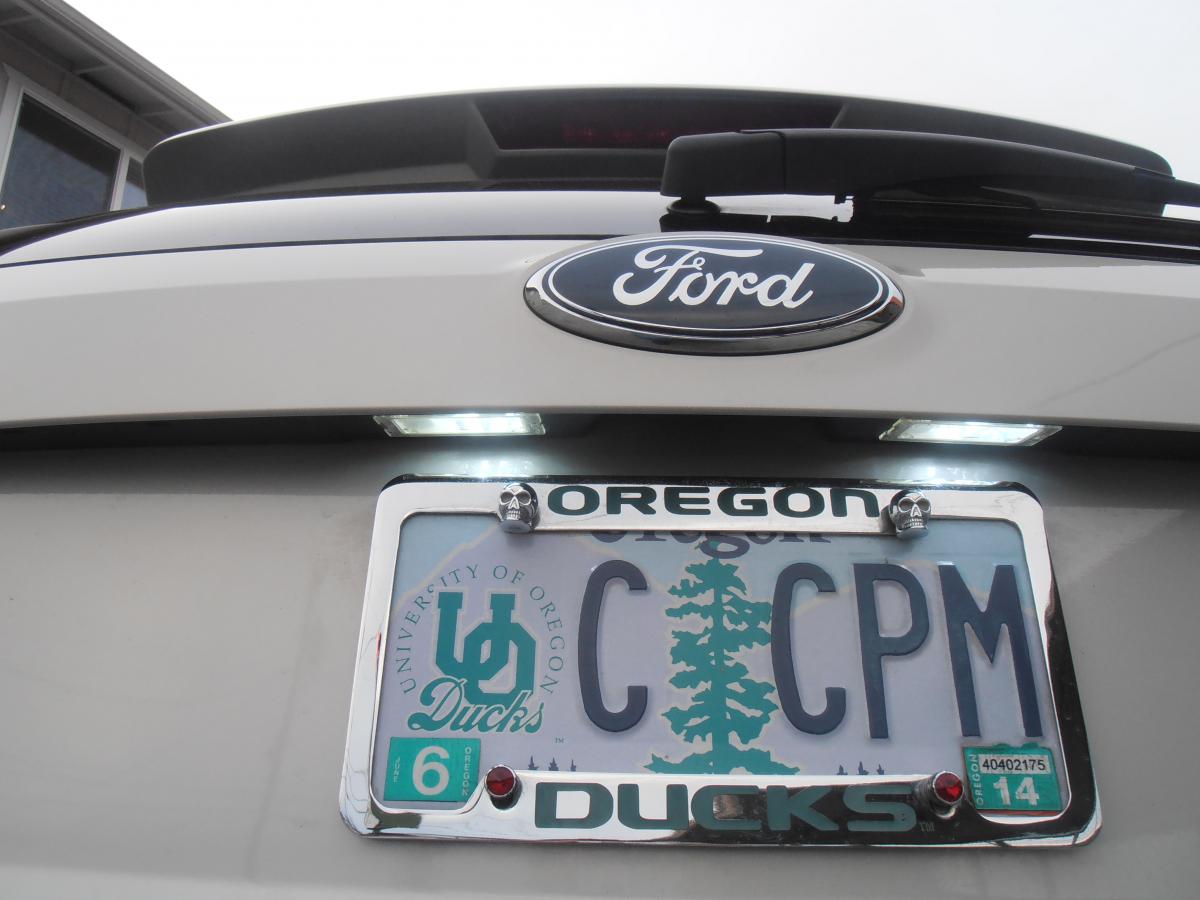
Added these to my 2007 Ford Edge.
Close up and off
During the day on
At night on


-
So bright you can see them during the day
-
1
-
-
Hardwired to an ignition hot, on when the car is on, open fuse in the fuse panel. I also have an over-ride switch mounted next to the hood release that I can turn them off as needed.
http://www.tmart.com/24-LED-Strip-Car-Lights-Flexible-Grill-Light-Blue-12V_p84769.html
***I love tmart.com I have used them to convert both cars to all LED inside and out for a lot less than retail***
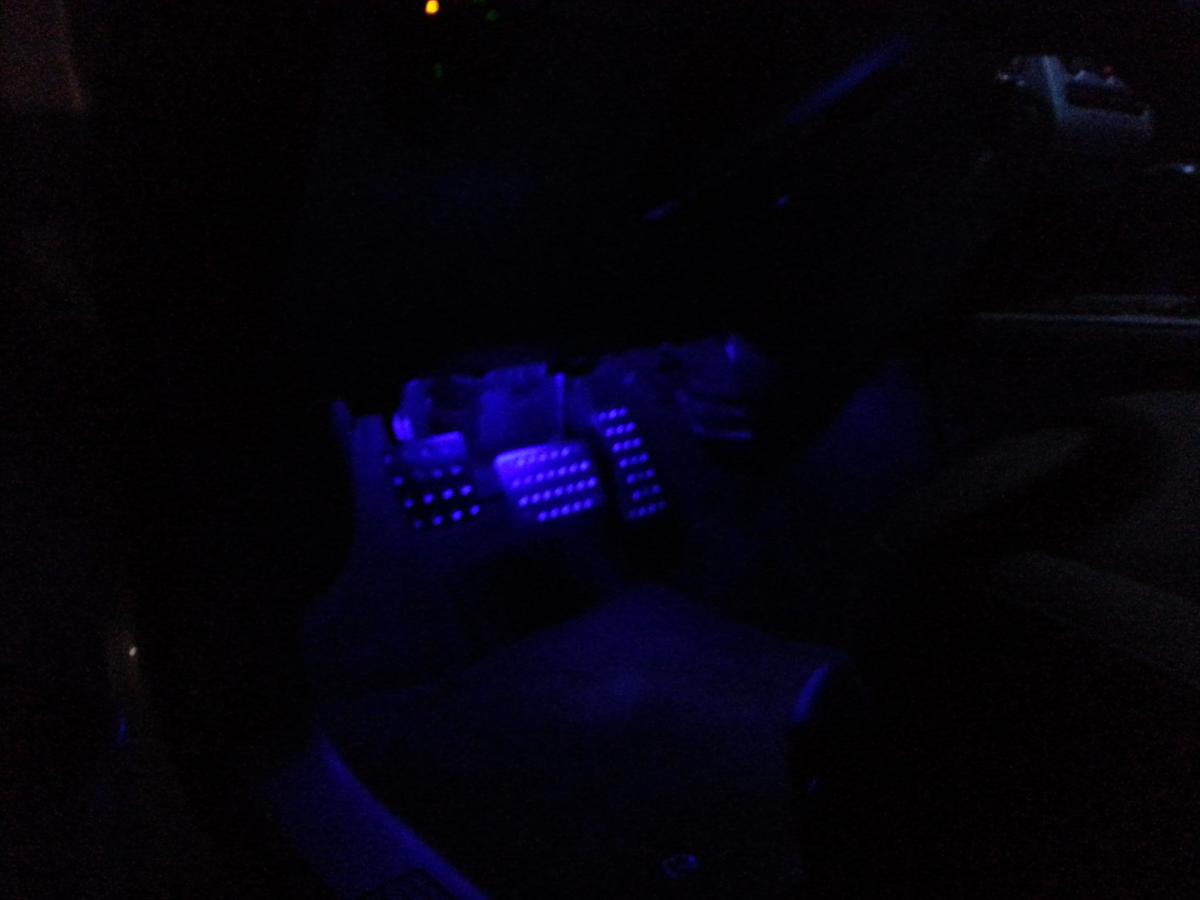
These are the lights I used under the dash, and under the rear seat.
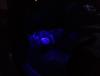
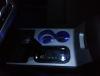
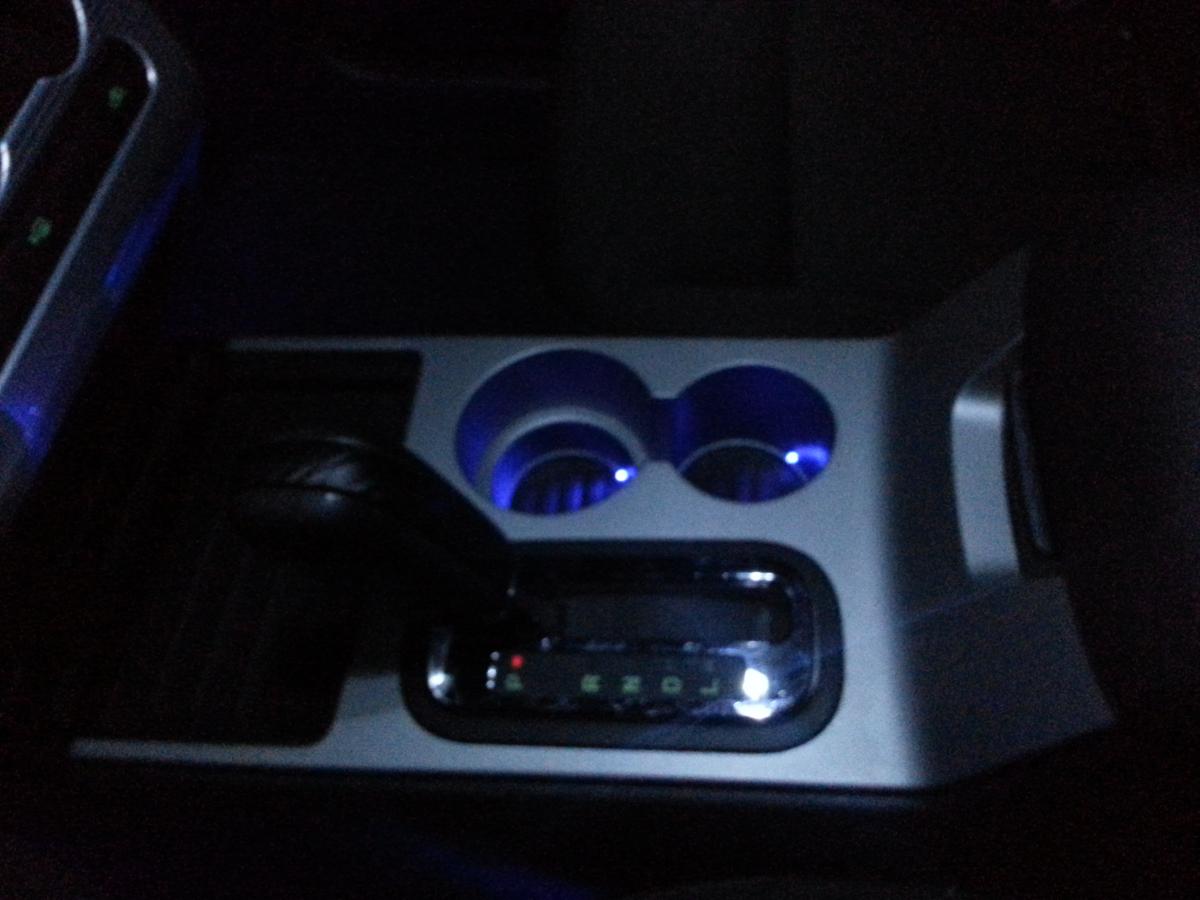
For the cup holders, I used a Blue LED (12v with 100ohm resister wired in series) I got those from FRY's electronics for $3.99.
-
2
-
-
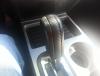
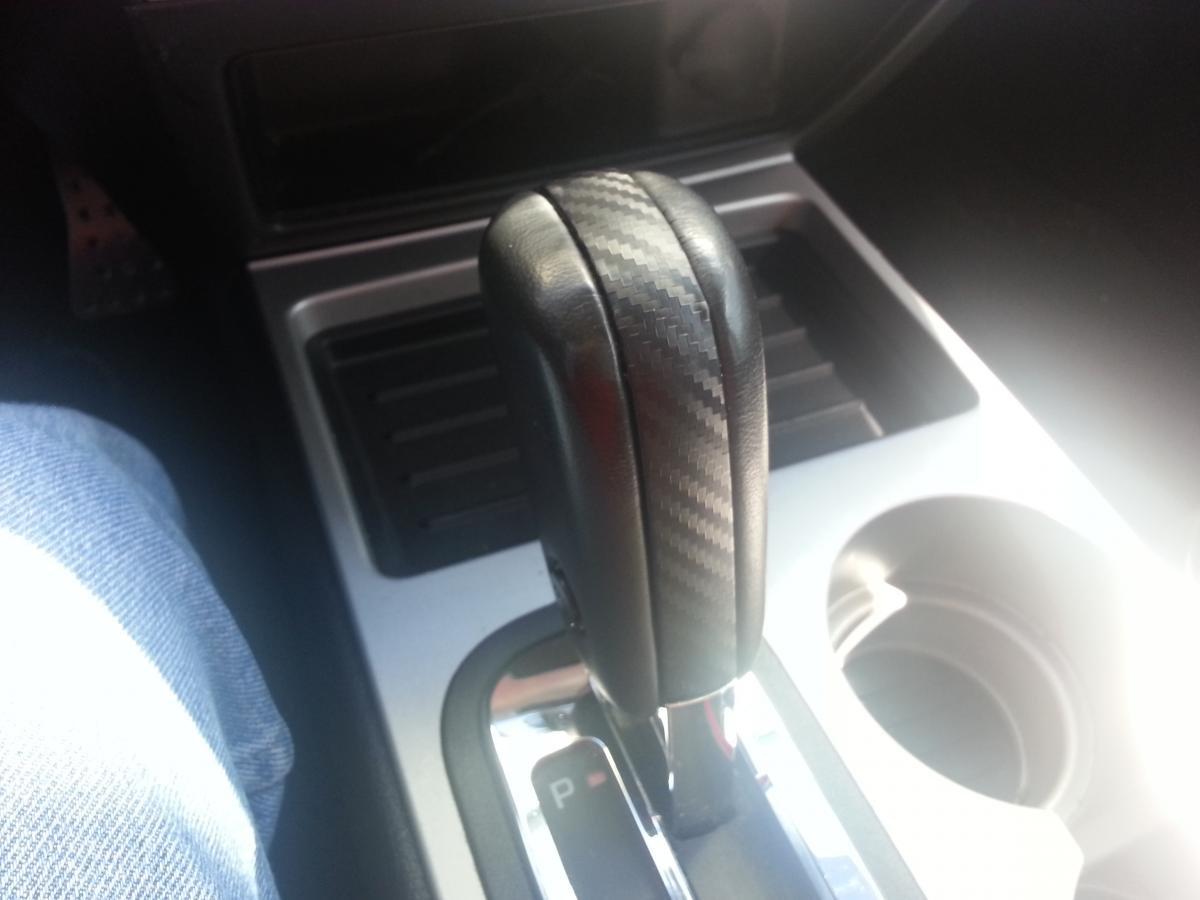
1) I popped the side leather pieces off, they are held in place with plastic tabs. Small screw drive worked perfect.
2) I then removed the chrome trim piece that rides across the top of the shift knob, it looks like a huge flat plastic fish hook once removed.
3) Alcohol cleaned the plastic
4) Cut the vinyl slightly larger than the trim piece
5) Pulled the vinyl onto the trim piece, making sure it is tight around the edge
6) Put back together (the side leather pieces do a great job hiding the bunched up vinyl near the tight corners)
-
1
-
-
Custom cover the dash in twill if you plan to compete in Sound Q.
-
When I drive I love to rest my hand on the gear shift. Downside is that as time goes on the chrome plastic wears out. I own a 2007 SEL with 60K miles, so my hand has sat on the gear shift for more than just a little bit. I took it tpart the other day and covered the worn chrome with carbon fiber vinyl.
-
LED's added and Cup Holder lights (Total cost $20 and two hours of my time)
-
I grew up messing with cars always looking for the next MOD, then I got sucked into video games (MMO's) I am back and playing with my Edge and wife's Dodge Avenger.


New Headlights Needed
in Glass, Lenses, Lighting, Mirrors, Sunroof (BAMR), Wipers
Posted
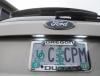
http://store.ijdmtoy.com/Ford-EDGE-Aftermarket-Projector-Headlights-p/2lhp-edg07-tm.htm
These are on my wishlist, I also have a 2007 AWD.