-
Posts
14 -
Joined
-
Last visited
Content Type
Profiles
Forums
Gallery
Posts posted by Maus
-
-
Great build. Your install looks really clean. I like this a lot!
Thanks; and it was an easy mod too.
-
POST UPDATED, see below
Just completed a weekend project of installing the Nexus 7 tablet into 2007 Ford Edge.
Not long ago Google announced Nexus 7 2nd generation, and lots of 1st gen devices are now available for a reasonable price via ebay, crigslist etc., so I grabbed one to use it in my car.
The tablet is perfectly sized for Edge dashboard and is powerful enough to handle all on-the-go tasks.
I hate making irreversible modifications to my car (drilling holes, cutting plastic etc.), so I ended up with a solution allowing to remove the holder at any time if I decide to build anything else.
Here is the setup:
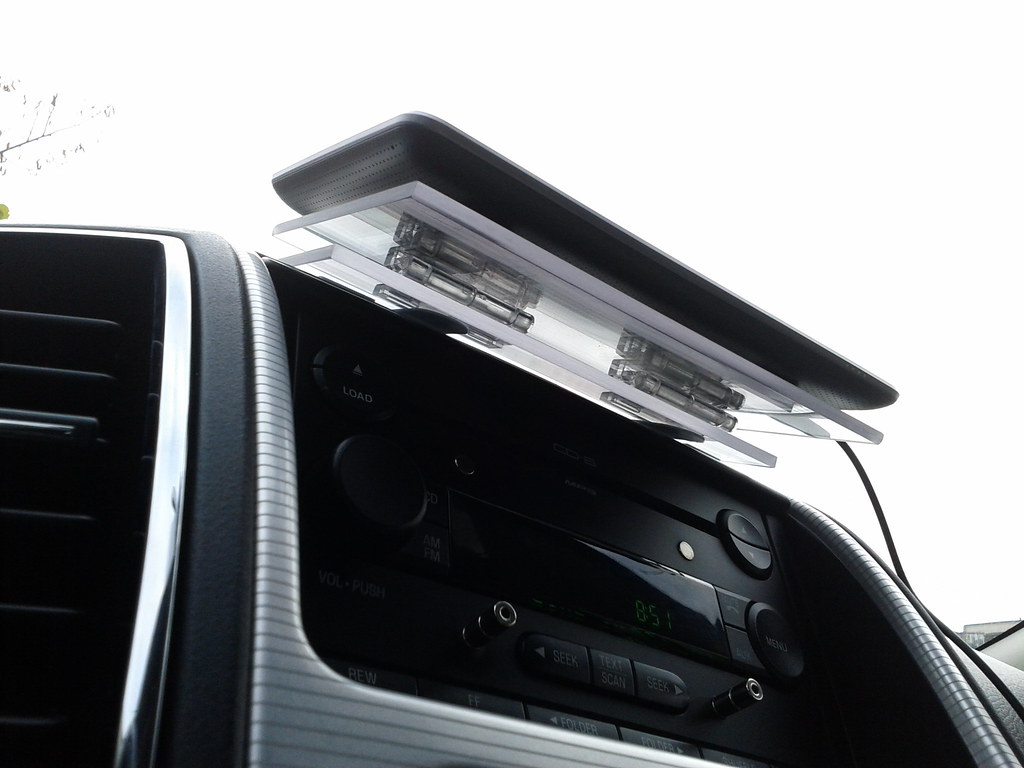
The device does not obstruct the view and is located conveniently within reach. It even folds up to allow access to a CD changer (though I don't use it of course):
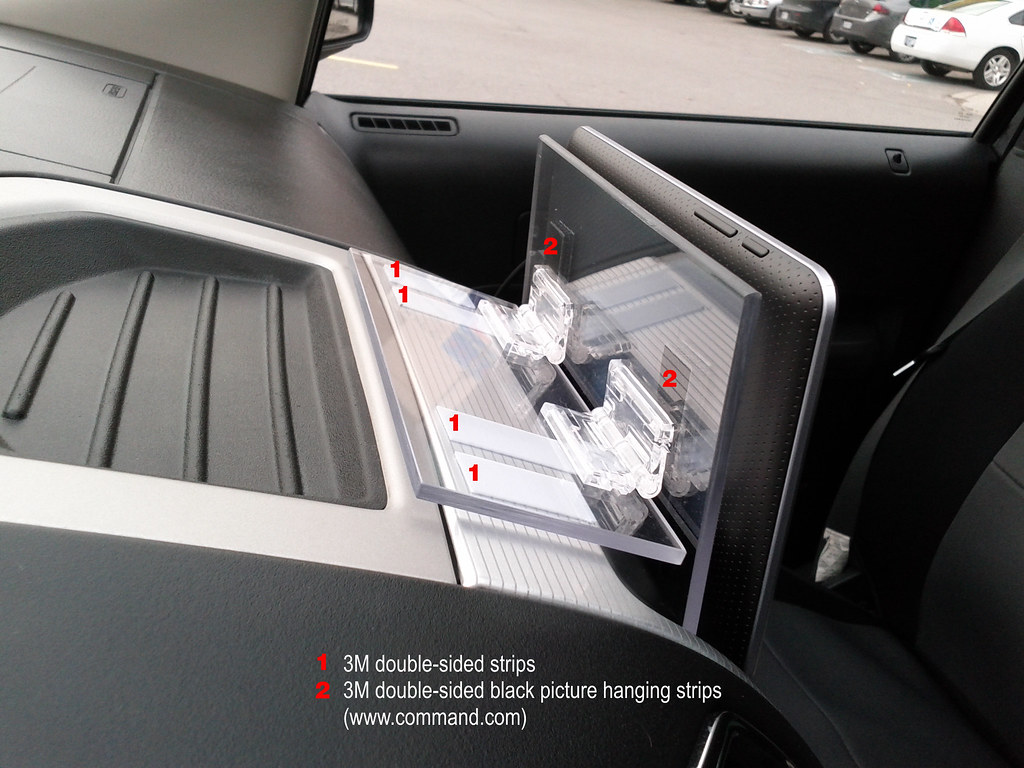
The holder itself is very simple. I cut two pieces of lexan and used two acrylic hinges to secure them together. The holder is attached to the dashboard by four strips of double-sided 3M tape, and the tablet is attached by two pieces of black 3M picture hangers. Acrylic hinges were $1.5 apiece in the same store where I got lexan leftovers. I also bought the cement to glue them, and it holds very strong.
The double-sided adhesive tape holds really strong too, but can be removed without a trace if needed. The picture hanging strips allow for precise positioning of the tablet (higher or lower, if required), and the tablet can be easily detached anytime and used as usual (I wanted to use magnets at first, but there is a sensor in Nexus 7 that turns it on and off when used with the magnetic latch cover).
Tablet controls (power and volume buttons) are all easily accessible, as well as its usb/power port and the headphone jack. The face plate of the holder tilts freely on the hinges, and the tablet keeps its near vertical position under its own weight only.
I'm currently using a 2-amps USB car charger to power the tablet, but it's a little bit insufficient, as the tablet battery slowly discharges when running heavy tasks (such as navigation), so I've ordered a 3-amps step-down converter and will try it as soon as it arrives.
I'm also using Bluetooth Auto Connect on the tablet and Bluetooth Auto Tether on my phone, so the tablet is always internet-enabled when I drive.
After 2 weeks of use I'm very happy with the installation - it holds really well and the tablet is very convenient (I'm running Waze most of the time).
If you are interested in building this, I can provide the dimensions of the pieces - just let me know.
UPDATE
I made one more modification to the dashboard. On the first pic you can see, that the topmost blade in both vents is missing. I removed the vent assemblies, removed the top blade and cut the movable guide rod it was held by. Now air flow can be directed higher than before (I know many people note this drawback of 1st generation Edge dashboard vents).
-
 1
1
-
-
Going to smoke the headlights?
No, I need them as bright as possible.
-
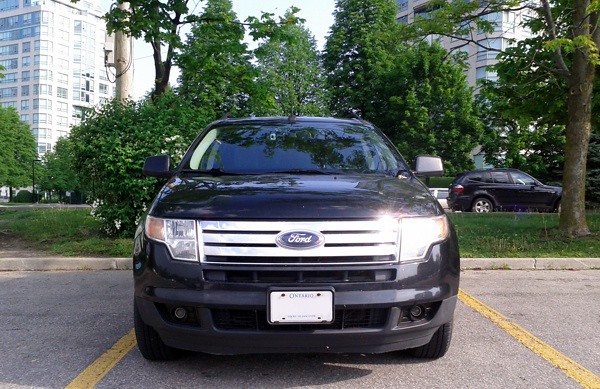
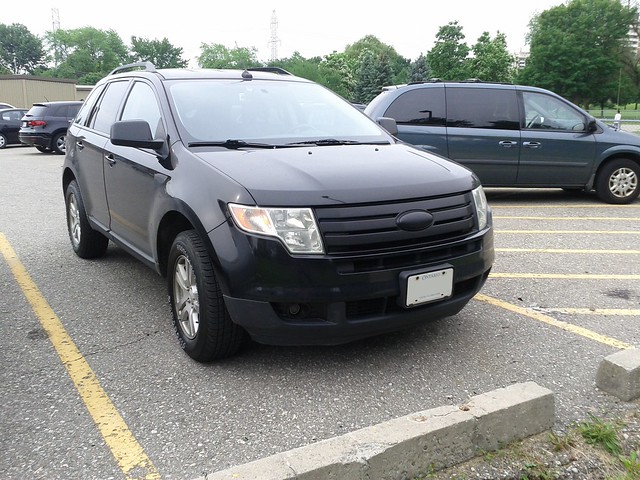
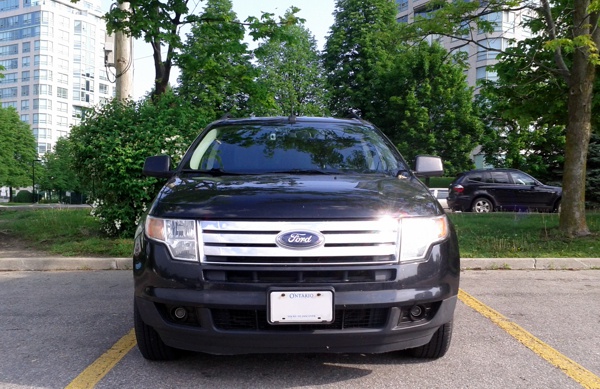
Just completed a small project of plastidipping my 2007 front grille. Chrome was really dull and chipped, so I decided to paint it black completely.
I hesitated to remove the grille for painting, so I carefully masked it with painter's tape, sanded it to even out the dents, cleaned it and applied 4 coats of black plasti dip.
The result was beyond my expectations - very nice matte finish.
Before (fog light bezels plastidipped already):
After:
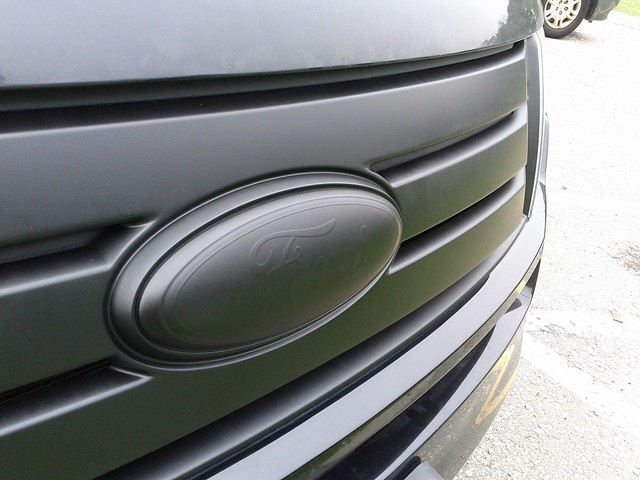
-
Thanks for the info!
-
You can buy those head lights.
Any idea how to google them? I consider replacing my old ones and applying clear PD to protect the lens.
-
my PD refinish
Great job! Front grille is the next on my todo list.
Did you modify the headlights yourself, or it is an aftermarket piece?
I like your taillights (found in the photo album) too. Did you post the detailed modding guide anywhere?
-
 1
1
-
-
The bezels look factory. Thanks for the great advice.
My pleasure =)
-
The first thing I'd remove is that showy license plate frame with someone's ad on it (unless the dealership pays you for advertising of course).
To me, EDGE logo on a tailgate is just fine - it's not too big and looks nice altogether.
-
Please post 'em. I'm sure every first generation is interested.
Here you go:

Just squeeze the tabs as shown by the red arrows, and the right side goes out towards you. Then work the entire assembly a little bit to the right, and the left-hand clamp will disengage easily, allowing the bulb assembly to be pulled out completely as far as the wire goes.
The piece sits tight in its place, and there's not too much space for moving it either side, but when you try it, you'll see how to do it right.
I found the wiring loose enough to pull out the bulb and have full access to the connector. I also noticed that the the two fog light pieces are not symmetrical - they both have release tabs on the right-hand side.
-
Great idea. Can you get at the bulbs using this method? I want to swap the stock halogens for HIDs. Thanks for the great tip!
Yes, you have full access to the bulbs. I have a couple of pictures to illustrate - please let know if you'd like to take a look, and I'll post them.
-
Thanks for the info...how to you remove them,from the front or behind the bumper?
Just posted the detailed removal walkthrough yesterday here: http://www.fordedgeforum.com/topic/12624-fog-light-bezel-removal-and-refinish/
-
Hi everyone,
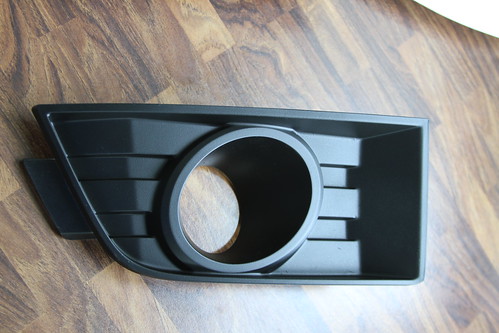
Just competed a small job of refinishing my 2007 Edge fog light bezels. They got really worn after over 130,000 km, and I decided to give them a new look.
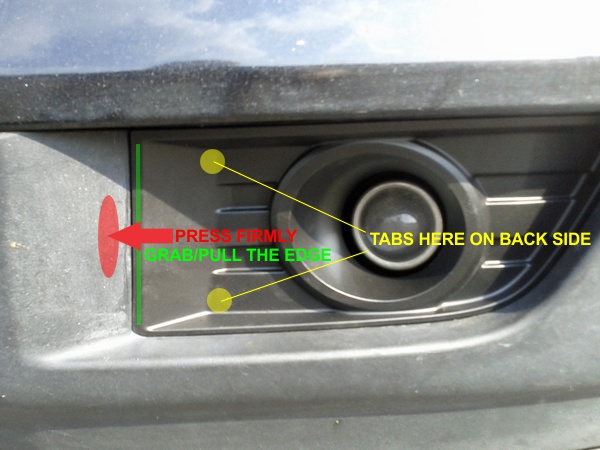
I found very little information about how to remove the bezels, so I had to work it out myself. So here is a very simple way to snap out the bezels with no tools at all:
I took the picture after I replaced the refinished bezel, so it's black, not chrome.Note the yellow circles in the picture above - they mark the places where two protruding tabs on the back of the bezel hold it in place. There are no such tabs on the opposite side of the bezel.
Now all you need to remove the bezel is strong fingers.
Press on the bumper as show by the red arrow. You'll have to press very hard. No worries - bumper plastic is rigid though flexible, there's no chance of breaking it this way.
If you press really hard, you'll make the gap wide enough to grab the edge of the bezel (marked green on the picture) with your bare fingers. Be careful not to release the pressure until you pry out the bezel or withdraw the fingers from the gap, or it'll squeeze really hard. Having grabbed the edge of the bezel, just jerk that side out towards you, and you're done.
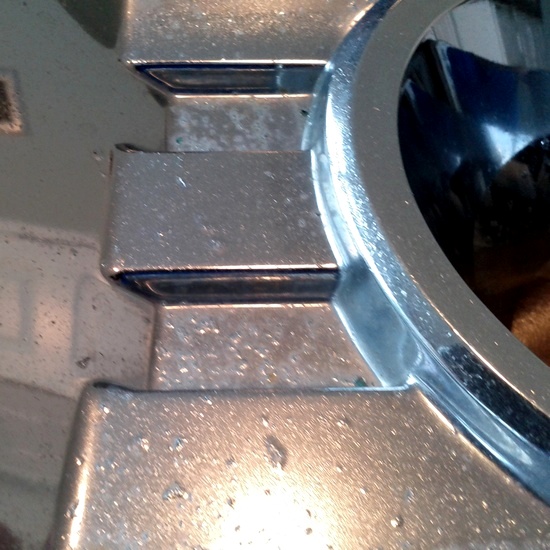
Here's a closeup of how it looked before:
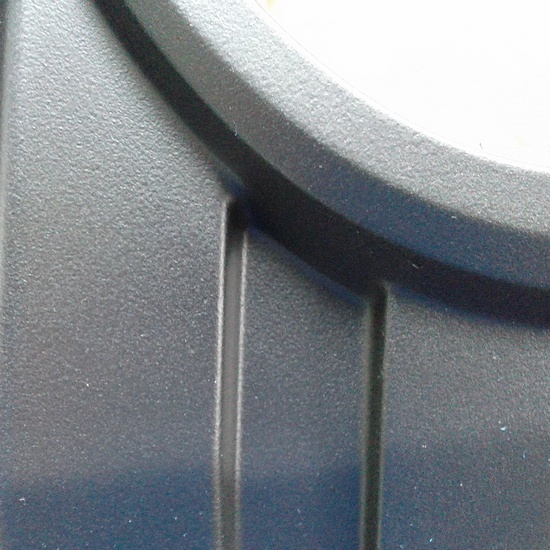
And here's how it looks now:
Refinish was very simple: just light sanding with dremel to smooth out the dents, washing and cleaning the surface, then applying 4 coats of black plasti dip.-
 2
2
-


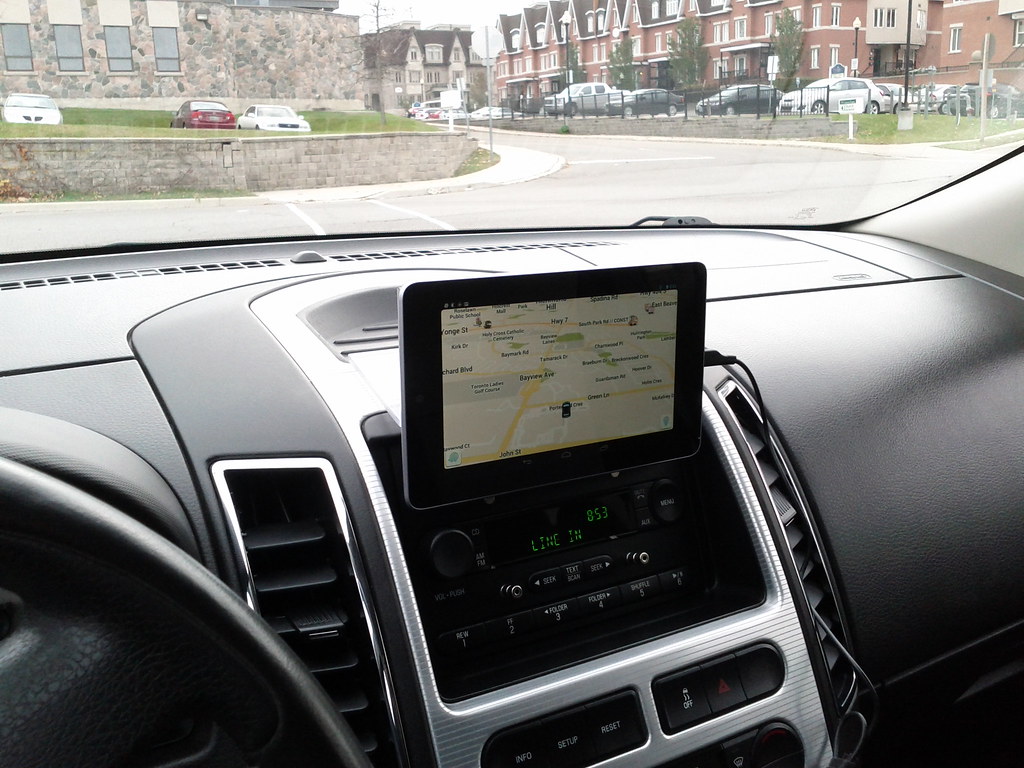
Installing Nexus 7 tablet in a 2007 Edge
in Audio, Backup, Navigation & SYNC
Posted
I found a youtube video about coupling steering wheel controls with an android tablet. The guy used this (or similar) interface, but I found this mod to be too complex, given very limited free time I usually have ))