


245/50R20
-
Posts
16 -
Joined
-
Last visited
Content Type
Profiles
Forums
Gallery
Posts posted by 245/50R20
-
-
As found on page 246:
"The RSS detects obstacles up to six feet (two meters) from the rear bumper with a decreased coverage area at the outer corners of the bumper, (refer to the figures for approximate zone coverage areas). As you move closer to the obstacle, the rate of the tone increases. When the obstacle is less than 10 inches (25.0 cm) away, the tone will sound continuously. If the RSS detects a stationary or receding object further than 10 inches (25.0 cm) from the side of the vehicle, the tone will sound for only three seconds. Once the system detects an object approaching, the tone will sound again.
While receiving a warning the radio volume will be reduced to a predetermined level. After the warning goes away, the radio will return to the previous value.
Mine is not! (Ford OEM 6CD Audiophile), Radio stays as loud as I've set it. How is yours?
Norm
-
LED seller of the cool style I used was "mlochridge"
I wonder, using the mercury, if the light came on and off going up and down hills or sudden stops

Thanks, I ordered them.
Question: The way you positioned the led for the central console, would you say the light is sufficient?
-
would that not deaden the sound and muffle it?
mine will not get that dirty, I keep my car pretty clean and not exposed to that much dust/debris where I live/drive. never even thought about it before as I think it is a losing proposition as in the end, there are still enough holes, it will get in.
Lex, every time you wash your car or when it rains, water gets in the doors. There are drain holes at the bottom of the door to let it out.
The back of your speakers are directly expose to that water/moisture/dirt.
Of course, the door volume acts like a large encloser for your speakers. That how you got better bass response from your after market speakers.
Norm
-
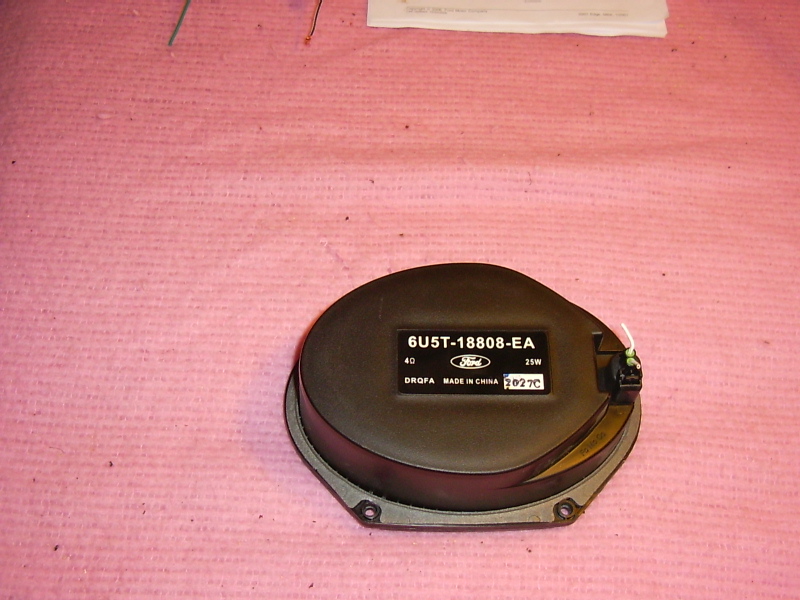
now what.. reassemble and use as bookends
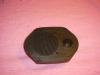
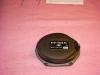
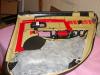
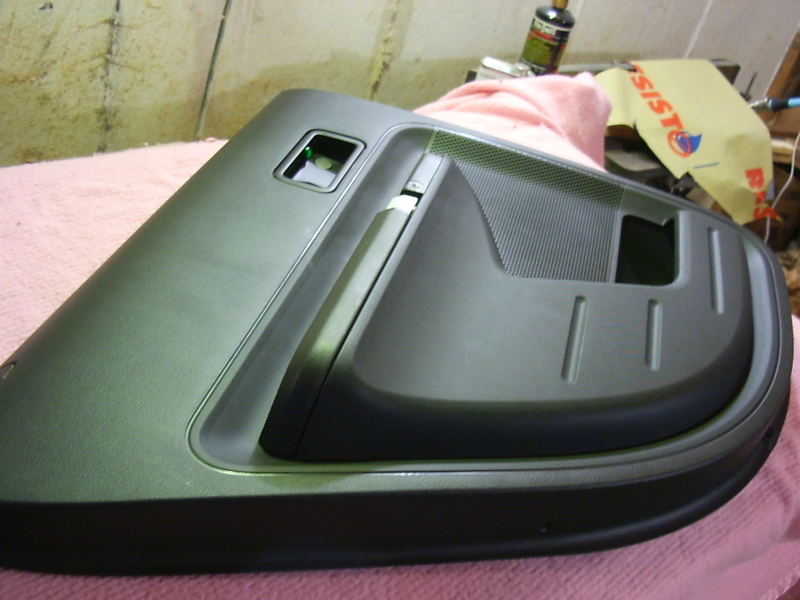
I'm tiking of using the encloser to protect the 6X8 JBL speakers I installed in te doors.
I know you installed Infinity Kappa speakers, have you ever wonder how durty they will get without protection?
Norm
-
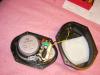
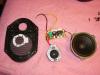
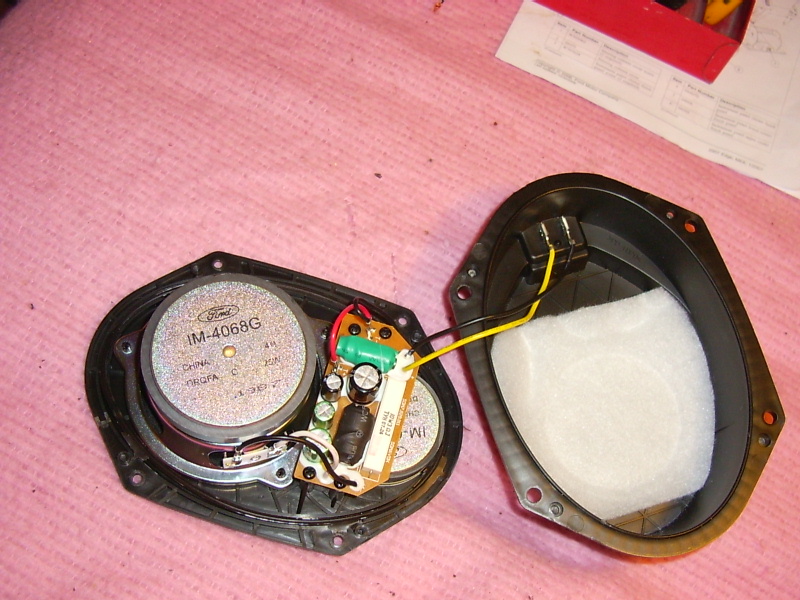
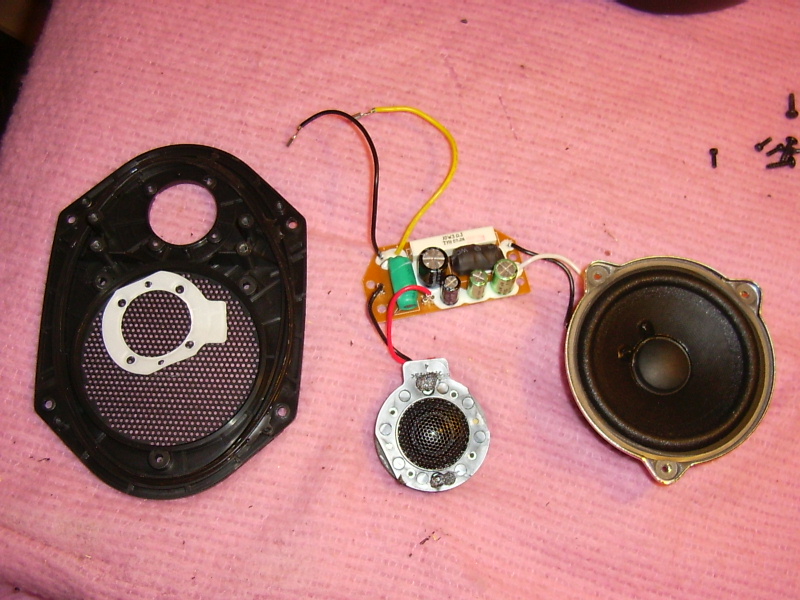
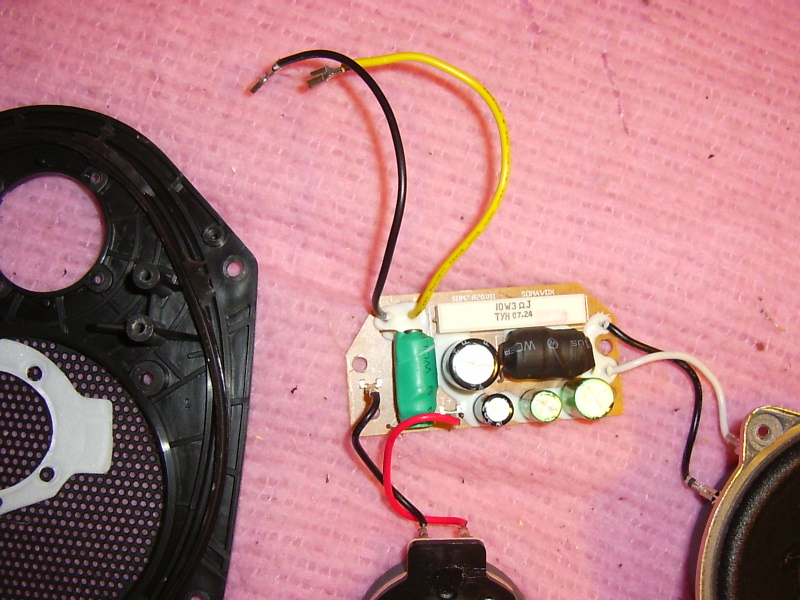
There you go.
Sonavox crossover
4" mid speaker
1.5" tweeter
Fully sealed encloser.


-
you know, one of the ones I have also had on my drawing board, is adding LED lights to the engine bay so when you pop the hood, viola, some LEDs come on and light the way.
they are small, run cool, put out a lot of light for very little power, cheap, and are a natural addition if you like light. they could either be on a throw switch so you can turn them on or off or on a pin switch so no matter what, once you pop the hood, there you go. could be up under the hood facing down or down in engine bay facing inwards.
In 1976, I bought my first car (I know, it's a long time ago)
It was a 1974 used Chevrolet Malibu Classic
Under the hood was this tiny bulb giving all the light you needed to fill up the winshield washer fluid or check your oil level at night.
If I recall correctly, the electrical contact came from a automatic switch filled with mercury.
Hood down, the mercury would not touch both contact needed to carry the 12V. Hood up, the mercury follow the gravity, contact is made.
I wonder if those still exist?
Norm
-
nice.. did you see mine by chance?
back in april I put in pin switches - so they are auto on and off - and LED lights in the center console and the glove box as they are both total deadzones
did you put quick release connectors inline wiring for the door panel lights?
Well, that is my next one. Glove box and center console have to be lighted. I already bought the plunger switches but I can't find those nice led you got on Ebay. Do you recall the vendor's name?
Yes, I did put quick release connector for the door panel. I used those http://www.etco.com/
-
well done... this one might get some followers and maybe some design improvements by the next guy
how did you make the outline/stencil? cardboard?
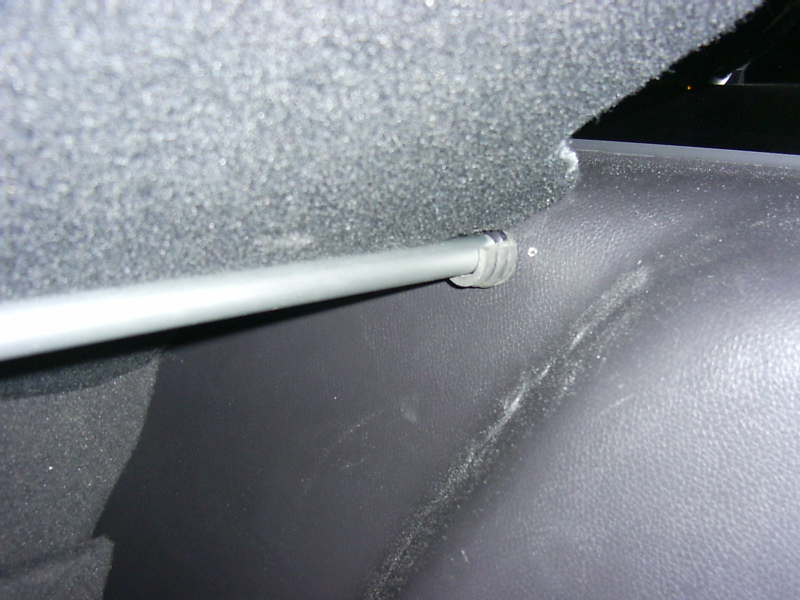
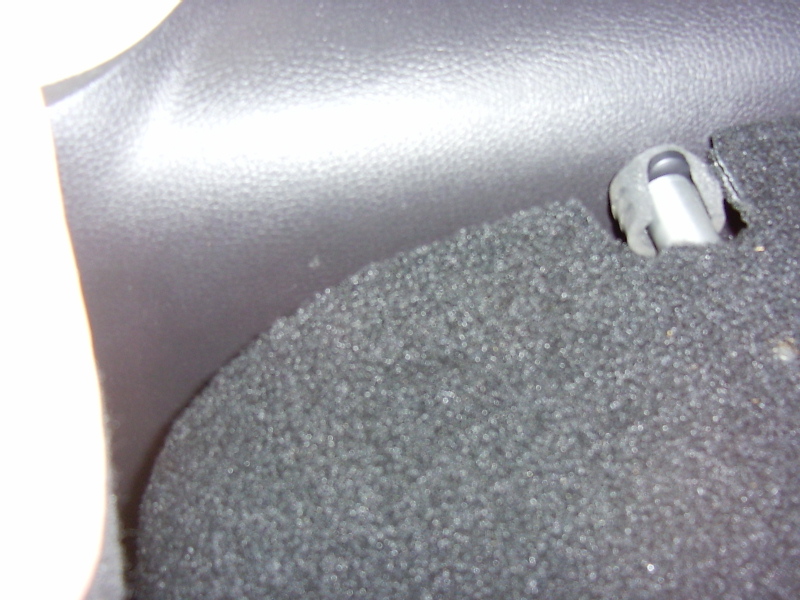
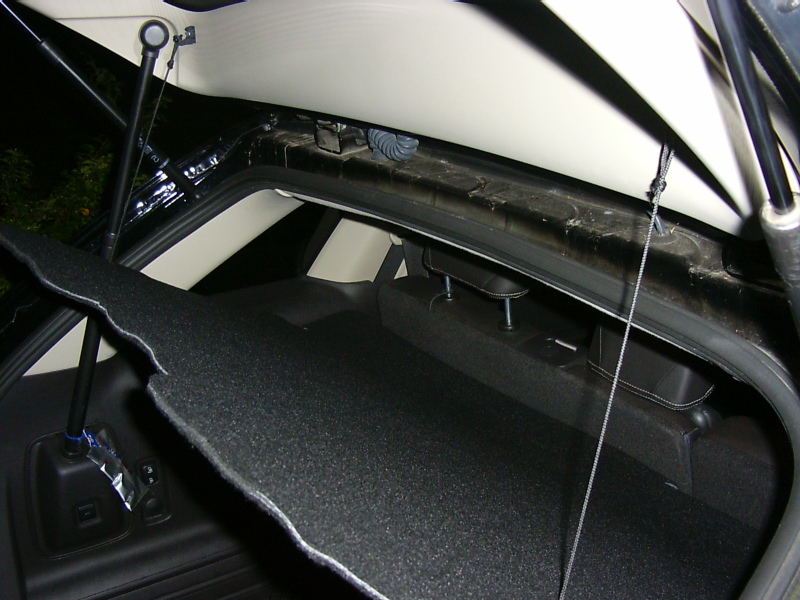
can you show a better pict of the rod/attachment at the rear seat area?
Thanks Lex,
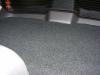
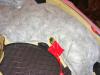
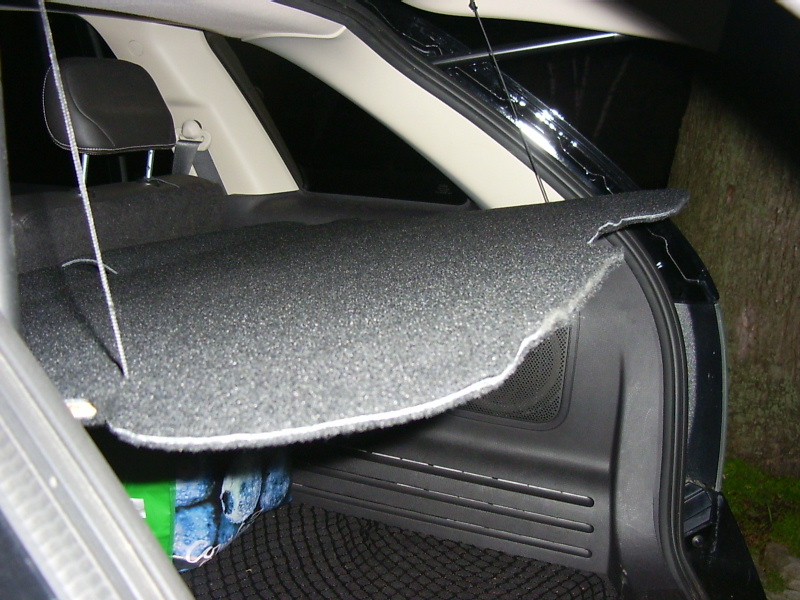
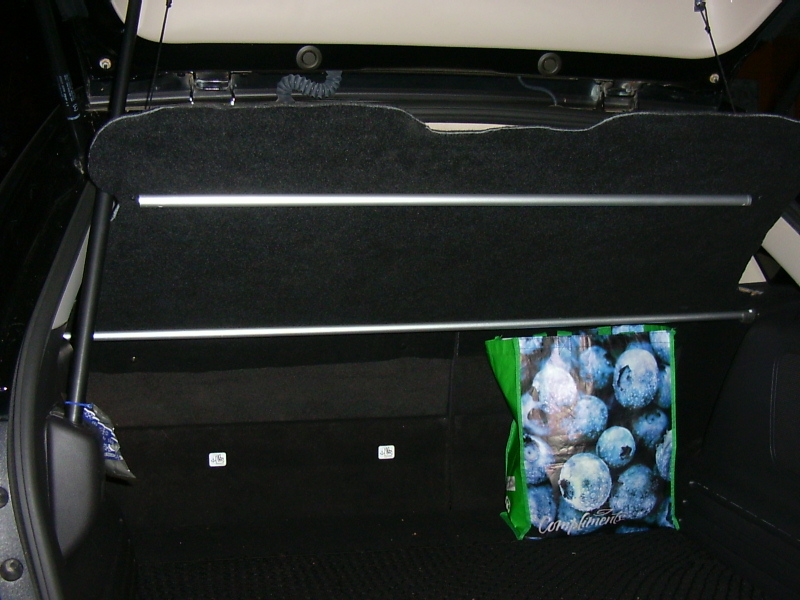
I used cardboard to get a general idea of the shape. Once I had a fairly good pattern design, I removed 2” all the way around, except at the back where the tube support is. The cardboard was then use to replicate the shape on the ¼” plywood. The carpet has been glued over the plywood using 3M upholstery glue (Spray). The carpet size at this point was exceeding more then 4” all the way around except for the back (toward the seats) where I left 10”. Both side of the plywood were covered the same way. The result is a solid core (Carpet + Plywood + Carpet) and soft edges (Carpet + Carpet).
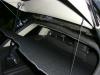
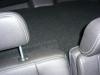
For the rod attachment, I went for simplicity. I bought 2 X ¾" rubber foot from the local hardware store. I cut off one side to get a U shape and screw those support directly on the side plastic panel at ±7” from the back seats. Voilà! The aluminium support tube can easily slide in and out the U shape rubber support and the back seats can recline normally without hitting the aluminium support tube.
The plywood is screwed to the aluminium tube with small black screws hidden by the carpet. The tube is situated at the back edge of the plywood. The extra 10” of carpet is folded downward and attached to the back seats with 3 snaps. The final contour was cut in place with a good pair of scissors to assure a perfect fit.
-
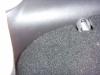
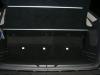
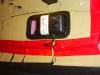
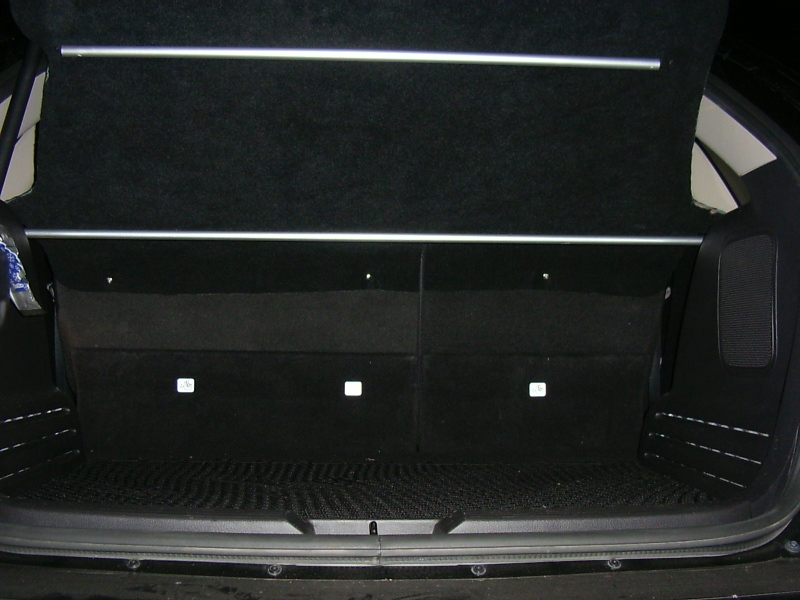
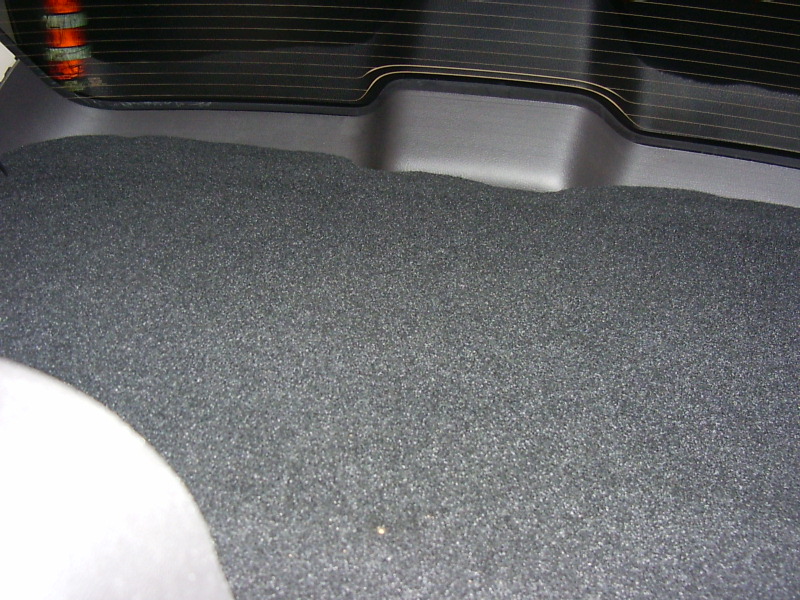
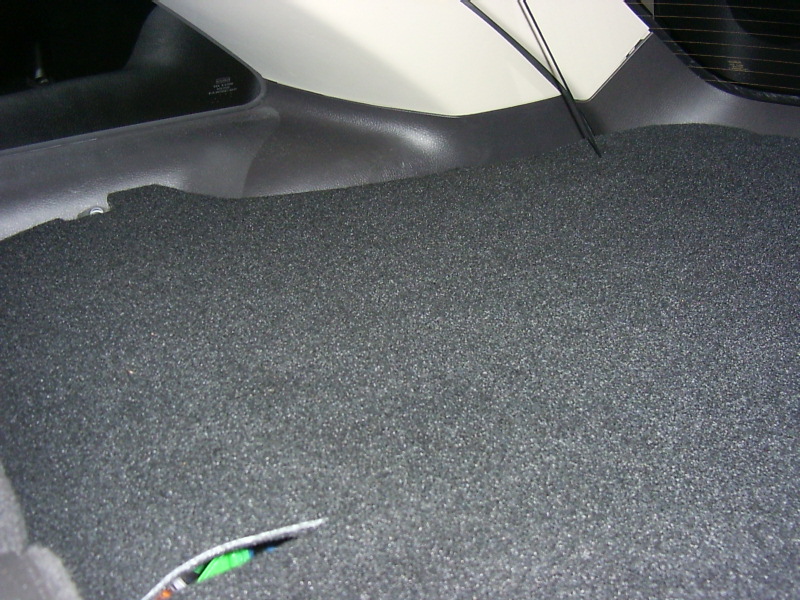
Another mod I did, is designing and assembling a non-retractable cargo cover. It is easily removable at any given time and can be stored flat on the trunk floor.
It is constructed from a ¼” plywood core covered on both faces with a black automotive grade carpet. It is supported by a ¾” aluminium tubing in the back (near the back seats) and by black nylon laces attached to the door pillar. The front has also been reinforced with a ¾” aluminium tubing. The aluminium back tubing is inserted into half circle rubber inserts fixed to the side panel. It is 6” from the back seat to allow normal reclining. The carpet is attached to the back seat using regular snaps. The snap easily disengage from the weight of the seat when using the electric folding feature. As the door rises, the cover lifts. Both strings are attached to the door pillar. It is non retractable, but still practical.
Enjoy!
Norm


-
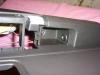
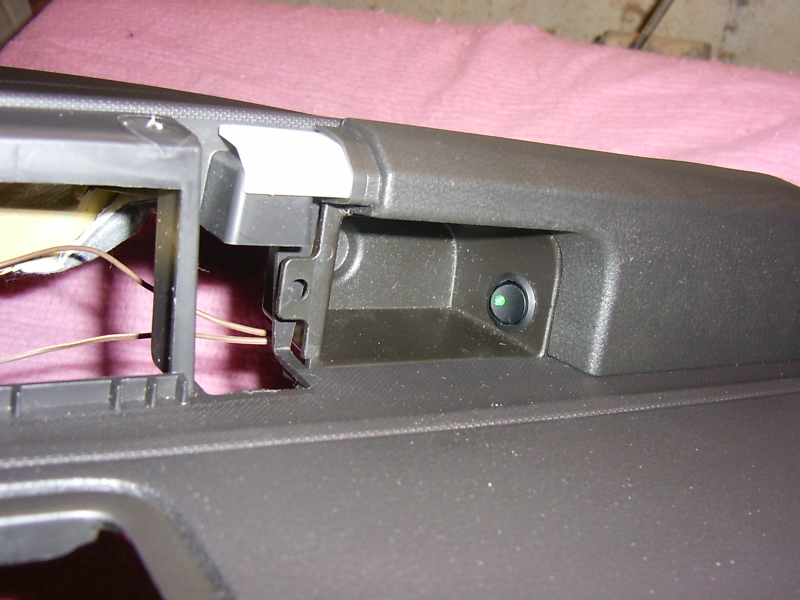
Another mod I did, is adding interior lights and switches.
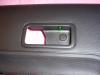
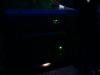
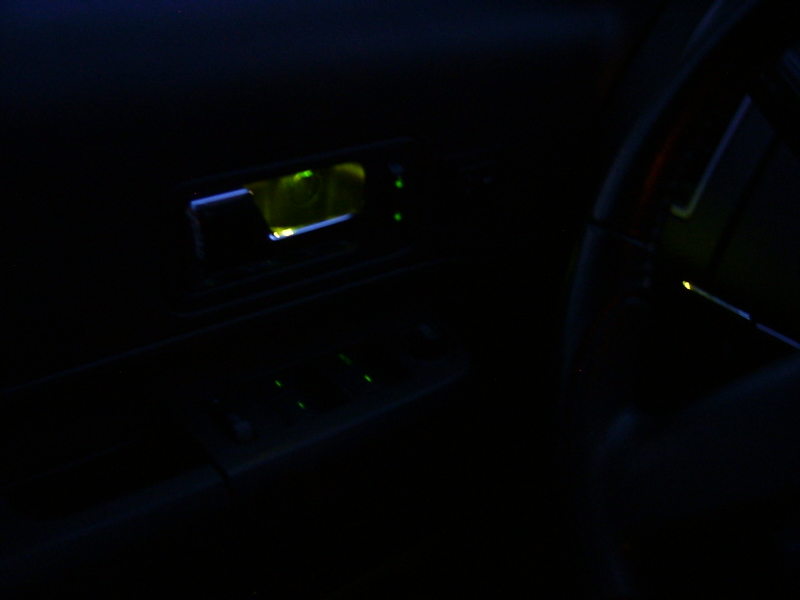
• Interior door handle lighted with a green led.
• Door bin lighted with green led.
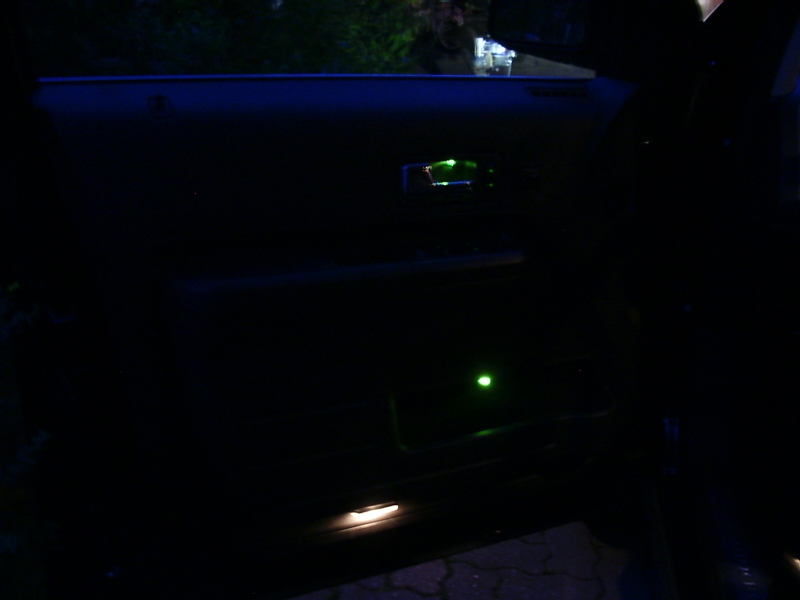
• In door pod light.
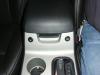
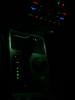
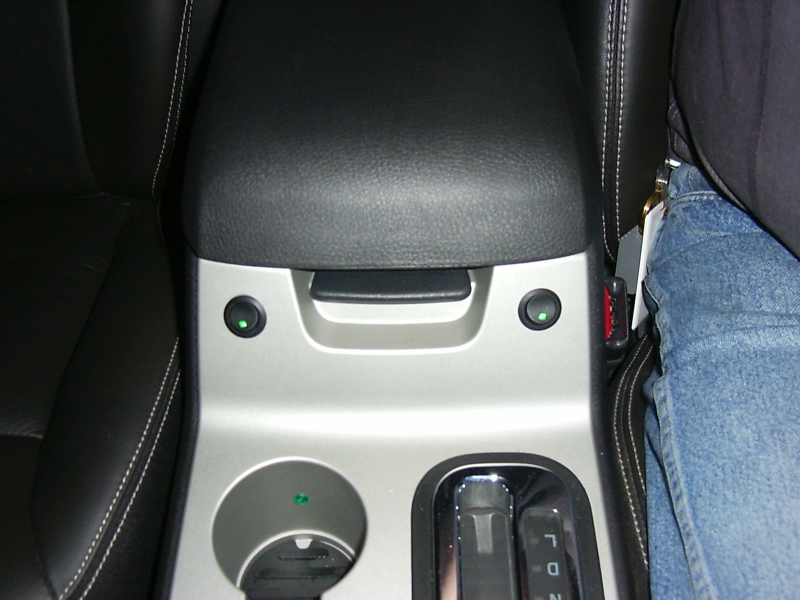
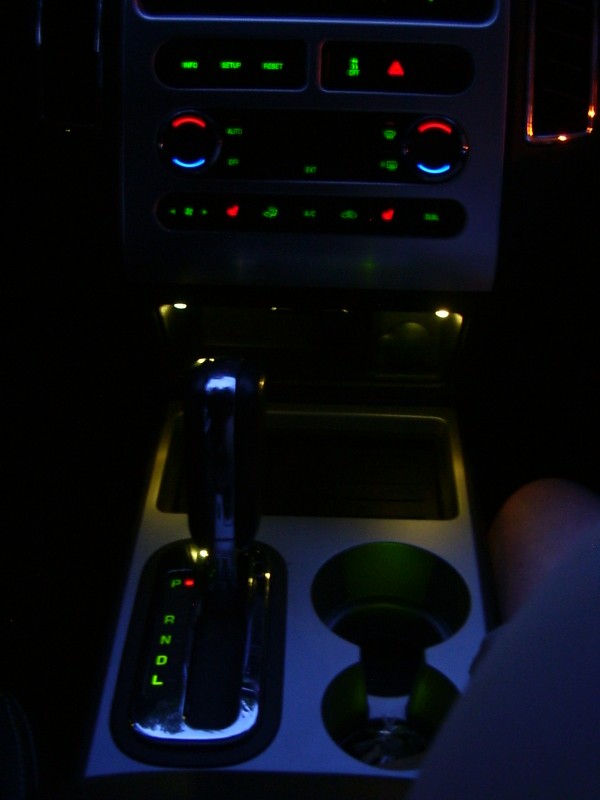
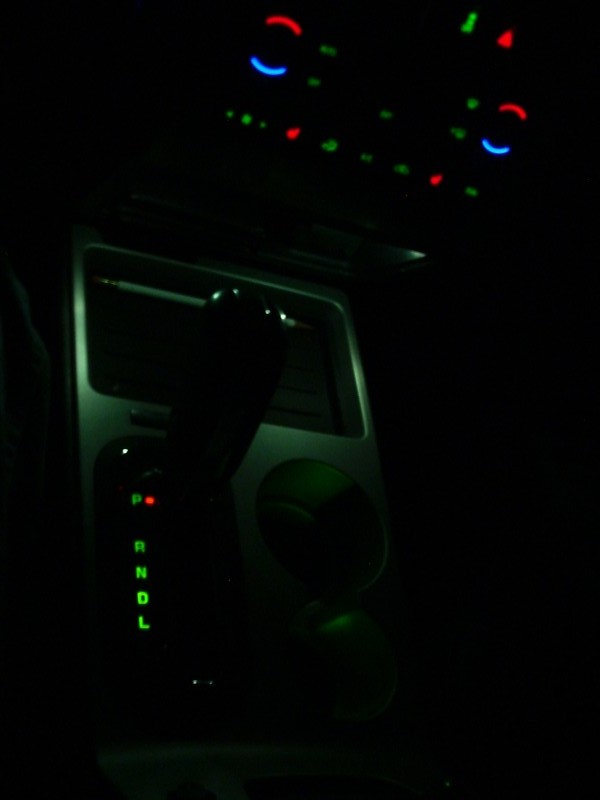
• Central console accent led
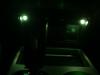
• Under back seats courtesy light.
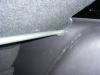
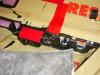
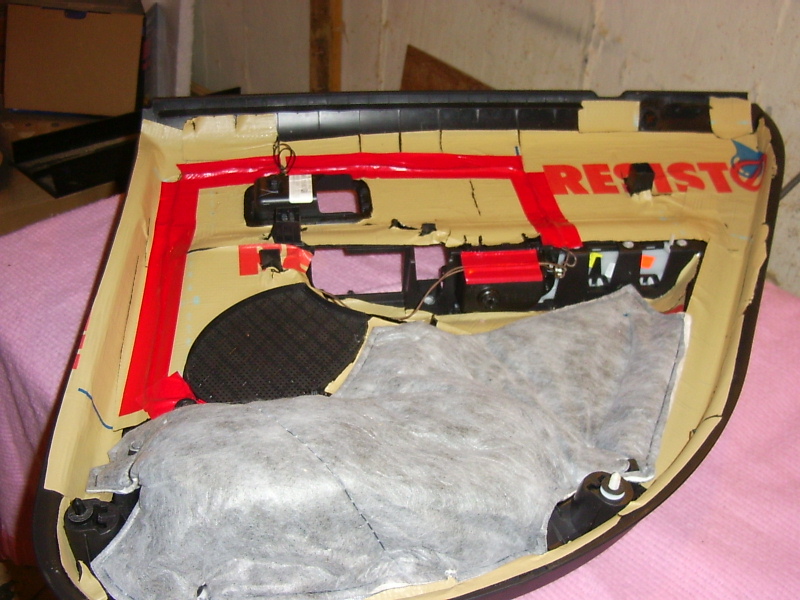
As you can see in pictures, I took the interior door panel off and applied a sound deadener on the inside. During the process, I replaced the door speakers with better quality JBL 6X8 Speakers. I also added sound deadener on the inside of the door trough the speaker hole. It is very difficult to do, due to the restricted access hole. But overall, I’m satisfied with the end result. It’s quieter.
The interior door handle led are simple to add. The power is taken from the 12V power window switch which stays on until the driver door is open or until the 10 minutes power protection delay. The door bin led is also powered by the same source. Both led can be switch ON/OFF by a lighted switch located in the recess of the door arm rest.
At the bottom of the interior panel, I added a second pod light. I know, there is one outside under the mirror. I find it very practical on the outside, but once the door is opened I wanted to have one oriented toward the inside. It is connected to the mirror pod circuit, so it react the same.
2 lighted switches have been added to the central console. The right one controls 2 accent led that are illuminating the console. Gorgeous at night. It’s powered from the Blue+/Black- lead powering the light for the shifter. It can be dim from the stock dimmer. The left one is not yet connected. I hope to connect it so it acts like the “ON” position of the stock dimmer.
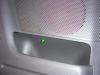
Finally, the back seats access is originally illuminated by the rear dome light. I added a light under each seats facing the front seats. It is attached to the front metal bar, so it pivots when the seat are reclined. The power comes from the trunk light.
Thanks for looking!
Norm


-
I have a 2009 the switch is a little different I was thinking about hooking up power to the switch but I was not sure if the leds were in the newer ones and how much that would distract you at night ?
Great job on your mod , How long did it take you ?
It took me about 1 hour.
I also notice how the switches are different on the 09. They are more of the windows swtch style. I don't know if the same mod can be done with those.
Norm
-
Hi, my name is Norm. I live in Montréal. I'm French Canadian, so please be kind enough to forgive my poor knowledge of the English language. I own a 2008 all black Edge Limited. I have it since October 2007. I've been a member of this site and a regular reader of most of your post since then but never posted myself.
I've always been modifying my cars, but have to admit that you guys are really ingenious with it. So I adopted some of your ideas and trough in a few of mine.
Interior lighting has always been my main concern with the Edge. Like most of you, I’m trying to add what should have been found as standard equipment. I have to admit, I personally find green interior lighting to be the best color of all. Especially with an all black interior. I know some of you prefer Blue. I guess it is just personal taste.
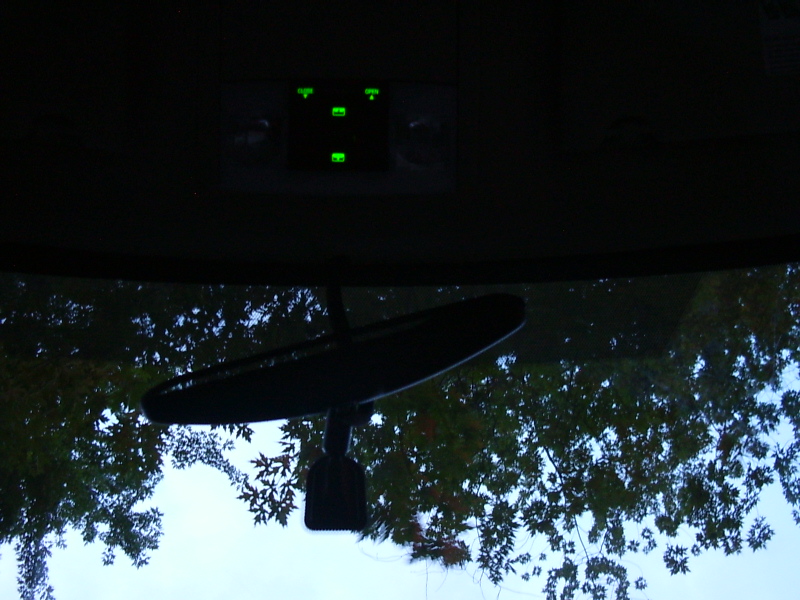
The most satisfying mod I did, is getting the BARM controls to be seen at night. Thanks to Lex, great description, great research, big help.
Norm


-
Just a test to see How it works

-
I have had my '08 MKX for 2 weeks and just returned from a trip to our cottage north of Toronto. The ride is extremely smooth and very quiet. I have the Limited Monochrome AWD vista roof model and it comes with 20" Pirelli's. I have not noticed excessive tire noise - it is much quieter than our previous Freestyle which had Pirelli P6's for which I did hear some road noise. I have now put on winter tires (Toyo Open Country GO2) which are noisier than the Pirelli's but not intrusive. I did not drive an '07 so I cannot comment on it's ride. I have not noticed any wind noise from the driver's side at all. The MKX is one sweet ride!
Question to Brantyca. When replacing your 20" Pirellis with winter tires did you go for a smaller size wheel (17", 18", 19") ?


Found on page 246 of owner manual but not working
in Audio, Backup, Navigation & SYNC
Posted
Thanks for all your reply.
Tested it again today and definitely the volume does not mute nor does it goes down.
I can still hear the BIP BIP if radio volume is not set to loud.
The BIP seams to be comming from the rear, on the left side. But don't know the exact location of it. Not comming from the speakers.
There must be a connection (Wire) beteween the BIP device (RSS) and the radio.
I'll report it as defective on my next visit to the dealer.
Thanks again
Norm