Jstrem75
-
Posts
23 -
Joined
-
Last visited
-
Days Won
1
About Jstrem75
Jstrem75's Achievements
")
Newbie (1/14)
-
2013 Ford Edge Audio Upgrades
Jstrem75 replied to Jstrem75's topic in Audio, Backup, Navigation & SYNC
Last night, I added a running hood light. There's honestly not a good place to put this. I removed the front rubber insulation and installed it as the front rubber hood insulation. Turned out pretty good. I connected it to my custom DRL headlights... and well... now I have this problem. Hopefully I only pulled the connector loose and it's not some silly canbus issue. I've replaced the halogens with LasFit H7 LED bulbs for the lowbeams and LasFit H1 LED bulbs for the high beams. If it's not the connector, I'll have to test the entire electrical system. received_554929076500261.mp4 -
2013 Ford Edge Audio Upgrades
Jstrem75 replied to Jstrem75's topic in Audio, Backup, Navigation & SYNC
Heater hoses had a leak. I had to get those replaced as well. It was about $300 for Motorcraft OEM parts. It took about 3 hours to flush everything and replace all the hoses. received_1374805463260072.mp4 -
2013 Ford Edge Audio Upgrades
Jstrem75 replied to Jstrem75's topic in Audio, Backup, Navigation & SYNC
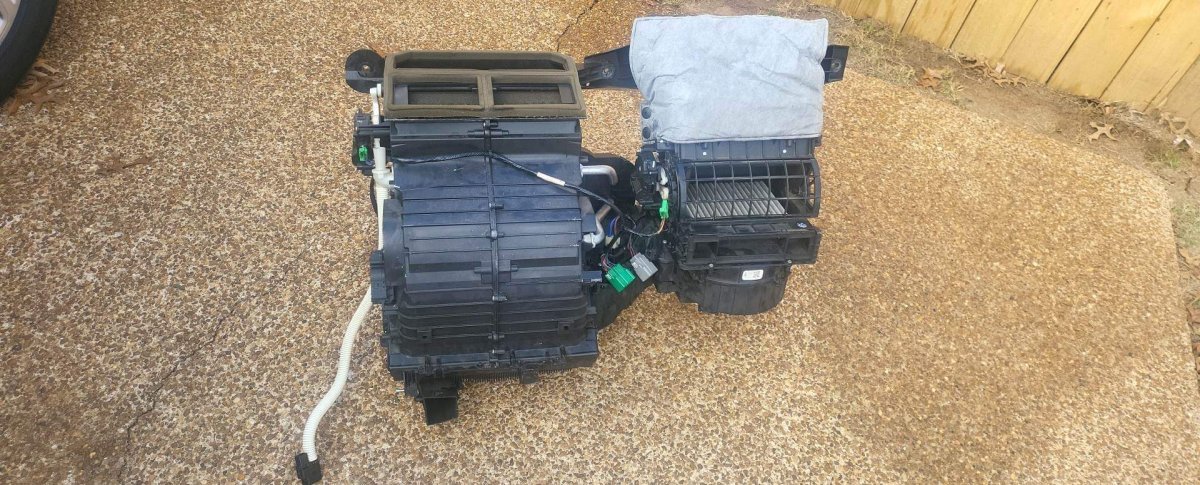
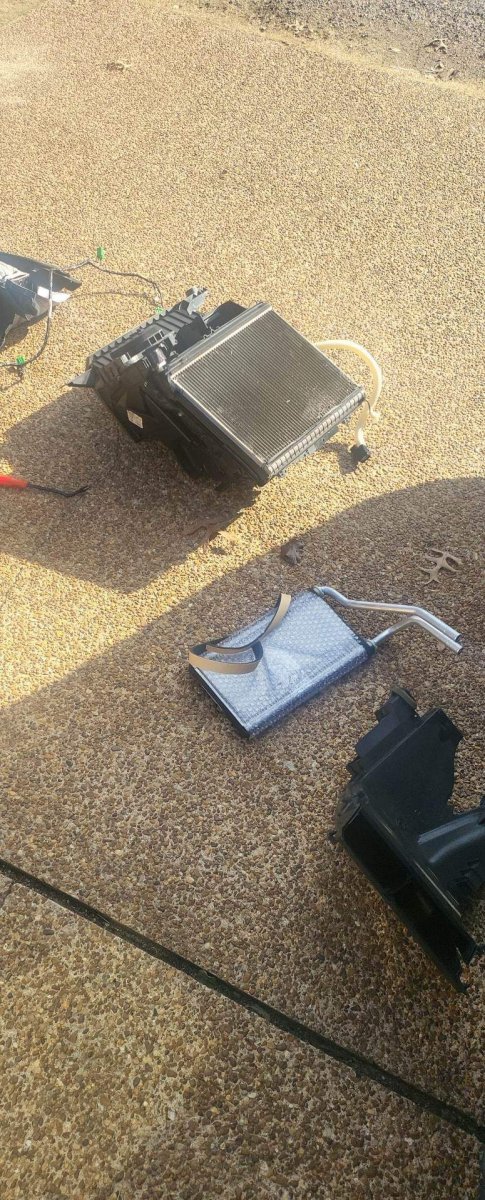
Heater core had a leak. The part costs $100. The labor takes about a week if you're doing it solo and have a full time career.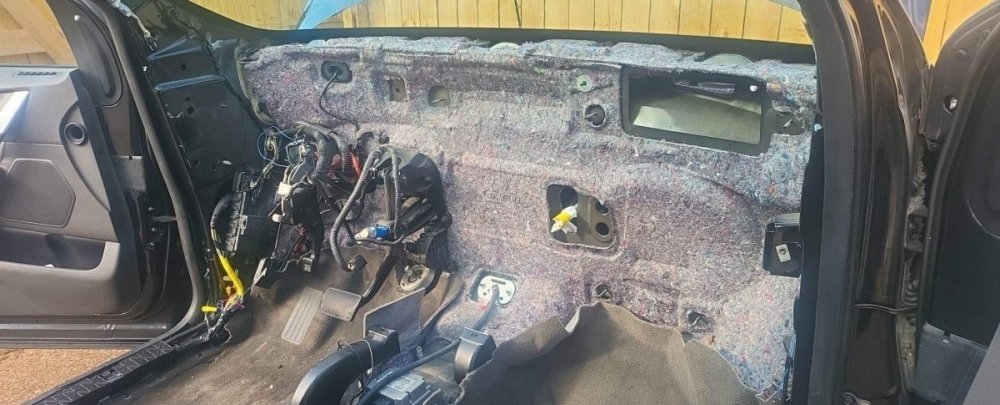


-
2013 Ford Edge Audio Upgrades
Jstrem75 replied to Jstrem75's topic in Audio, Backup, Navigation & SYNC
Front wheel bearings started going out. Luckily I bought everything from Moog and everything was under warranty. I got the entire front end replaced for free. After that, the power steering started acting up. As stated by a few websites, it was suggested to use Prestone. I did and it fixed the problem (partially), but it would leak and act up when the engine got warm. Someone suggested I use ATF (not specifying what kind), so I tried that. It got worse and worse. I almost bought a new power steering pump, but thought I'd check the manual for the type of fluid required. Of course it says "Mercon V Transmission Fluid Only". It immediately fixed the problem and my Edge is running smooth now. Note to self: DO NOT USE PRESTONE OR Mercon Lv ATF!!! For a 2013 Ford Edge SE 2.0L, you should ONLY use Mercon V Transmission Fluid for the power steering. -
2013 Ford Edge Audio Upgrades
Jstrem75 replied to Jstrem75's topic in Audio, Backup, Navigation & SYNC
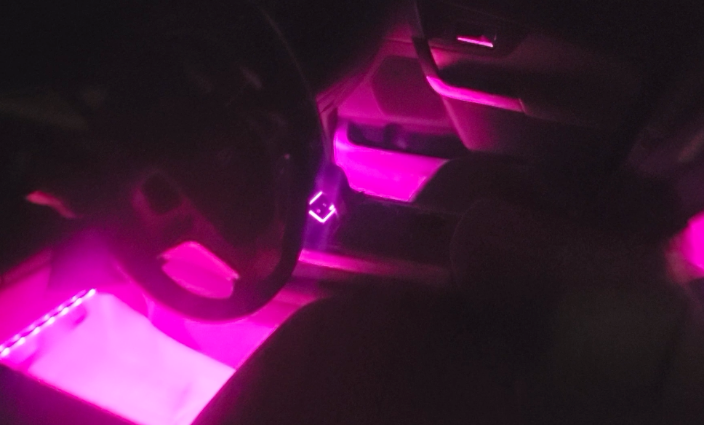
Updates: I remounted the center console wires behind the center console so they are now hidden. I recently added custom headlights from Vivid and LED washer lights. I'll have to redo the chrome, apply new wheels, and get the paint fixed. Those are on the list. So far it's looking pretty good for a DIY.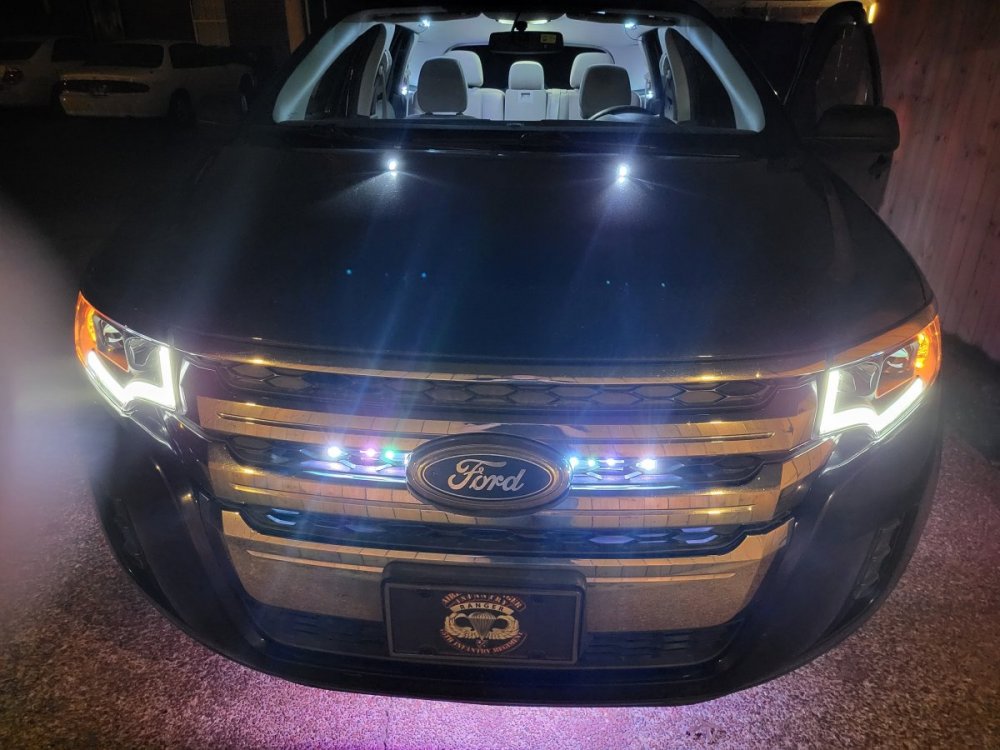
-
2013 Ford Edge Audio Upgrades
Jstrem75 replied to Jstrem75's topic in Audio, Backup, Navigation & SYNC
20221105_080042.mp4 -
2013 Ford Edge Audio Upgrades
Jstrem75 replied to Jstrem75's topic in Audio, Backup, Navigation & SYNC
Definitely takes time and planning to install, but looks amazing when complete..jpg.a6c14871262743008692771e2764132a.jpg)
.jpg.325d67fb5e2ad44a55e92082a601a076.jpg)
.jpg.61291f61678b1d378eba24f60a9844d5.jpg)
.jpg.8cc95a80d001b29889ba7fa510a0f118.jpg)
-
2013 Ford Edge Audio Upgrades
Jstrem75 replied to Jstrem75's topic in Audio, Backup, Navigation & SYNC
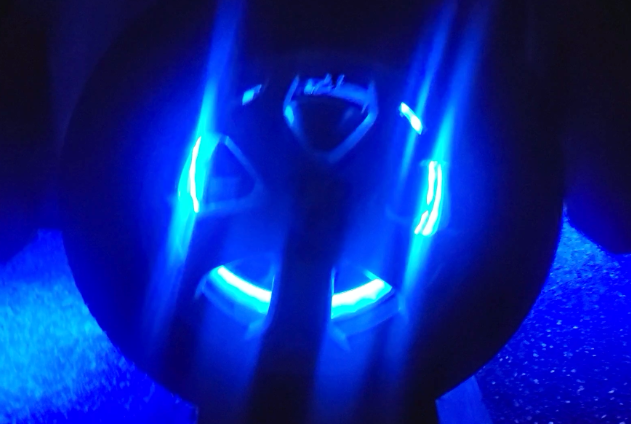
It's been a few months. I've recently added LEDGlow underbody, grille, engine, interior, and wheel lights with full bluetooth control. The wheel lights take some engineering skills. They come in 14" (18" wheels), 15.4"(20" wheels), and 17" (22-24" wheels). If you buy the 14"-wheel lights, they will wrap tightly on the brake calipers. If you buy 15.4"-wheel lights, they won't fit inside the wheels. The solution I used was to buy 2x 17"-wheel lights for the rear and extend them back with custom brackets attached to the dust shields. The front wheels, I bought 2x 17"-wheel lights and had to cut two links and make them 14" in diameter. You can't extend them back or they will mess with your LCA. To remedy, you need to drill two holes in the top of the calipers, use heat-shielding on custom extended connectors, and fit them within a 1" clearance on the wheel and 0.8" clearance on the caliper. I mounted the display controller between the shifter and the radio (where the SYNC symbol is). It turned out really nice. I get a lot of head turns and WOW's since this vehicle was honestly not designed for custom work.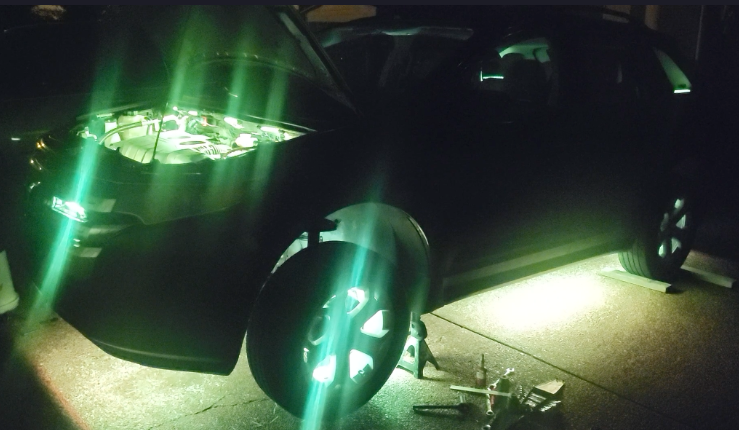
-
2013 Ford Edge Audio Upgrades
Jstrem75 replied to Jstrem75's topic in Audio, Backup, Navigation & SYNC
Final results turned out pretty good. I'll adjust the power distributor when I get time..jpg.cfac083fb06e14845a2f73f42ec0ff34.jpg)
-
2013 Ford Edge Audio Upgrades
Jstrem75 replied to Jstrem75's topic in Audio, Backup, Navigation & SYNC
I go tired of looking for mounting locations and decided to mount and reinforce the sidewall. It's looking pretty good. I ripped out all the factory 22 gauge wire and ran full 14 gauge everywhere. That was 630 feet. The hardest thing about thiis is the door speakers. You can't run new lines through the rubber without removing the door. I decided to drill new holes and weather proof with rubber grommets.
-
2013 Ford Edge Audio Upgrades
Jstrem75 replied to Jstrem75's topic in Audio, Backup, Navigation & SYNC
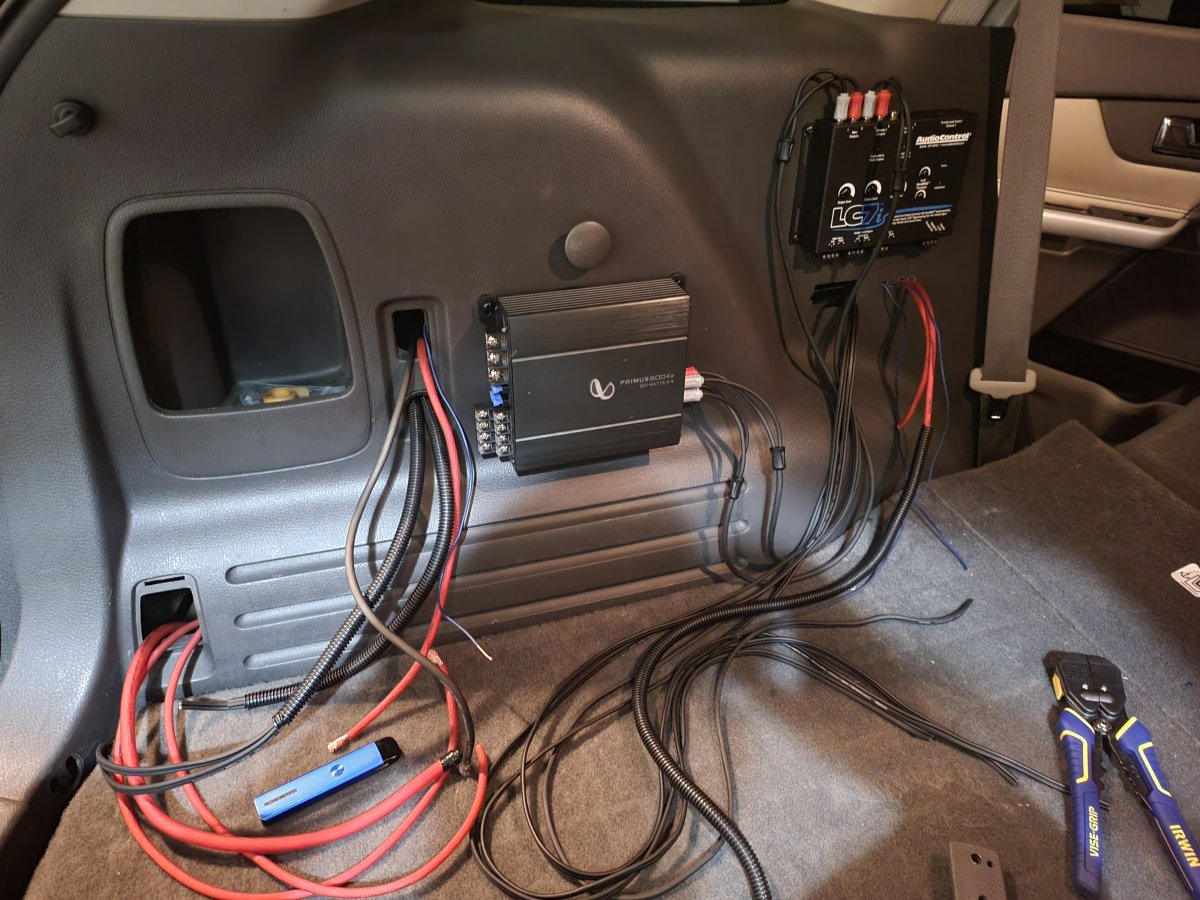
I got tired of looking for a good mount and didn't want to customize too much. I chose the back panel and reinforced it. I have matching grommets for the holes just in case. I'll probably remove the lighter and use it as a pass-through for the speaker inputs. The remote wire is connected to the ACC ignition. It's a purple/green wire. Once I get an L7i LOC, I can remove it completely and use GOT detection.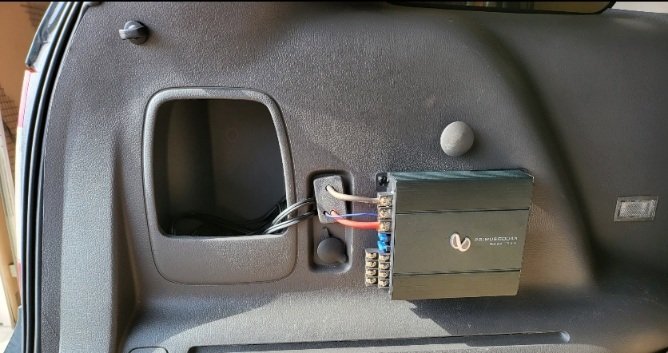
-
2013 Ford Edge Audio Upgrades
Jstrem75 replied to Jstrem75's topic in Audio, Backup, Navigation & SYNC
Is it the 10W3? Might be interested. It'll be a week or two before I start getting into subwoofers. My Edge doesn't have the sub panel, so I was looking into customization. -
2013 Ford Edge Audio Upgrades
Jstrem75 replied to Jstrem75's topic in Audio, Backup, Navigation & SYNC
AMP arrived today, along with more install accessories and options. I'm planning to measure things out on Friday and see if I need anything else.
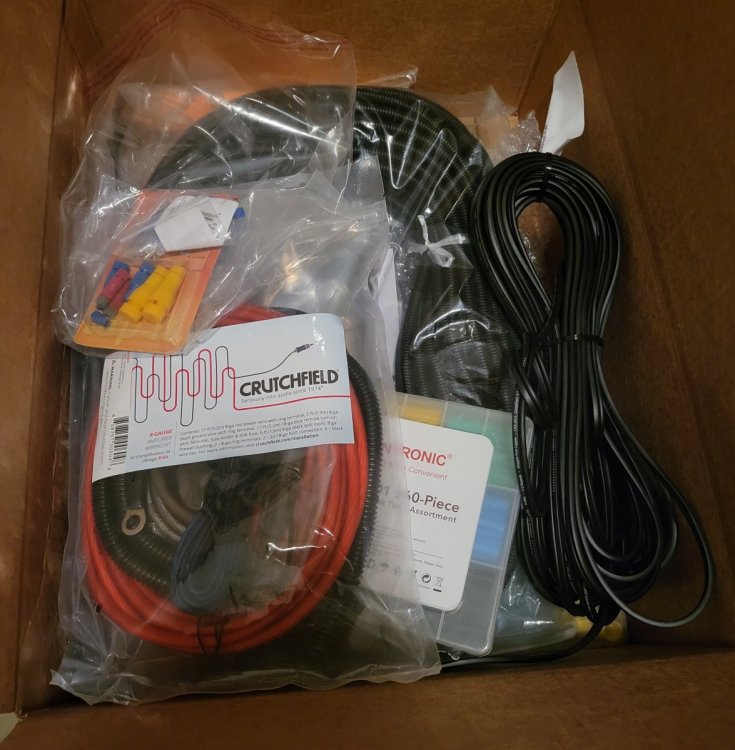
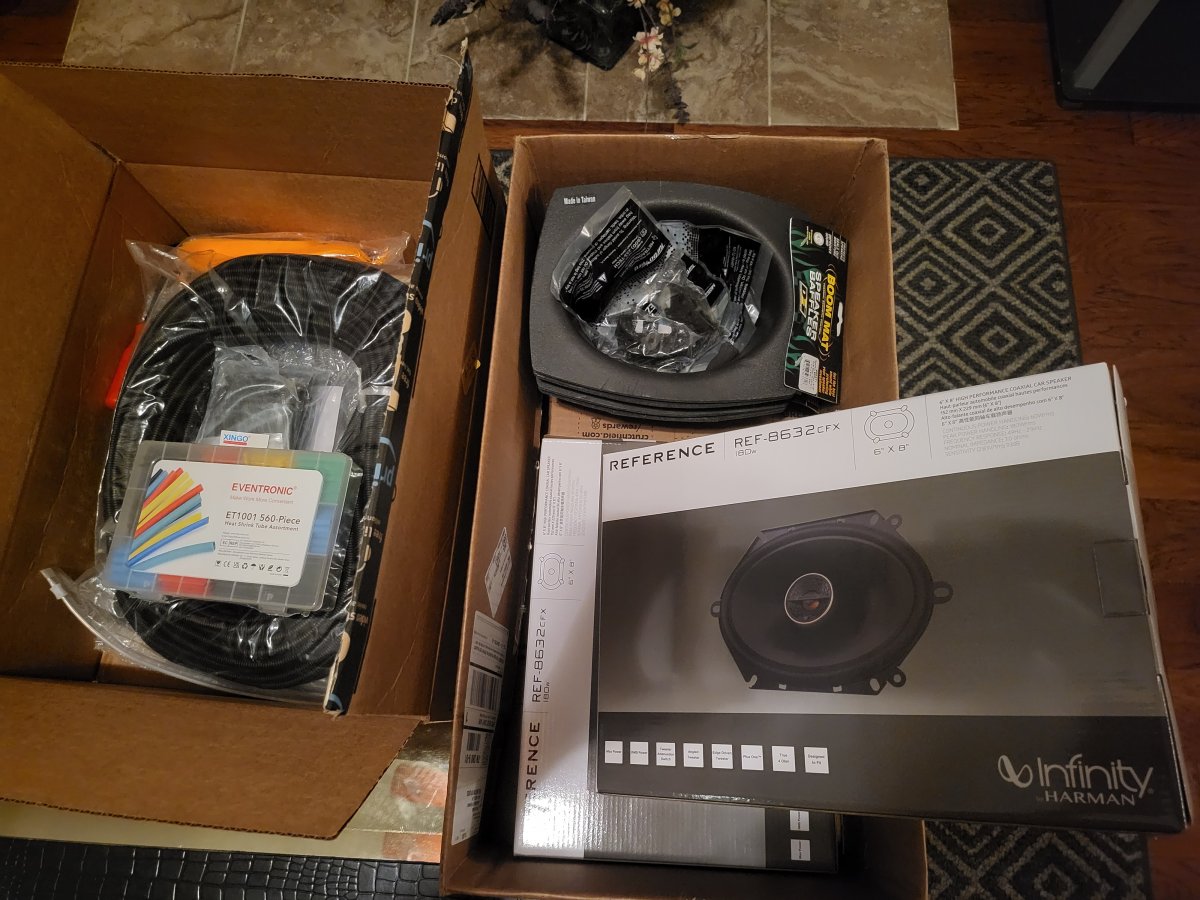
-
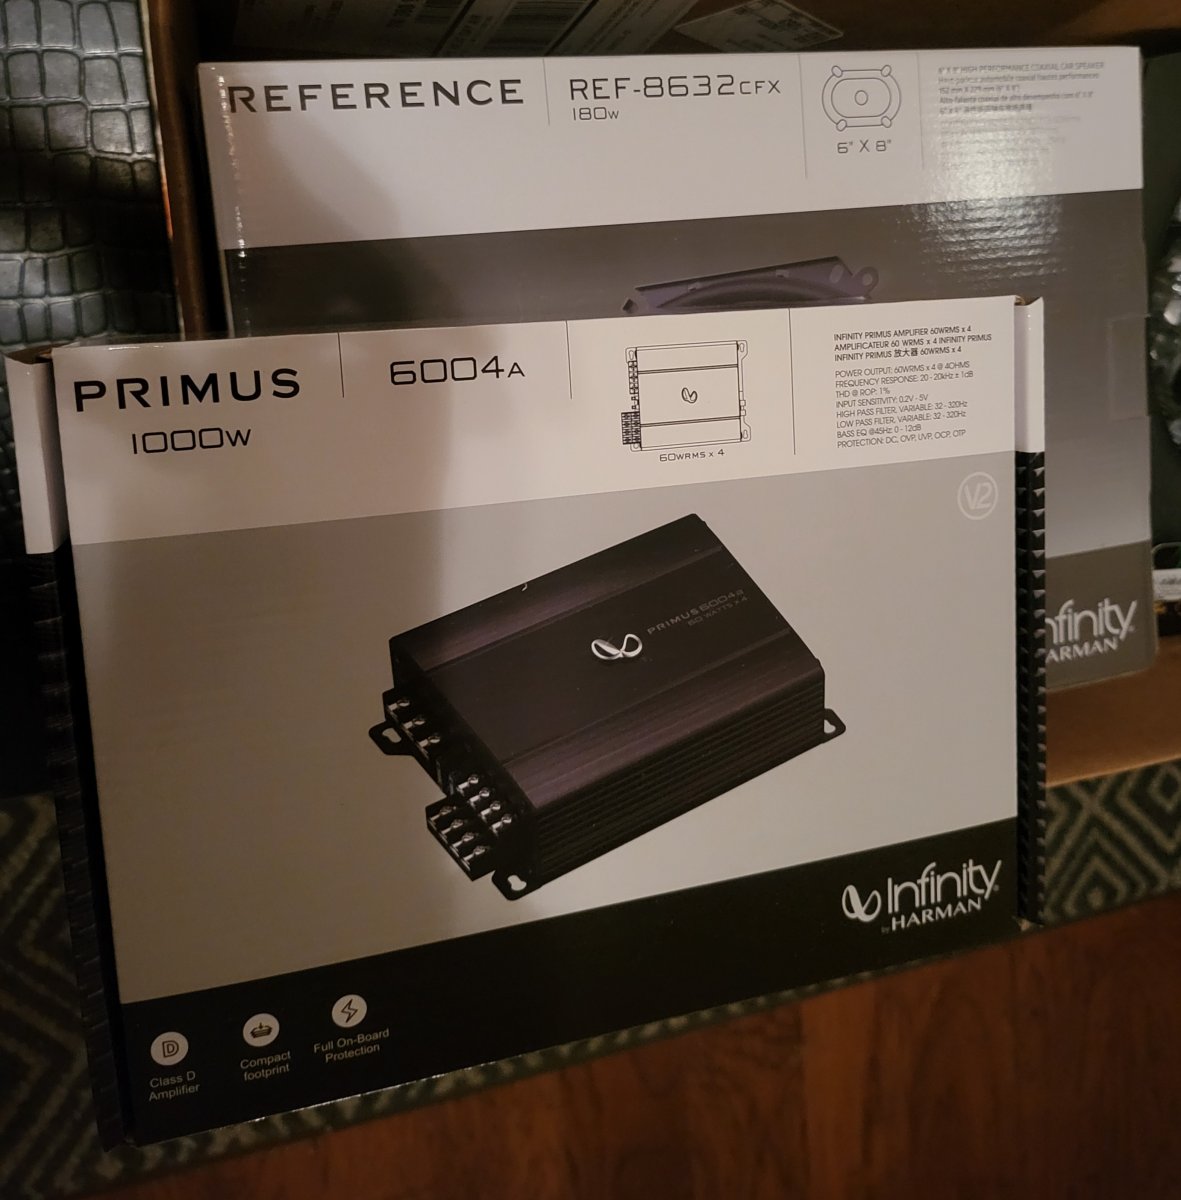
I've decided to upgrade stock stereo system. I've ordered a 4-channel amp and 4x Infinity 6x8's. The speakers and installation accessories came in today. The amp will be here tomorrow. Right now I'm not sure where to mount the amp. I saw a video where someone heated and customized a sheet of ABS plastic, mounting the amp to that under the front driver seat. I'm thinking of adding to the driver side/rear passenger seat. Hopefully there is enough clearance. Install starts this weekend. I'll try to take photos and update as I go. There's not a lot of options anywhere for the basic 2013 Ford Edge SEL. The harder part of audio will be a custom stereo and subwoofer system.

-
Do you recommend these over maguires or chemical guys? I tried 3 coats of maguires compound, using a drill with a buffer pad. They disappeared for a minute, but they are still there. Someone said I need to polish and wax after using compound. I'll try that next weekend when I get time. Fingernail doesn't catch. I have a feeling it's the paint, cracking. This SUV has never seen a wax job. I take it to the auto car wash 2x a month. That's probably where the scratches came from.