Zazzy
-
Posts
51 -
Joined
-
Last visited
-
Days Won
2
Content Type
Profiles
Forums
Gallery
Everything posted by Zazzy
-
I changed the plugs when I was finishing up a heater core replacement. It's not difficult. Removal of the PCV (or the hose) was a hassle but can be done.
-
Did you check operation of the blend doors? Also, how many ounces of refrigerant was added? If you removed the heater core housing, the ac was disconnected. The amount of refrigerant needed for a full charge is on top of the radiator fan housing.
-
When you were recharging the AC, did the compressor come on?
-
What about it doesn't work?
-
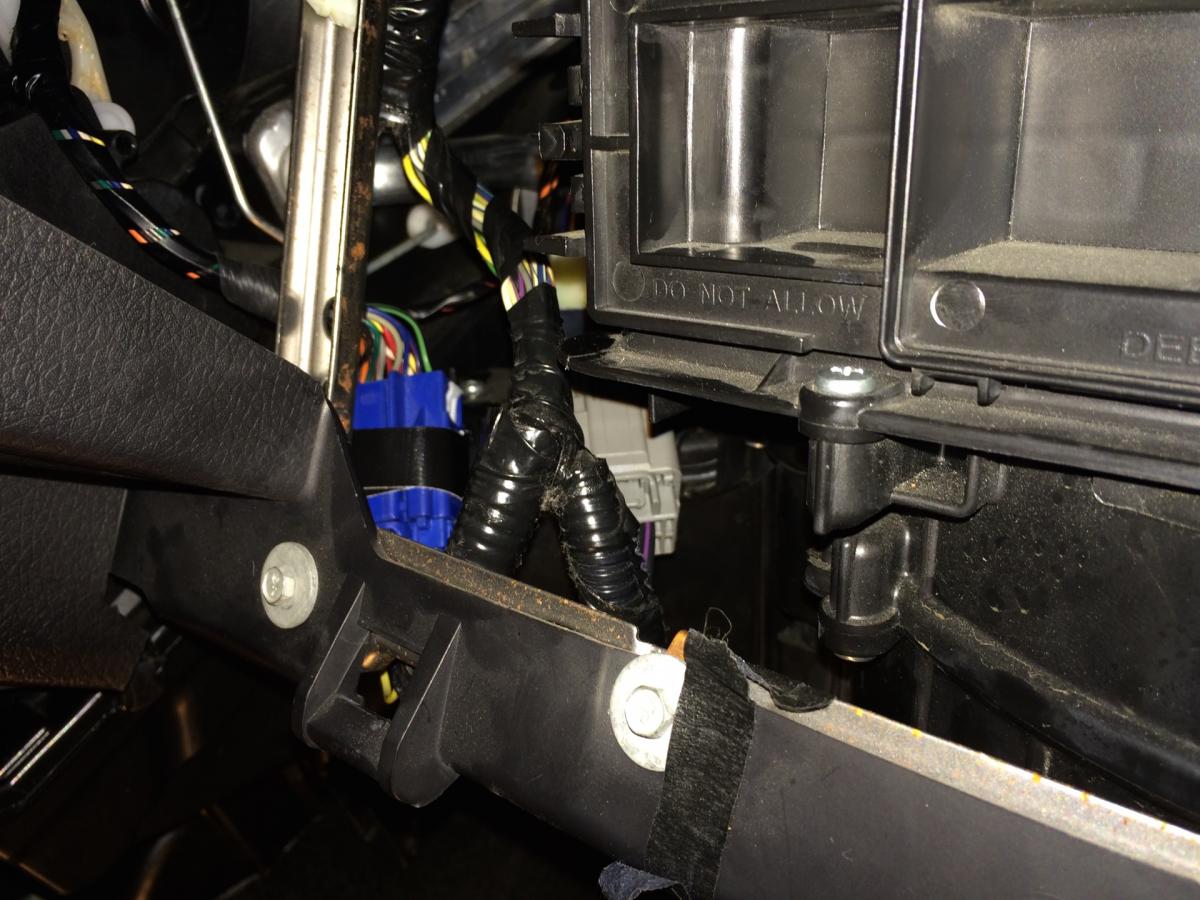
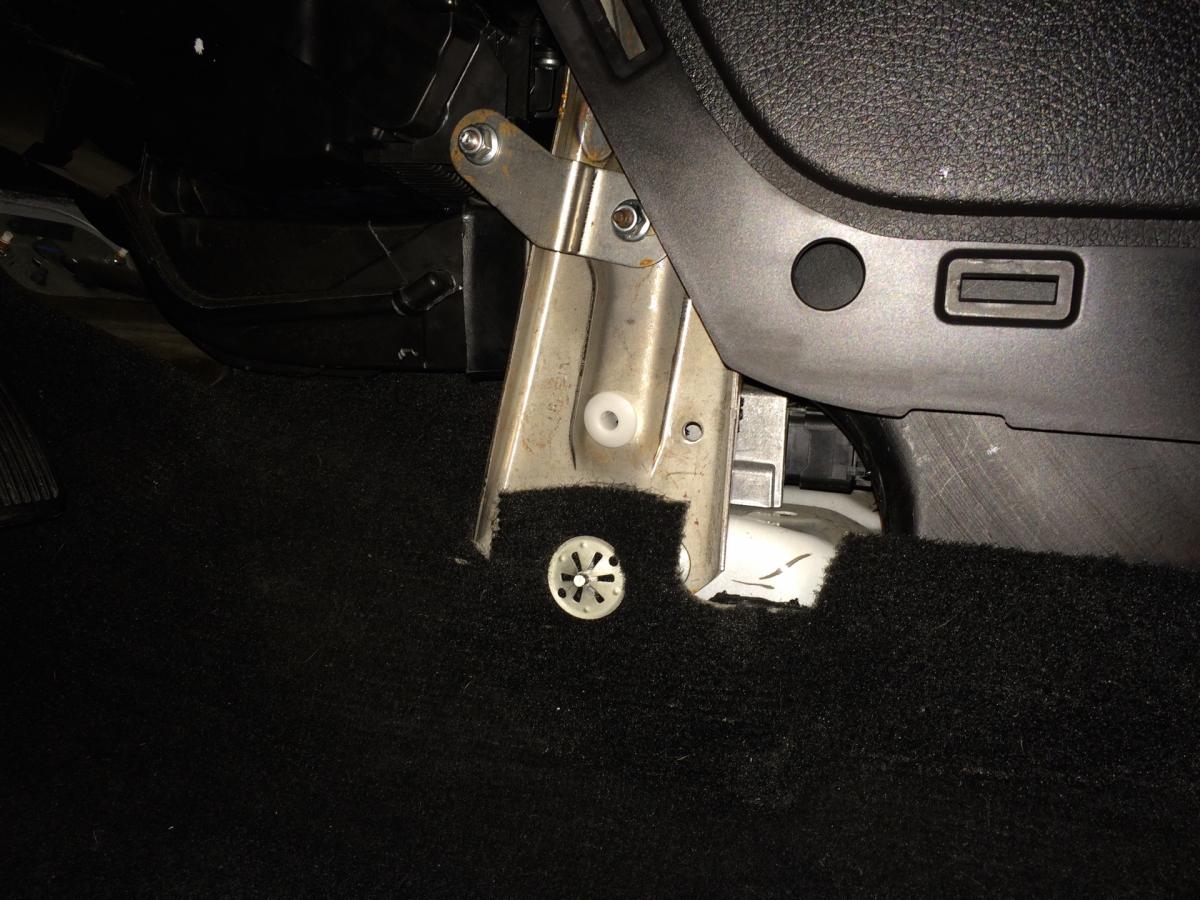
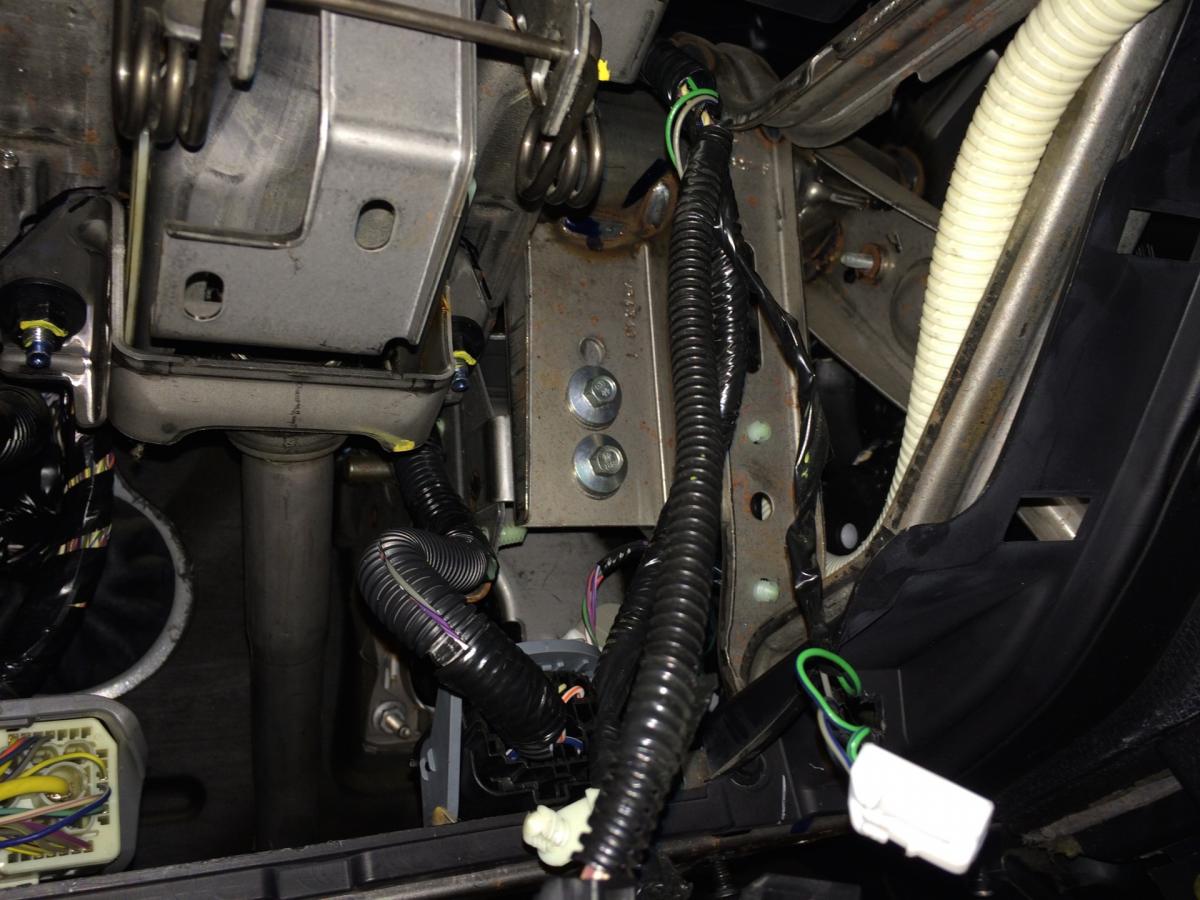
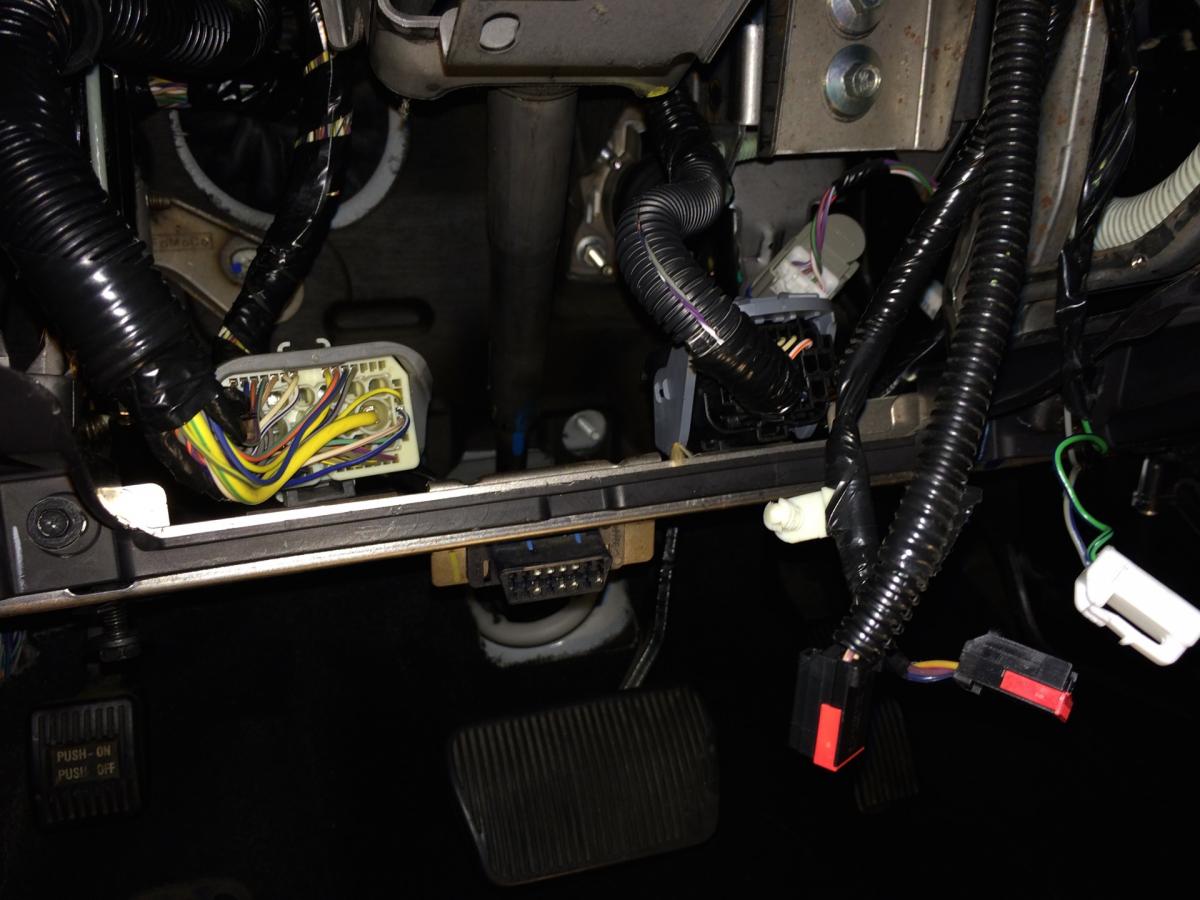
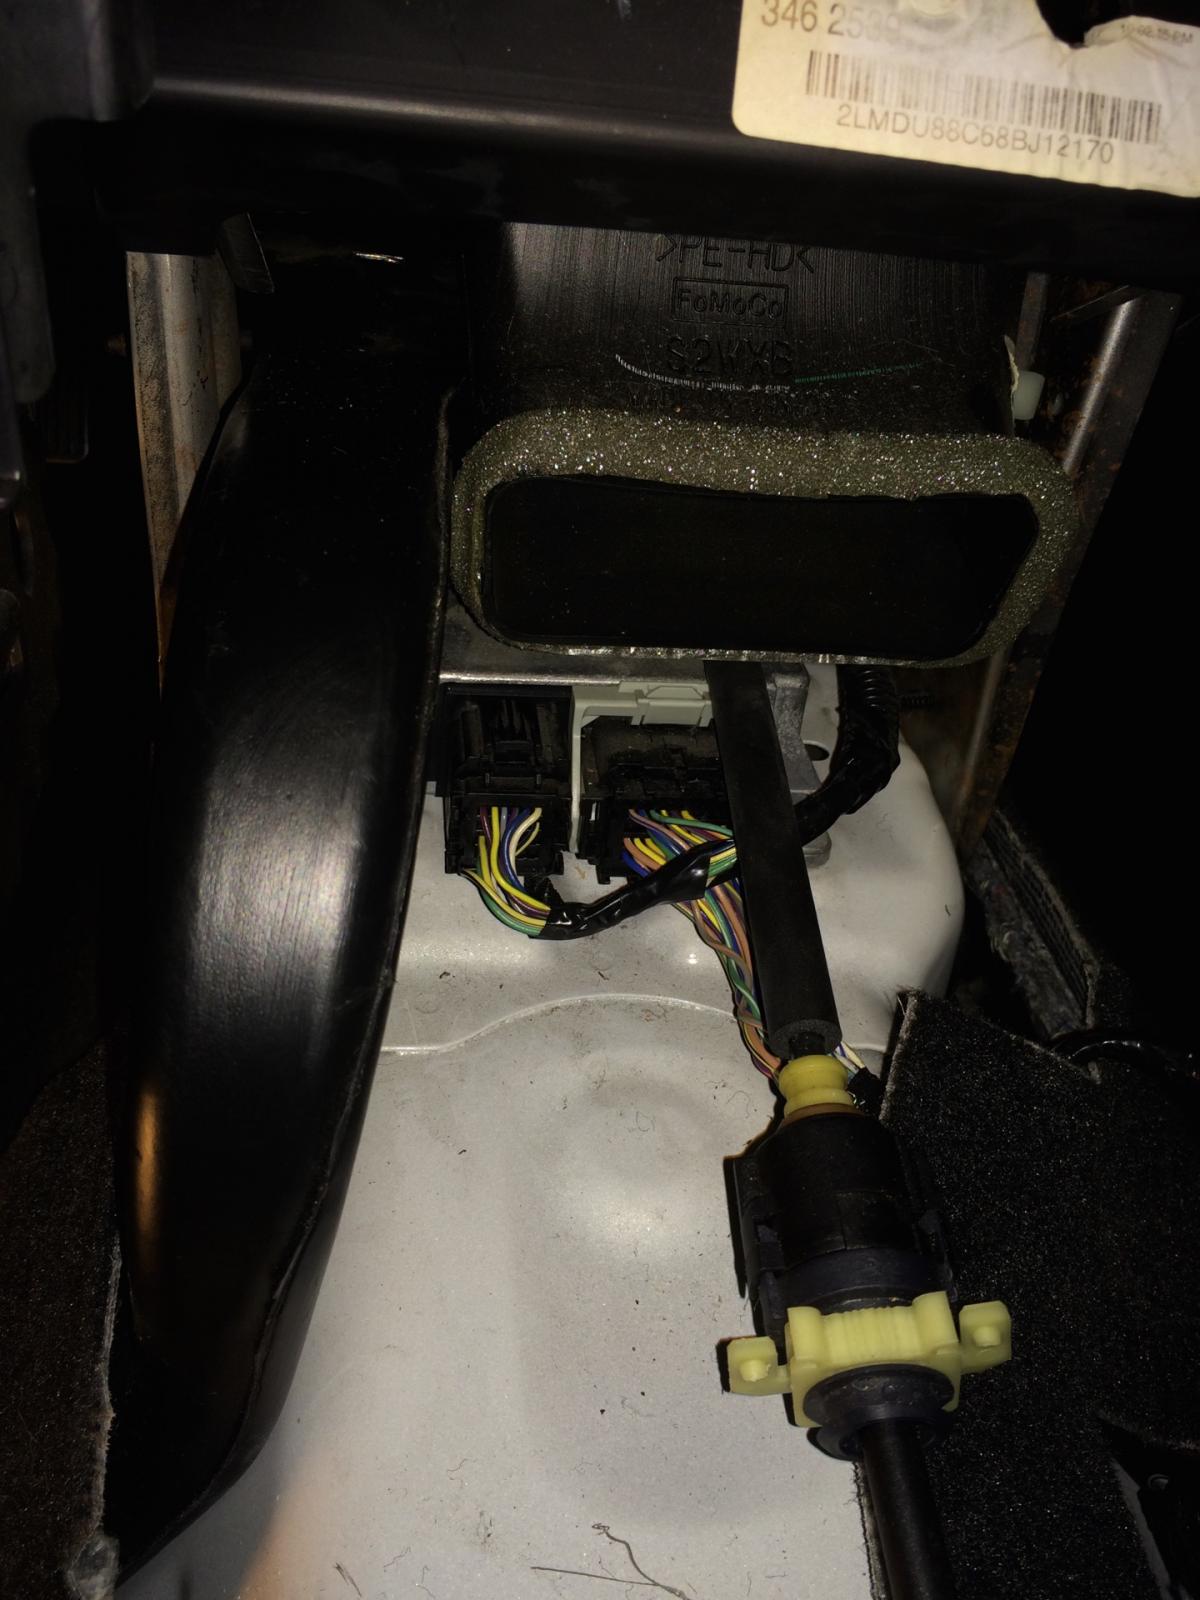
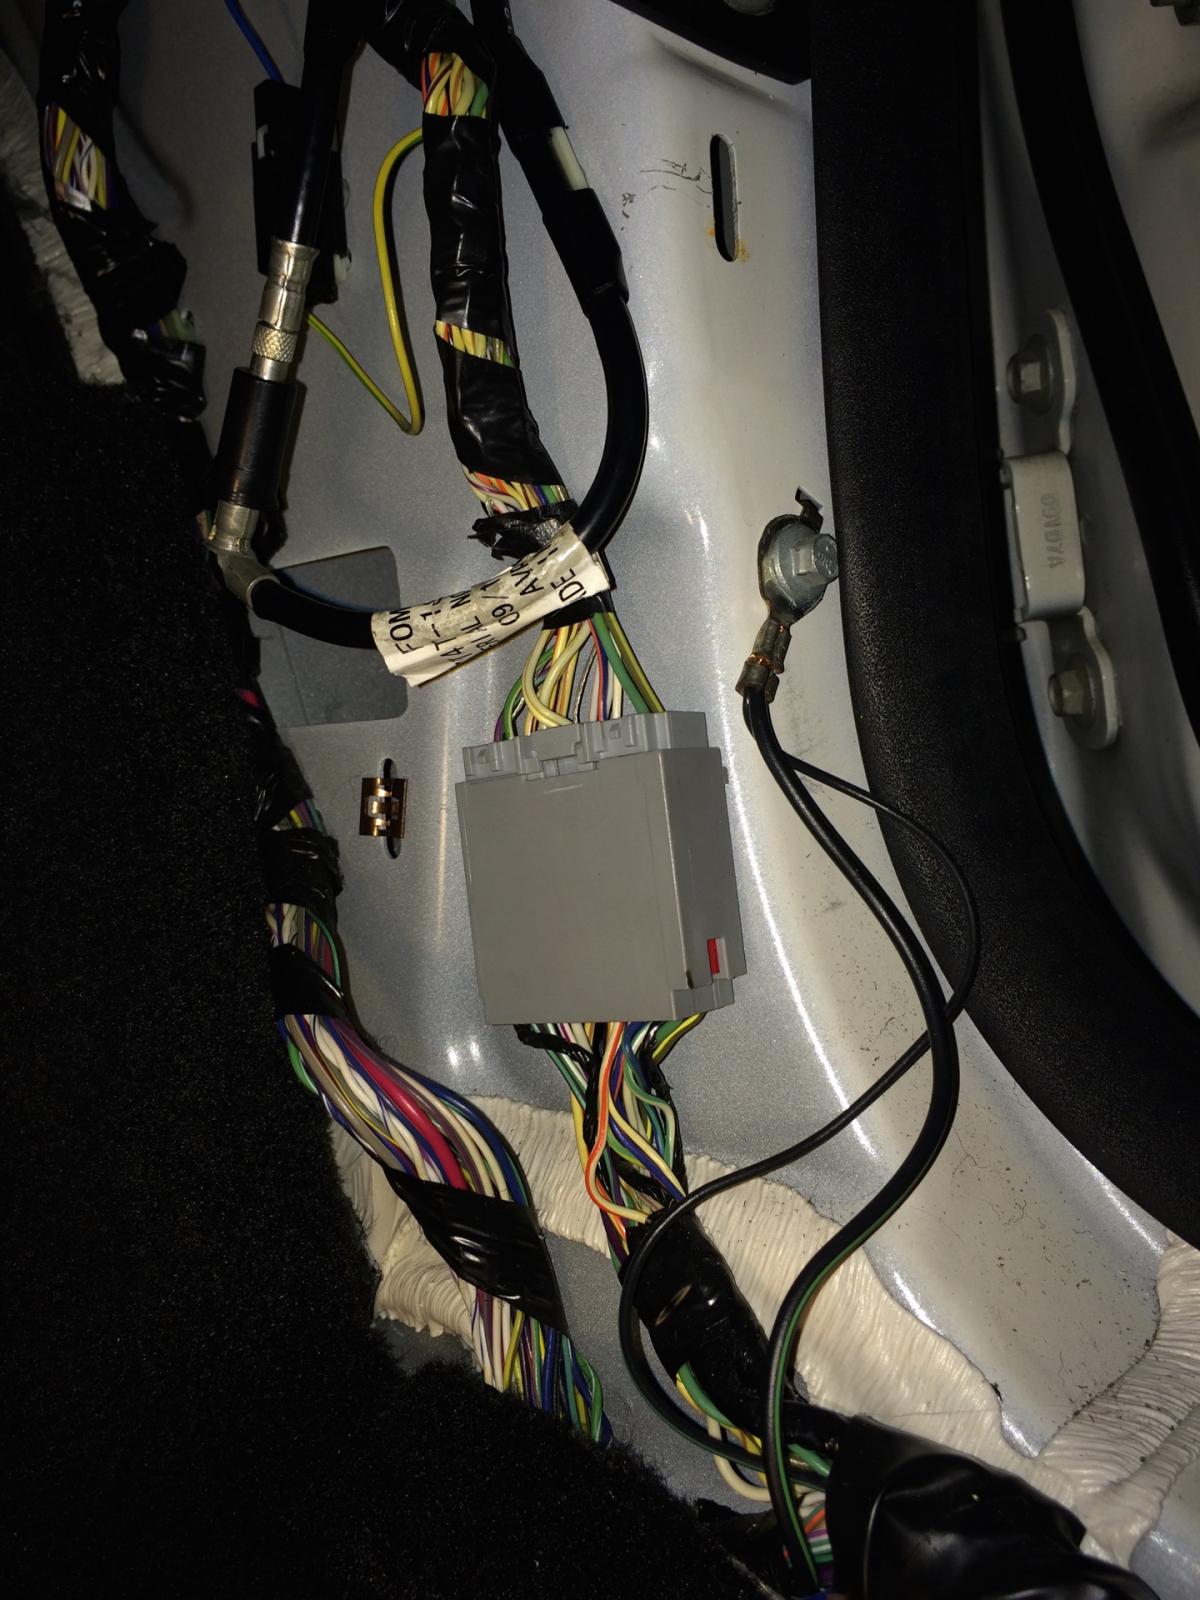
While you're installing the dashboard support, double check that you have access to all the harnesses. They'll hang down into the wrong spots.
-
Well...umm... It must come out because the heater core housing is behind it. But, you made it easier to remove the dashboard support bar because you removed a lot of items that didn't need to be removed. No big deal. You can reattach all that stuff after you remove the dash support or after you put it back in. Typically, this photo of the dashboard comes out in one unit. With the driver's seat out, you walk the entire dash out of the car. In a way, you made it easier to remove the bar. http://www.fordedgeforum.com/uploads/monthly_01_2015/post-31797-0-40261400-1422333229.jpg
-
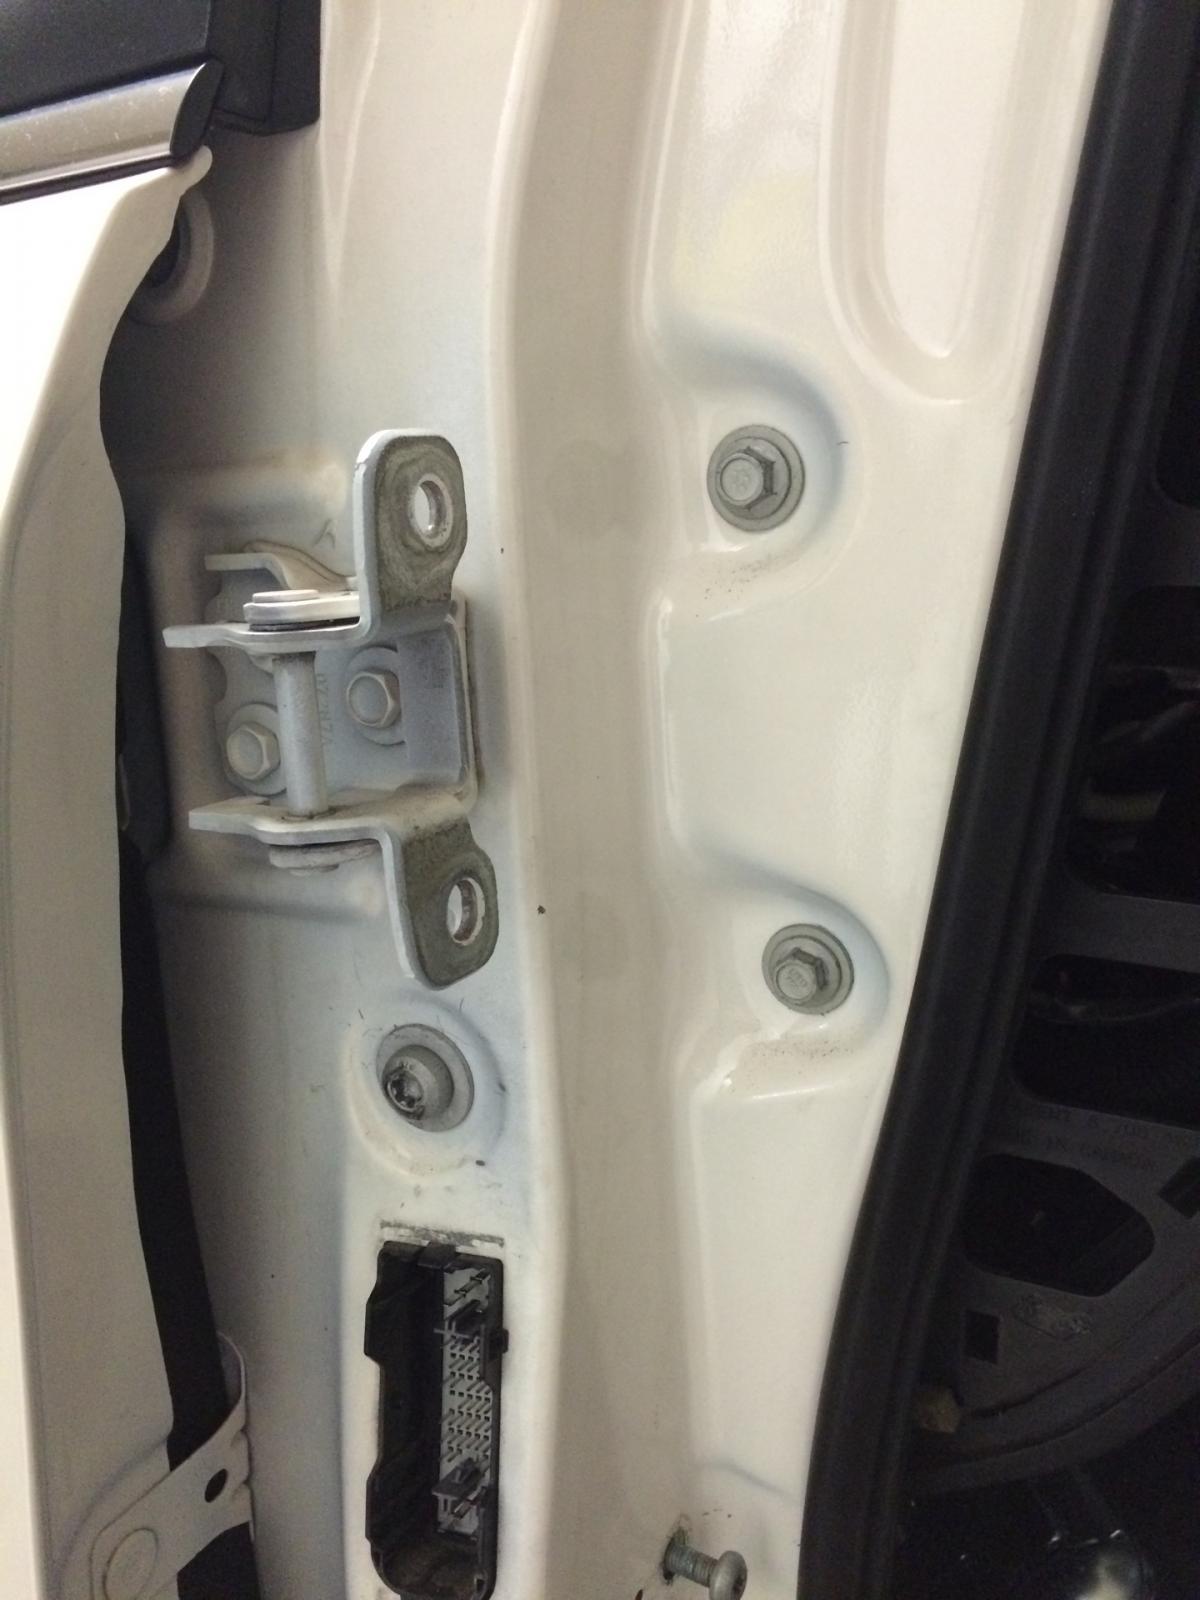
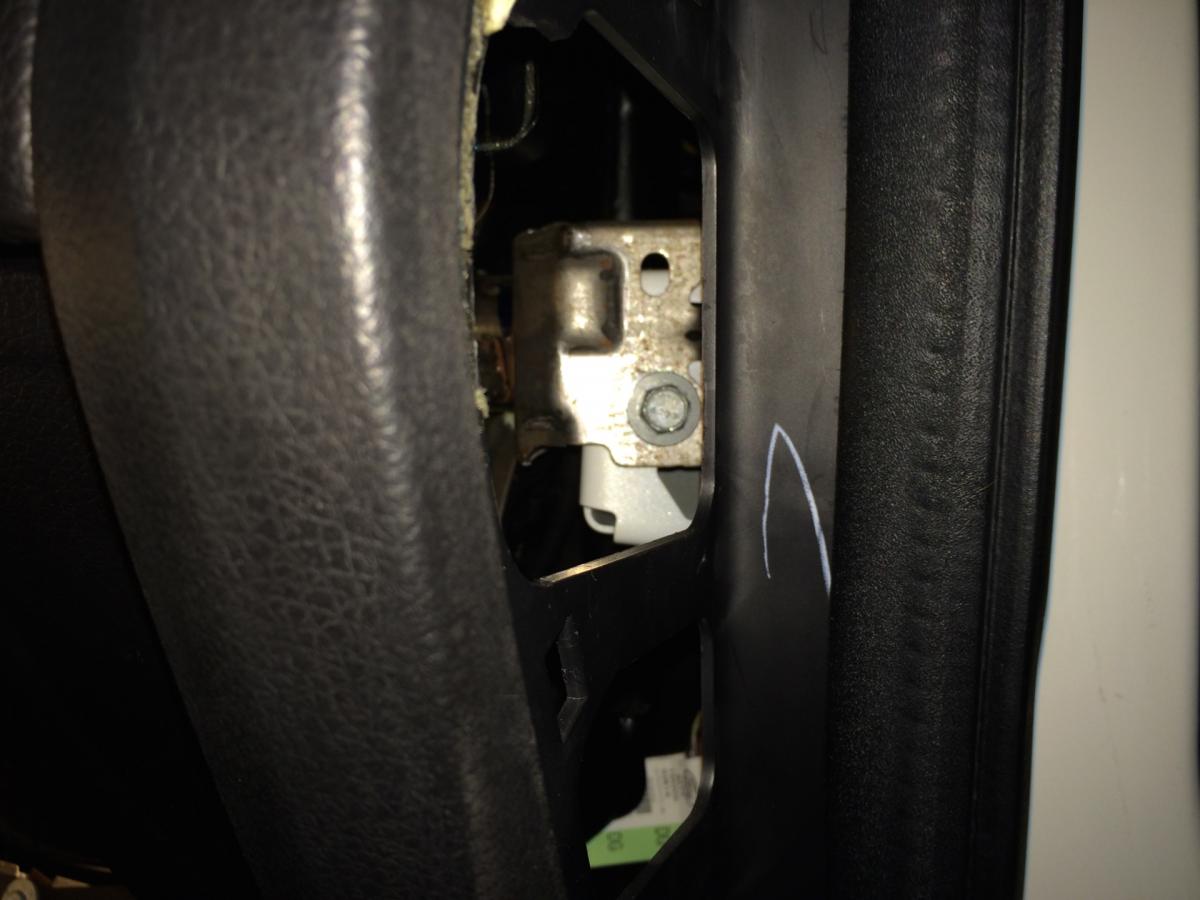
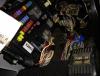
Here's the next batch. One of the items in the instructions mentioned disconnecting an electrical connection near the cowl. It's wrong. It's near the fuse panel. Also, it's easier to remove the driver's door, which is just 5 bolts. No instructions needed. Just support it before you unbolt it. Power Point.pdf Instrument Panel.pdf Instrument Cluster Finish Panel.pdf Instrument Panel Center Finish Panel.pdf Instrument Panel — Exploded View.pdf Heater Core And Evaporator Core Housing.pdf Heater Core.pdf
-
Here's the first batch. Climate Control System — General Information and Diagnostics.pdf Steering Column.pdf Selector Lever.pdf Shifter - Selector Lever Cable.pdf Interior Trim — Exploded View.pdf Seat — Front.pdf Cowl Panel Grille.pdf A-Pillar Trim Panel.pdf Supplemental Restraint System (SRS) Depowering and Repowering.pdf Console — Floor.pdf
-
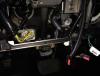
The steering wheel is very easy to remove. After the trim is removed and the electrical connections are unplugged, it's just 5 bolts. Four bolts connect it to the dashboard. The other one is at the floorboard behind a piece of plastic trim. If I didn't address it above, after you unbolt the shaft, slide it up and tape it up so it won't slide out. It's telescoping and you don't want the shaft to slide out. Just keep it together. Also, I'll post all the PDFs that I used to do the work.
-
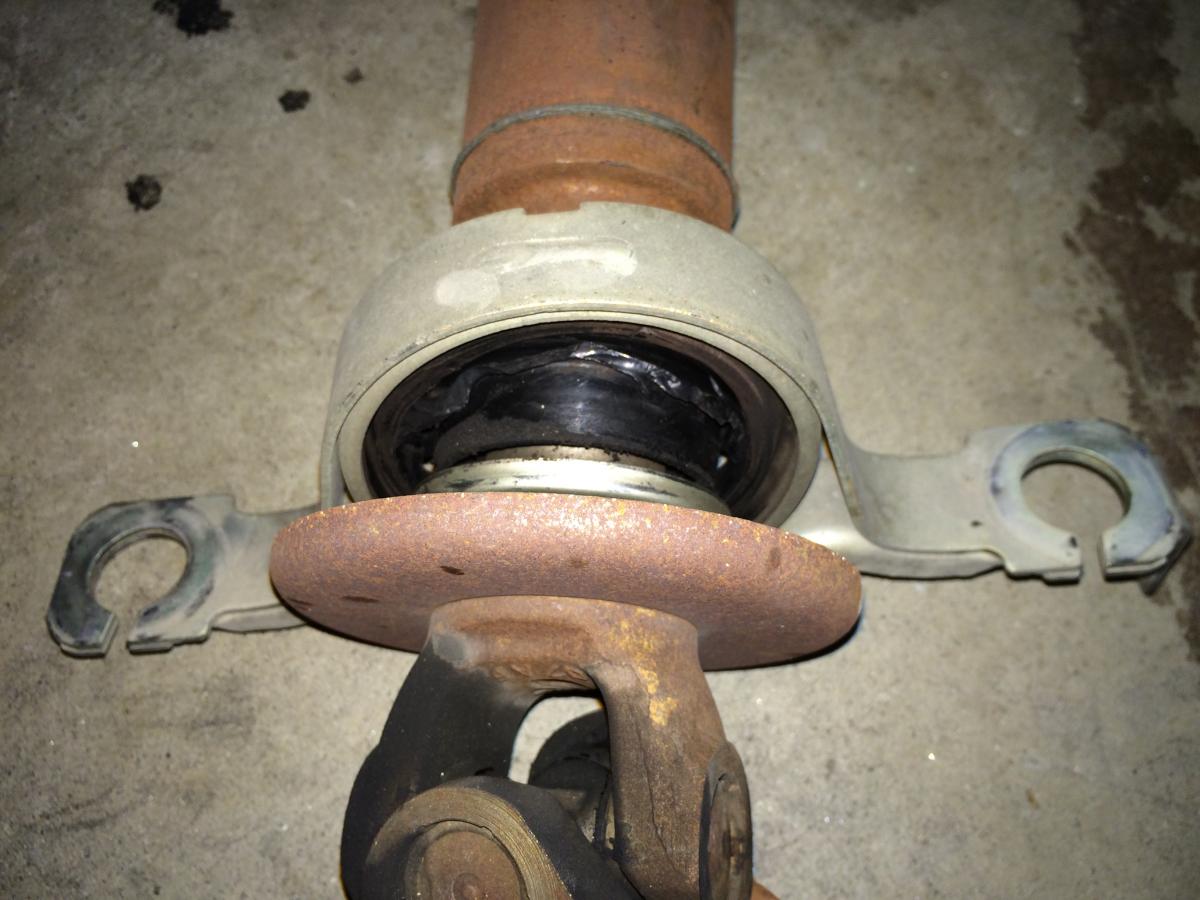
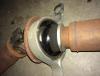
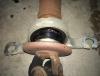
We have 2008 with the three piece driveshaft. Later model 2008's had a two piece driveshaft. The rubber on the 2nd bearing/u-joint support came apart. It was very noticeable on tight low speed left turns and sounded (and felt) like a CV joint was bad. I attached two photos of the torn rubber bearing support. I replaced it with the two piece driveshaft, which is a simple bolt-in.
-
I replaced the driveshaft last night on my wife's MKX - took about 40 minutes. The $200 replacement had more rust than the one I took off. I could have removed the rust and painted it before installing it. It was sitting on the garage floor for over a month, so I had plenty of time to clean it up. But, dealing with surface rust on a driveshaft is way too low on my list of priorities.
-
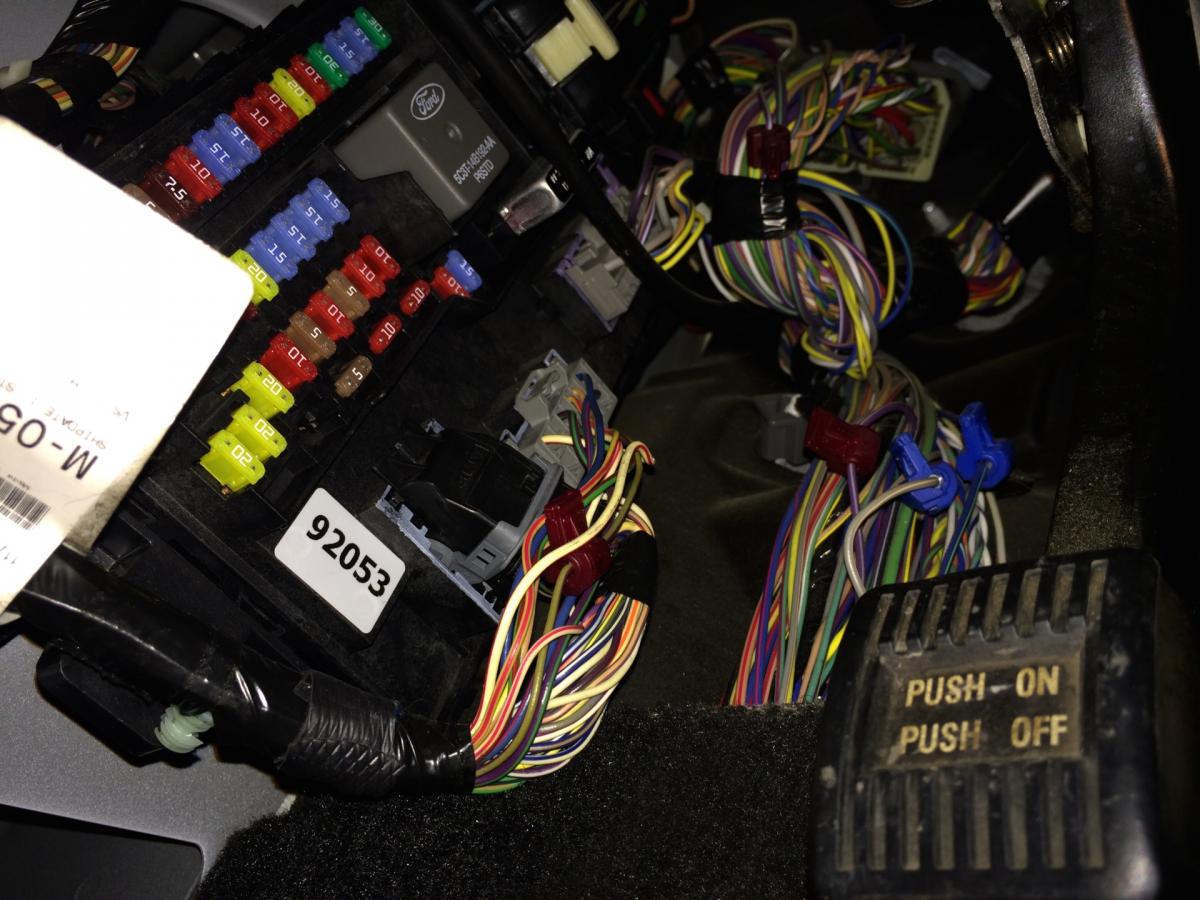
If the coolant was in bad shape and a proper flush wasn't done, it's possible that the new heater core is clogged. A reverse flush might fix it. The problem is that the passages in the heater core are very small. If there is junk in the engine coolant, it will make it's way to the heater core, which will act just like a filter. Regarding the blend door actuators, you can watch if if they're working or not. Two of the four only direct air flow. The other two regulate temperature. One is on the left side just above the gas pedal and to the right. Just look for the green electrical connector. Nearby will be the arms, which are white plastic. The other one is on the opposite side. It's easy to see if you remove the glove compartment. It's to the left of the left side of the glove compartment. While you're there, replace the cabin filter. Also, you can see if the recirc air actuator is working. The fourth is up high (on the left side) and if you can direct air (floor, vent, defrost), it's working so you don't need to see if it works or not. I think they're all in my pictures (look for the green connectors). It's a difficult reach but you can grab onto the heater hoses. Remove the engine cover and slide your arm all the way back. It's a tight squeeze but you can actually reach back there. If the engine is warmed up, and one hose is hot and the other isn't, there is no flow, or limited flow, thru the heater core. You don't need to do this while the engine is running. When's the last time you replaced the thermostat? It's different than the old school thermostats that only limited flow to the radiator. It has a secondary spring. I don't know how it works but it's referenced as an item to check or replace if there's lack of heat from the heater core. Also, check the fuses. I think there are two or three related to the HVAC system. The owner's manual lists which ones they are. I'd tell you but my Ford Service Manual DVD is on a different computer and I'm not near it.
-
I installed the module today. All is working fine. All the blend doors are working, the fan, and the rest of the controls. The big Valentines Day plus is that my wife loves the heat.
-
I took my own advice today and removed the upper intake manifold, which made it a breeze to put on the new heater hose lines. Then, I changed the spark plugs. The old plugs didn't look too bad but the gap on every one of the was 0.082+. LOL. It runs much smoother and quieter. Back to the topic... I've ordered a new HVAC control module. I'll follow up next weekend. In the meantime, it's still drivable.
-
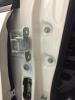
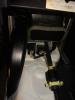
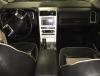
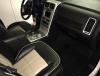
(FWIW, 1/2 of the tricks I added were lost due to a website SQL server error when I clicked on post reply. I just added them back and hopefully I got them all.) Here are some tricks: De-power the air bags before you start the removal. Make this your first step. Keep the battery disconnected, except for the instances where you need to hooked up to move something. Just remember to disconnect it. In order to remove (and re-install) the mini glove compartment (the one in front of the shifter), you will need to put the shifter into neutral. After I removed it, I moved the shifter back to park. Do the work with the tires/wheels straight forward and the steering wheel in the 12 o'clock position. The instructions don't say anything about removing the driver's door. Save yourself time and remove it after you de-power the airbags. If you don't have help, just leave it in place. Printout paper copies of Ford's instructions for the dash removal, steering column removal, etc.. While uninstalling/removing items, check off each step with a pen. Also, jot down notes if there's anything you think is important to remember. This is helpful when you get to the step to remove the dashboard. If you've done everything on the list, you'll be less concerned that you've missed something. It'll make the first tug on the dashboard easier: you'll tug and it'll rotate toward you. As you re-install each item, mark the paperwork with a highlighter. As you torque each bolt, or set of bolts, mark those also with a highlighter. Same thing for each electrical connector, or any associated part. Vacuum and clean as much as you can before you put everything back together. The cowl weatherstripping at each end can be removed two ways. You can gently stretch the weatherstripping and lift the rubber over the plastic connector. Or, you can push the plastic out of the sheet metal by slipping your finger under the sheet metal and pressing the plastic retainers. The entire cowl trim is removed in one piece. It's two pieces but it'll be connected by the rubber molding. Just leave it that way. The black plastic ends, which meet the sheet metal, are easily removed by pushing the plastic toward the center of the cowl. When you push on them, the tabs holding them in place will be exposed. If you haven't replaced your spark plugs (which I haven't yet), go ahead and plan on putting in new plugs. Here's why: in order to replace the plugs, you have to remove the upper intake manifold. I just looked at the instructions and it's easy. Had I known this early on, I would have removed the upper intake manifold. It would have made it super easy to access the heater hoses and refrigerant lines. Just in case you were wondering, you can remove and replace the heater hoses, and refrigerant lines without removing the upper intake manifold. And a few more photos...
-
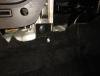
Back to the heater core & the AC line... To make this a DIY job for the weekend mechanic, the first step is to take it to a AC shop. Have them recover/evacuate the refrigerant. If you explain what you're doing and ask them if you can buy the o-rings, you might get lucky and leave with the replacement o-rings in a plastic bag, with a touch of PAG oil. You can also try a Ford dealer like I did but two different dealers didn't want to sell me the o-rings unless I had the old ones in hand to confirm the ones I bought were a match. Then, ask around and found out if anyone you know owns an R134A manifold gauge set and either a vacuum pump or a vacuum tool that hooks up to your air compressor. I have three different compressors, so I bought manifold gauge set for $50 and the vacuum tool for $20 at Harbor Freight. I've attached some more photos of details after I lifted the dash back in place.


-
Yes. The first time I cleared codes and rebooted the module, 5 of the codes cleared. But, each time the operation got more and more bizarre. The most odd part was that it worked fine for a few moments but only if I had the recirc air blend door disconnected. But, that didn't last long.
-
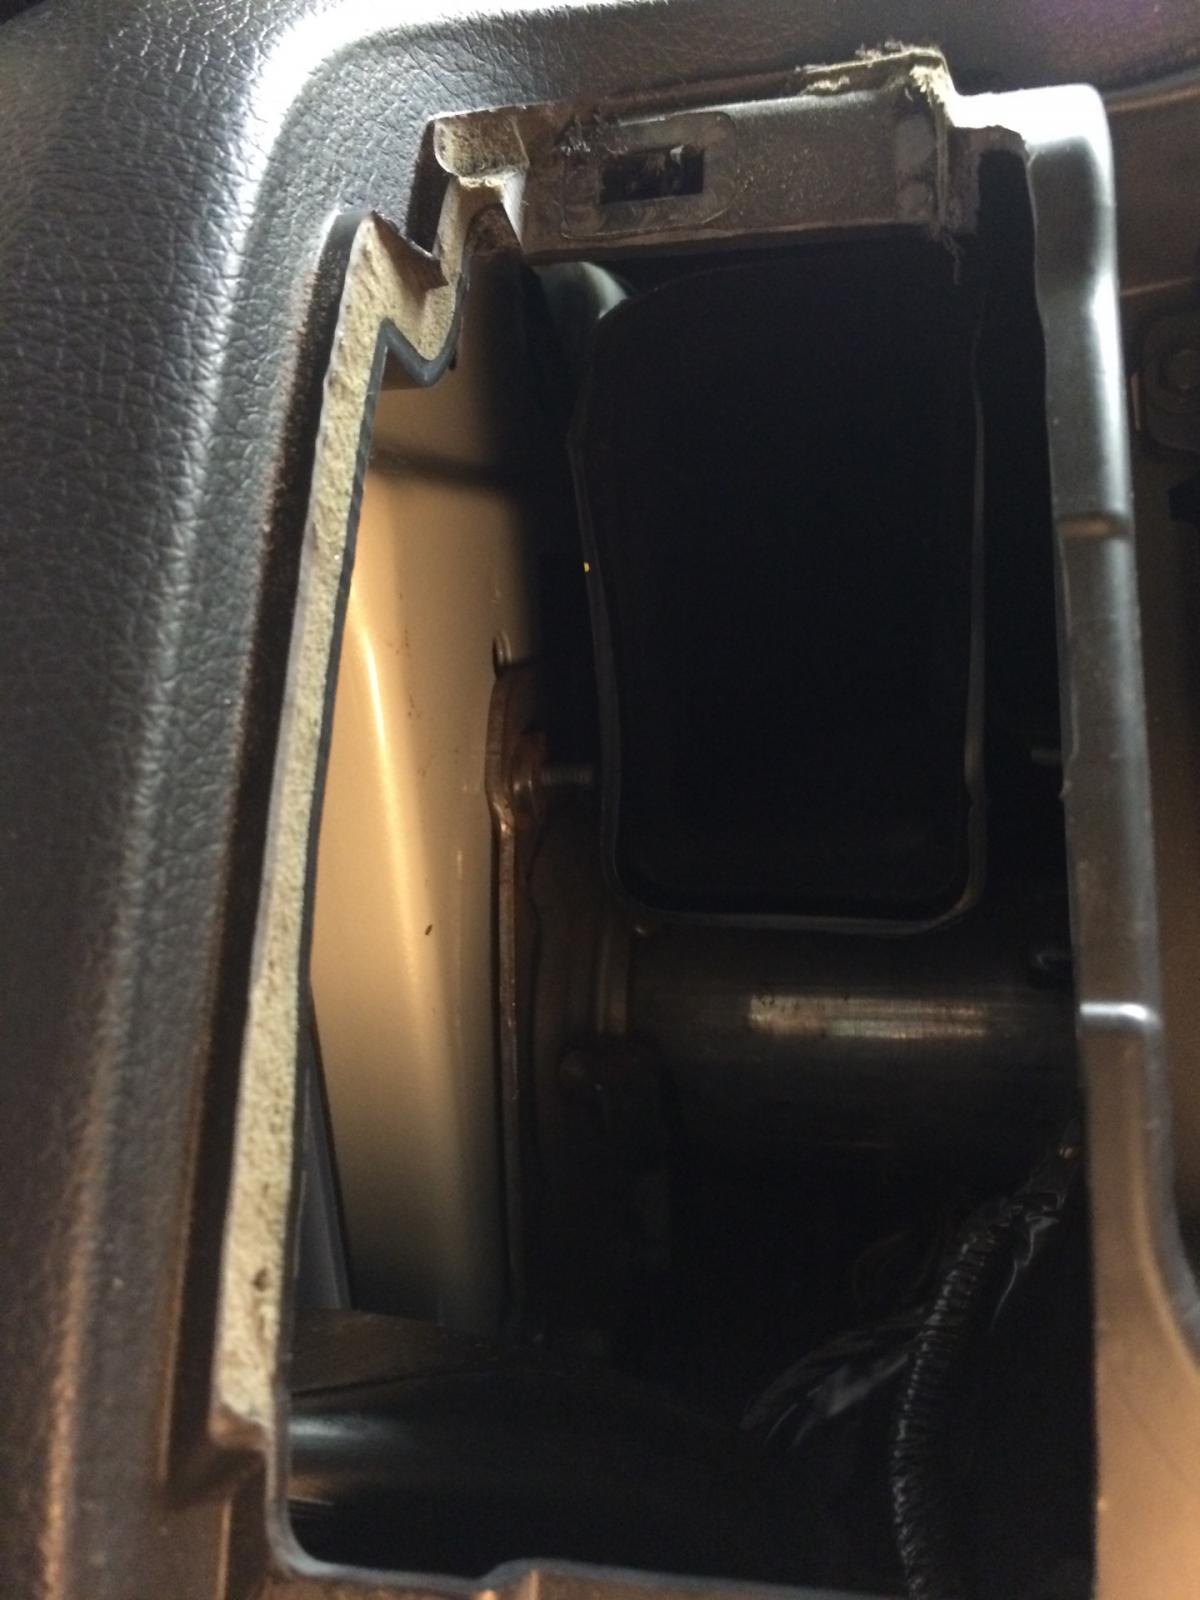
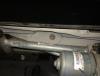
Actually, removing and replacing the blower motor should be very easy. Underneath the glove compartment, there is a plastic trim piece/cover. It's held on at the front by two rubber pins. Just grab the cover and pull down gently but firmly. Then slide it forward and it'll come off easy. It's off on our MKX at the moment and I can take a photo if you want. The blower motor has one electrical connection and is attached with three screws, all accessible from the bottom. That's it! I can also attach a PDF from the service manual if you want but this project is easier than removing a wheel. Thanks for the compliment regarding this project but it's not a job well done yet. I'm still dealing with lingering issues. After I started it up for the first time, all the blend door actuators adjusted and then stopped working. Initially, I thought it was one of the connectors that I had trouble disconnecting because this one connector is for all for actuators. I've rebooted it and after testing a few items, I'm sure that the HVAC control module is bad.
-
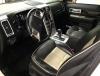
Before I add a writeup of today's tasks, here are some photos to give you an idea what I got done so far. I thought today would be easier than yesterday. Not. It's not that it was difficult. Just slow. Lots of little details. Out of everything I did, today and yesterday, installing the bottom trim piece on the steering wheel was the biggest pain. The only thing I have to do is hang the driver door, re-power the air bags and "prove out the SRS" (as Ford puts it), clean the cowl trim and reinstall it.
-
Actually, that was a hangup for me. I've never worked on AC stuff until this project but it forced me to learn more than I ever wanted to know. I am going to address it so that it turns the project into a DIY. More to follow. I'm currently messing with the center console and shift housing. It's not difficult. Just confusing if you haven't looked at it for a while. And, it's the one assembly that I didn't take a lot of photos. It's just a bunch of assemblies and I want to make sure I don't install something that hides bolts that I need to install. Of course, I could look at the manual but I need to have some kind of a challenge...
-
LOL. Not yet - it's not done! But, once it's running with heat and no electrical problems, then I will have saved thousands.
-
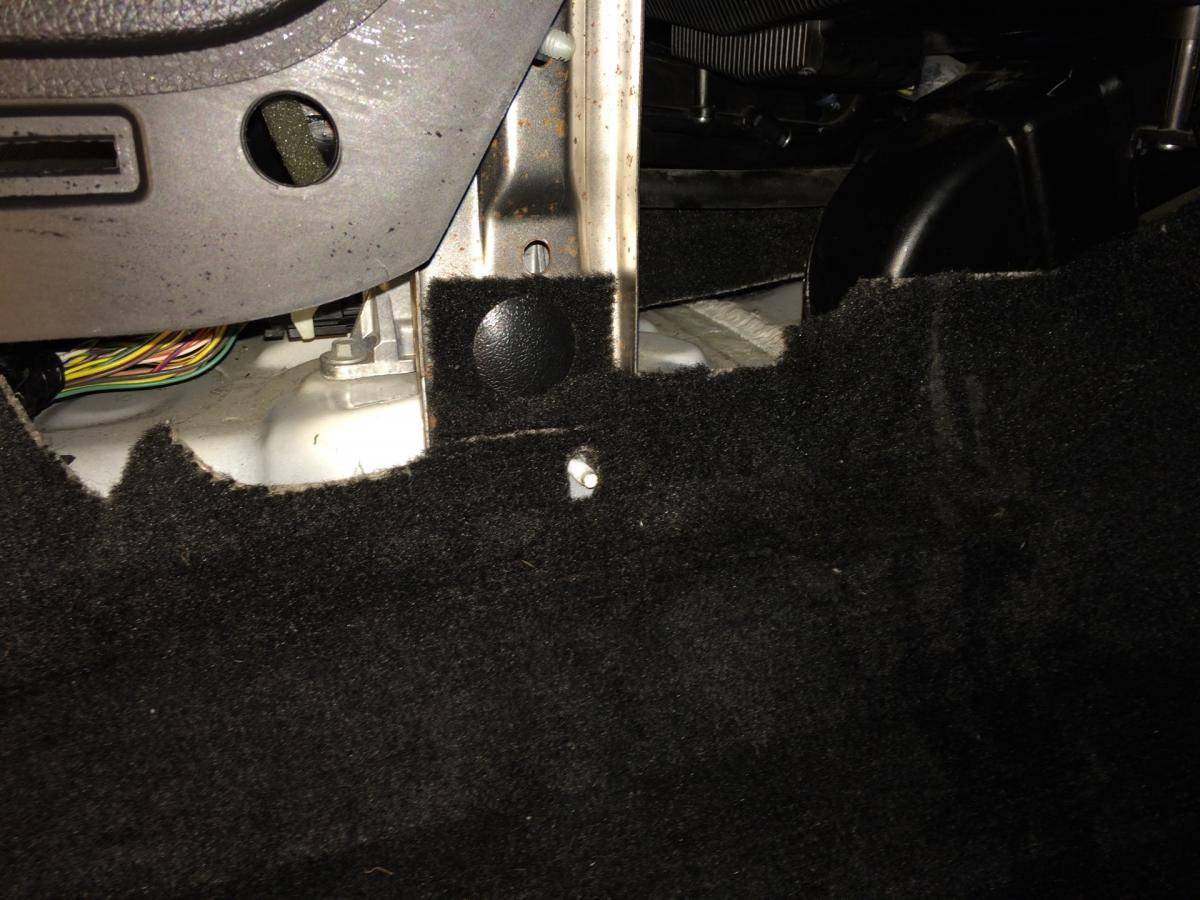
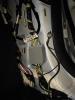
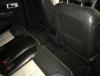
Steps done yesterday: Remove the 4 blend door actuators. Test the linkage for binding and fix if needed. Install new blend door actuators. Lube the new o-rings and place them on the refrigerant lines. Place the rubber seal on the heater core tubes. Move the passenger side floor duct to the right, lift the housing into place. The passenger side duct will pop into place on the housing. Place the 5 housing bolts on hand tight. From the engine side, insert the refrigerant lines into the thermostatic expansion valve (TXV) and tighten the fitting nut to 71 in-lbs. Hook up the AC Manifold gauge set and test that it holds vacuum. My system can only get 28 inches of vacuum but from what I was told by a friend, that's very typical. It held the vacuum for as long as I had the manifold on. Tighten 5 housing nuts to 71 in-lbs. Reinstall floor duct and plastic pushpin retainers. The two that are deep under the carpet (underneath the removed seat) can be accessed by sliding your hand underneath the carpet. Hook up the housing drain line. Vacuum up all the debris Ford left during assembly. Reinstall the scrivets for the carpet on both sides. Double check all exposed electrical lines. Wrap any that could cause noise (tapping, squeaking, etc). Reinforce any that need it. Inspect harnesses and wiring on the removed dash board. Correct any visible signs of weak connections or items that could rattle or cause noise. Get ready to install the dash. On the drivers side, there is a support that locates the dash. On the passenger side, there is another one. And, the center of the dash is located and supported by studs on each side. Lift the dash into place, slightly tilted forward and set on center studs. Then push back each side onto each side support. Before you start attaching bolts, check that all the harnesses are not caught between the dash and anything behind it. Attach 4 dash bolts on drivers side, 2 on passenger side and one at the cowl. Install drivers seat. Don't attach bolts or electrical yet. Attach steering housing. Attach 2 dash bolts right of steering housing (dash to steering support). Triple check for anything stuck between dash and heater core housing. Torque all bolts/nuts to spec Dash: Driver side torx (in door): 22 ft-lb Driver side dash (in door): 15 ft-lbs Passenger side dash: 15 ft-lbs Cowl area: 15 ft-labs 2 bolts at center column left side: 16 ft-lbs 1 bolt at center column right side: 16 ft-lbs 2 bolts at dash to steering column support: 16 ft-lbs Driver side (bottom of dash): 62 in-lbs Passenger side (bottom of dash): 62 in-lbs 4 bolts for Steering column: 21 ft-lbs New pinch bolt at steering column shaft (connects to steering box splined shaft): 17 ft-lbs Install plastic pushpin holding carpet at center of dash, passenger side Install screw that attached duct to center of dash (it’s on the passenger side) Install nuts on duct to dash bracket (center of dash, drivers side) Attach hood opening and bolt. Press on carpet retainer on drivers side (center of dash) Connect all harnesses. Hold onto stereo, connect 3 harnesses and two other antenna connections. Slide in stereo (Ford calls it an ACM), check cables behind ACM and push all the way in. Screw on stereo. Install A pillar tethers. Line up slots at top of dash and guide into place. Line up guide at top near top snap. Then, move rubber moulding over piece and snap top in place. It'll make sense when you see it. Place shifter housing close to where it goes and double check the shift cable location. During the install, the cable will probably end up too low (inside the dashboard) and you'll need to raise it. It's easier if you place the shifter housing to check and then remove it, so you can deal with the cable. The cable has a rubber housing that'll squeeze between the HVAC duct. Just raise it above the ducts. This will make sense if it's too low and you try to attach the cable to the shifter. Once the cable is in the correct location, snake the cable thru the shifter housing as you lower into place, and locate the housing in it's final location. Press the cable support/attachment onto the housing and then press the cable end onto the shifter. Attach the 4 bolts. Place center column “support” between the seats about two inches back from final installed location. Line up guides and press each side in front towards center of the car. Then slide it forward. If the plastic retainers on each side don’t grab, the front panels for the support will push out. If you push the front panels too much inward, the center column won't slide forward all the way. Surprisingly, installation of the bolts that are next to the seats will seem much easier than the removal. I would have finished yesterday, but we went to a charity dinner/dance for our Church last night. Fun evening! Great food, dancing and we won three door prizes! I'll update the rest of the install later (don't know when) with some photos. It should be drivable before the Super Bowl kickoff. The only item I'm debating on is installing custom heater hose lines. I'd like to install an inline filter/screen near the overflow tank. After all this work, I don't want the heater core to get clogged again. One hose would go from the heater core back to the engine. The other hose would be routed from the engine, to the bracket at the firewall, and would daylight on the left side of the engine bay to a filter near the overflow tank. Then, it would return back to the heater core. But, finding a suitable spot to support filter/hose, and have easy access to remove the screen, is the current problem. I haven't thought it thru yet.
-
Back in the day, heater cores used to be easy. Just remove the glove compartment and there it was. Oh well. To be honest, this project is a lot easier than it looks. It's just a lot of finish parts that need to be removed and then a lot more parts. Once detached, the parts come off in modules. It does take time. And for full disclosure, I was initially apprehensive removing the finish pieces because I was worried that I damage them. I was given simple advice from a guy at the Ford parts counter: just pull straight out. All the illustrations show where the hidden "snaps" are located, and pulling straight out worked like a charm. There were only two parts in the manual that described a different pull direction for removal. It was like a thousand easy buttons. In my opinion, anyone that's competent enough to replace brake pads, or sparks plugs, could do this job. Yes, there are some tricks but it's not too difficult with the instructions (and patience). How long? I suggest two weekends, especially if you still have a life and wante to watch a football game, go to church, see a movie, etc.
-
Must be the blend door actuator. I had already ordered and received one of them (lower actuator on the driver's side). Once all were exposed, I started to think that maybe I should replace all of them, just in case. The funniest part about this entire project has been how many times I've said out loud, or have just thought the following: "Really?" For example, if anyone asked for help doing this project and I told them that in order to remove and replace the heater core, they'll have to mix acetone and ATF. So, go buy some now. Most likely, the reply would be "Really?"
-
Hey! I guess I should have posted here first. Up until earlier this evening, I was just a lurker. Hopefully, I didn't break any rules. LOL. Here's my first post (just some pix): http://www.fordedgeforum.com/topic/17238-no-heat-decided-to-fix-it/ -Zaz