


sabtaj1
-
Posts
124 -
Joined
-
Last visited
-
Days Won
3
Content Type
Profiles
Forums
Gallery
Posts posted by sabtaj1
-
-
bigger is out and smaller is in. Now is a good time to be a midget. I dunno, thats crazy that they made the filter smaller.
-
FRONT SPRINGSok, so the front is done. Took about 45mins start to finish. First take one wheel off (19mm socket) and then use needle nose pliers to release the clip holding the wheel speed sensor wire. The a 10mm socket to disconect the brake line from the strut. Then you will need a short bucket or whatever to prop the spindle once the two bolts are disconected. Ok, so take the nut off the bottom bolt that is on the strut and remove bolt. Then do the top bolt. You can now wiggle the strut free from the spnidle. Next you will need to use a rachet wrench (13mm) and undo the four nuts located at the top of the strut under the hood. Remove all but the one closest to the motor. That one you will remove last since it is the easiest. Once they are removed the strut will be free. You will have to wiggle the strut over the brake line towards the front of the car and it will then come right out. Install the coil compressors on the outter side of the coil with an impact. Then use the impact and remove the top nut on the strut (13/16ths). Once removed clean the top and bottoms of the seats. Place new coil on the strut and place cap on and install nut. Be sure to run the nut down with an impact untill it is fully seated otherwise you will hear sounds when hitting bumps. Onece top is on you will be able to instsall strut. The top cap has the four studs and an arrow in the middle of only two of them. This will be pointing outward in the dirrection of the ears that attach to the spindle. Place the strut up into the upper pocket as high as you can. Then work the bottom over the brake line. You will now be able to line up the top studs with the holes on top. Once you get it in you will be able to position the bottom of the strut on the sway bar end to help hold it up as you place one nut back on the top to hold it. Once you get the one on the other three are easy. Get them all on and fairly tight and them do an X pattern when fully tightening them down. Now go to the bottom of the strut and work the spindle back in and install the top bolt first and loosly place the nut on. Now put the bottom bolt in and loosly place the nut on . Now with an impact, tighten the top nut first and then the lower. Now puch the pin back in that hols the wheel speed sensor wire and install the bolt that holds the brake line. Now install the wheel and your done. Same steps for the other side. Hope this helps those of you that like to save money and do it yourself.
-
 3
3
-
-
REAR SPRINGS INSTALL
ok, So....... I did the rears today. took me almost an hour, start to finish. Really wasnt too bad. I used spring compressors (the outter type you can barrow from auto-zone). I put those on the one side and crank em down pretty good untill i could see the bottom of the spring had lifted almost a half inch from the seat. I then disconected the sway bar (15mm) and the brake cable(10mm). I then disconected the top bolt on the cast iron part bolted to the hub assembly (18mm) and then the lower one thats closer to the sway bar (18mm). I then used my foot and held the spring and pushed the lower arn up and down and got the spring ready to come out. I then had to take one side of the spring compressor off to get the spring all the way out. Then I cleaned the spring seats and installed the new H&R coil easily. To put everything back together start with the upper bolt that goes into the cast arm. You will have to use your jack on the outter part of the rotor. just below where the wheel studs are and jack it up to where you can work the towo pieces to get the bolt together. then you will have to move the jack underneath the coil spring and play with the jack a little untill you are able to get the lower bolt back in. The rest is very simple. Hope this helps. I will be doing the front tomarrow but that will be alot easier than the rear for sure.
-
2
-
-
ok, I take it everyone had theirs done. Hmm, ok. I will figure it out.
-
I was looking for some of you that installed your own springs. And wanting to know how you swapped the rear springs out? I have done quite a few springs but never messed with independant rear. If you can let me know what ya had to do or disconect it would be greatly appreciated. Planning on droppin her on wendsday. I am sure it would help others out too. Thanks in advance. I checked the search but never found anything. After install I will try n do a write up.
-
I just did mine too. I just glass bead blasted em and then use the etching primer and sprayed them with the duplicolor trim paint. Turned out great. The dye thing sounds interesting. hmm
-
yep, I got one sittin in the garage off my 07 also. swapped it out for a black one.
-
I think it looks GREAT! But I am now wondering if those tail light will work with the 07-10 models cause they look SO MUCH better than ours in my opinion. I am gonna hold off on the sport tails until I can find out if these will fit in my 07 or not.
-
Yep, you must remove the front bumper cover in order to remove the headlights. Its really pretty easy. I just had mine off the other day to change out my chrome grill for a color matched one.
-
oops, just saw the STEEDA edge. like that. lol.
-
@sabtaj1
i like the original grill...so it will stay. Vinyl stripes is not so fine cause of the glass roof.
Think it would only look nice if the stripes would reach from front to rear.
I actually meant just the center of your hood starting the width of the grill and going all the way to the windshield. Kinda like what they did on a 86 gt mustang. No biggie. Whatever you decide will be fine I am sure. Its hard to ask what you should do because everyone has different tastes.
-
Care Bear? LMAO. I think I just peed a little. Hahaha... Holy santa claus sh-t, that was funny.
-
I think a unicorn would be cool. LOL. Just kiddin. Plain as jane is the way to be. Although I am going all blk on mine right now I may consider flat blk stripes kinda like the GT500. Big maybe though. LOL. But maybe on yours a blk grill and then starting the width of the gril and wideing just a bit all the wat to the windshield do blk in vinyl. Would be a cool blend as the roof is blk too. Dunno, Photoshop it, would like to see a pic.
-
I wil be lowering mine also. I still have the camber bolts I bought for my 07 mustang since I did not need them. I am thinking I probably wont need them. Also, before you decide to get it aligned, drive your car for atleast a month to let the springs settle first. I hope the H&R springs ride nice. Mine have been sittin in the garage for a month now.
-
I installed HID's with the slim ballasts on my fogs. On the drivers side I was able to do it all through the top under the hood. Has a pretty good open area to reach down to get to it. The passengers side was harder, I ended up taking out about 4-5 screws out of the inner fender well and going though there to install the ballast and bulb. It was too cold for me to rip er all apart. LOL.
-
Tasca has the best prices on the lights I wanted. oredered the head/tail lights. Thanks NBAworm, you should change your name to Geico cause you just saved me a sh-tload of money. Thank you!
-
Our regular edges have the chrome on the inner housings and on the sports the chrome is black instead. It all depends on your taste, I personally like the black inner houseings. I dont have any pics to show you the difference but if you know what to look for you will notice as soon as you look at a sport. Hope this helps...
-
Just so ya know that is under the employee pricing from ford. So I am just gonna order em all from Tasco. Hope ya get your edge soon. LOL
-
ok, I will try that. The one I found came up to be like 550 with shipping. i could understand if they were like projectors but thats crazy. LOL. Thanks
Just sent them an email asking about them. On another note they have the lowest price on the sport tail lights that I have seen. Thanks alot!!!
-
I have used the search but couldnt find any posts. I was wondering if anyone had a line on where to get the sport headlights at a good price? I did find em for around $230 each but didnt know if anyone found em cheaper. Thanks in advance. Have a great day...
-
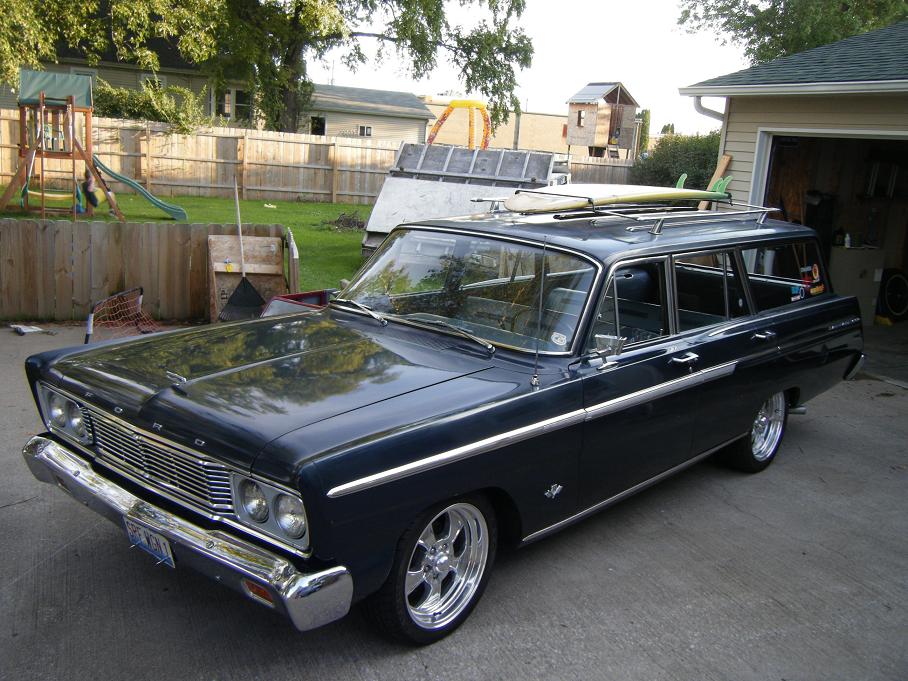
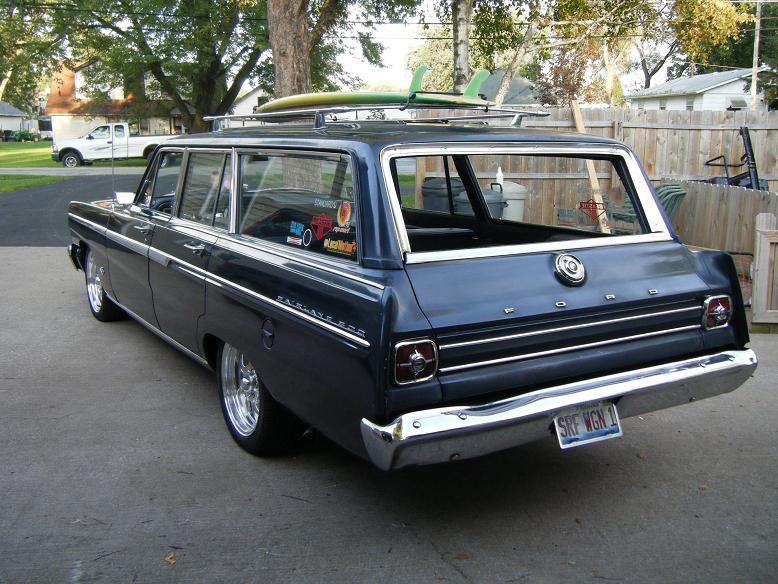
I love that wagon, very nice
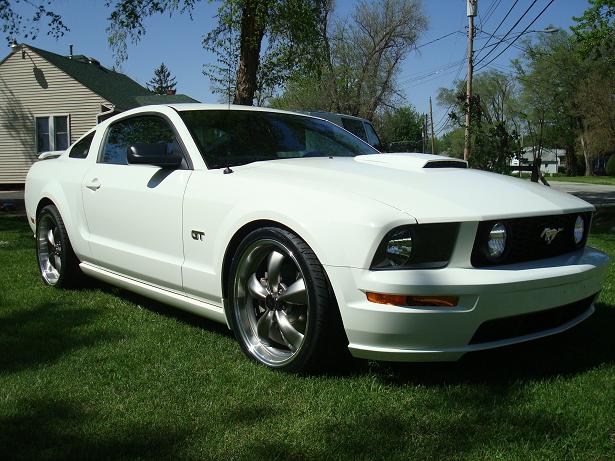
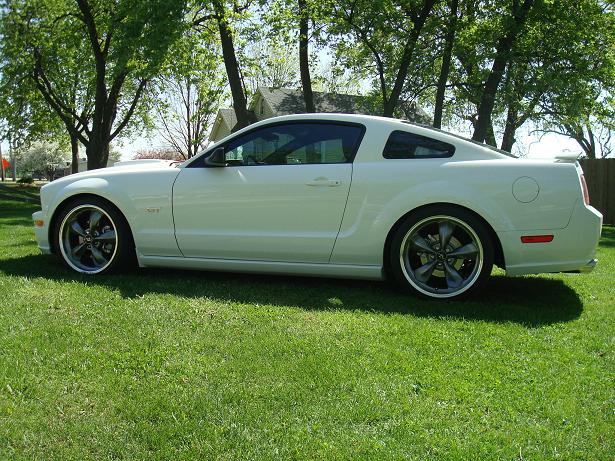
 The GT is nice too, does it have 20"s ?
Thanks! I bought the wagon from the original owner at goodguys in Kansas. LOVE IT, dont see em. Yes the GT has 20x8.5 fronts with 255/35 and the rears are 20x10 with 295/30 I think. could be 40 and 35?? LOL. I got rid of my 03 marauder that I played with to buy the edge. It was faster than the stang. LOL. went 12.26 @ 113 on stock radials with two kidss seats and a full size stroller. HAHAHA. I got an 07 blk sel and absolutely love it, wanted the sport but didnt want the payment. Booo...
-


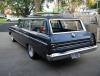
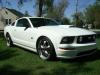

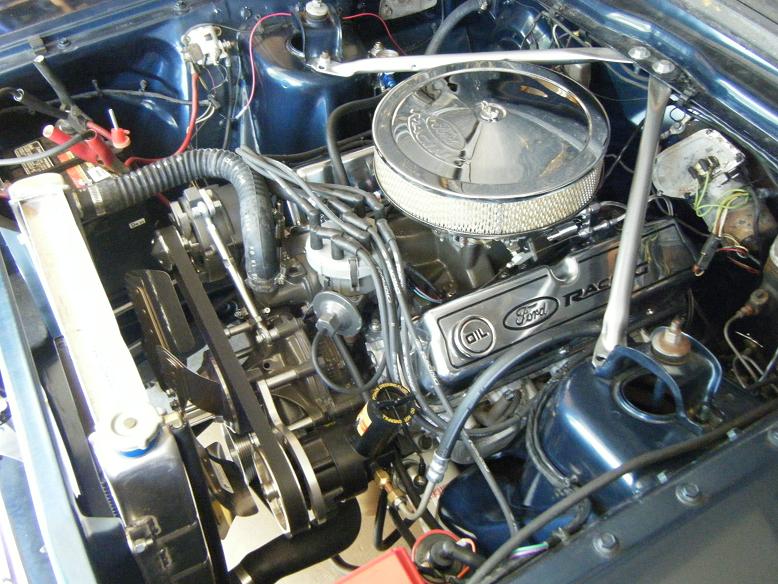
My 07 GT and my 65 Fairlane 500 wagon (347 Stroker).
-
just complain to ford and they will replace them under warranty.
-
That is awesome. I really wanna see pictures from the sides of it slammed and lifted. Did you do air struts in the front and just bags in the rear? I am curious. 6 months is a long time. I hope it was air ride tech or somthing that could possibly make a kit or sell brackets or somthing. Nice
spring mod
in Brakes, Chassis & Suspension
Posted
I just installed my H&R springs and could not be happier. It still rides excellent but feels so much better. The handleing is great and it doesnt feel top heavy anymore and feels more car like and not so SUV like. I would recomend them to everyone. Looks great too!!!