Y2KSVT
-
Posts
11 -
Joined
-
Last visited
-
Days Won
1
About Y2KSVT
Y2KSVT's Achievements
")
Newbie (1/14)
-
If anyone is interested in this particular projector, there is more information, and the entire kit can be purchased at: http://www.theretrofitsource.com/complete-retrofit-kits/universal-kits/bi-xenon-mini-stage-3-kit-d2s.html#.VUNyYY7F9yU Or, visit www.theretrofitsource.com for other available options.
-
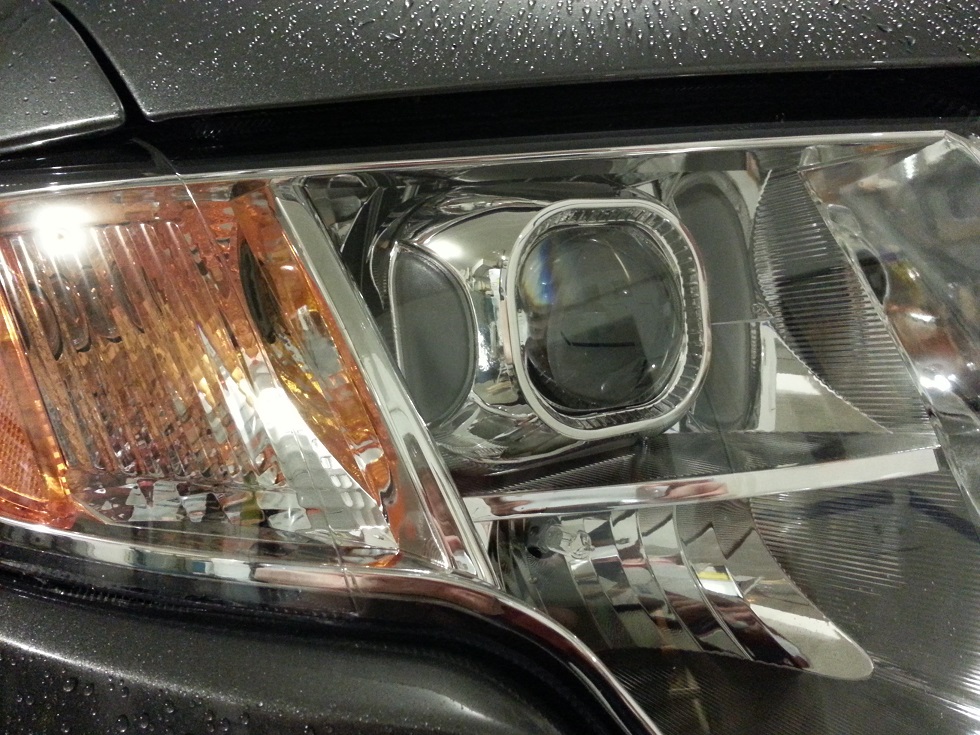
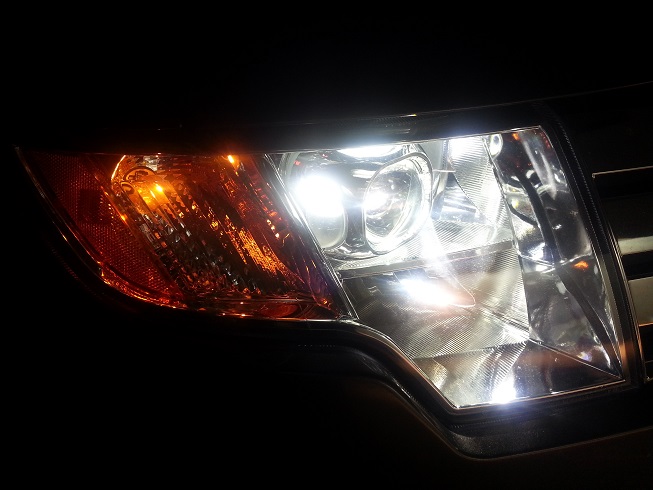
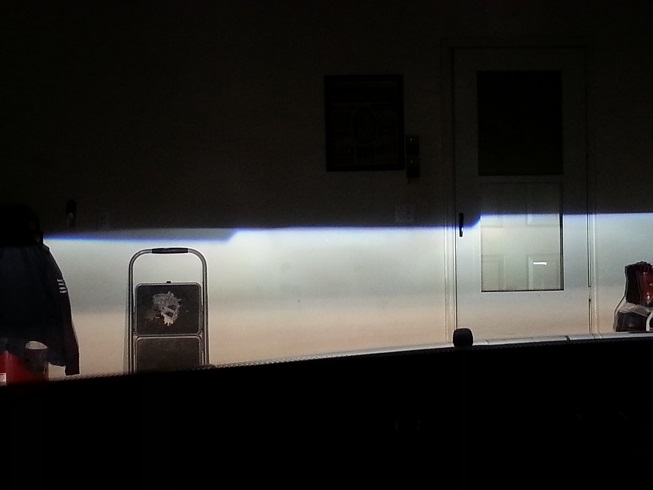
Thank you! Great questions! What I didn't show a picture of, was the original headlight alignment when I first fired them up. It wasn't great! But, in a matter of minutes, I had a perfectly level beam pattern. Part of the modification to the headlight housing, at least with this specific projector, is that you need to expand the size of the hold in the back of your housing where the original headlight bulbs sits. I used a dremel tool to cutoff the entire cylinder that comes out the back of the housing. It's hard to explain what I mean without pictures, or without someone looking at the back of the light. Essentially, if you take the rubber dust cap off of your low beam light, you'll see the back side of the reflector bowl. There's a ~2" wide cylinder that protrudes out about an inch or inch and a half. That whole thing need cut off, and the headlight bulb hole, widened to accept the threaded end of the projector. I want to say that threaded end is just over an inch and a half wide. Once you have the reflector base modified to accept the projector and you lock the projector down with the provided locking ring/nut, you'll have two ways of adjusting your beam pattern. Either with rotation, which is as simple as loosening the locking ring/nut a little and rotating the projector a little bit and re-locking down that ring/nut. If your beam is either high or low, then you can use the factory adjuster on the top of your housing. Take a screwdriver and turn it, which tilts the entire reflector housing up or down. I should mention, I fired these lights up for the first time, before putting the lenses back on. I wanted to make sure that any major adjustments weren't needed before sealing them back up and having to bake them back open! Luckily, nothing major was needed and I was able to quickly align them and then seal them up. I forgot to mention, I went with the 'square' projector as I thought it would be somewhat unique, but also look OEM inside of the Edge headlamp. That partition inside of the headlamp is pretty square/rectangular, so the square projector just looks right inside of it. I really wanted an OEM-look, so I stuck with a chrome shroud and didn't paint anything.
-
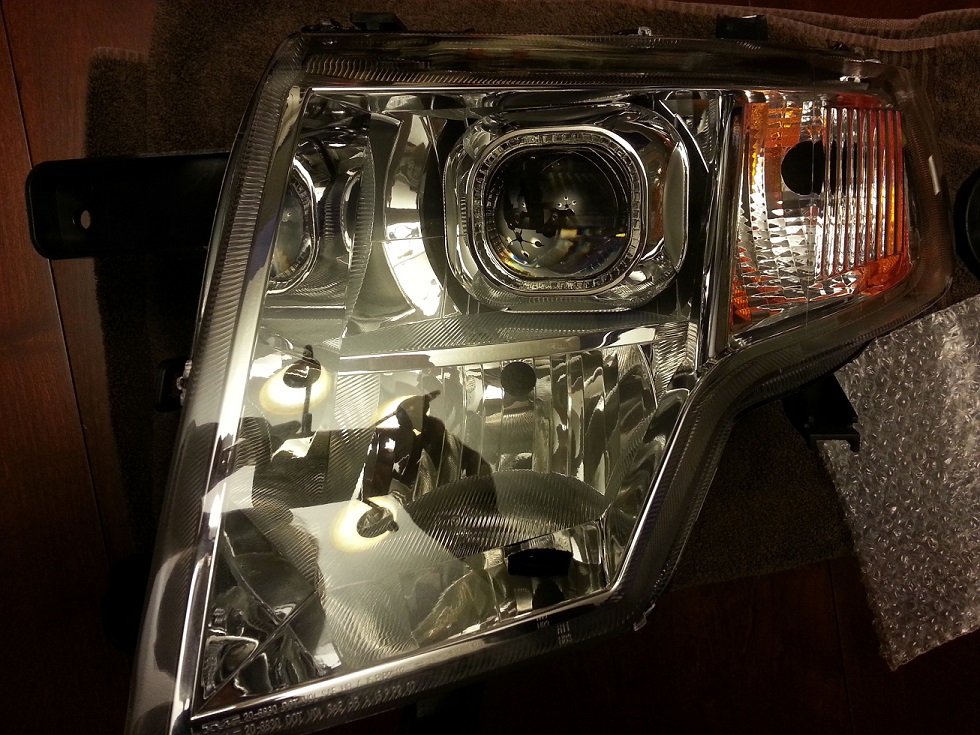
Good morning. I've mentioned in another thread that I was undergoing an HID projector retrofit. Due to the limited amount of time I had to work on it at any given moment, I didn't take any progress pictures. If anyone is interested in doing a similar retrofit, feel free to ask any questions and I'll do my best to answer them. Back in November, during TheRetrofitSource.com's Black Friday special, I bought the Morimoto D2S III Mini kit. It includes everything you need to complete a retrofit, other than the butyl rubber needed to seal the lights back up. You could use silicone, but the butyl is so easy to work with and will make opening the lights back up, if needed, so much easier. I'll say that opening the factory lights, or even aftermarket lights, is not quick or easy. This takes a lot of self control. My first attempt was on the factory light, right off of our Edge. It didn't go well.... at all. I managed to crack the chrome bezel inside the light, tore up the channel that holds the glue that seals the lens to the housing, and still never got the entire lens off. I siliconed it back together and did some more research. Found out I wasn't heating my oven up high enough, or for long enough. The 'permaseal' glue wasn't getting hot enough to even remotely soften, so it was like trying to work with hardened concrete. 270*F at 17 minutes is the sweet spot, and even then, you've got to work quickly and put the light back in the oven for a few minutes at a time to keep the glue semi-soft. Anyway, I started over with an aftermarket light and was successful. Took me a couple months to order the other housing and then another month or so to retrofit that light. I just finished a couple weekends ago, and here are the results. Feel free to ask any questions or provide your comments. Thanks, Mark

-
I just recently found the same issue with our 2010 Edge SEL, but my story is almost too embarassing to tell. The rear passenger turn signal wasn't flashing so I went to replace it. Took the old bulb out and noticed that the socket looked charred. Figured that might have been the culprit, so after replacing the bulb and still getting no flash out of the turn signal, I replaced the socket. Still no flash. Decided to take it to the dealership, where they told me it was the bulb. Evidently, with the lack of light I have in the back half of my garage and really concentrating on that burned socket, I pulled the old bulb and set it down, and instead of putting in the new bulb, I put the old one back in. Wow, what a dummy! Anyway, I wouldn't call this 'normal', but I'd say it's almost typical of these model year(s) Edges, from what I've read online in various searches.
- 25 replies
-
- 1
-

-
- 2008 ford edge
- Tail lights
- (and 3 more)
-
2008 Edge SE Projectors
Y2KSVT replied to elricfate's topic in Glass, Lenses, Lighting, Mirrors, Sunroof (BAMR), Wipers
You can definitely do the retrofit for $400 or less if you do the work yourself. If you go the square route and are thinking about angel eyes, you might go with a different shroud than I did. The angel eyes don't fit flush with the front, so I'm ditching the angel eyes altogether. I'd cut you a deal on them if you decide to go that route. I might put together a write up as I know it was difficult for me to find exactly what I was looking for as I started this. I certainly made my mistakes, which I think everyone could learn from. I'll be ordering a passenger side light soon, so I can retrofit the other projector, and at that time I'll be able to finally mount them on the car for the harness install and projector alignment. I'll try to take as many pictures along the way and post something on here on what to expect. My first piece of advice is to have patience. It's not a one day project, so plan to do this when you don't need your vehicle, or just order some new (or used, or aftermarket) housings so you can really take your time. Getting the OEM lens off was very difficult, where the aftermarket lens came off in an hour for me. The permaseal glue used on these is very difficult to work with, but I'll explain that all in a write up. -
2008 Edge SE Projectors
Y2KSVT replied to elricfate's topic in Glass, Lenses, Lighting, Mirrors, Sunroof (BAMR), Wipers
http://www.theretrofitsource.com/complete-retrofit-kits/bi-xenon-mini-stage-3-kit-d2s.html#.VPTYsfnIbuk If you click this link, I believe it should take you directly to the complete kit that I bought. I went with the 'X lens' which is the square lens option. I thought it'd look good with the shape of our headlights. I went with the PanaSquare shrouds and found that they need zero trimming for our headlights, which probably has more to do with the size of that opening and not the shroud itself. I'm sure most shrouds will fit in that space with little to no trimming. I received 4300K D2S bulbs with this kit, which is what OEM HID setups run. Thanks for the compliment! -
2008 Edge SE Projectors
Y2KSVT replied to elricfate's topic in Glass, Lenses, Lighting, Mirrors, Sunroof (BAMR), Wipers
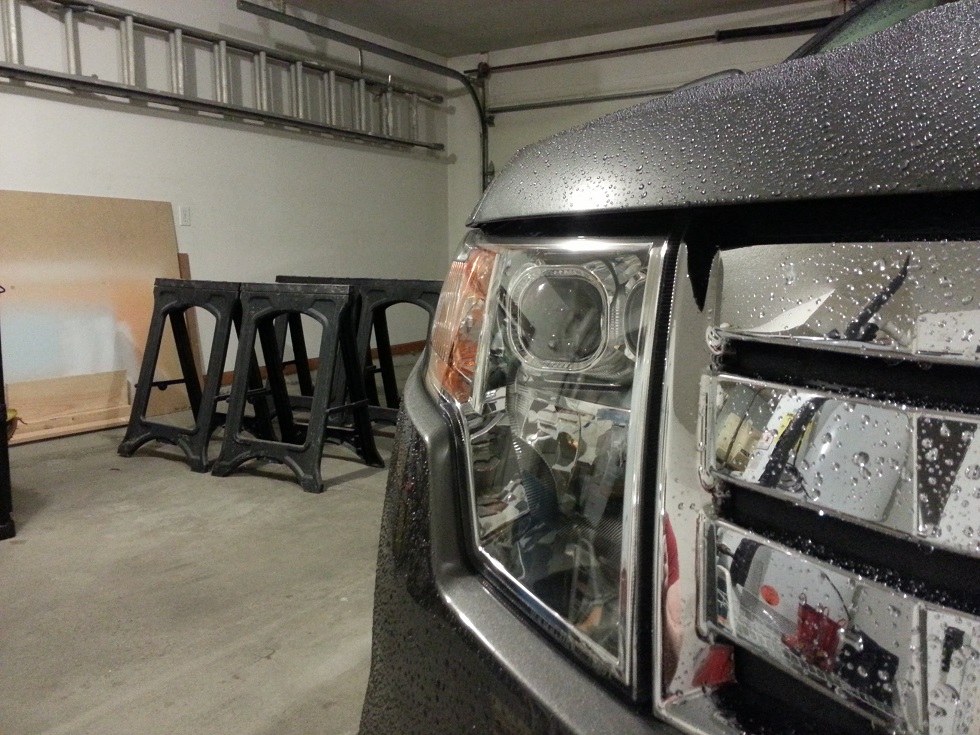
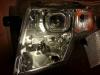
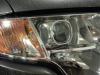
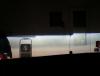
Hi elricfate. Looking around on hidplanet.com, I've not heard of anyone speaking highly of spec-d tuning lights. Most of the discussion is around light output, which may or may not be of interest to you as you're asking more about longevity. That, I haven't heard much about. I would say, however, that depending on your skill level and/or your budget, you might consider a quality retrofit. I'm in the process of retrofitting projectors into my 2010 SEL. With a quality bi-xenon projector, you shouldn't have to worry about the brights staying on or not working. It takes some patience, getting the lens off, but I think the results make it worth the extra work involved. Otherwise, you can find people online that will do these retrofits for you, through hidplanet.com or even theretrofitsource.com. Here's a photo of my retrofit that I'm working on. Mark -
Pictures
-
-
Thanks for the welcome, Joe! I see the Edge/MKX crowd isn't the liveliest bunch, but I do hope to contribute in any way I can.
-
Hello! I'm Mark, from the Fort Wayne area of Indiana. Two weeks ago, my wife and I bought a 2010 Edge SEL in Sterling Gray. It's a beautiful color combination with the charcoal leather, SYNC, dual climate control and 18" chrome wheels. The price was right, and after several years of watching these beautiful cars drive by, we finally own one. She gets the Edge, while I've been relegated to her old '06 Hyundai Elantra. We traded in my aging '04 Mazda 6 to have two reliable and well-cared for vehicles, and with a growing family, the Edge fit the bill. Anyway, I wanted to make my first official post and say 'hi' to everyone here. I certainly hope to contribute to this forum as I'll no doubt be on the receiving end of some knowledge in the months and years ahead. Mark