I decided to do the conversion of my puddle lights on our '10 MKX to LED myself. I purchased the LED bulbs on that auction site, each having 19 LED's... turn signal bulbs... auction title was something like "3157 4157 White Round 19 LED 2 x Pc Bulb". In short, my intent was to cut the stock puddle lamps apart completely removing the bulb mount, reflector, etc and using the stock lamp only as a mounting.
I hope the following is helpful to someone wanting to do the same thing.
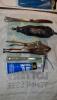
Tools & stuff I used... Dremel tool with fine cutting bit, table knife to pry lamp open after cutting (the Dremel leaves a bit of melted "flack", toe nail clippers (to clean off flack), clear silicone sealant, sharp knife (also for removing flack), vice grips or other crimper, electrical tape and heat shrink tubing.
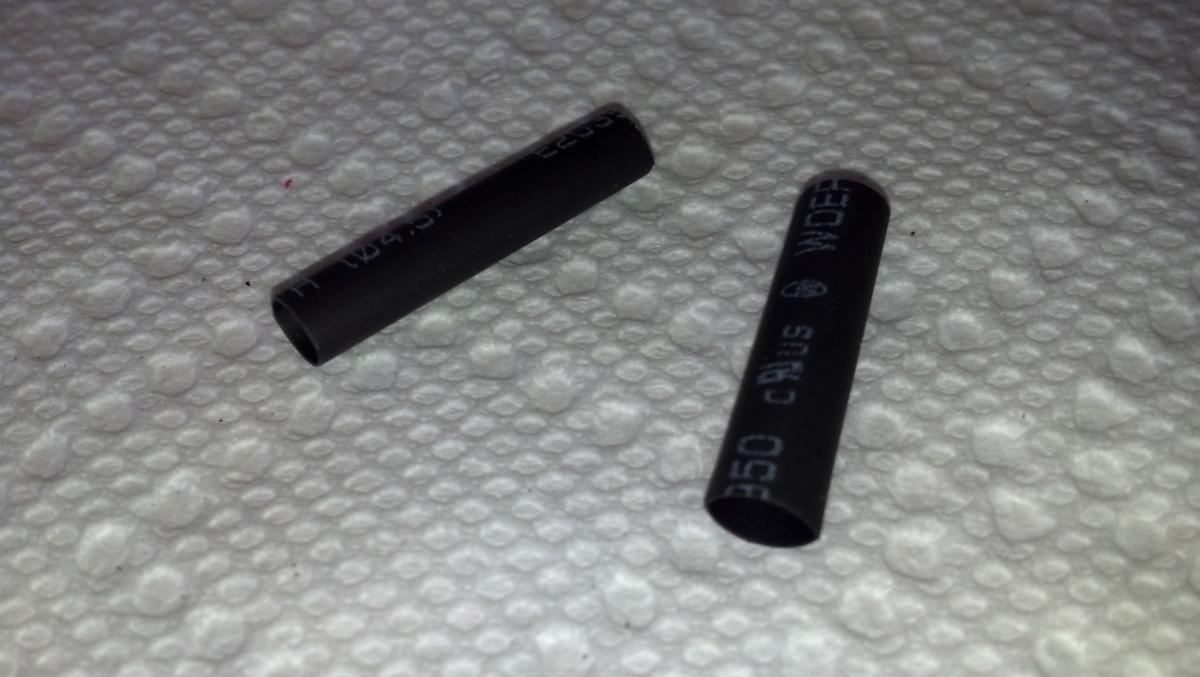
I forgot to include in the picture the electrical tape and heat shrink tubing... tubing should be just big enough to slip over the female spade connectors coming out of the mirror after you remove the stock puddle lamp.
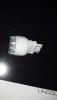
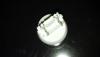
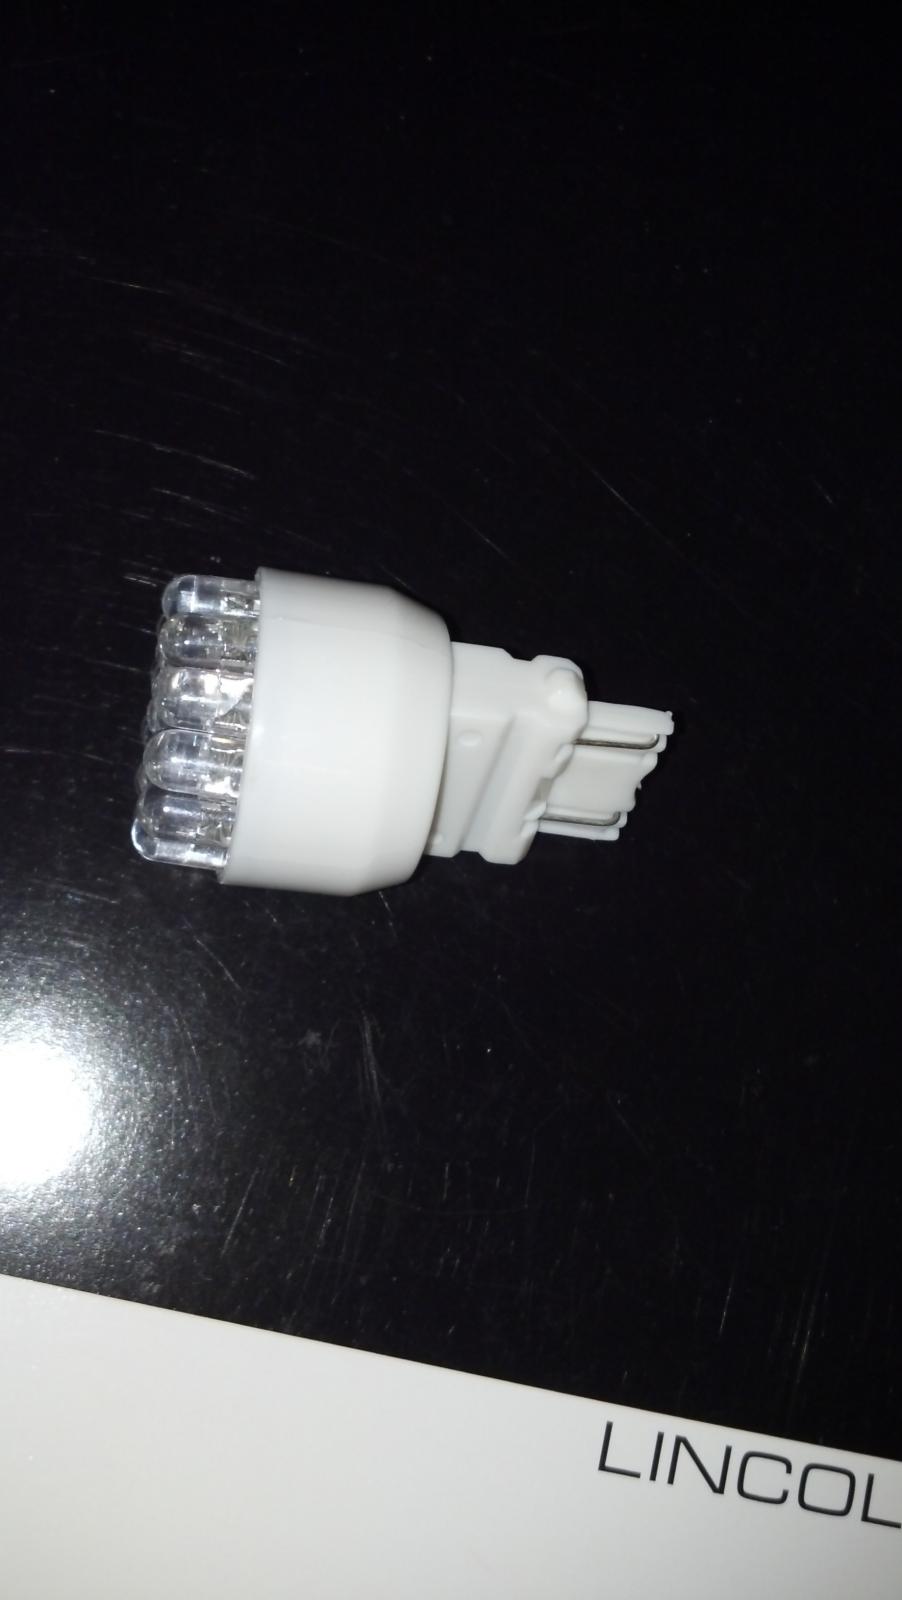
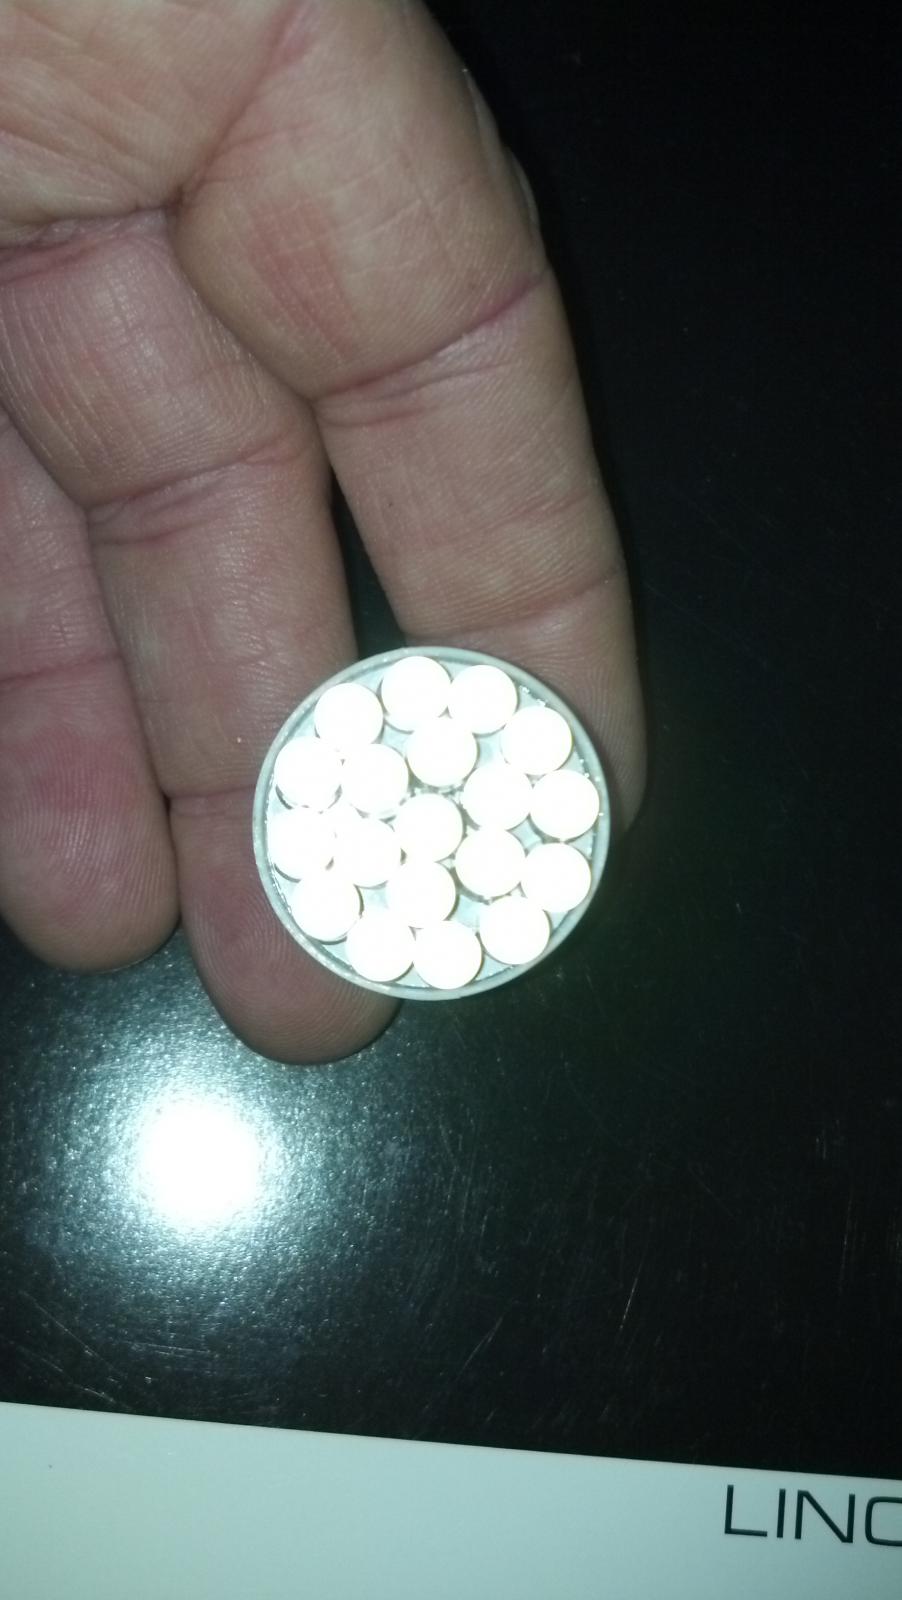
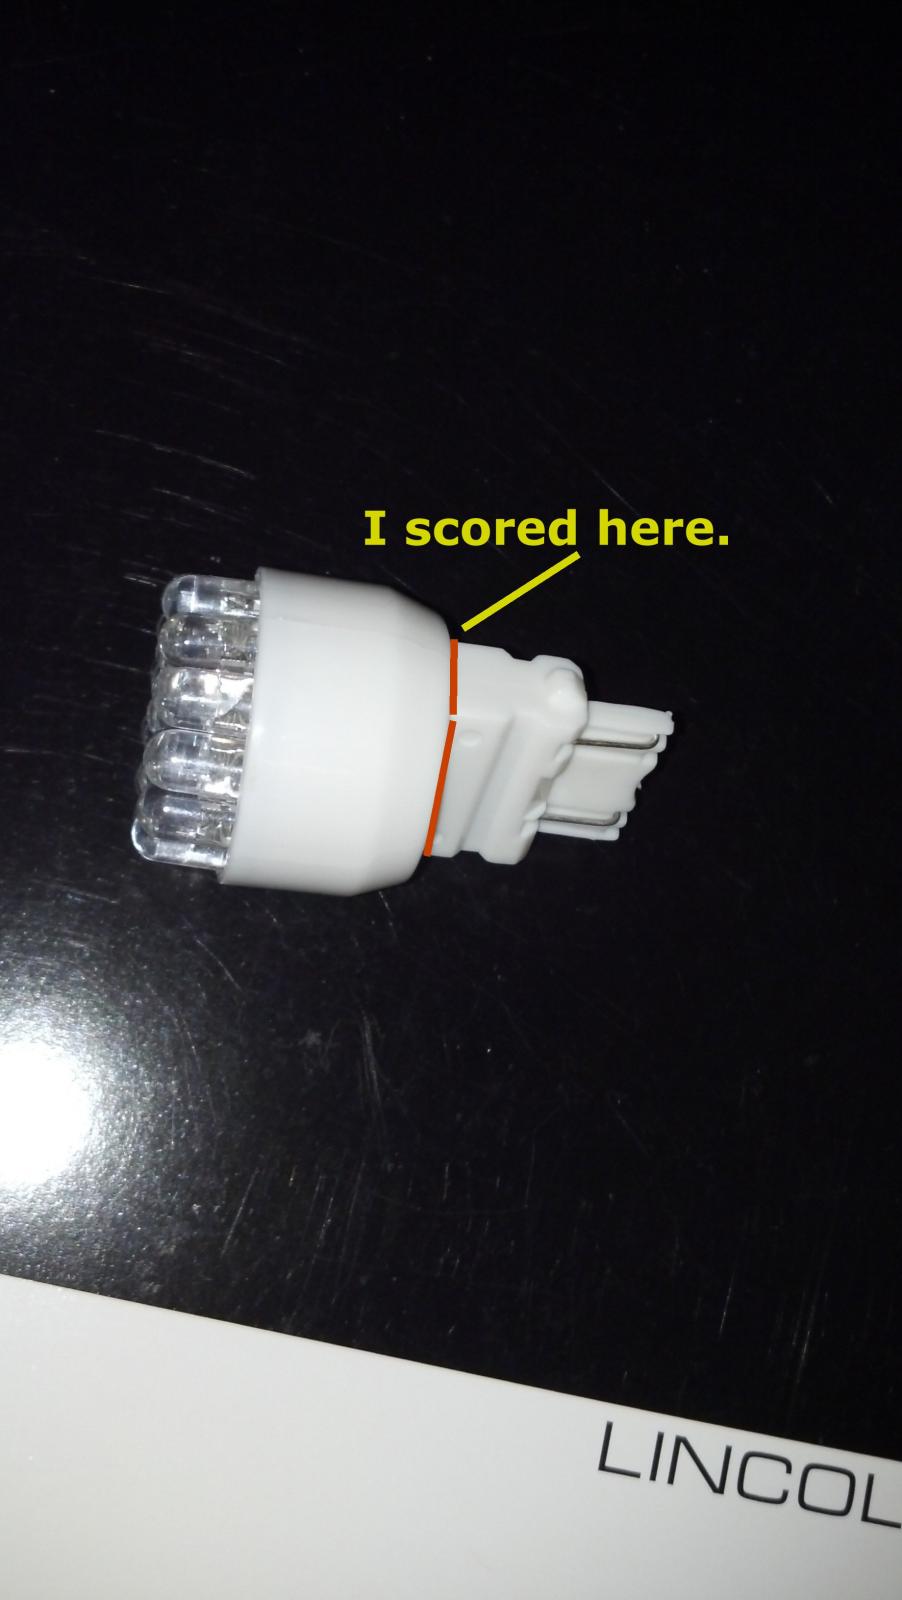
Here's the bulbs I bought... about $6 for the pair
With 19 LEDs each they will be bright enough.
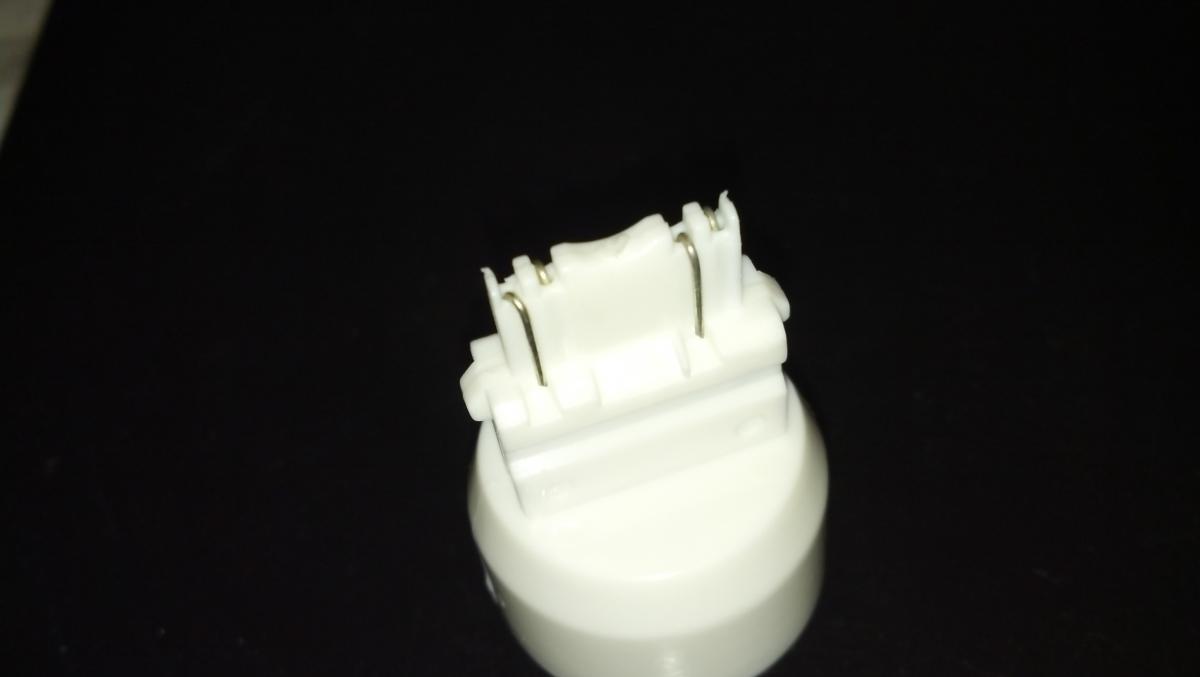
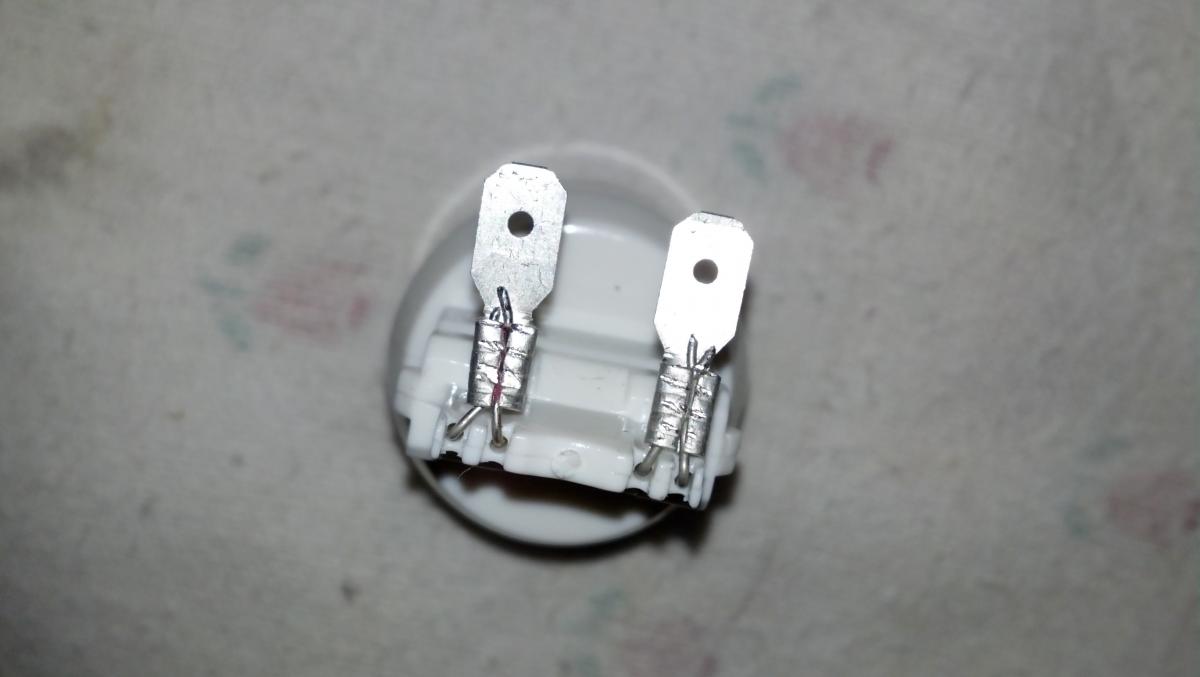
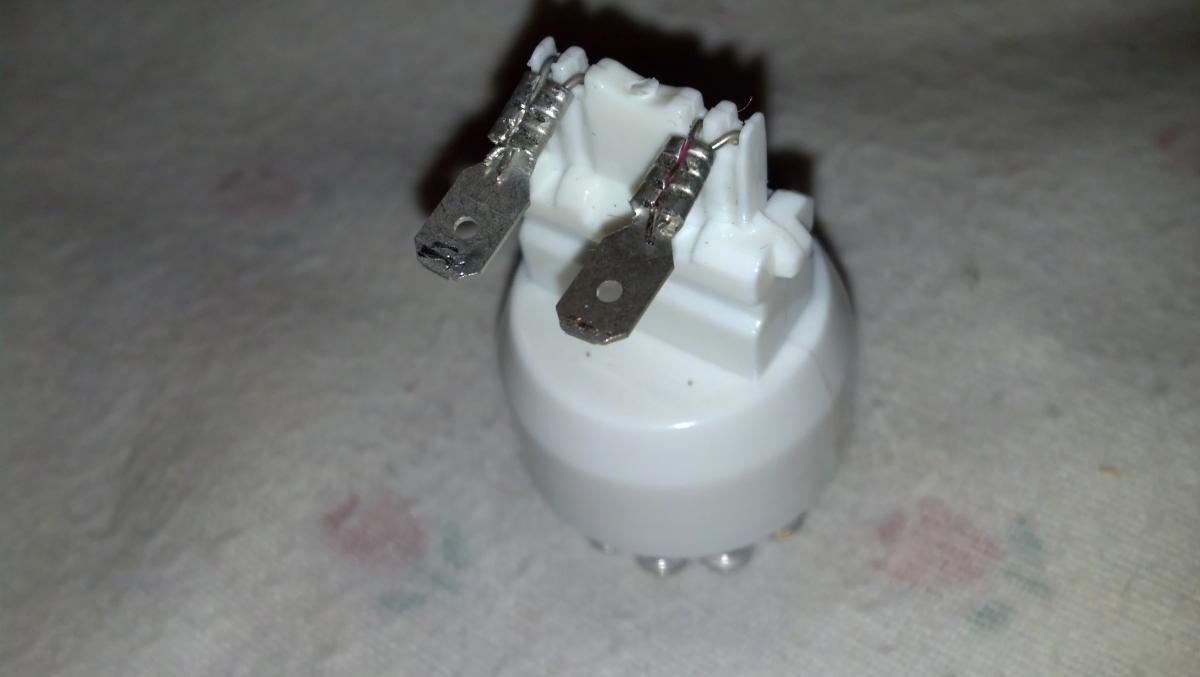
I bought these because of the nature of the electrical connection... basically folded over wires.
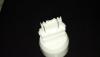
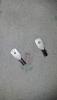
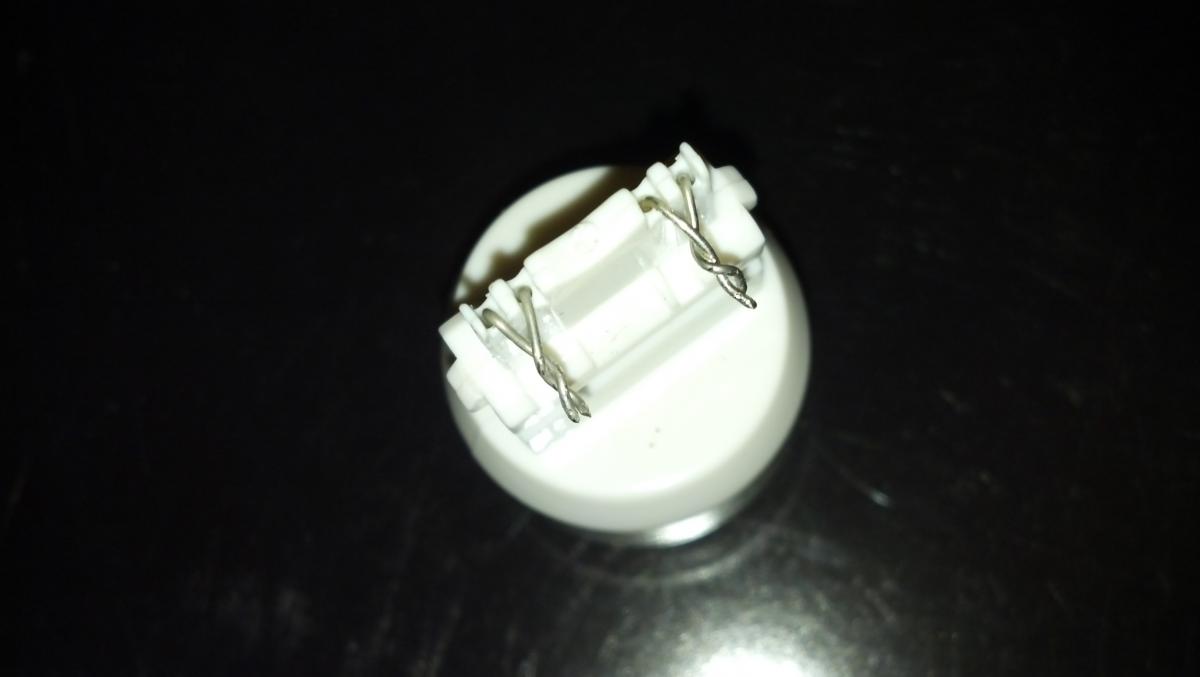
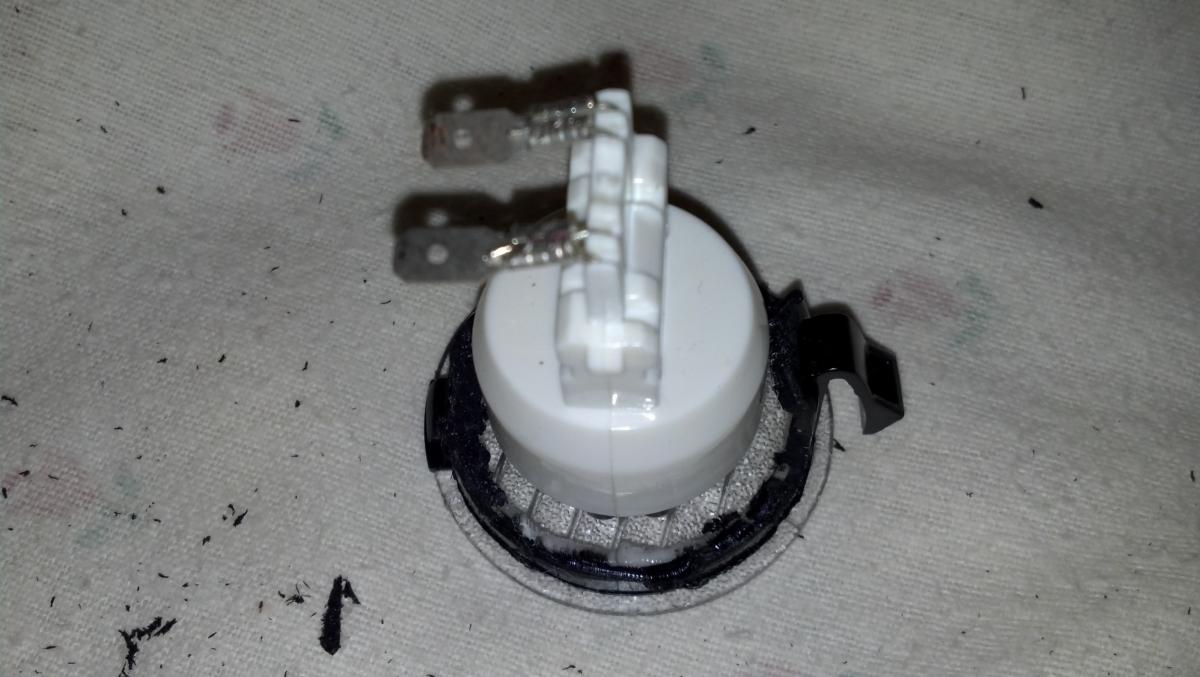
I carefully unfolded contact wires on each side and twisted together...
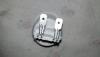
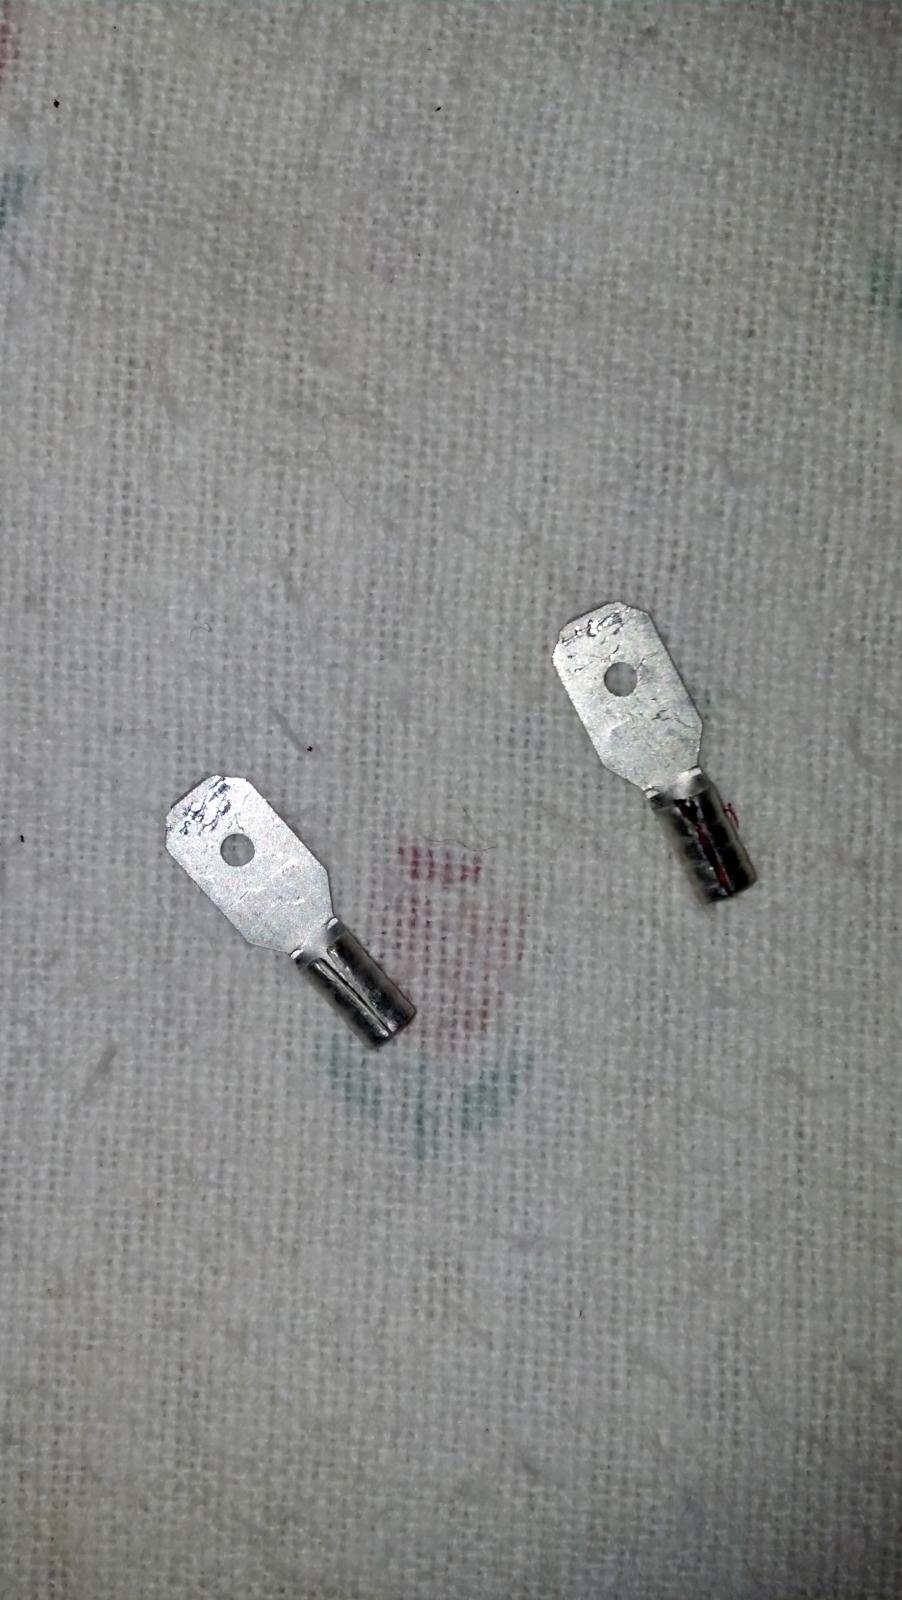
Got from Radio Sh*ck some spade connectors exactly the same size of those protruding from the stock puddle lamp.
I crimped the connectors on to the twisted contacts of the bulb.
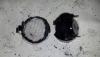
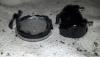
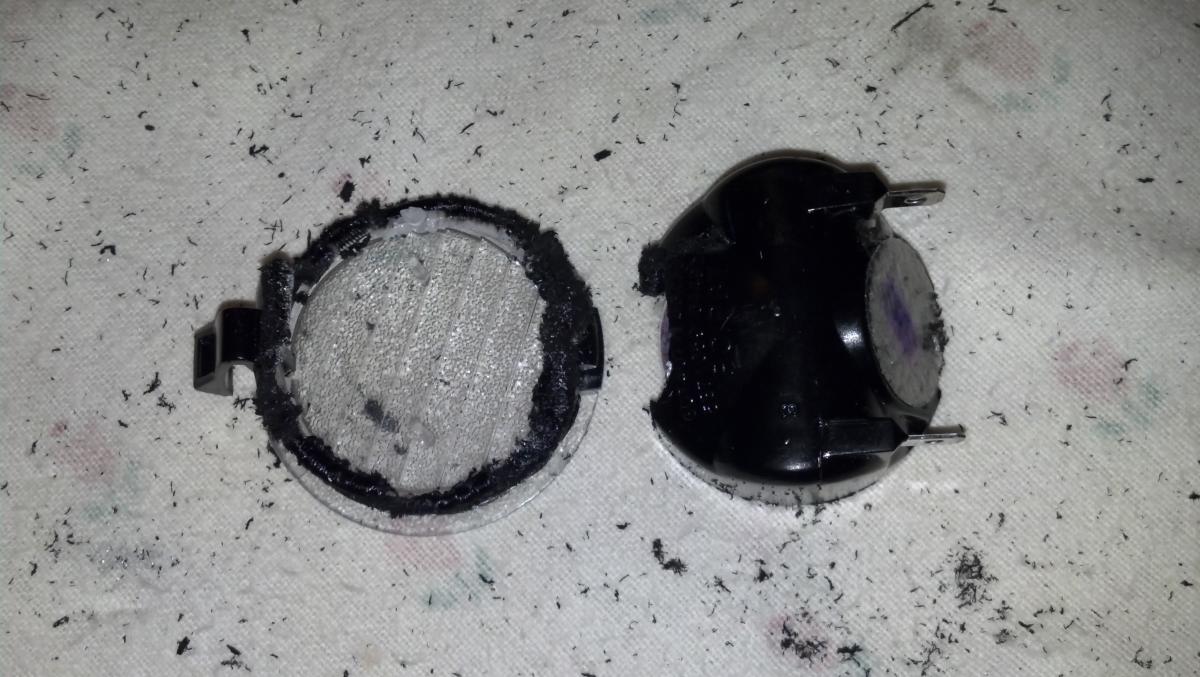
Now for the cutting of the stock lamp. First I have to warn, be careful NOT to break off the curved tab while handling the lamp... starting under the gauze-covered hole, cut all the way round the lamp, curving up and over the curved mounting tab. Then pry pieces apart and separate. Looked like this...
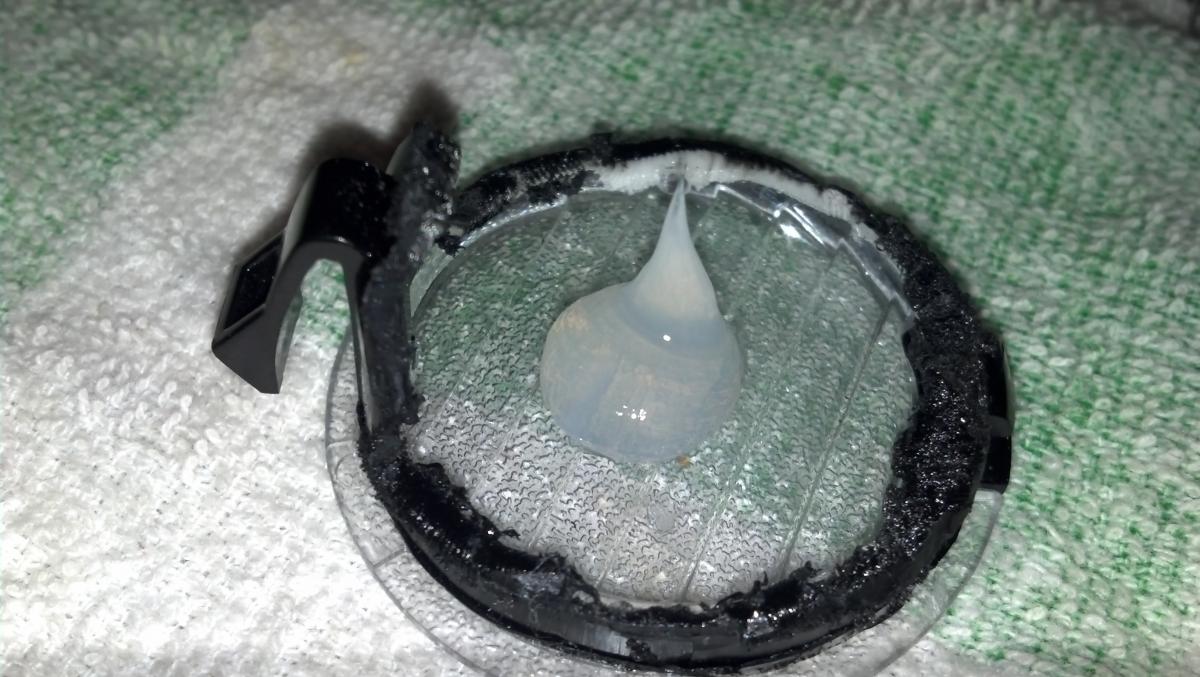
Discard the part of the lamp with the bulb, electrical connectors, and reflector inside. Your left with a Mounting Ring of sorts... with lens attached.
Notice the flack left by the cutting bit... this also occurs if you heat a sharp knife and melt the lamp open... use the toe nail clippers to remove the flack on the outside of the
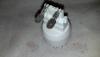
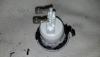
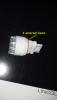
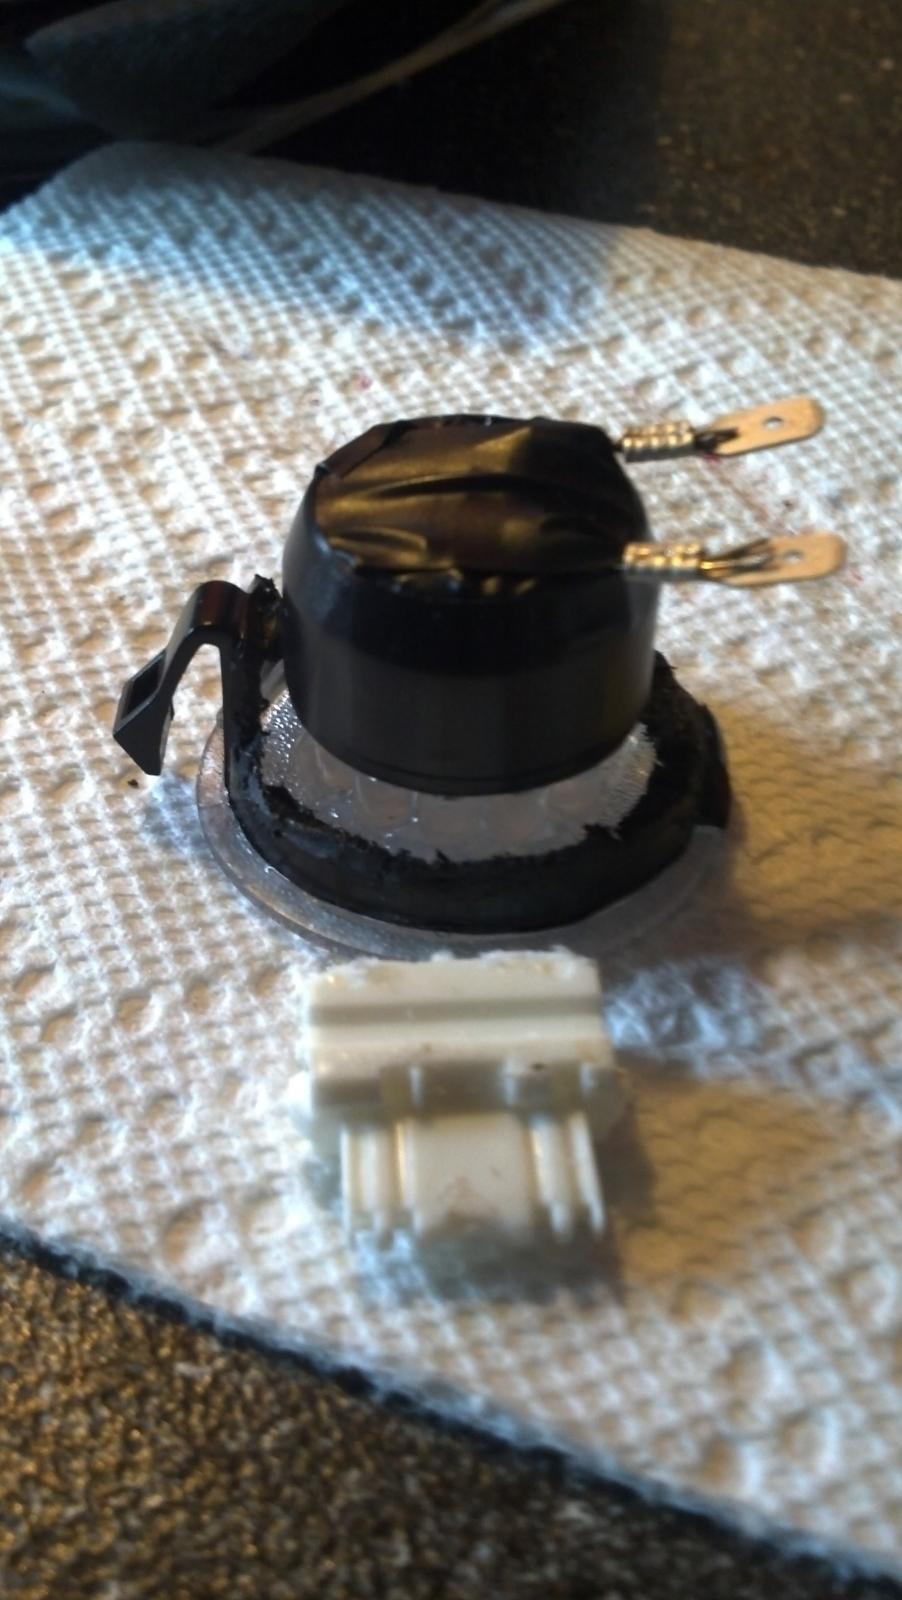
To mount the bulb to the clear lens, I put a dollup of clear silicone and just squooshed the LEDs into it and let it set overnight.
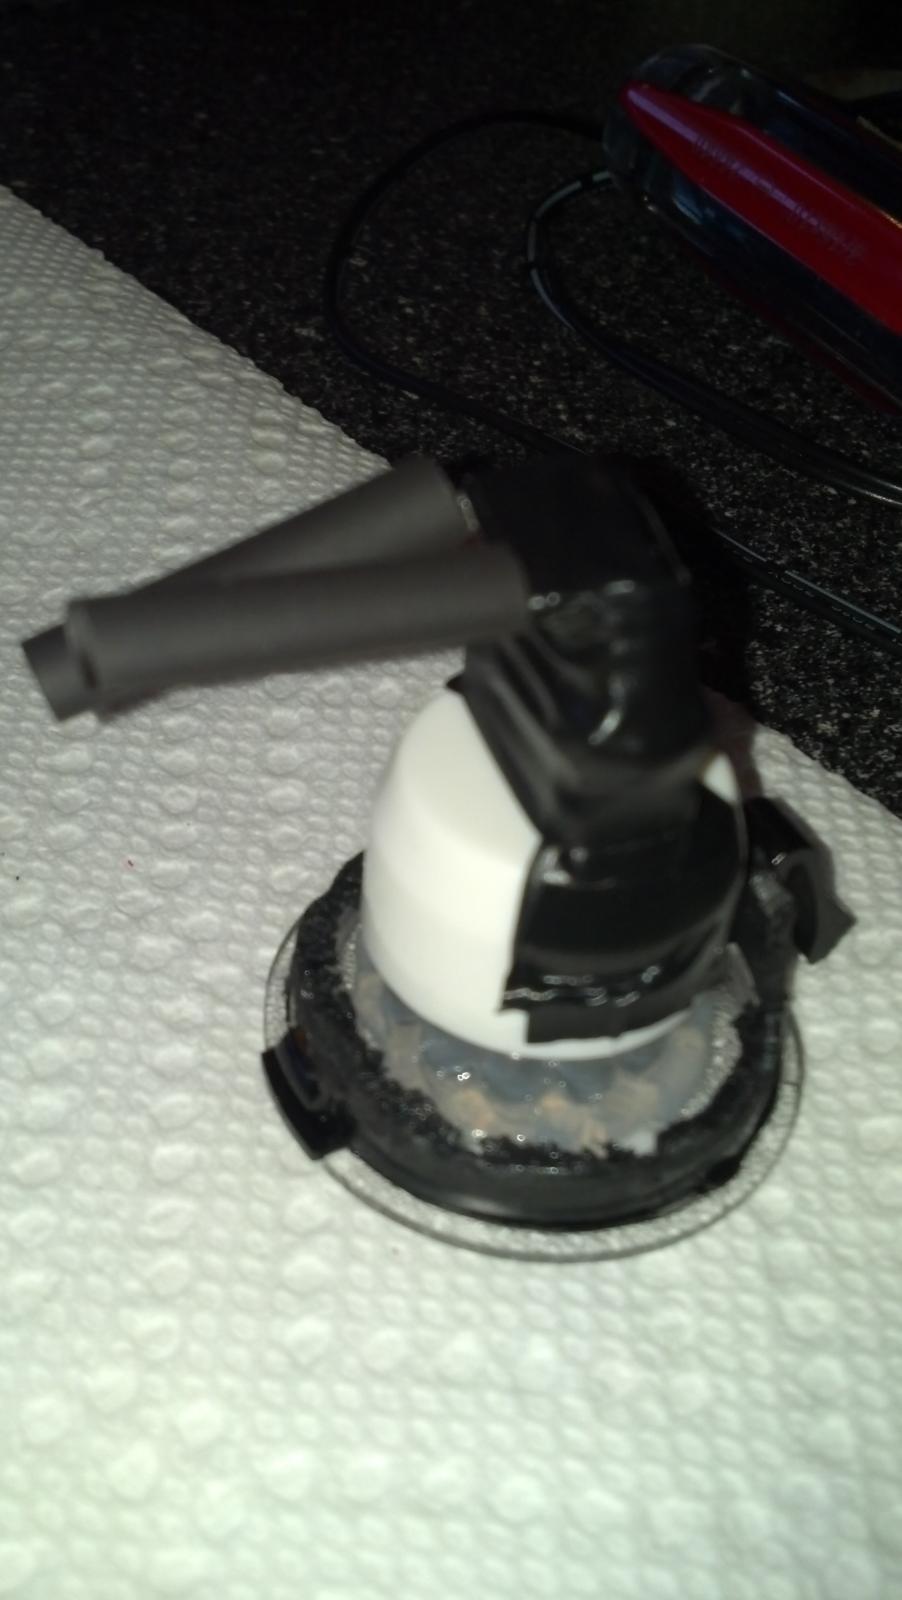
I then taped up the top of the bulb, as it is taller than the stock puddle lamp, and I didn't want any shorting if it touches the electric mirror mechanism inside the mirror.
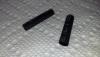
I then cut two small lengths of heat shrink tubing...
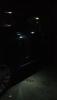
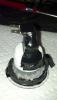
Finished product... of course the tubing was slid over the female connectors and wires coming out of the mirror, and then slid back down over the spade after hooking the new lamp up... but it's cold outside, so I didn't take pics of that... but you get the idea.
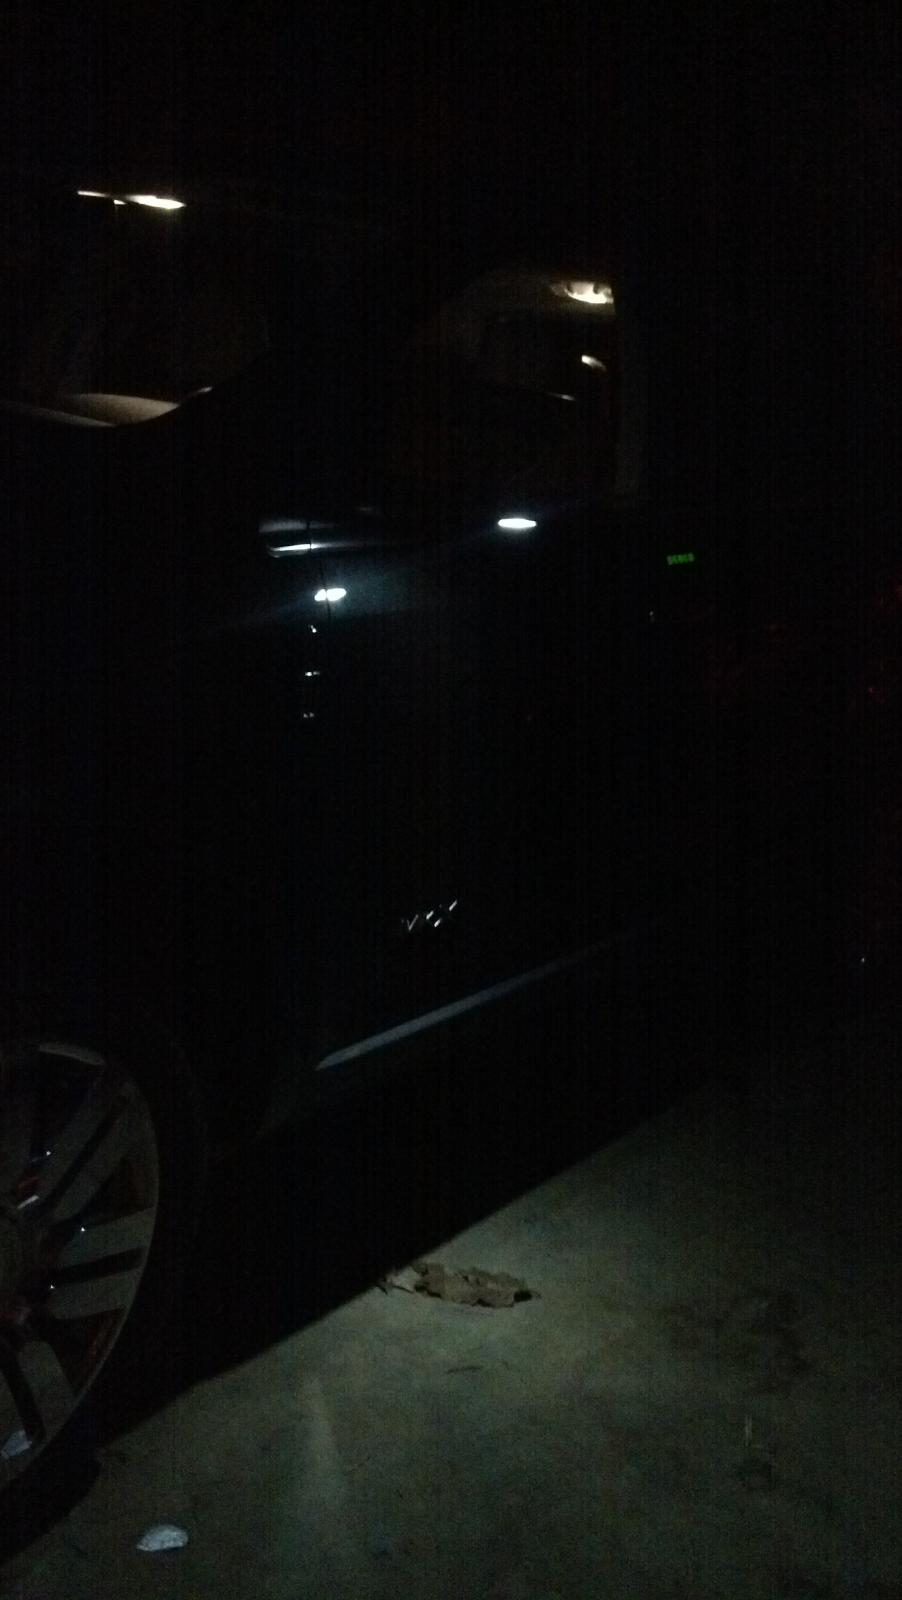
They are awesome bright and white... much better than stock, and cheap.


 Oh no no, I would never... the point of cutting the stock lamp in half is to maintain the mounting tabs...see pics 10 & 11.... the lens was never removed from the lamp housing, it stayed in place, as did all mounting tabs... snapped back in just like it came out.. and can be removed and reworked someday if & when the LEDs go bad. Only "glue" used was the clear silicone to affix the LEDs to the back side of the lens.