


snmjim
-
Posts
625 -
Joined
-
Last visited
-
Days Won
55
Content Type
Profiles
Forums
Gallery
Posts posted by snmjim
-
-
Nick,
As noted at the very beginning of page one "You don't need to remove the wipers. Just lift up the plastic covering/shroud after removing the little metal clips, then you can access the rear bolt hiding there".
But the part that I'm amazed at is how did you remove the strut without performing page 4???
Everyone realizes that you may be the Ford Edge Sport GOD and you find no value in our efforts however, we've been receiving multitudes of kudos and appreciation from others who do.
At every opportunity we even make a special effort to give you, Xtra & Root credit i.e. "however lets not forget who motivated us".
BTW, you have consistently been the only negative critique to our efforts to help others, oh well I guess there has to be one in every group.
Oh, we failed to mention Happy Holidays Brother-In-Arms...

-
YOU ARE MOST WELCOME Xtra, however lets not forget who motivated us...

And on that note...wait for it...
Here are the front & rear spring R&R instructions as promised by Special K & myself... :happy feet: :happy feet: :happy feet:
NOTE: Download DIY PDF links have been fixed & reestablished thnx to redlancer...

-
 3
3
-
-
-
Awesome & as always I thank U all 4 the unfailing support!
Time 2 do a celebratory SKYDIVE...YAHOO!
On 2 more Mods...;-)
-
As promised but not in the order I was aiming for due to popular demand...

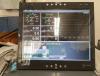
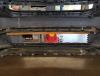
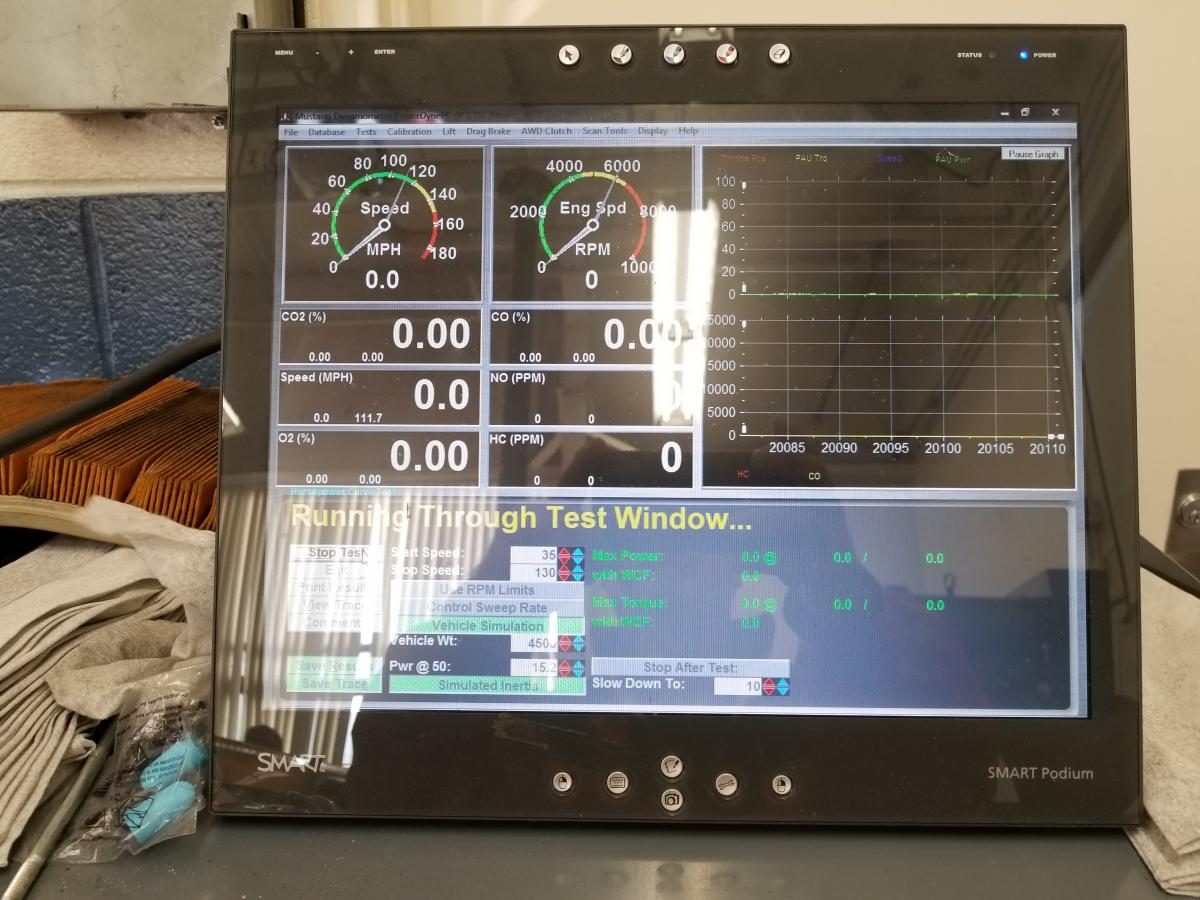
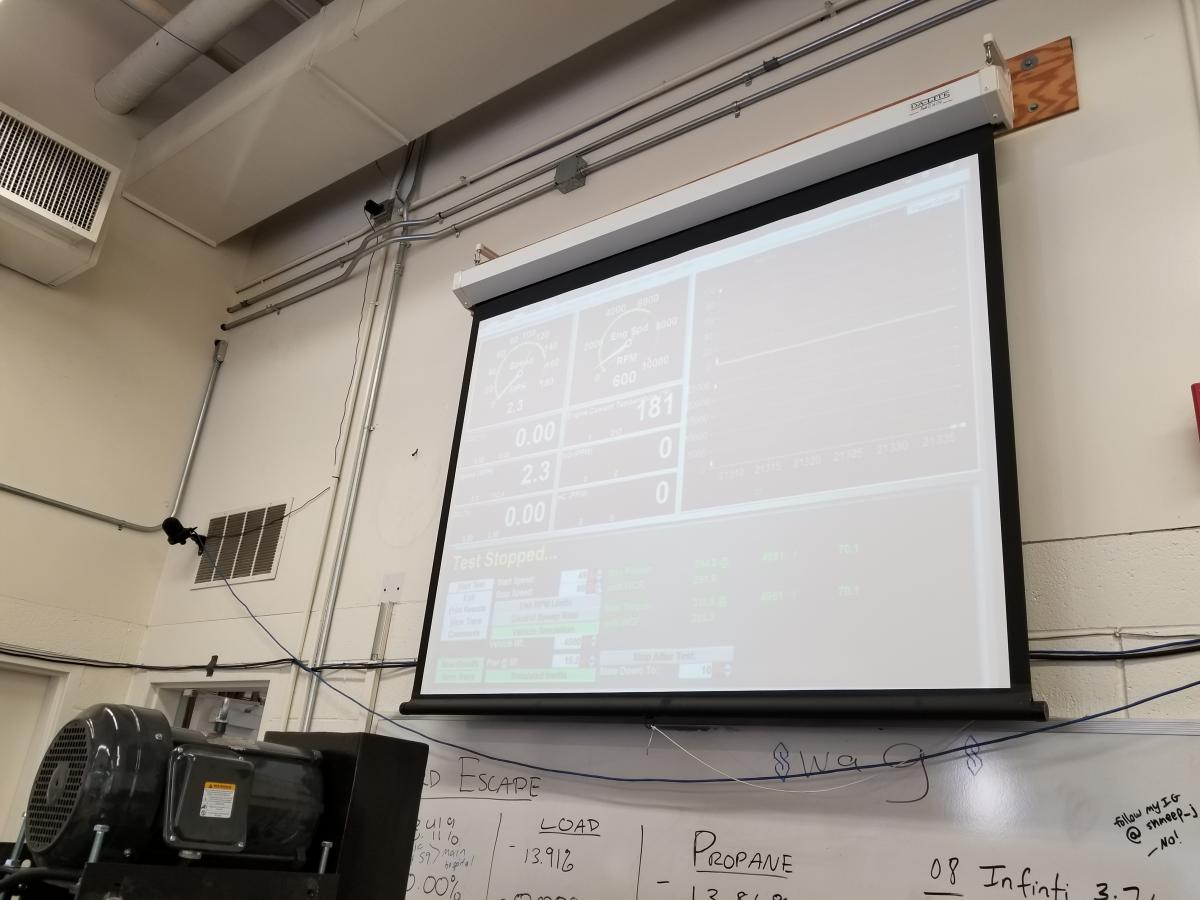
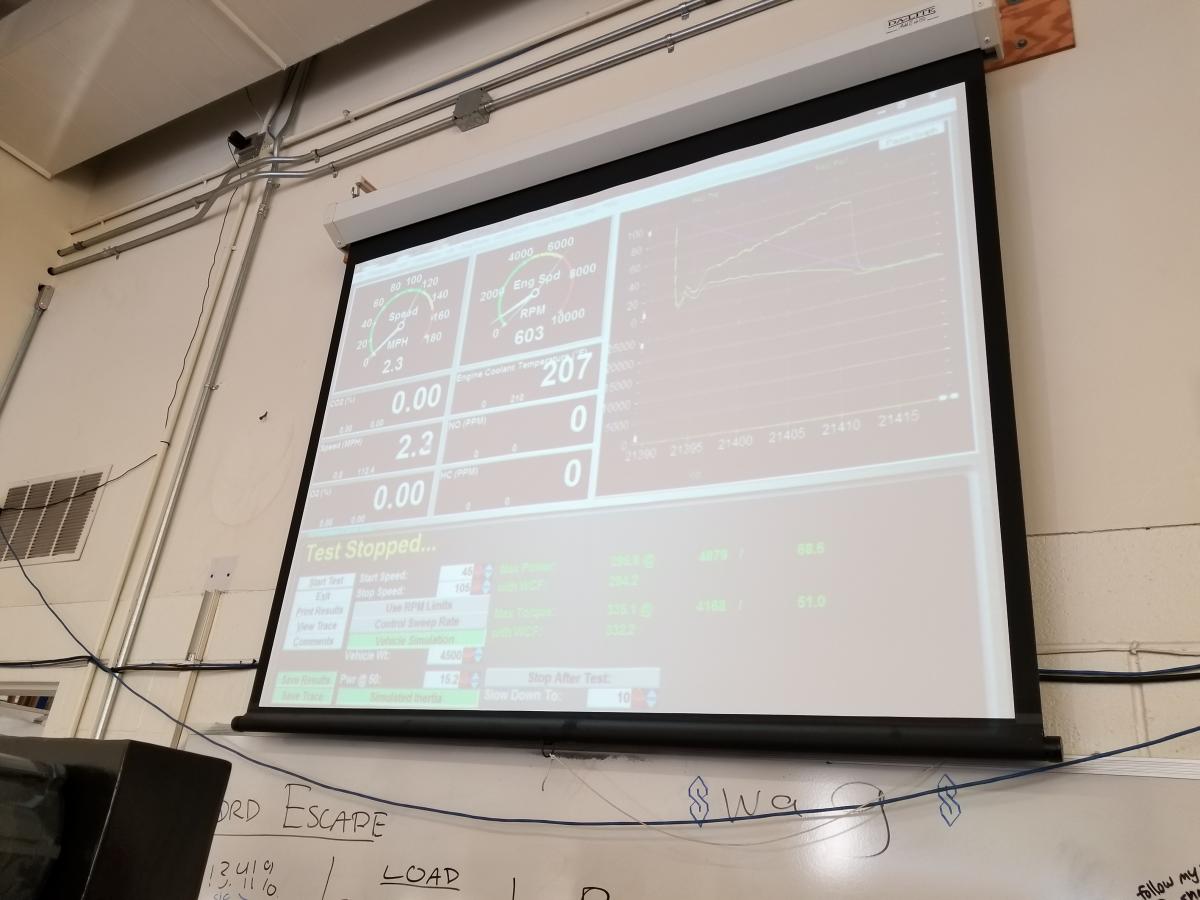
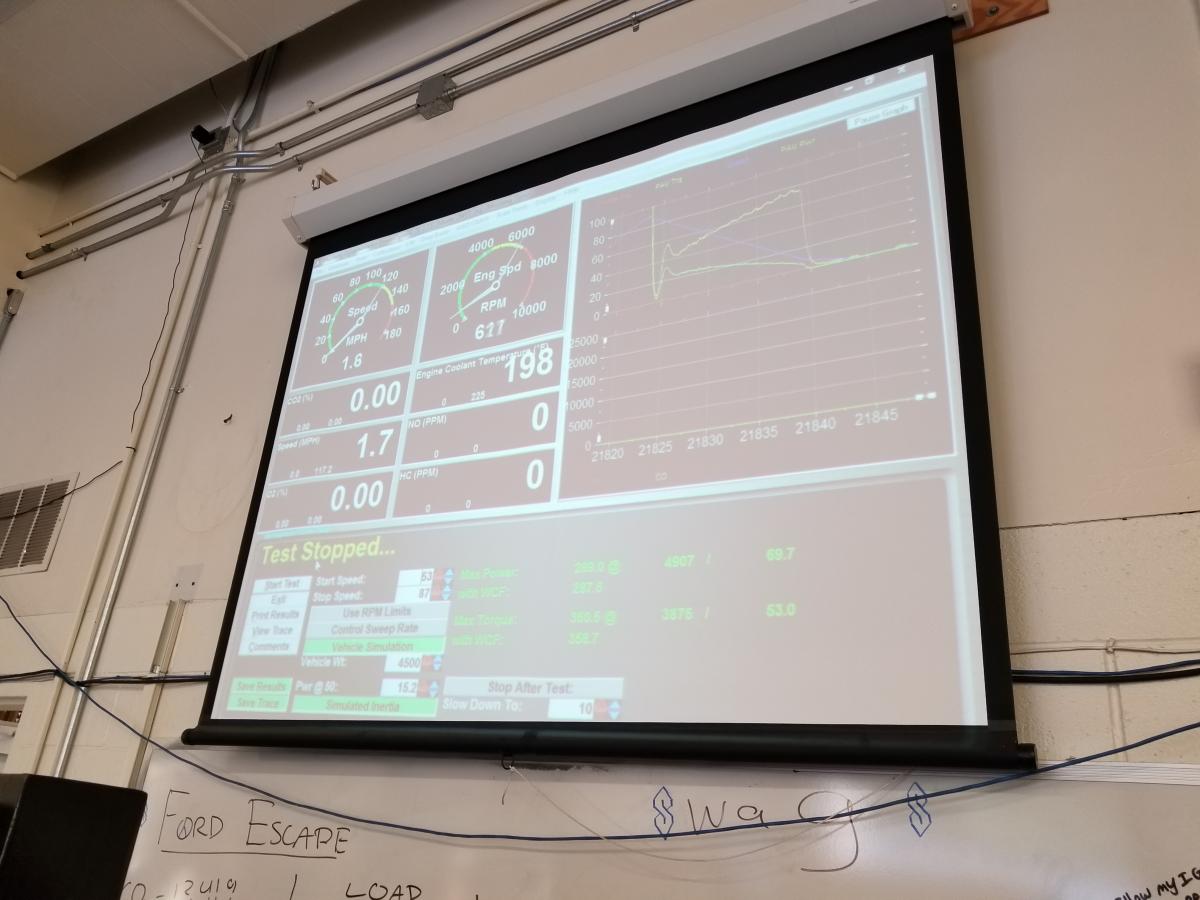
Here are the 87, 93 & e30 Unleashed Tune Dyno reports for my 2016 Ford Edge Sport.
Notes:
- The Dyno used was a Mustang brand (aka the "HEART BREAKER") at the CCBC College in Baltimore, MD.
- Deviations from stock: Unleashed Tune, K&N high flow air filter, 170 TStat, IC grille & AGS cooling modifications.
- This Dyno is known for conservative numbers.
- Initial CAI Temp issues mitigated with IC grill & AGS Mods
- Qtr mile: 105.3 mph/12.9 sec
- True vehicle weight 4460 lbs
Special K's (Son) inputs:
Best Dyno run: 299 hp @ 4907 and 365 tq @ 3875
22% parasitic loss = 445 hp with 463 tq @ crank
Future modifications along with follow-on Dyno reports:
- Colder spark plugs
- Blow Off Valve (BOV)
- Catch Can
- Inter cooler (IC)
- Cold air intake (CAI)
- Dual exhaust
- Down pipe
- Turbos
Xtra: Please do your Calcs...2016 Ford Edge Sport-Tuned-e30 Octane (Dyno Report).pdf
2016 Ford Edge Sport-Tuned-e30 Octane (Dyno Report)-1.pdf


-
3
-
-
Topic combined in a later post by SNMJim...
:salute: -
4
-
-
Topic combined in a later post by SNMJim...
:salute: -
2
-
-
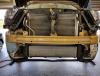
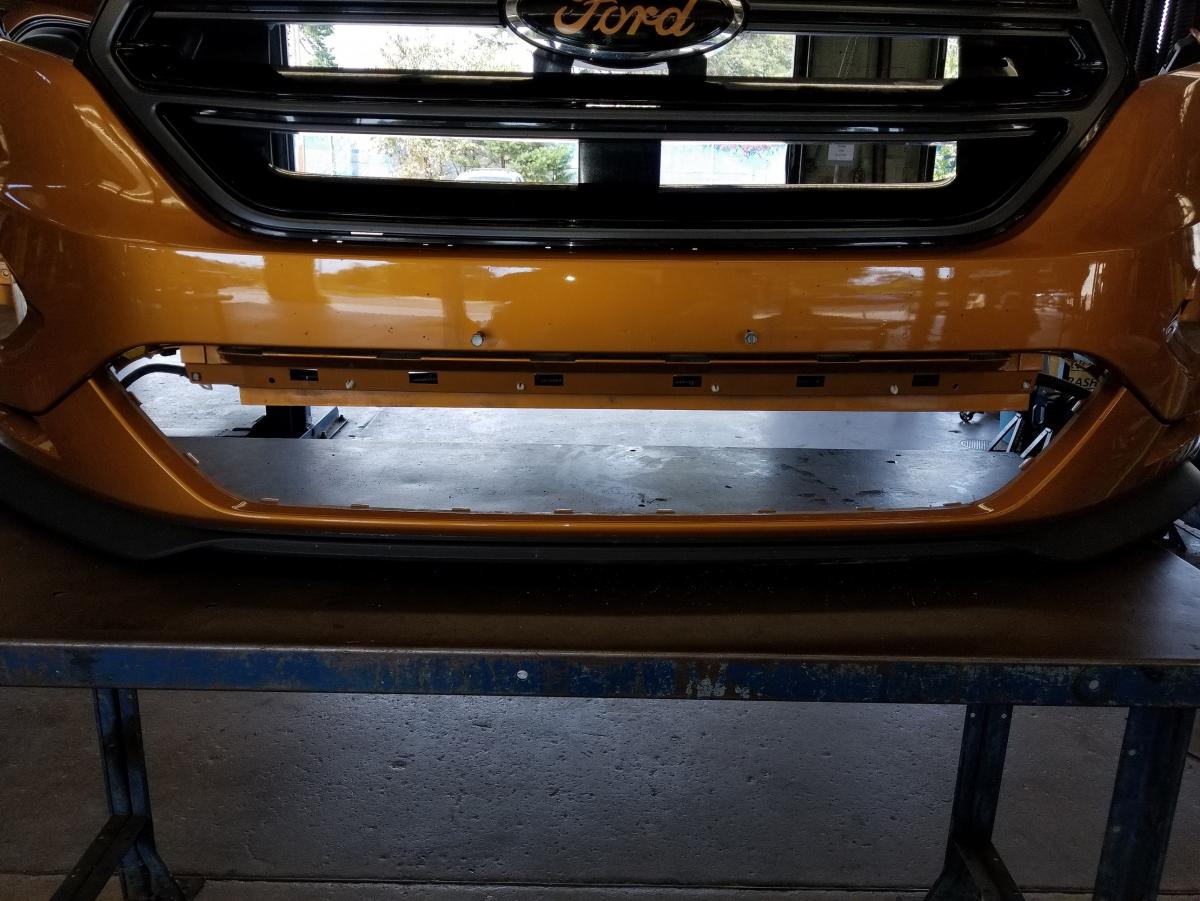
As crazy as this may sound and intimidating to some, this front end comes off as easy as Nick says.
We've got this down to 30 minutes now and takes about 60-90 minutes for your first time.
Here's the How-To for removal of the front end: Ref attached document
-
1
-
-
I use the FORD optional one which is priced correctly, great protection and easy installation...

-
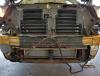
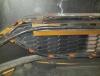
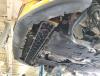
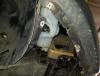
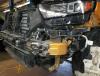
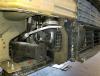
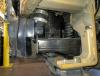
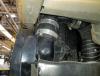
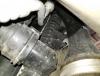
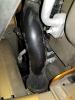
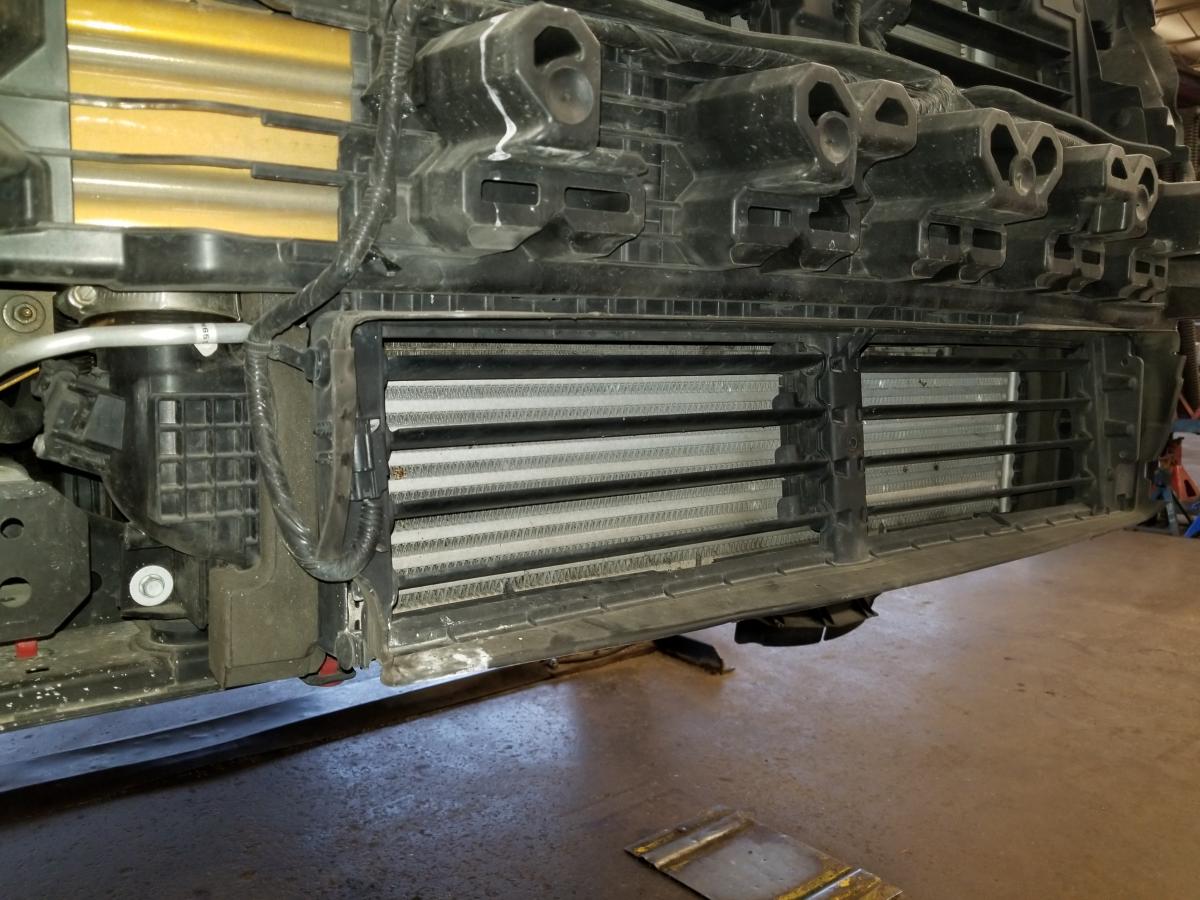
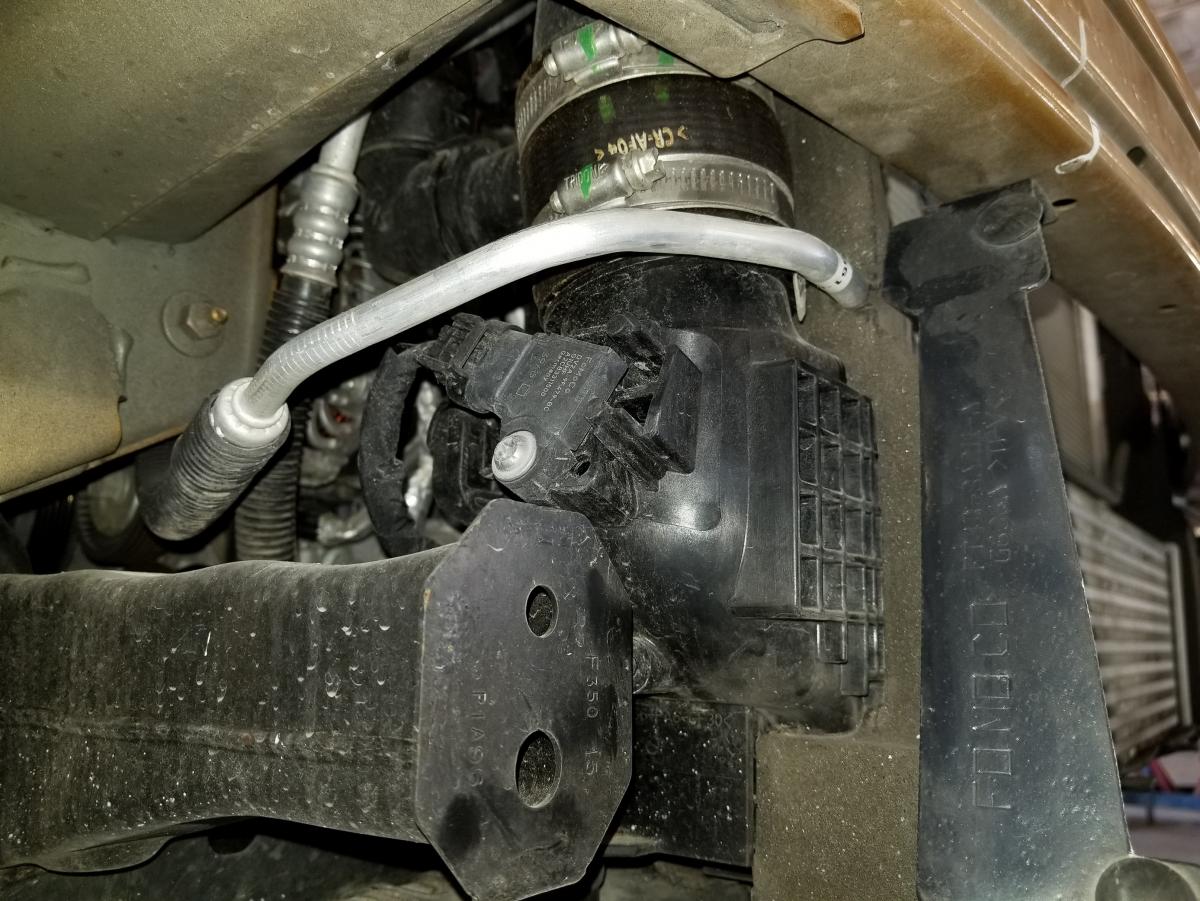
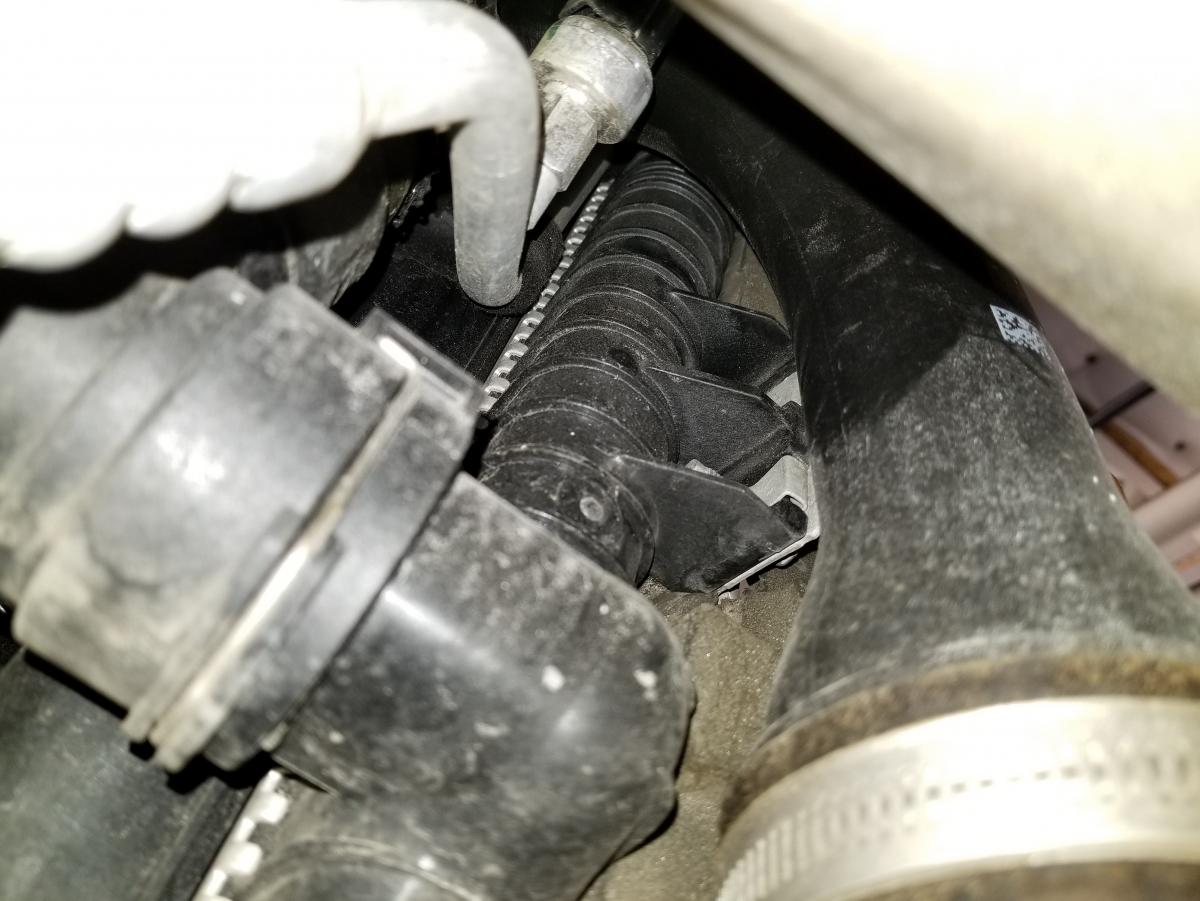
Now for the second half of the stock IC cooling enhancement modification...da, da, dah!...

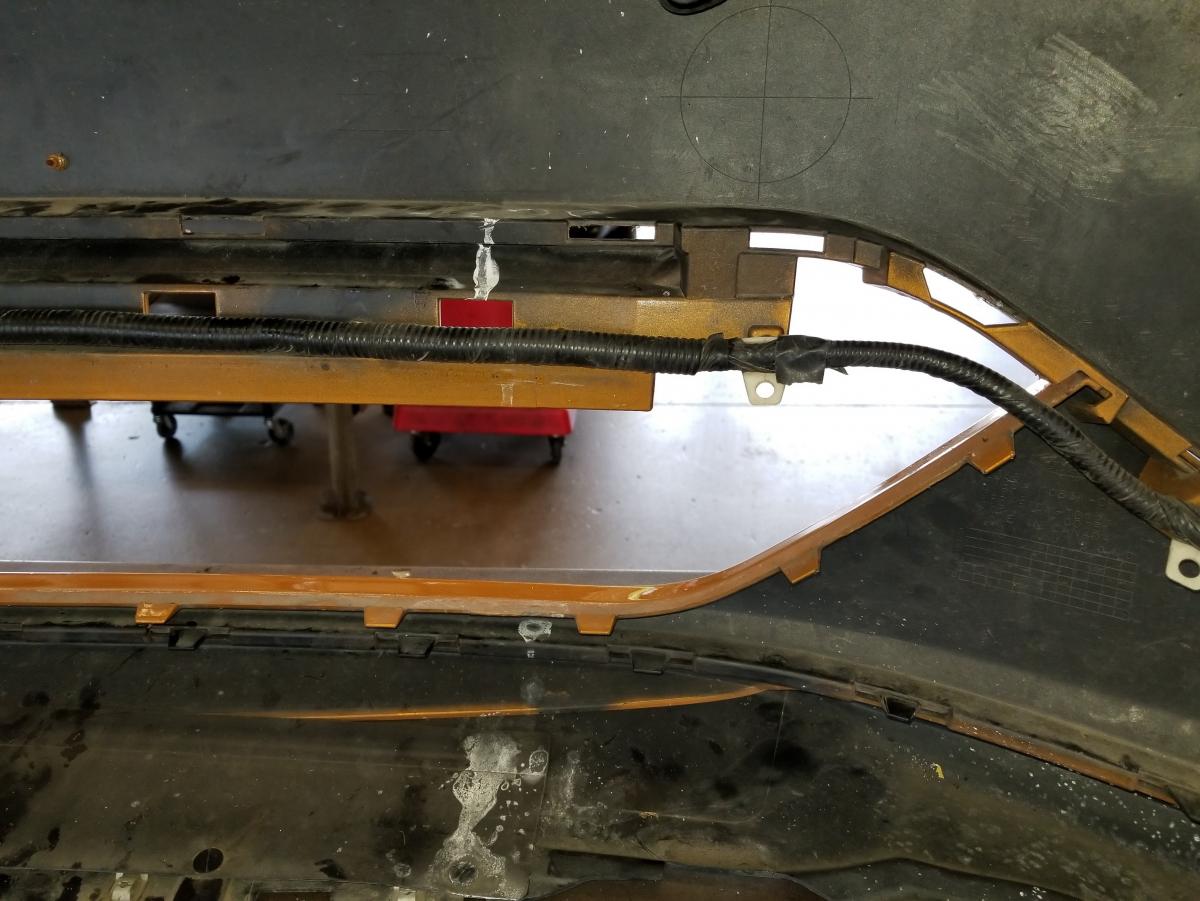
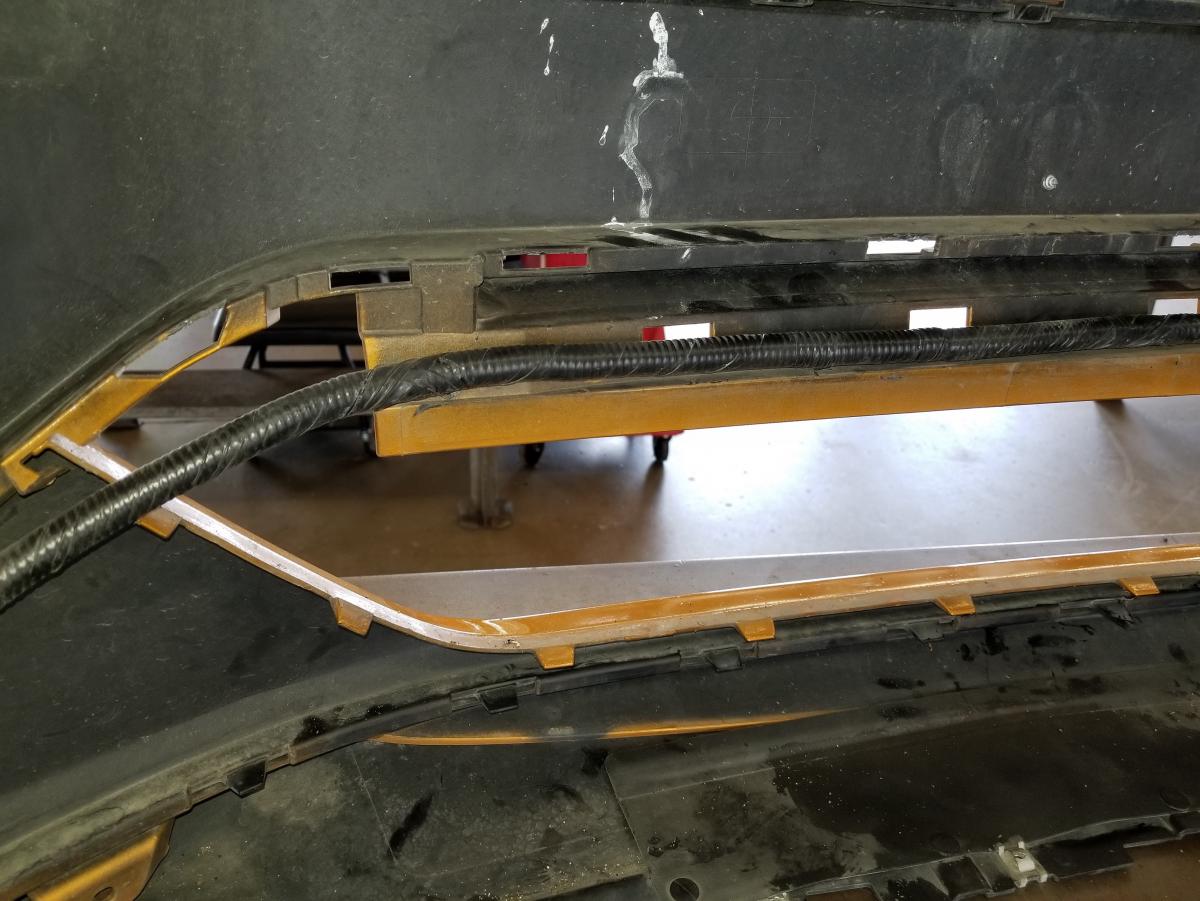
After removing the fascia/bumper cover/front end, or whatever the heck you want to call it, the Active Grill Shutter (AGS) Sys will be fully accessible...
Ref attached document...
We attempted this Mod without the removing the AGS but no cigar...
 ...because to remove the shutters you must access the backside.
You'll have several options:
- Do I leave the AGS off all together?
Pros: More cooling air when AGS would normally be totally closed i.e. full run
Cons: The primary purpose of the AGS would be defeated which is aero dynamics, secondary is faster warm ups & fuel efficiency.
- Cut off IC section at center connection point?
Pros: Totally removes AGS and may increase air flow???
Cons: Air will not be funneled into the IC as it would with the framing design of the AGS.
You will have to redesign the AGS actuation fork to maintain the actuation alignment of all other shutters. The shutter system is
designed on the same concept as most windshield wipers and old steering box designs which is only one part is directly
connected to the device generating the motion. For the wiper and steering examples the other wiper and front wheel are
connected via mechanical linkage which makes it duplicate the motion of the primary driven wiper and drivers wheel.Must relocate ambient air temp sensor.
- Just disconnect AGS wiring harness connection point?
Pros: The AGS defaults wide open when off or disconnected, this will provide better cooling during all operations.
Cons: Totally defeat the primary and secondary design purposes.
Throw one code one time and will not return after being erased.
- Modify IC portion of AGS and run AGS disconnected?
Pros: Provide maximum IC cooling capability and better radiator cooling.
Cons: Totally defeat the primary & secondary design purposes.
Throw one code one time and will not return after being erased.
- Modify IC portion of AGS and run AGS connected (remmended)?
Pros: Maximize IC cooling through all operation ranges.
Maintains majority of primary and secondary design purposes.
Cons: None noted to date.
The choice is yours, I opted for the "recommended" method.
Note/s:
- Anytime when modifying always come to understand the engineer's original intent of the primary and secondary functions of the thing under consideration for modification. Then determine if the value added for your effort expended and how the engineers intent is impacted is worth the change.
- My tool/s of choice for cutting shutter blades:
Started with a dremel which worked out great for speed but spins so fast it started to melt the plastic which required a lot more
finishing work with a grinder and wire wheel. A jewelers saw worked more precisely with less cleanup but much slower than the
dremel...
Thanks goes out to Bishop for making this part of the process easier with R&D & finishing work...
Damn this documenting takes time, I do enough of it for Uncle Sam...

A totally thankless labor of love/camaraderie...
-
5
-
-
-
I'm in for one!
Did he cut the entire honeycomb grill out & regrill or just cut out the blanked off part of the honeycomb pattern?
-
Nick,
What is having your grill CNC'd mean?
-
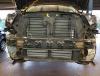
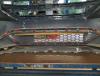
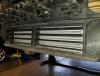
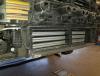
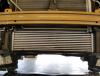
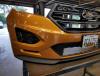
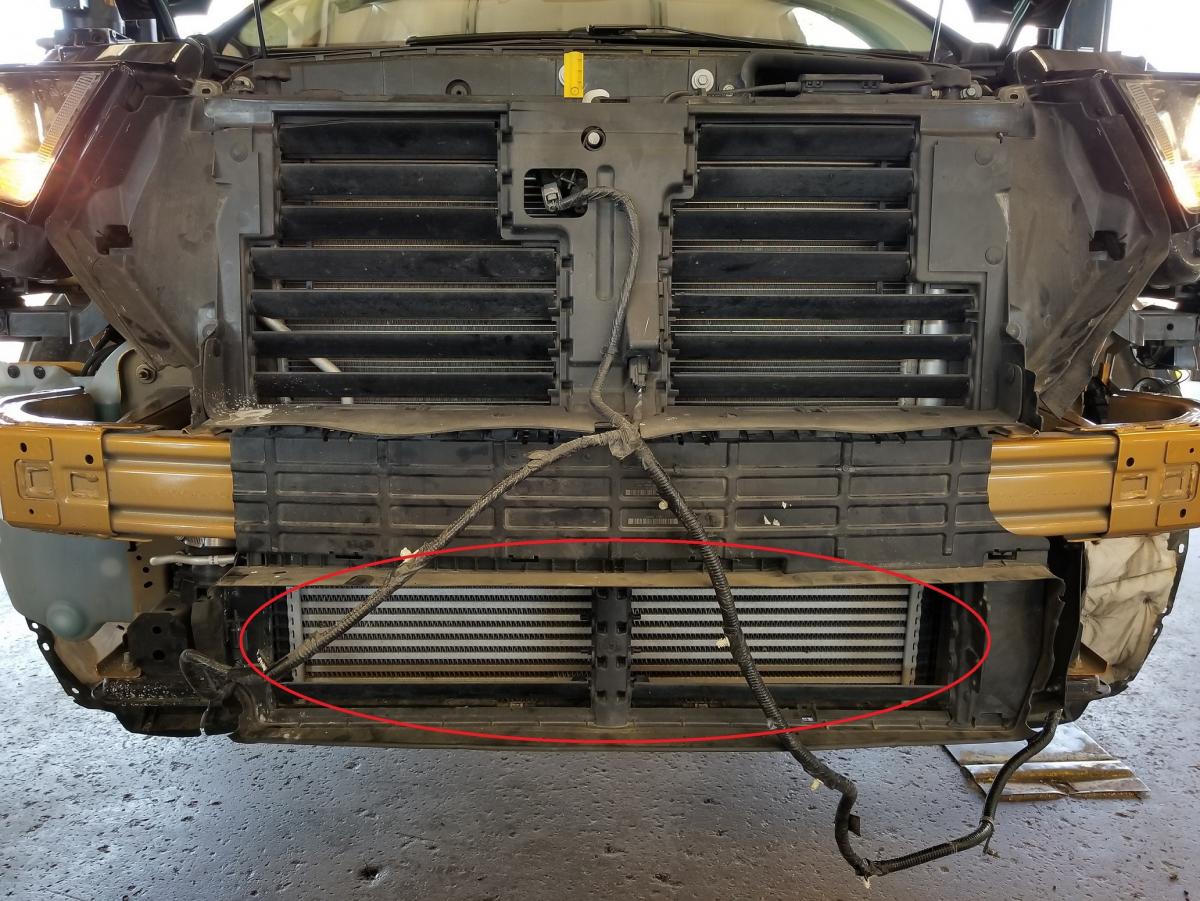
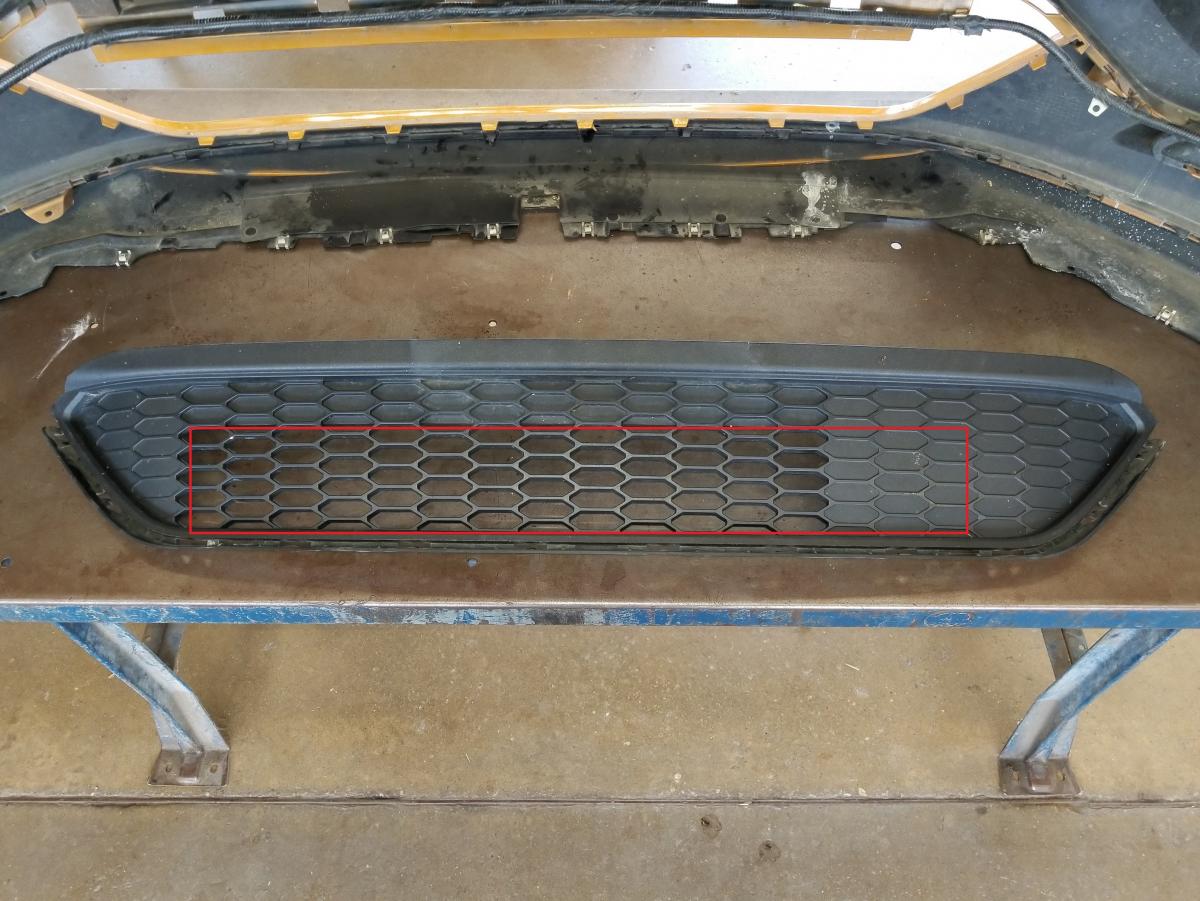
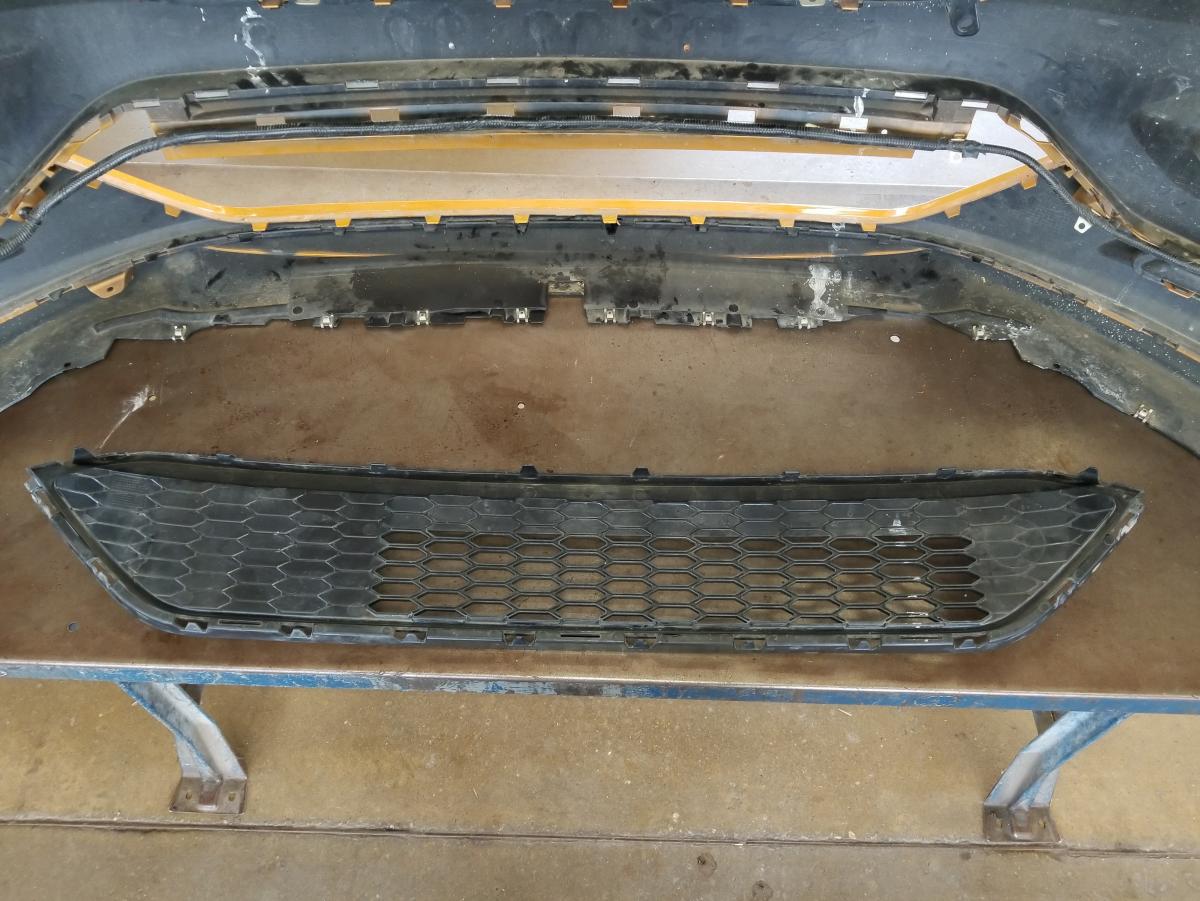
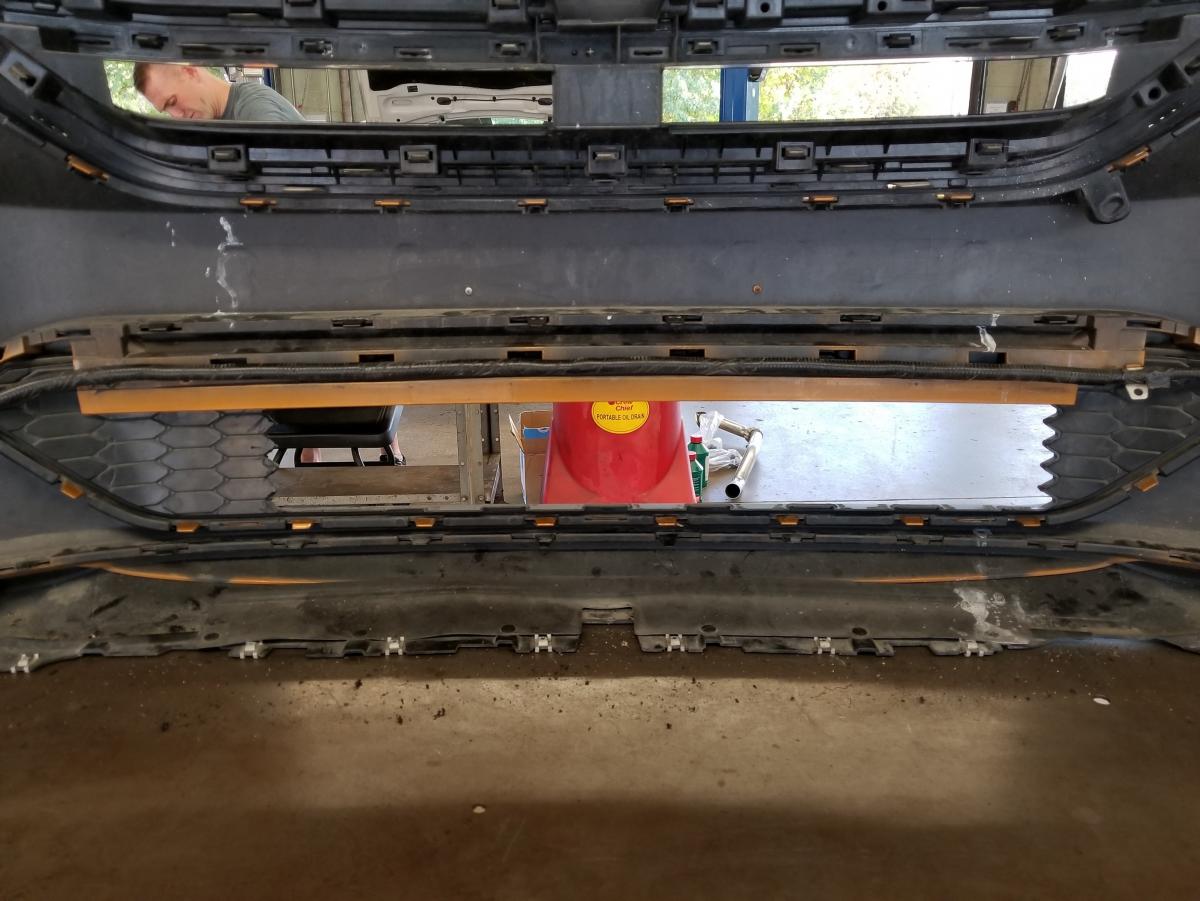
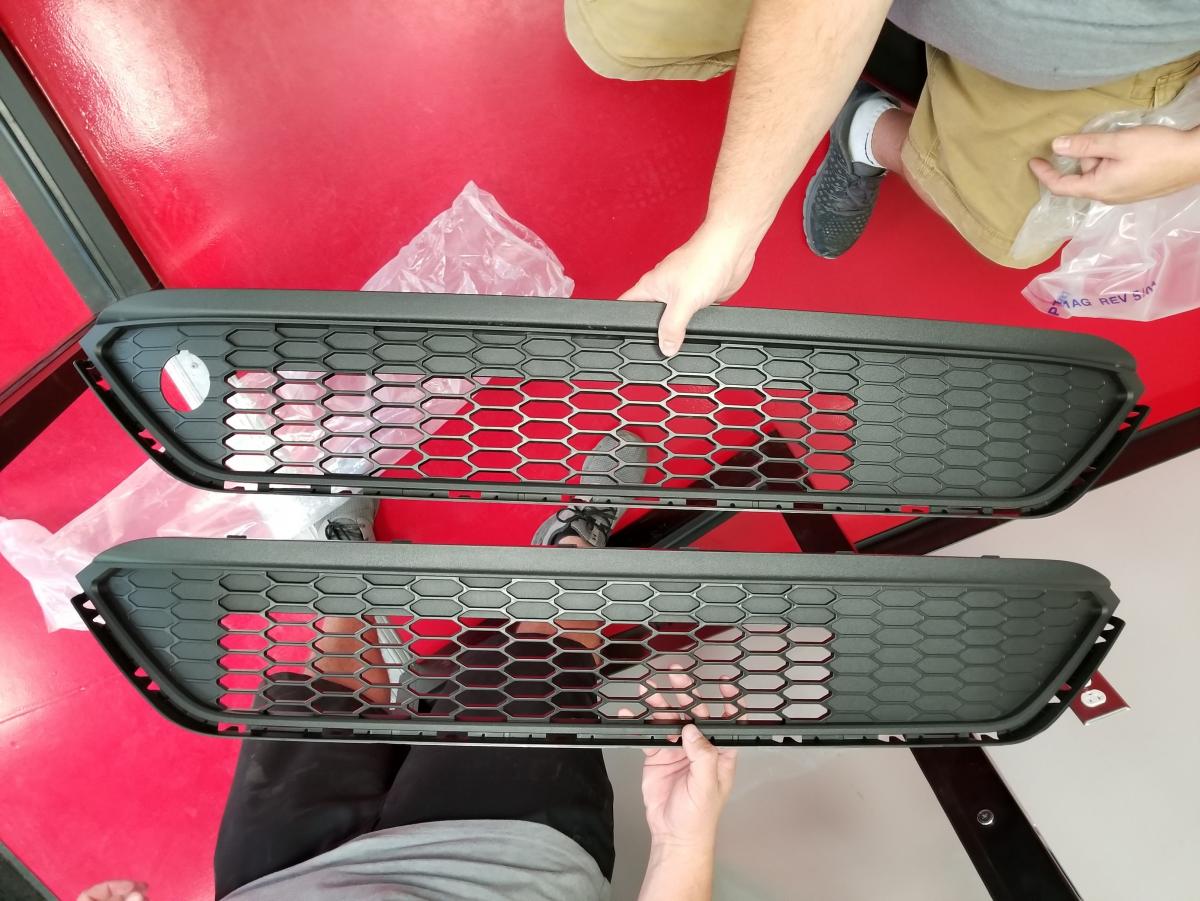
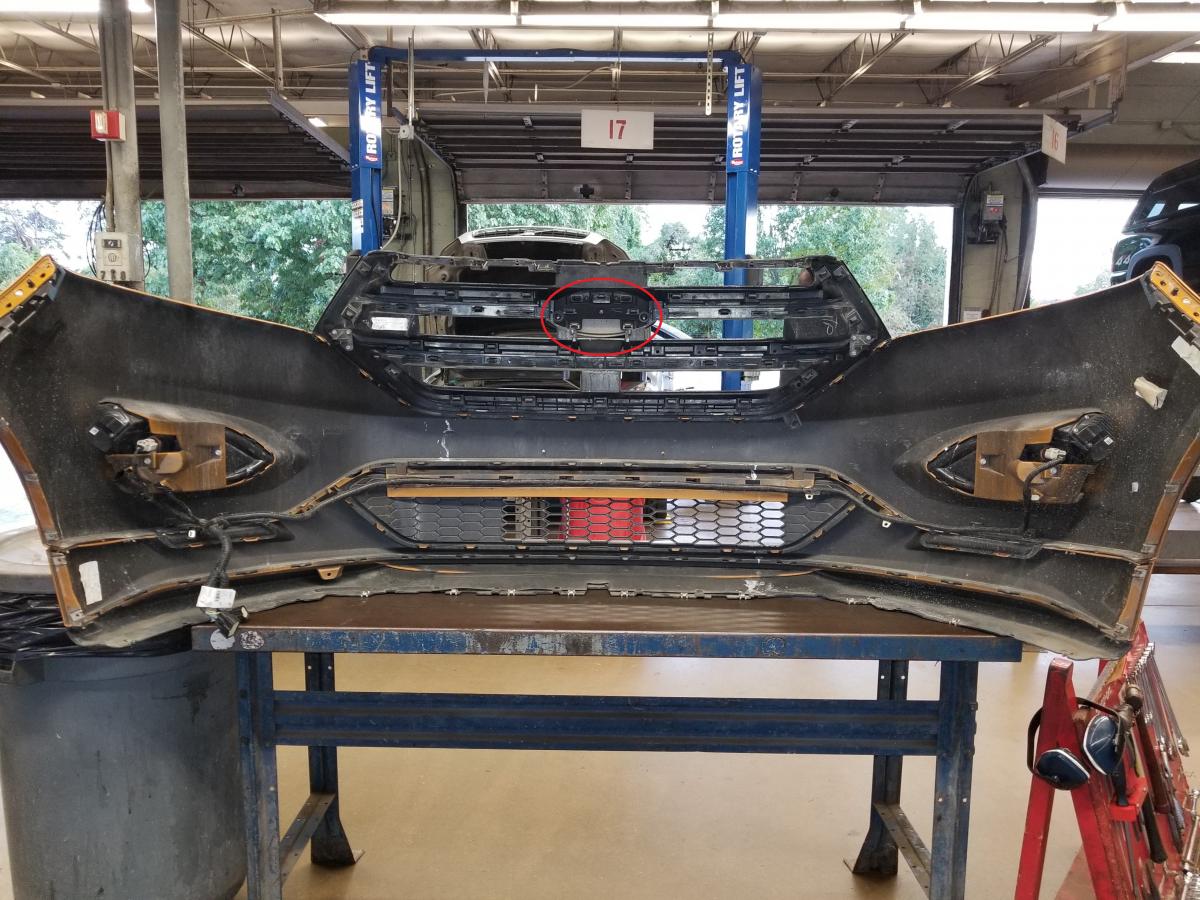
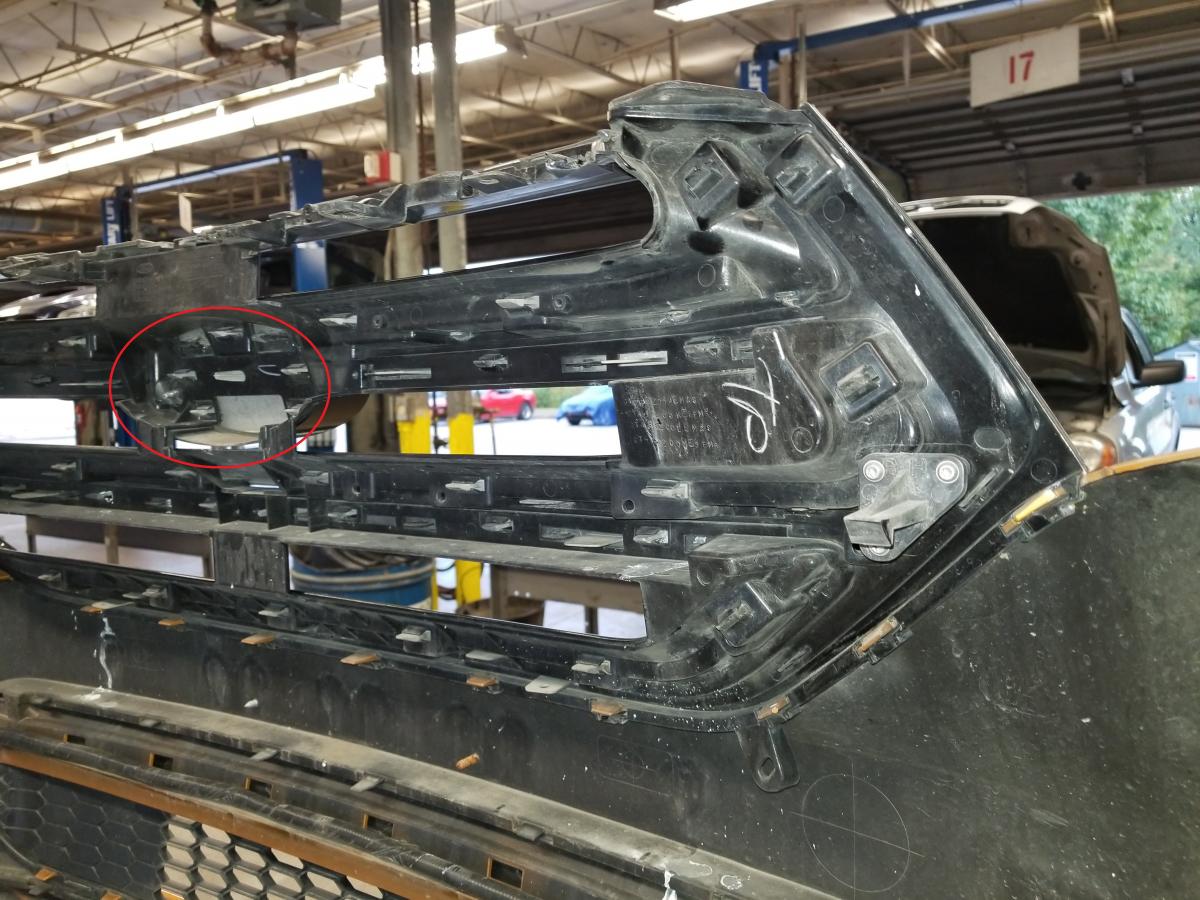
After a Wknd of Sport front end R&D here are the validated facts (Ford factory manuals, Ford body shop & Ford Reps) and removal & modification instructions for the IC grill:
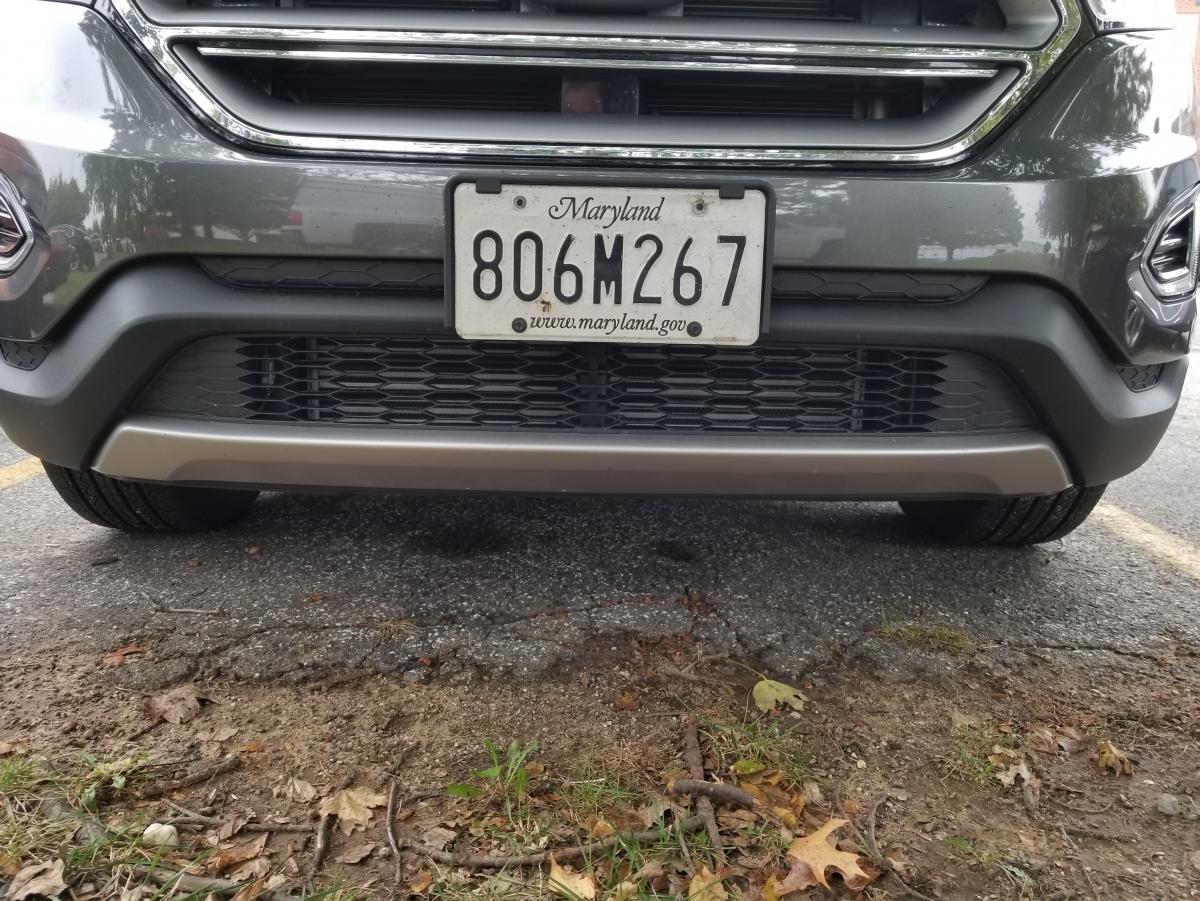
At the time of this posting...the 2015-2018 Sport Edge grill only comes in two flavors one with block warmer accommodations and one without (Ref Pic). The grill I'm working with in the Pics is without, we know this for sure because we confirmed by ordering the only two listed for the Sport and compared (Ref Pic).
Note: the full lower grill seen on other 2015-2017 Edge models will not work, nice try but no cigar (Ref Pic)...

So after removing the front bumper cover/fascia the grill is fully accessible.
We did not find any electronics that warranted the blanked off section of the grill however, we don't have the ACC option and we were able to confirm via Nick Halstead's post in this string that is the purpose for the blanked off section. Unfortunately a full open grill is not offered by Ford at the time of this post....
Just goes to validate the fact that engineers don't make designs without justification, whether good or bad...
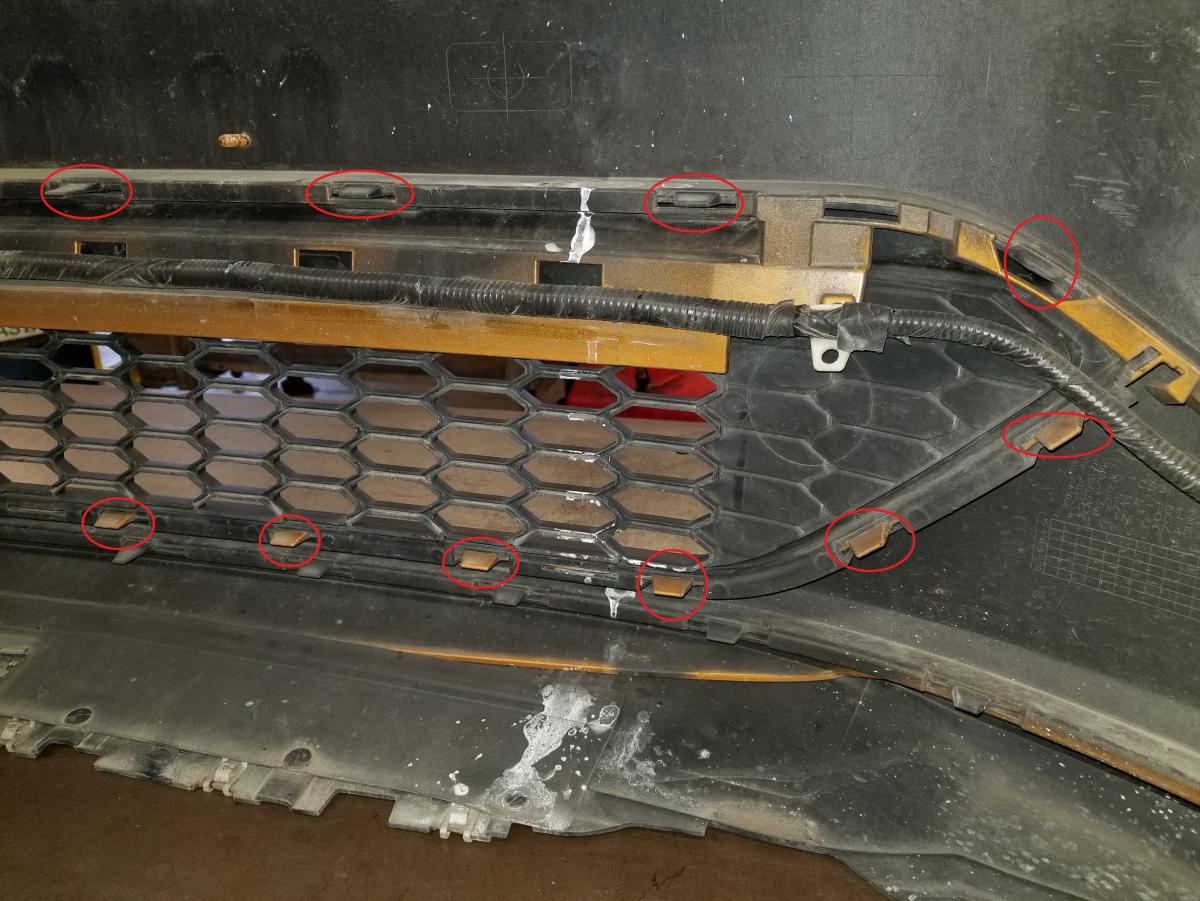
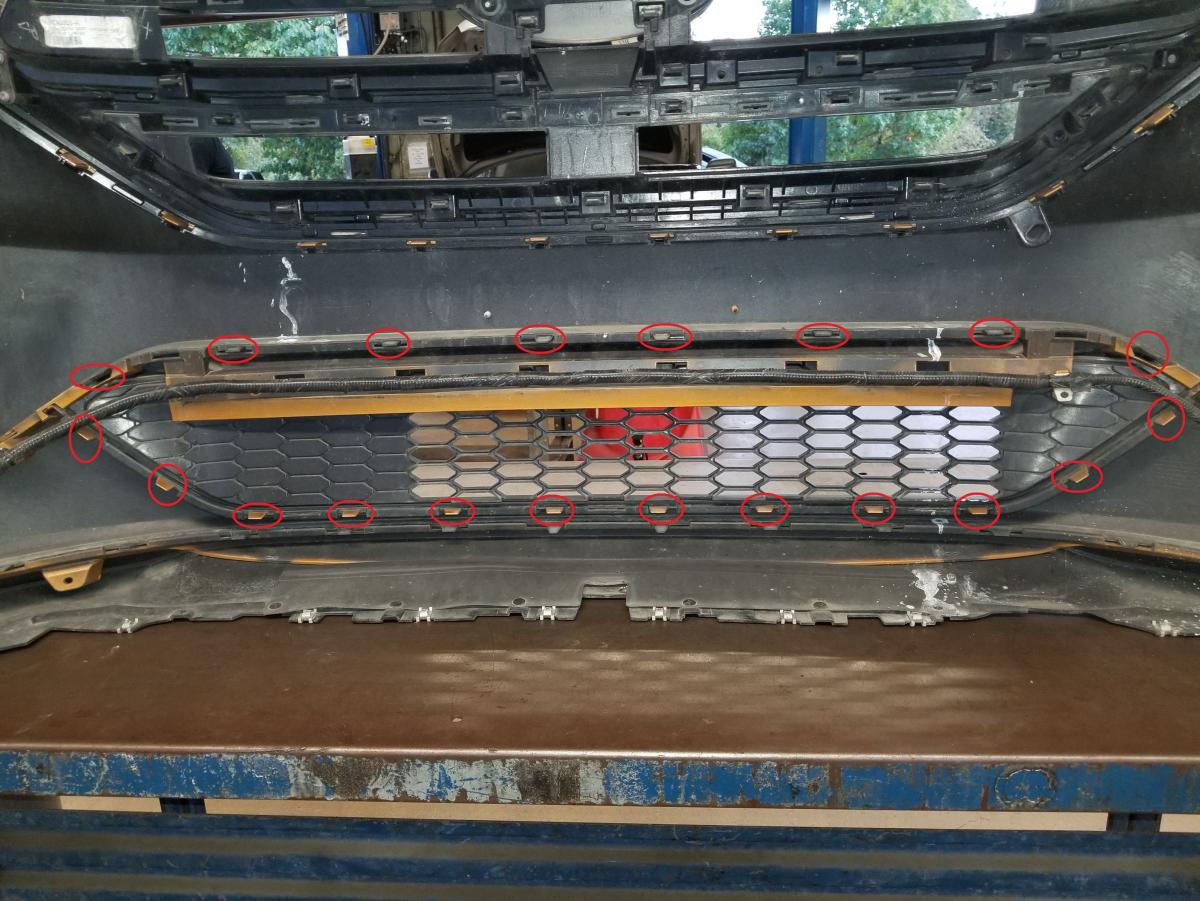
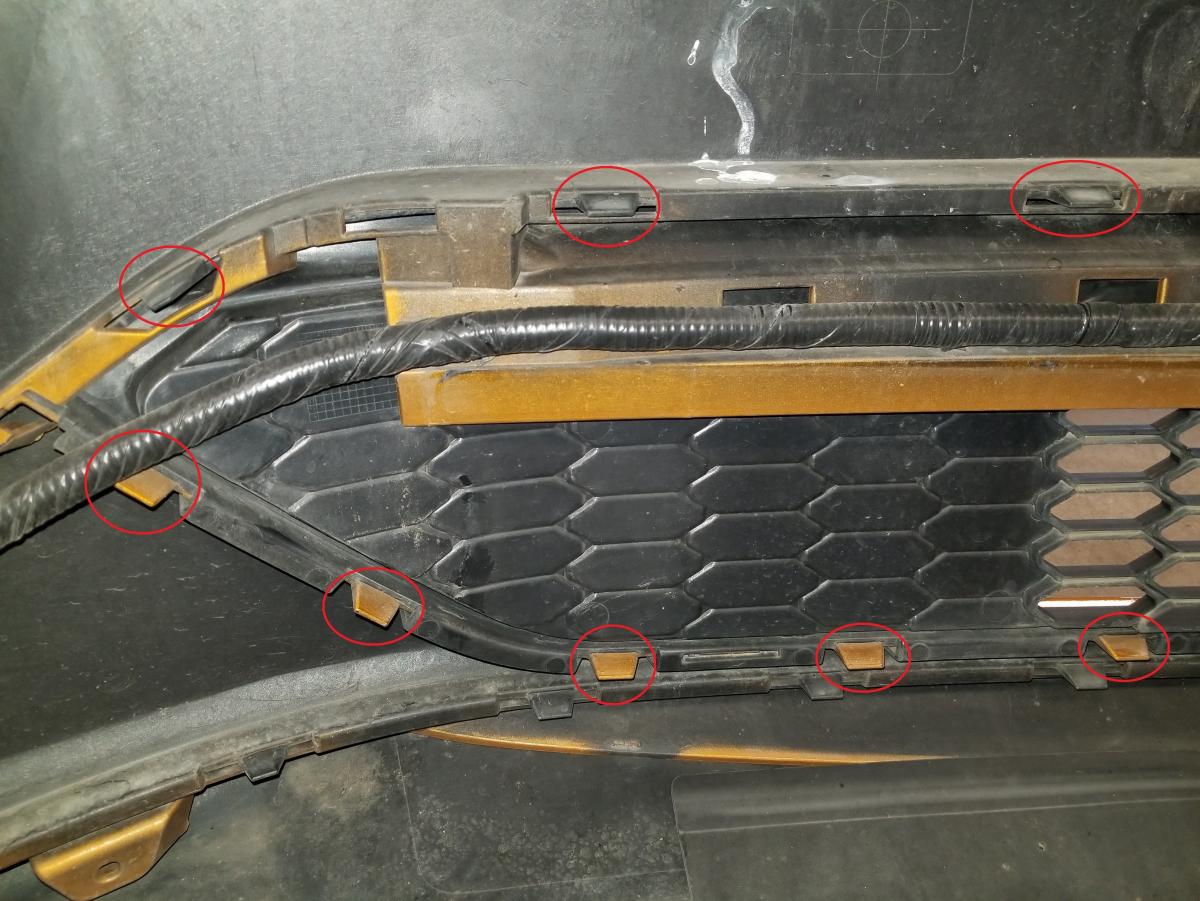
The grill is held in with integrated plastic clips and it took two of us carefully man handling from both sides to remove it without damaging (Ref Pics).
MODIFICATION: Ref attached document...

If you perform this Mod you should consider the AGS Sys Mod noted later in this topic string, these two combined dropped the CAI temps 15-20 degrees...

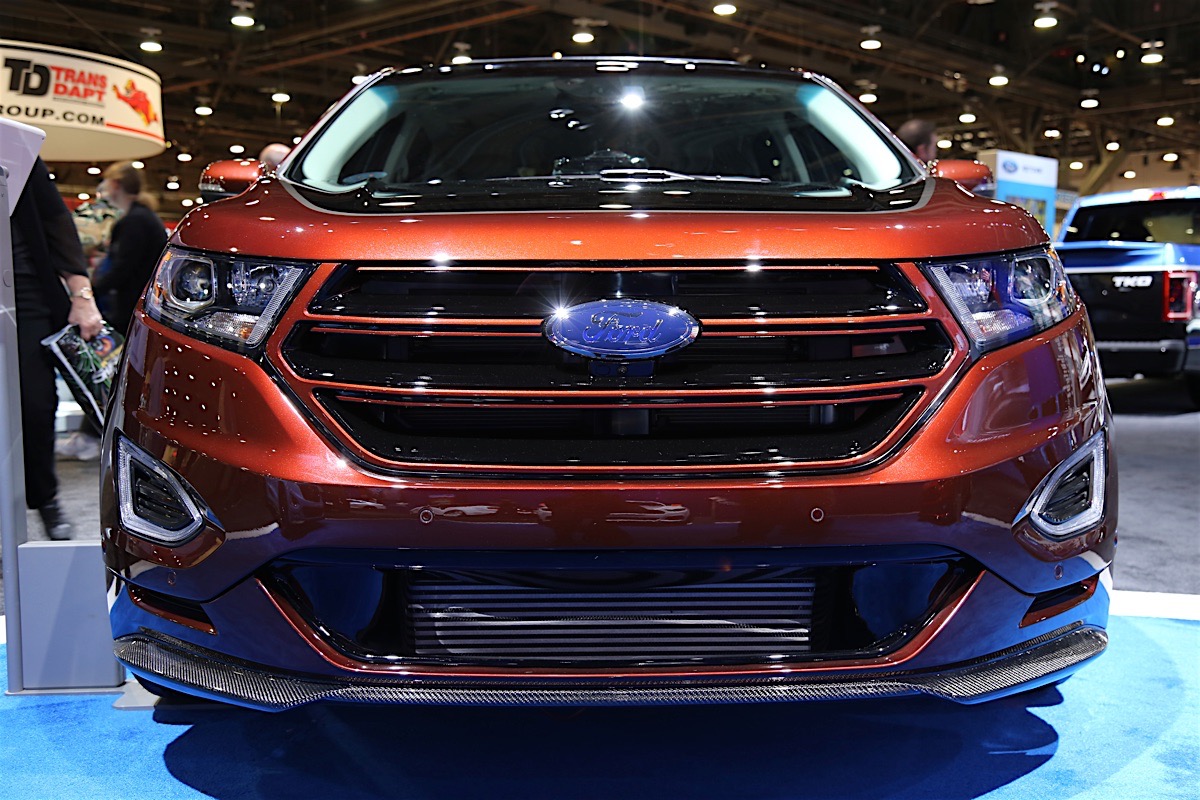
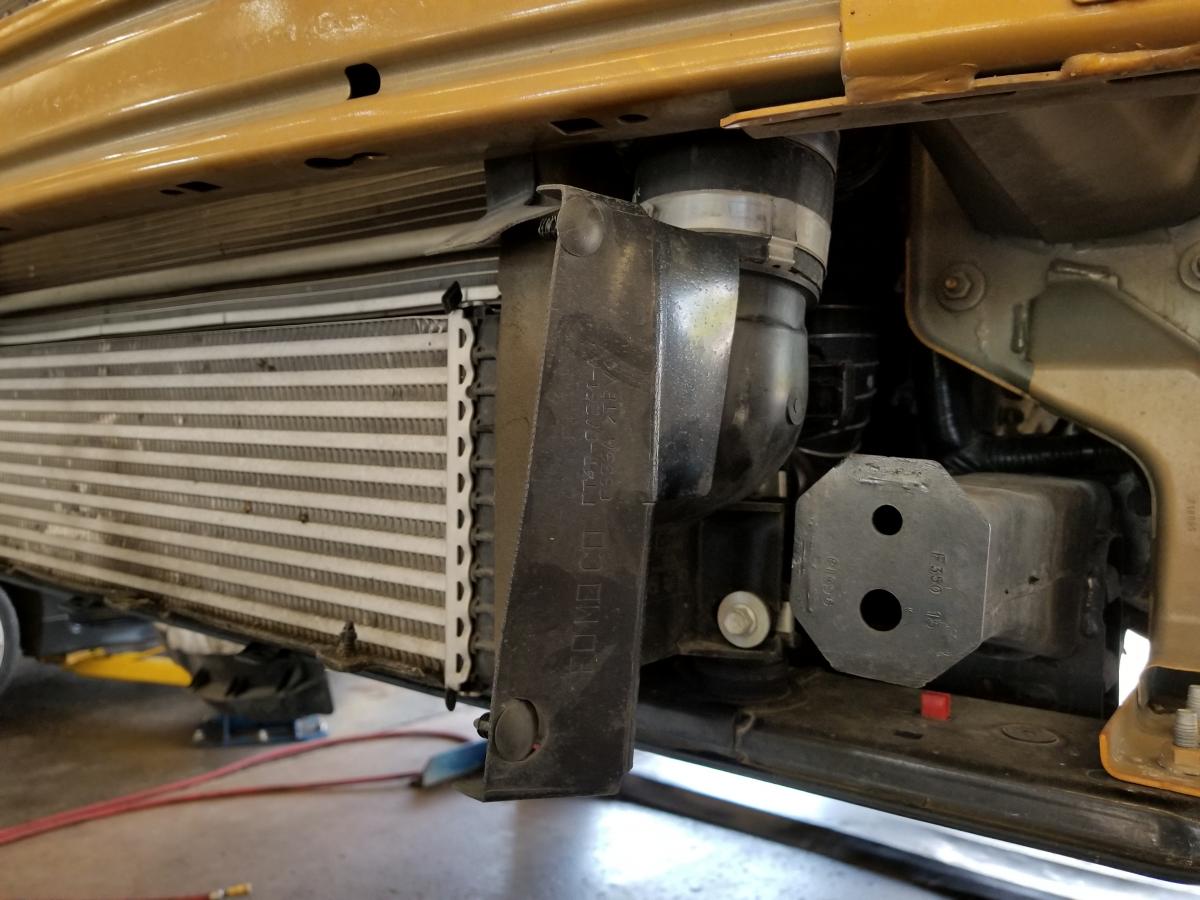
However, I do love the custom SEMA IC Inlet which I so want (Ref Pics)...


-
2
-
-
Skill sets are always the double edge sword and I totally agree...

With this issue time will tell...

I'll post any negative impacts however, if the fading allows more light out but still provides the blacked out look when the car is off I'm good with that...
Worse case scenario...tape off the fascia instead of pulling the front off and shoot another coat, 15 min & BAM done!... :happy feet: :happy feet: :happy feet:
-
1
-
-
Root,
Let me know if U locate those fog lamps, they R baddass!
Also looking for
- The IC grill used N the SEMA/WEBASTO Edge.
- And/or developing an after market performance IC.
Any & all support and/or information is greatly appreciated.
-
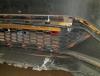
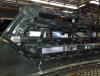
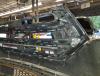
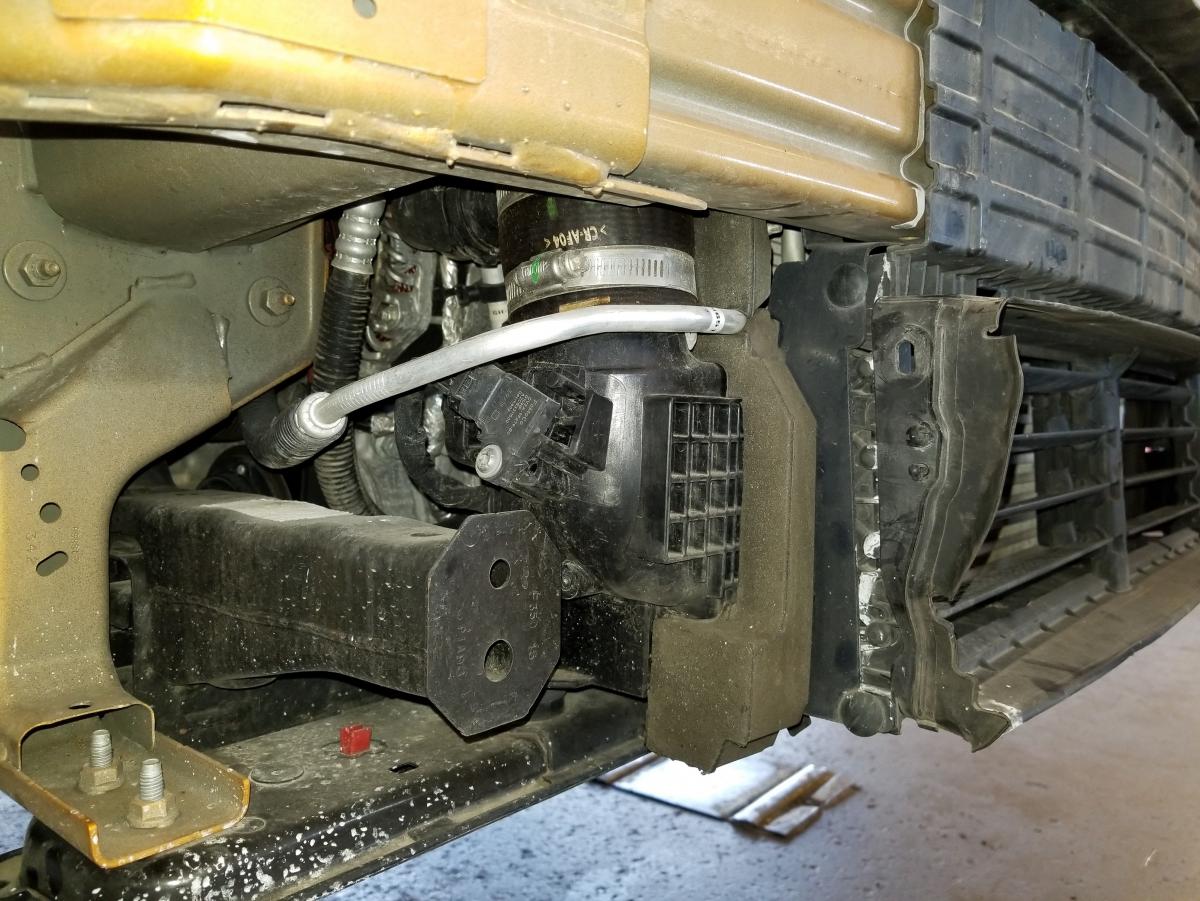
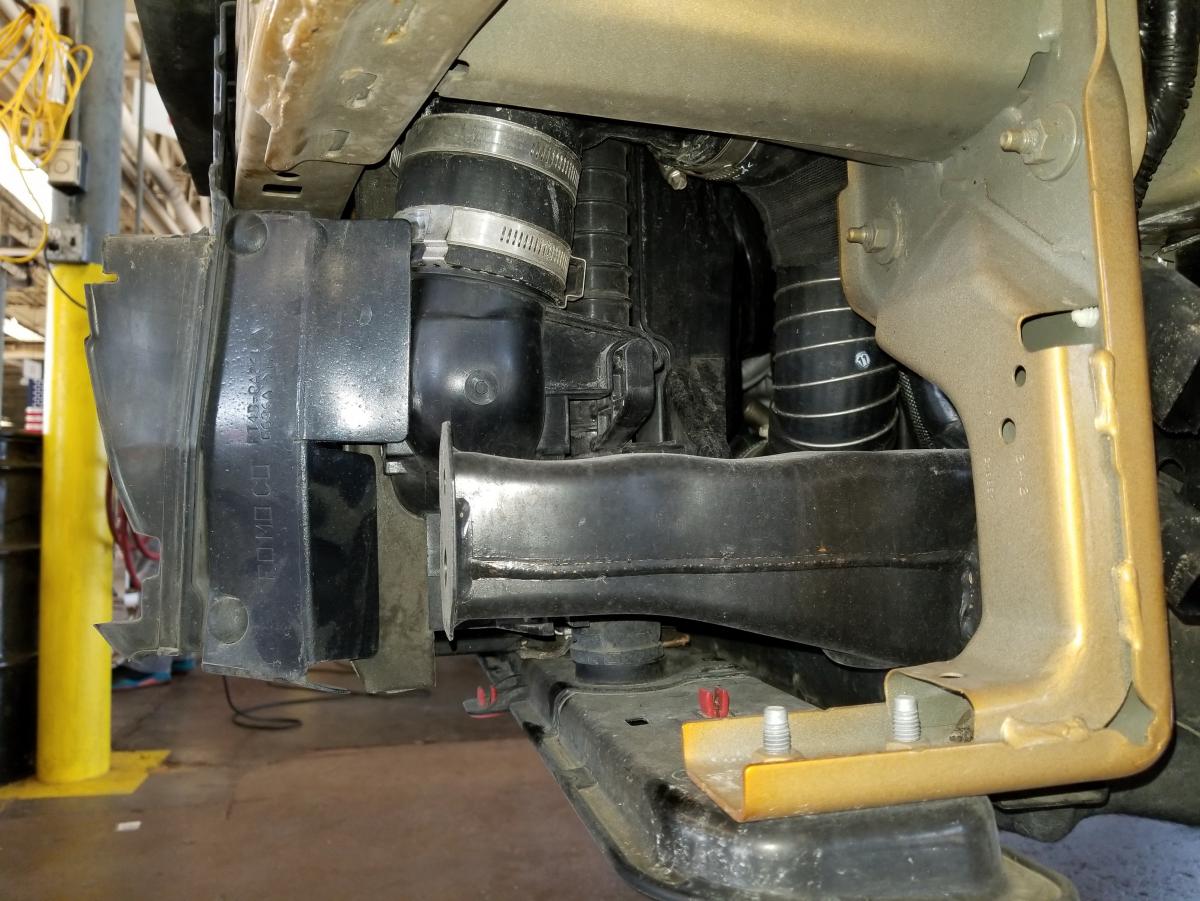
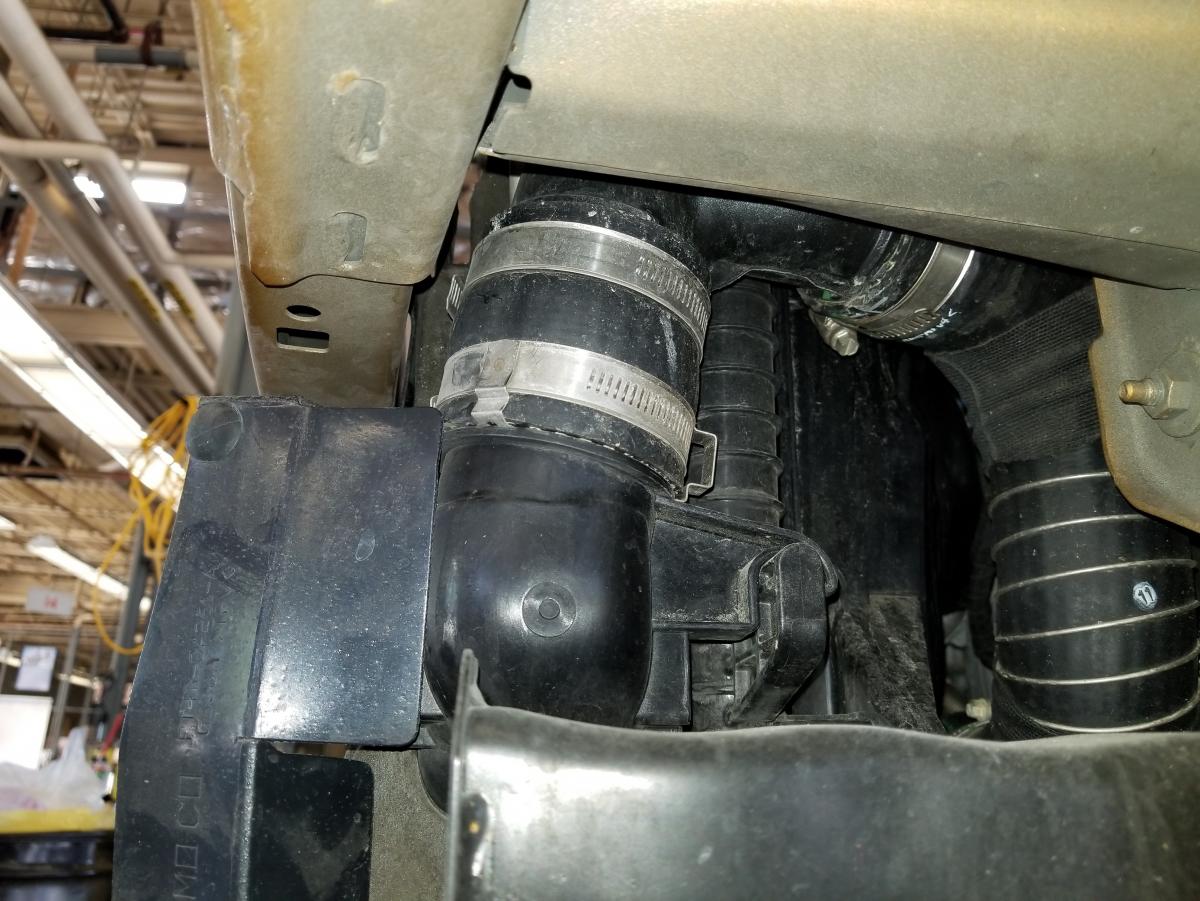
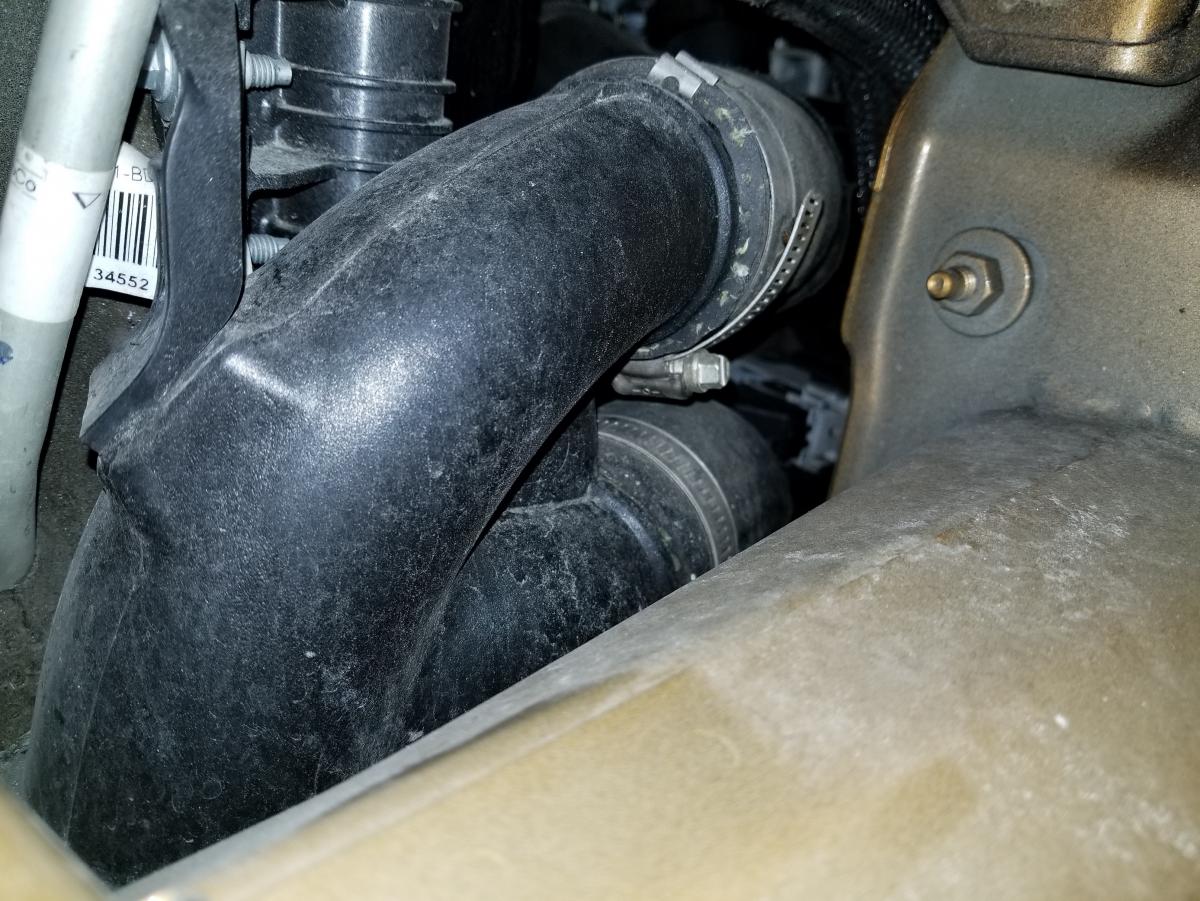
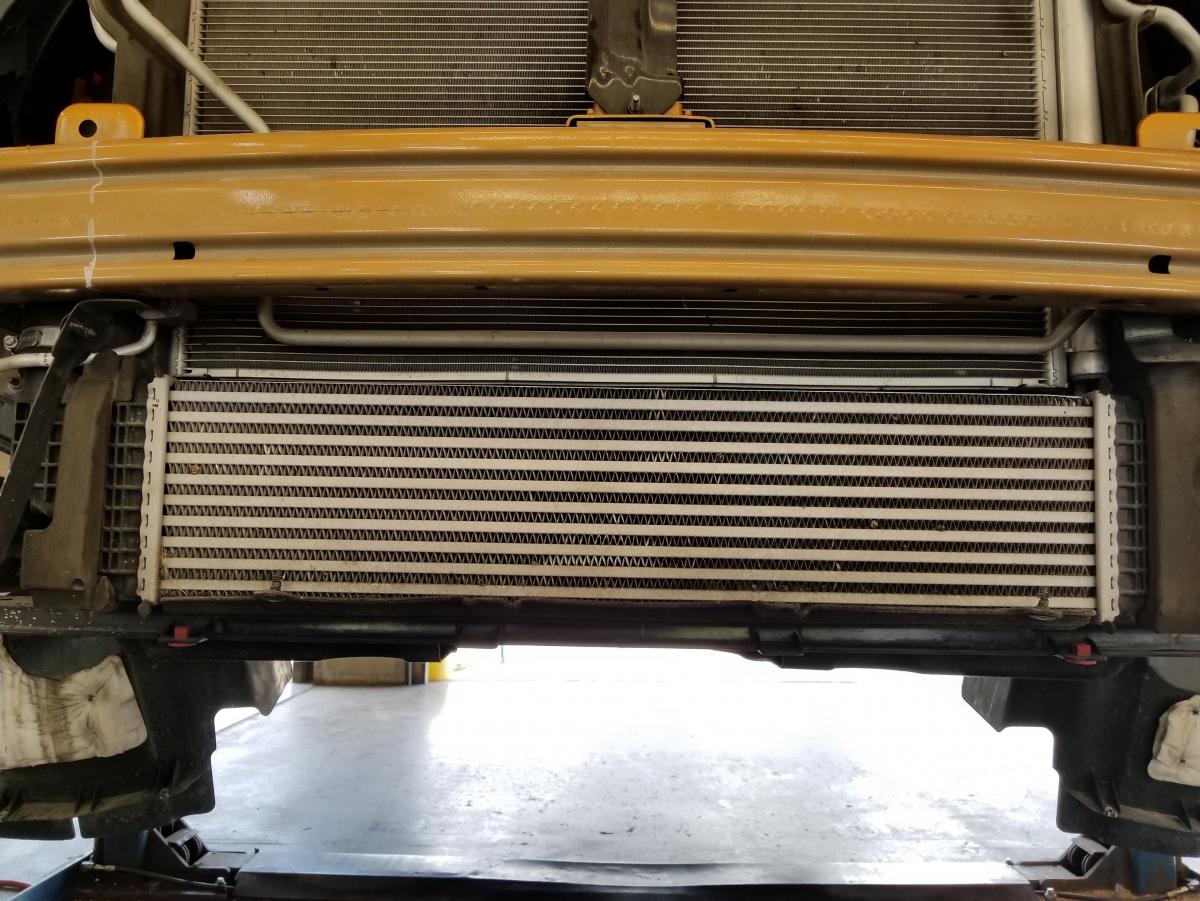
Since many have been requesting 2016 Sport IC Pics and are anxiously waiting here's what our IC R&D session provided Pic wise:


-
4
-
-
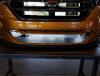
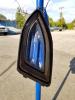
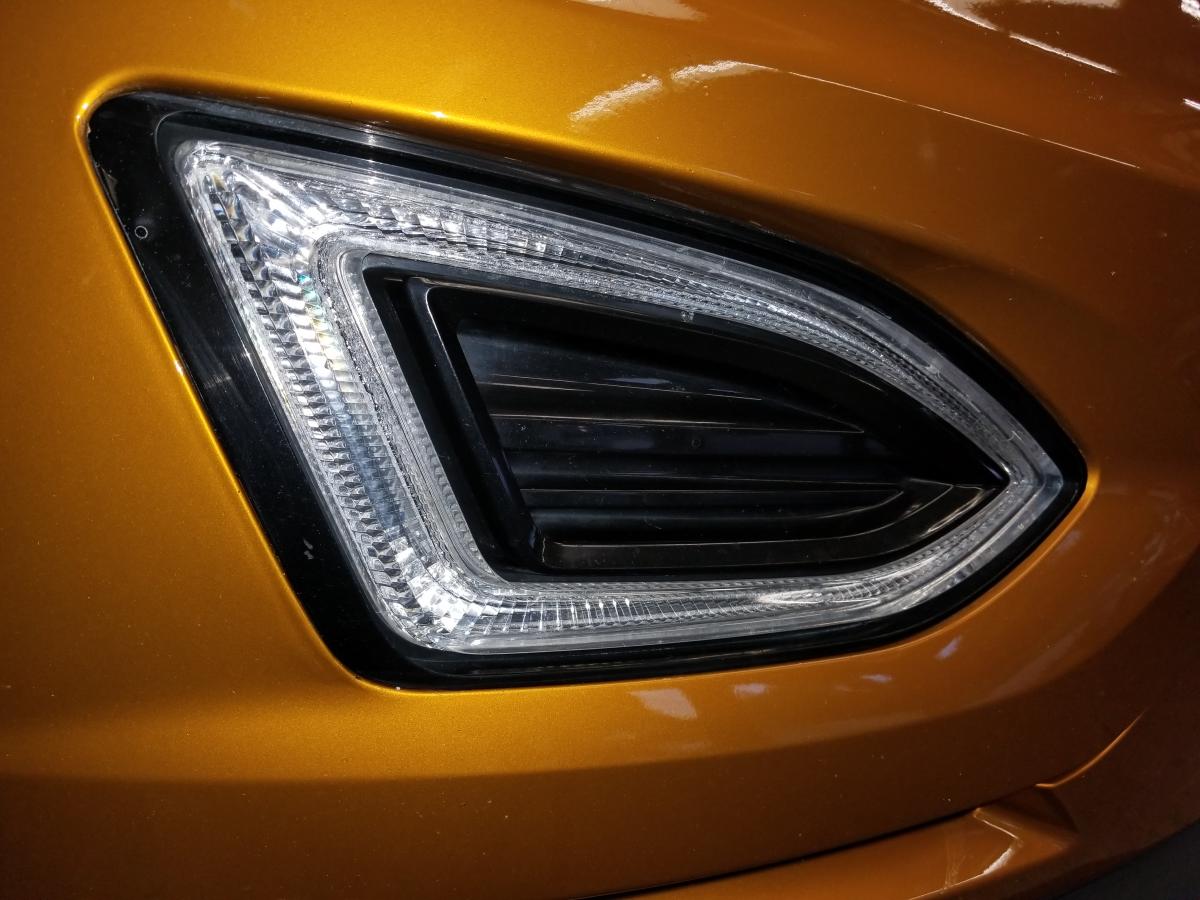
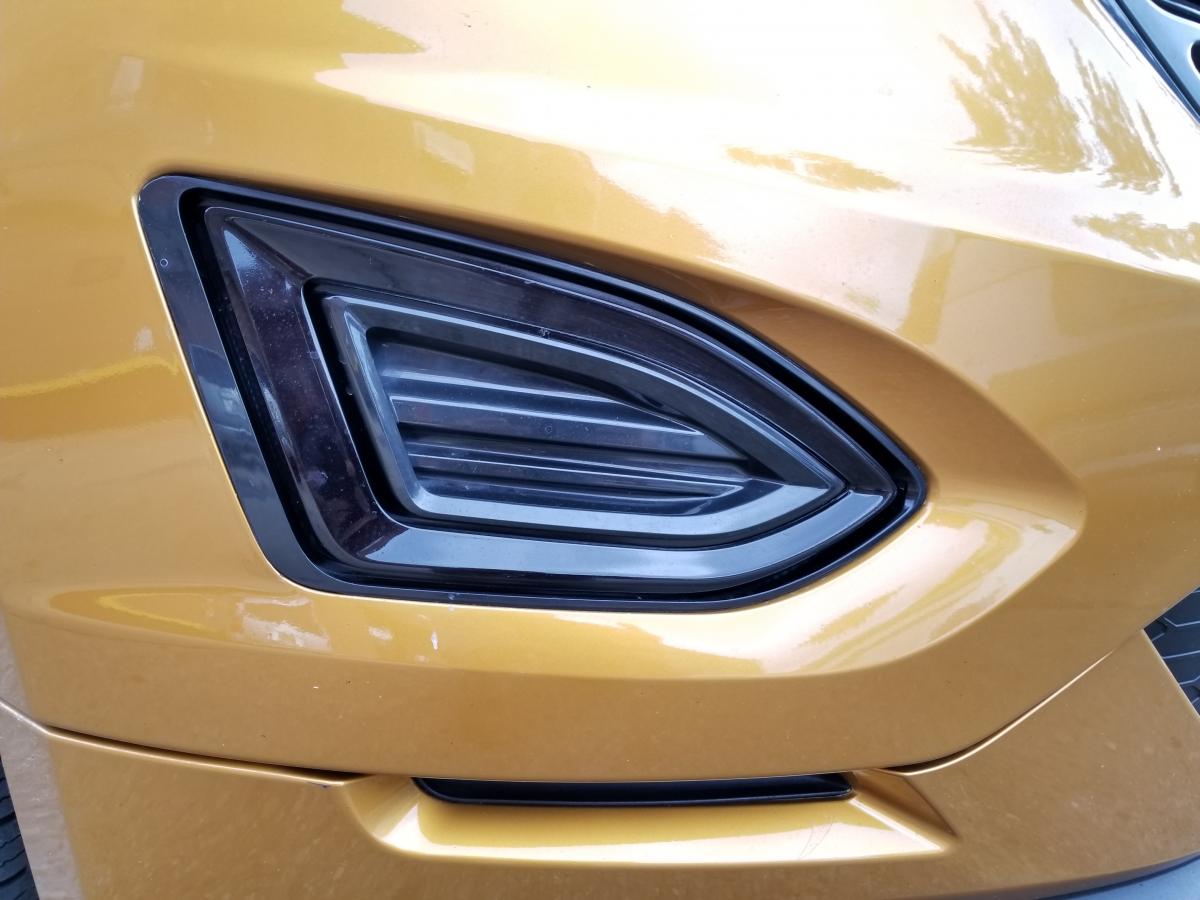
To access/remove the Day Time Running Lights (DRL) on your 2016 Sport you will need to remove the front/facia which takes all of 30-45 min once you know how. Ref ???
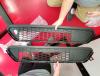
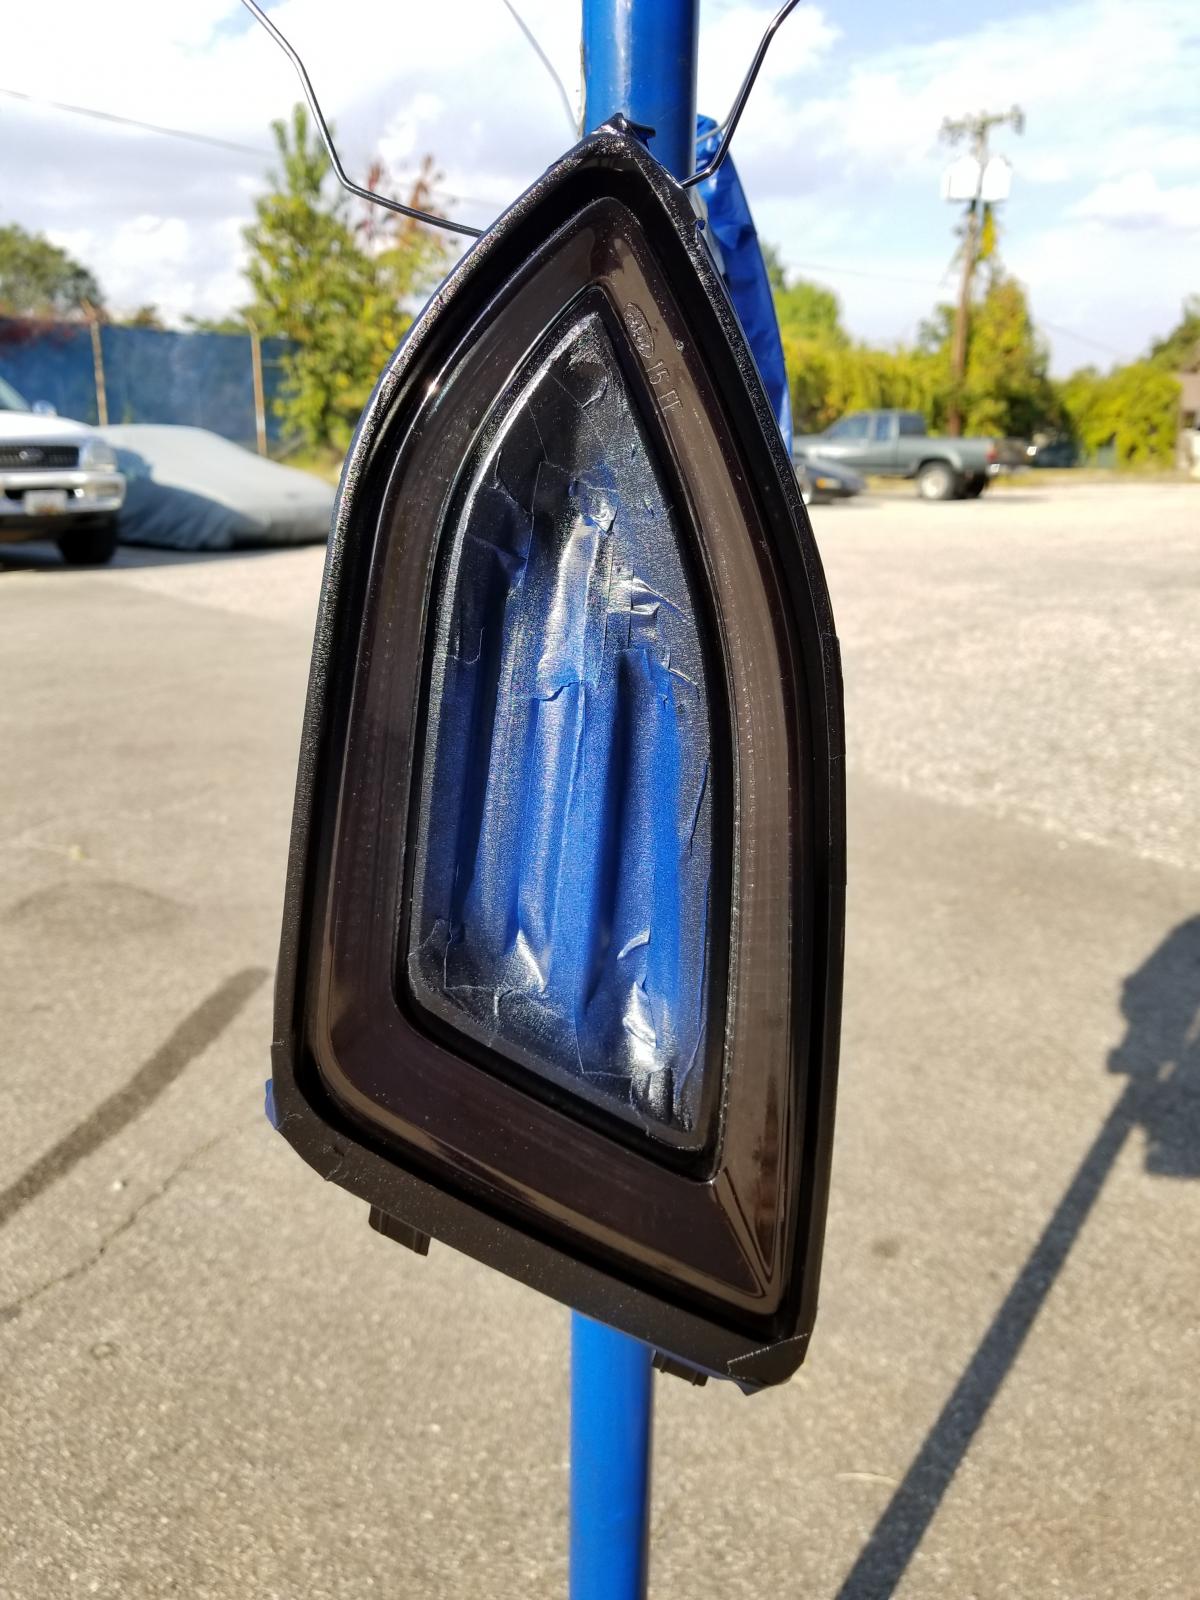
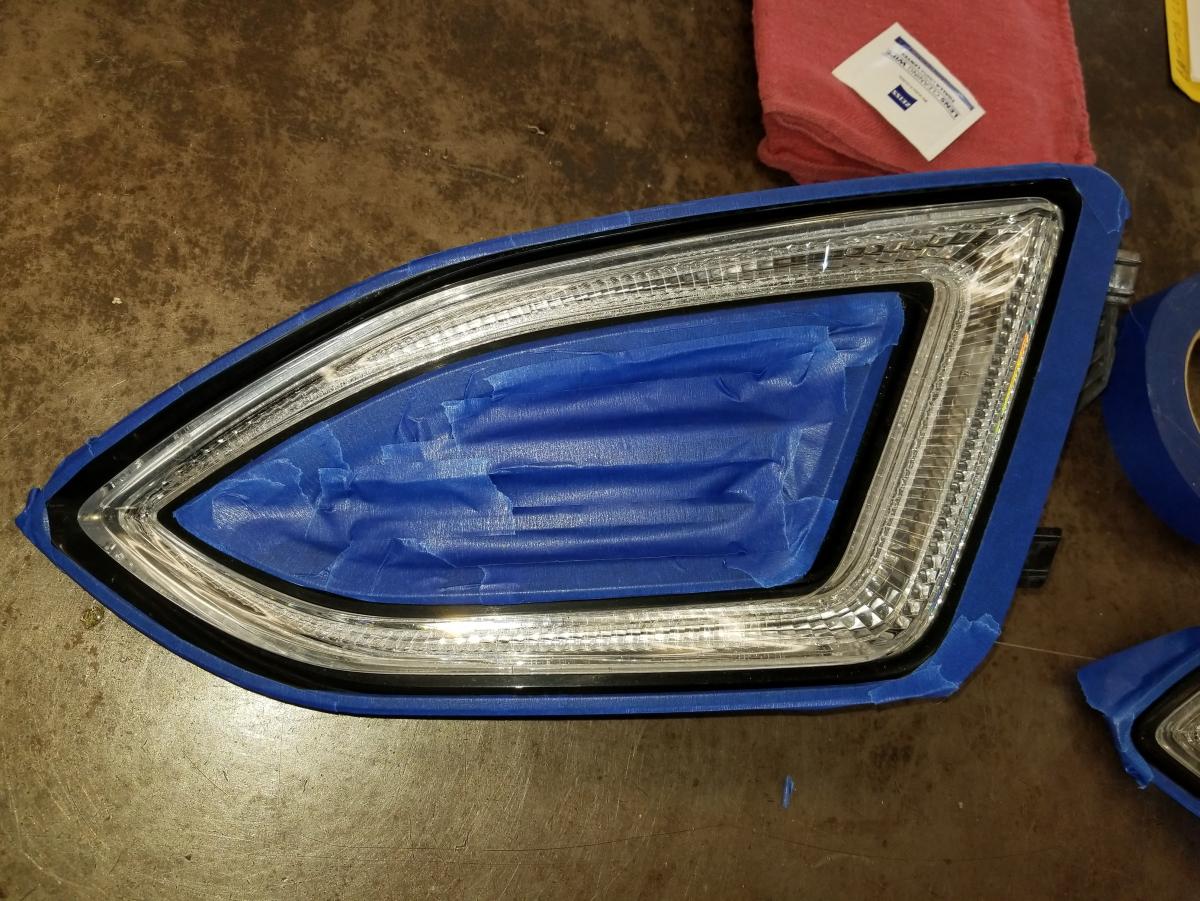
I removed my DRLs for the purpose of spray tinting since after careful examination noted that attempting to tint with overlay wrap was not going to workout to look good given my overlay experience of nill. So spray tinting was the choice.
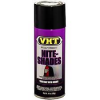
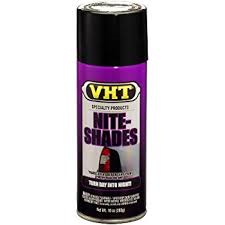
I used VHT Nite-Shades (Ref Pic).
They recommend no more than three coats but I opted for 2.5 even moderate coats and got the affect I wanted (Ref Pics),
Clean surface with alcohol or any cleaner that doesn't leave a film i.e. lighter fluid.
Tape off.
Hang up in a dust free environment, with Temps & humidity in the manufactures recommended range.
Spray one coat at a time evenly with 15 min between coats
There you have it...da, da daaaaah!...


-
2
-
-
My list of "How-Tos":
Completed:
Tstat
Front Emblem
Strut Tower Cross Brace
DRL Tinting
Soon To Be Authored:
Front/facia removal
AGS removal & Mod (dropped CAI Temps 20 degrees)
IC Grill removal & Mod (dropped my CAI Temps 20 degrees)
IC R&D Pics
Notes:
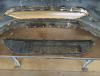
- I've also posted some updated Pics in my gallery after the spring job.
- There's a Pic of the scale weight with my car empty other than gas
- I'm running the Qtr in the 12s
- I stayed ahead of Special K's (heat soaked) Supercharged tuned A4 from a 20 mph rolling Qtr mile start and crossed the finish at 110mph using e30
-
2
-
-
Special K & I just last Wknd R&D the front of our 2016 Sport and found answers to multiple topics on the forums.
In this case there was question as to what's holding the front emblem on and can it be removed while on the car and what's holding it on.
They say a Pic is worth a thousand words so here's the simple answer, no it cannot be done without pulling off the front.
However, we're in the process of authoring several how-to documents with Pics that we'll be posting in the near future...

As I said before...most of us have jobs and have to fit this time consuming effort in so be patient...

-
1
-
-
Ok, I'm going to get us back on topic...
Unleashed Tuning & the use of e30 Info I'll be happy to provide under the appropriate topic or PM.
Unfortunately or maybe more like fortunately there's not much of a need to provide install instructions on this issue since it is as simple as it gets/appears...
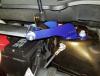
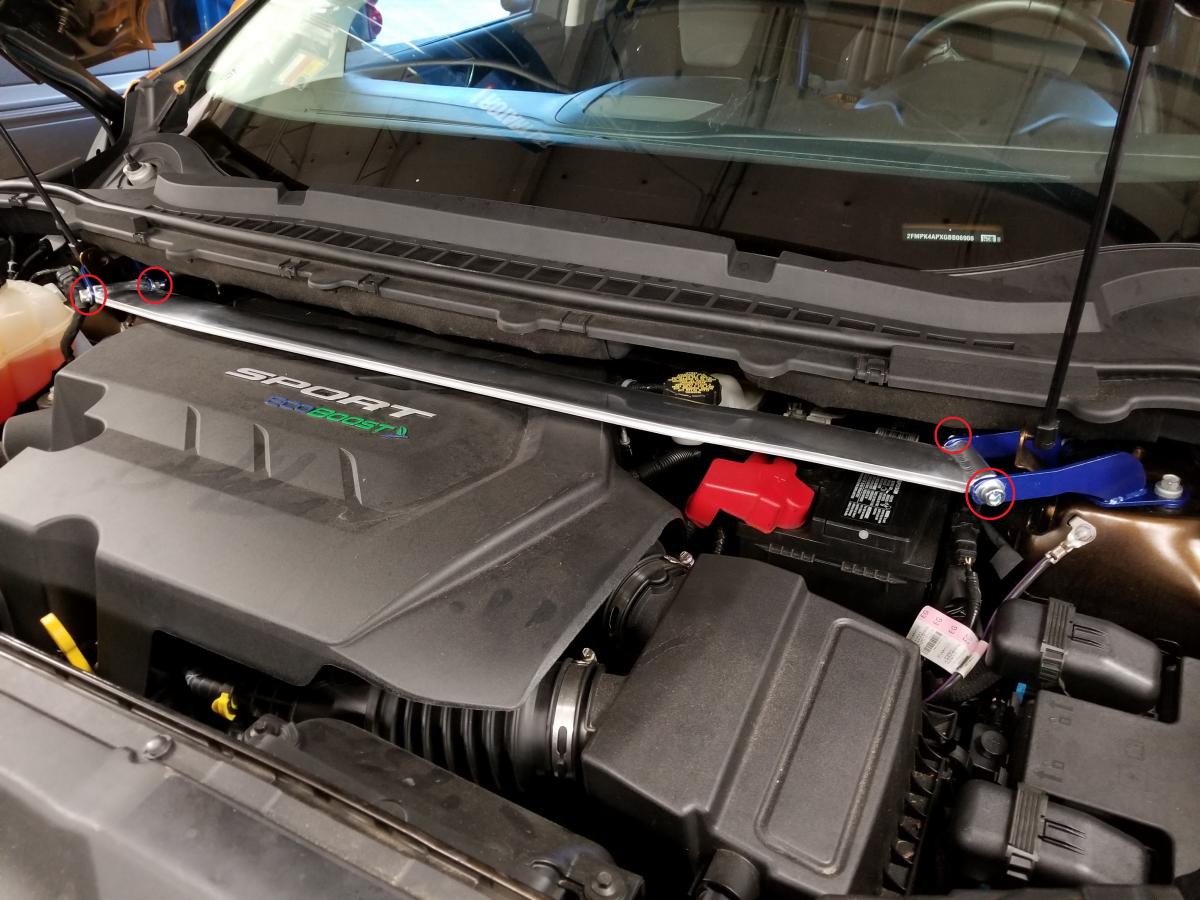
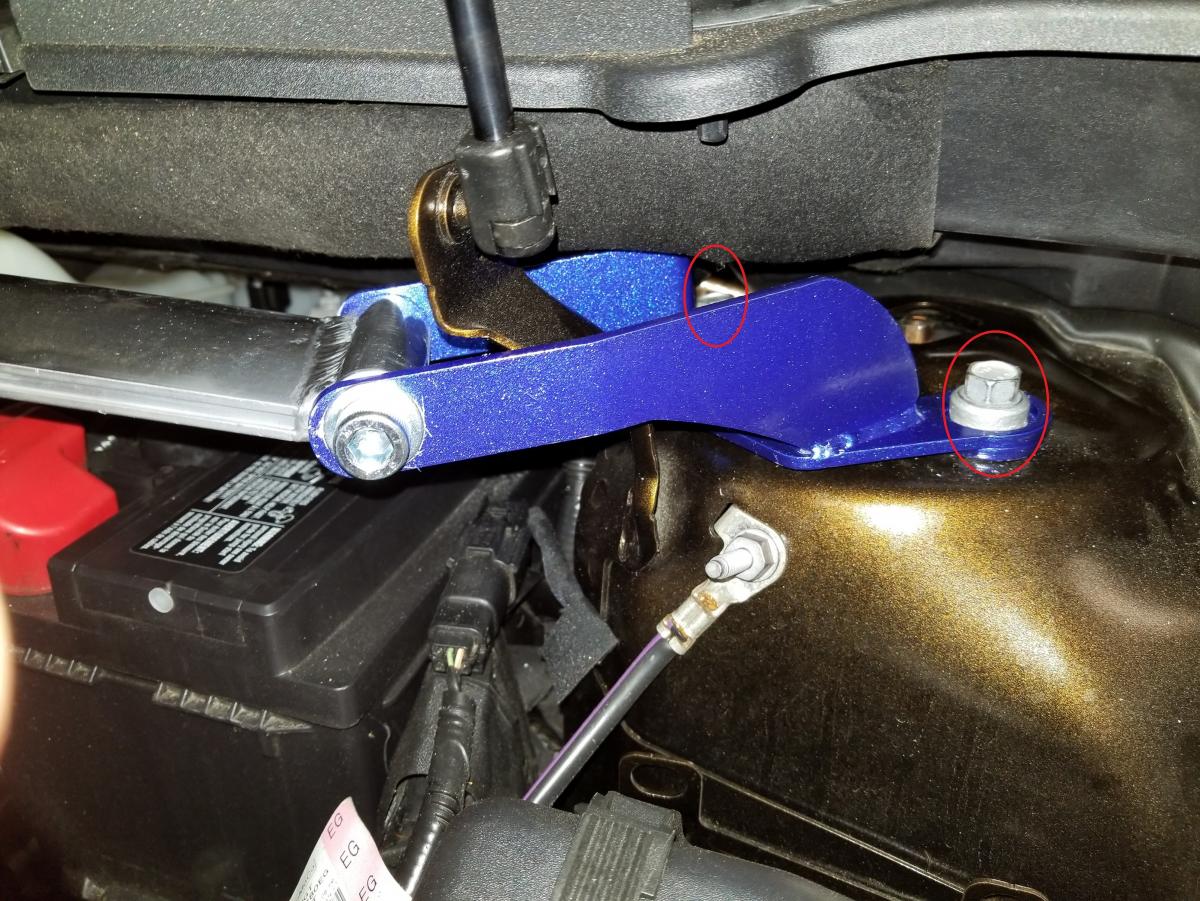
Basically you attach the left & right mounting brackets to the strut towers using the existing two of the three strut mounting bolts.
Then you attach the cross brace between the left & right mounting brackets connecting the two...da,da, daaaah!...
:hat_tip: Here are some Pics:


-
2
-
-
Who, what where when Nick???
-
SJCabose,
A performance IC & true CAI Sys would be totally awesome & GREATLY appreciated by many!...
At the moment those are our two major sticky points, of course more will follow as we knock out the big ones...
-
2
-
-
MD, Crofton & Ambitious Whips Car Clubs meet at IHOP parking lot in Gambrills, MD.
Tonight and every Wed night and starts 1900.
-
1
-


G2 Edge Sport- Strut Tower Chassis Bar Brace Ladder Set
in Accessories & Modifications
Posted · Edited by snmjim
Way 2 GO BROTHER!


Which tune were U running?