SoCalEdge2012
-
Posts
42 -
Joined
-
Last visited
Content Type
Profiles
Forums
Gallery
Everything posted by SoCalEdge2012
-
 Just used Poorboys white diamond glaze under their paste wax and pretty happy with it (especially for the price!)
 -
Just traded in my 2010 Edge Limited- Silver for a...
SoCalEdge2012 replied to nycityjj's topic in Buying, Leasing & Ordering
^^^ appearance package has the 20" machined wheels OP, nice, looking forward to the pics! I went from a 2007 SEL to a used 2012 Limited and love the new styling and handling. Would have loved the appearance package but out of my range -
Can I afford a CPO 2011 Edge w/ AWD?
SoCalEdge2012 replied to naf4rc's topic in Buying, Leasing & Ordering
I'd suggest starting here: http://www.ford.com/certified-used/search/ Just doing a quick search in my area netted a few in the 24k-25k range. -
Thanks for your service, safe travels to you and your family
-
Of course you can take pre-workout and protein and STILL lose weight. One protein shake has a whopping 120-130 calories. I would not cut those from your diet if your trying to shape up. The worst thing you can do is skip a shake after weight training. Just adjust calories in / calories out accordingly. I think it's a smart move on your part to just replace one meal a day with juice. A co-worker did that and had lost pretty good weight on it.
-
Any travel plans to Southern California?
-
Yet another front license plate removal :)
SoCalEdge2012 replied to mrtwohands's topic in Exterior & Body
Go for the chrome plugs for now, they are a cheap enough fix. Worked for me, until my wife got in a fender bender but then I was able to have the dealer order a CLEAN lower grille insert for the repair! -
Check out this guys Edge. PD'd grill with Appearance package wheels. Maybe it is what you are after? http://www.fordedgeforum.com/topic/13643-im-baaaaaack/
-
LED's really accent the nice interior of the car. What LED's did you use for the reverse lights?
-
2012 Limited, used with 19k miles, ~$27,5XX
-
Winterizing: What do you do to prepare for winter?
SoCalEdge2012 replied to wannabang's topic in Lounge
One of the few good things about southern california....mild winters. Suppose to get back up to 70 degrees in a few days.. For the edge, just gonna give it a coat of glaze and a waxing. -
How much does the OEM windshield run?
-
Front License plate holder REMOVAL
SoCalEdge2012 replied to Edgieguy's topic in Accessories & Modifications
One rivet drilled out pretty easy, the other one started spinning pretty bad which ended up scuffing chrome on the insert a little when I finally got it off. Put two of the chrome plugs in and it looked pretty decent... And then the wife rear ended a flatbed truck which damaged the lower insert. I had repairs done at the body shop at the dealer and SPECIFICALLY requested that they order a lower insert without the bracket...and so now, she's got a beautiful clean smile (sans plastic). I can look at my invoice to see what the cost is if its needed. -
Oops, forgot that little detail, wife is A-OK! Have an appointment for tomorrow afternoon. Hehe black grill would be nice, but I'll just be happy if I can get a lower grille without the license plate bracket...
-
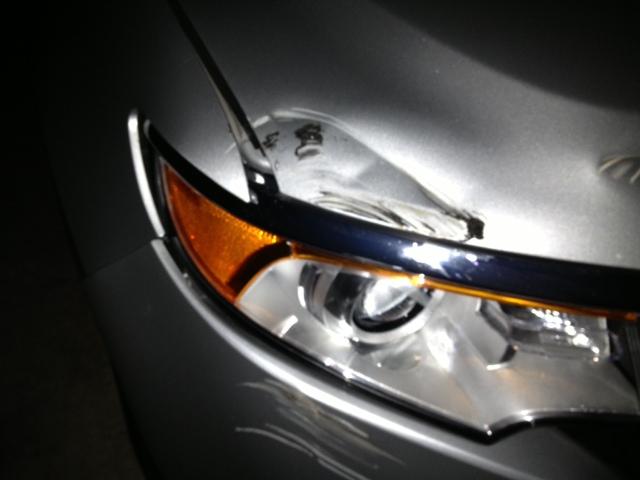
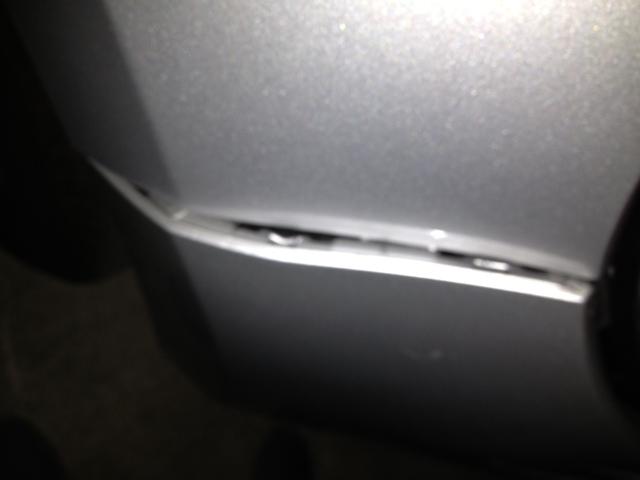
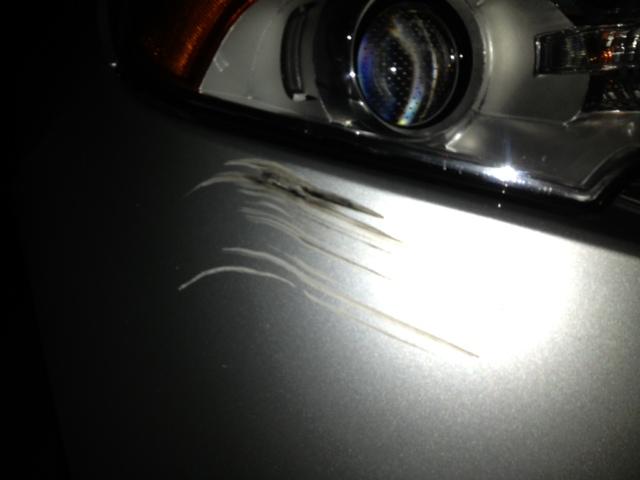
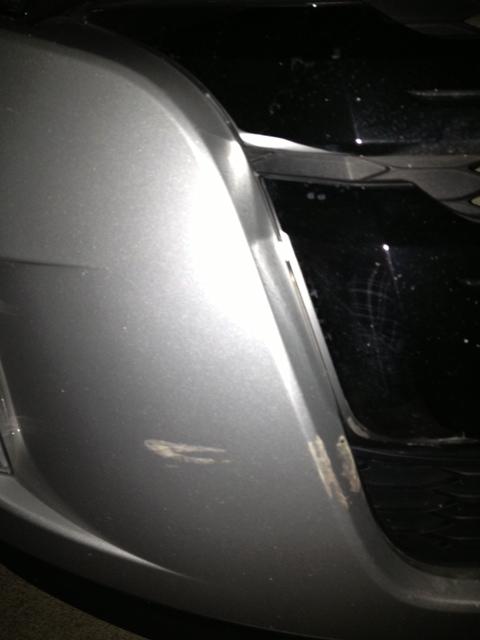
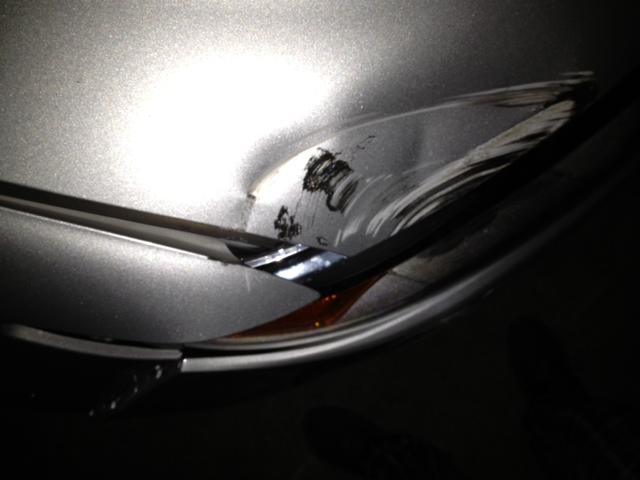
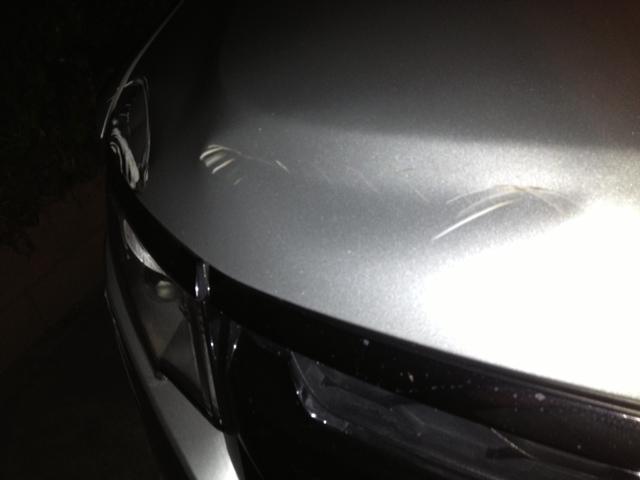
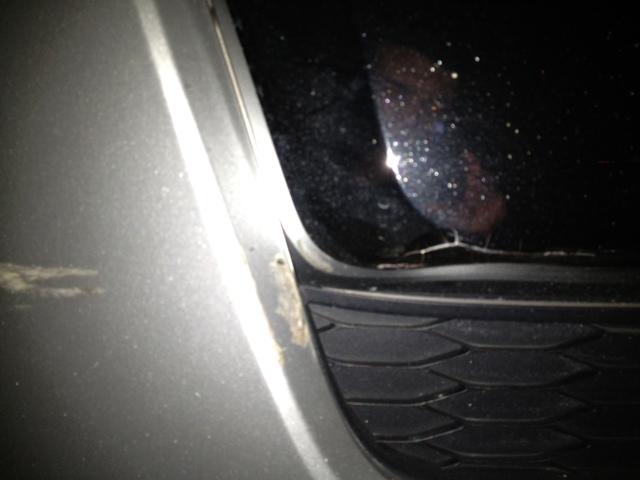
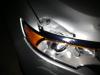
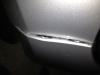
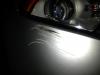
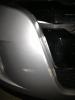
Well the wife decided to play bumper cars with a tree trimming truck. Rolled into the back of it at maybe 5-10 mph. Truck just had some nice silver paint on the lift gate hydraulics. Our edge on the other hand.... ...so far it's looking like a new hood, front passenger quarter panel, lower bumper, lower grille, and possibly new headlight. Will probably get some estimates this weekend.
-
+1, and for us Kalifornians
-
Led Puddle Lights
SoCalEdge2012 replied to Muser99's topic in Glass, Lenses, Lighting, Mirrors, Sunroof (BAMR), Wipers
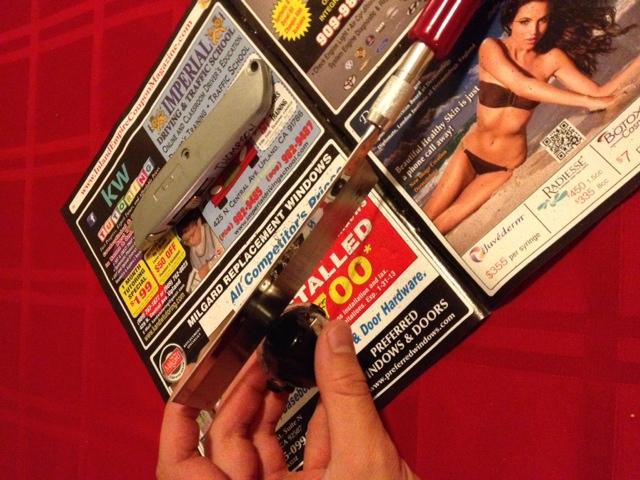
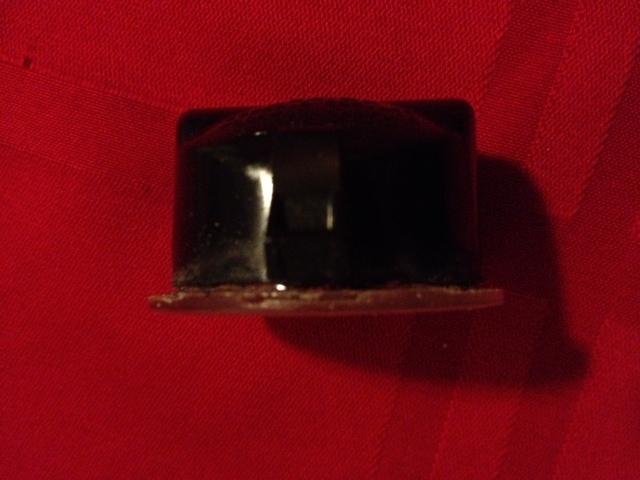
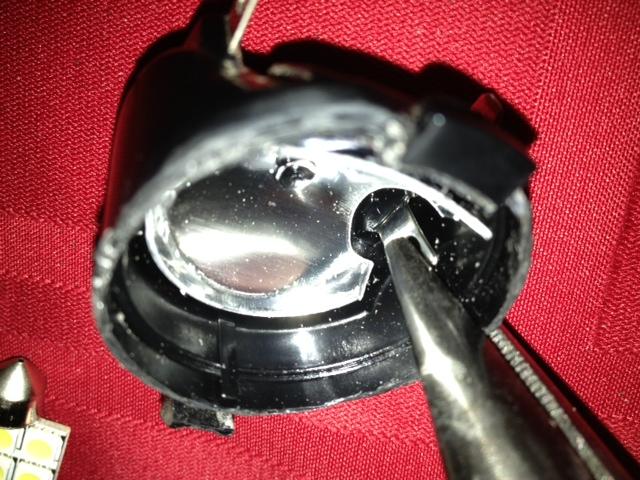
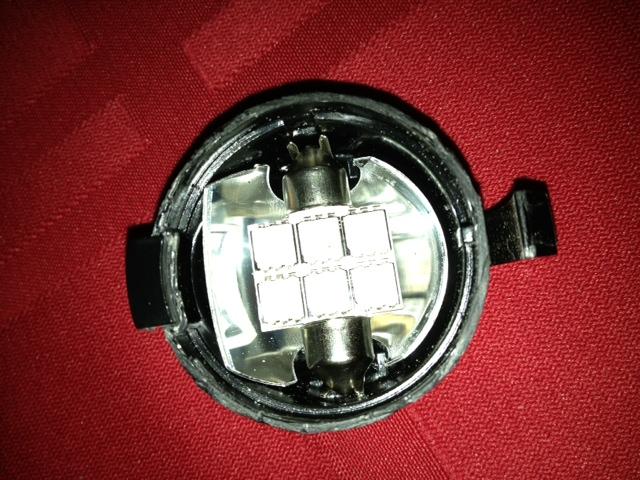
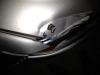
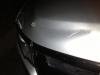
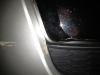
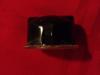
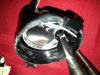
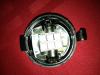
Sorry, haven't checked the boards for a while. First, just a list of tools needed: Flathead screwdriver, super glue, need nose pliers, nail polish (if you have some), clamp, and some type of cutting device. Some use a dremmel, I used this saw since I happen to have it already http://www.michaels.com/Revell-Razor-Saw-Set-With-Fine-Blade/kd3597,default,pd.html?cgid=products-kidsteachers-models-tools&start=6 To remove from the mirror housing, stick the screwdriver in the small slot to depress the clip, then drop one end out, then the other. Then unclip the wires...these were tough for me as mine had a "punch" in them so they would not come apart easily... Once you have them out you can put nail polish along the edge where the clear lens meets the black housing. Then, start cutting along this joint Here is a pic of it after I'm done cutting, you can see the separation Once you feel you are sufficiently cut all the way around, stick a flathead screwdriver in the cut and gently twist, to pry the lens apart. I felt like I was going to break mine, and got a little crack noise when I did this, but it needed it to completely separate. When you have the lens out, use the pliers to pull the old bulb out. For me I needed to spread the prongs a little to get the new LED to fit as shown below using the pliers Then pop in the new LED Before applying the lens, go out the the car, plug in, and TEST IT! Now apply superglue to the lens, apply a good amount since you now kind of have a gap to fill, and clamp it for a good 15 minutes so it completely dries and you dont reinstall into the vehicle with wet glue. Then plug it in, double check functionality, then pop the unit back in, and enjoy the pretty new light. Sorry for the quick and dirty write up...wee morning hours of Christmas. Let me know if you have any questions.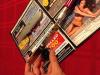
-
Best HID Kit?
SoCalEdge2012 replied to frazi's topic in Glass, Lenses, Lighting, Mirrors, Sunroof (BAMR), Wipers
No to hi-jack, but just in case the OP has DRL's for some reason: Prinzll, i trust you to be the DRL expert from what I've been reading. I've pulled this from the TRS website regarding their canbus ballast "Canbus....Great for many modern Euro applications (though not recommended for the 5Five system or vehicles with DRLs)" I think on the retro-solutions site you can specifically order a "DRL Module". I have not seen this on DDM or TRS website. Prin, do you know if this is needed or can you just run a straight canbus and get same OEM functionality? -
I haven't looked into alternatives as they are working for now. Just out of curiosity, can you cut/trim the "circuit board" for LED's? I thought I remember reading on some post that one of the big LED boards was trimmed to fit the rear dome light. If I can do some trimming they'd fit nicer. On another note, the puddle light LED's you posted look great. I had to spread my prongs to fit and the LED is wedged in there tight but they're working.
-
Led Puddle Lights
SoCalEdge2012 replied to Muser99's topic in Glass, Lenses, Lighting, Mirrors, Sunroof (BAMR), Wipers
Muser, I used the LED's posted by Candurin and just got them installed last night. For $5 and less than an hour of time they look great. Let me know if you are still looking to do this and if you want any input...I tried to take a few pics as I went. -
Gotta say I'm disappointed with these ones for the dome light. Was an ok fit for cargo, but these DO NOT fit properly in the 3 spots on the cargo. Overall length is ok is seems, but the actual board chip with the light is to wide and interferes with the clips. I monkeyed these in there (surprised i didn't break them) and it might be a matter of time before they just come loose and fallout. I'd suggest looking around further.
-
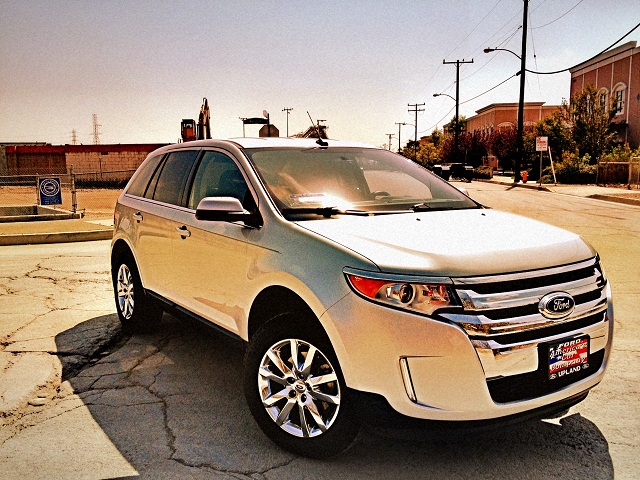
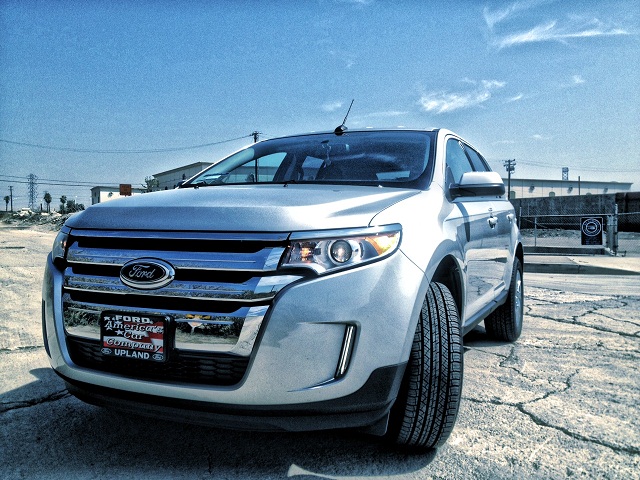
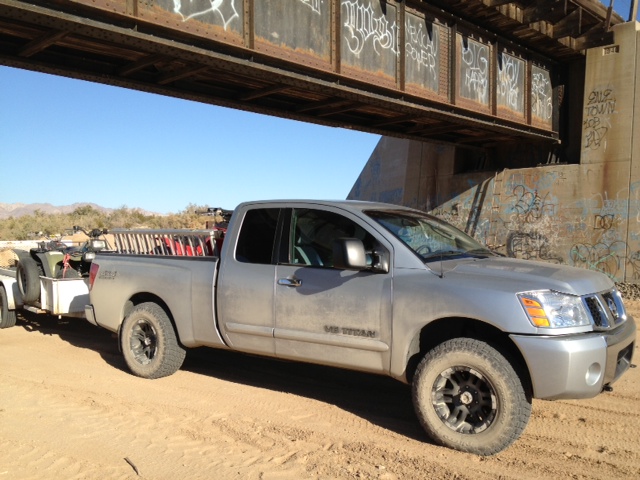
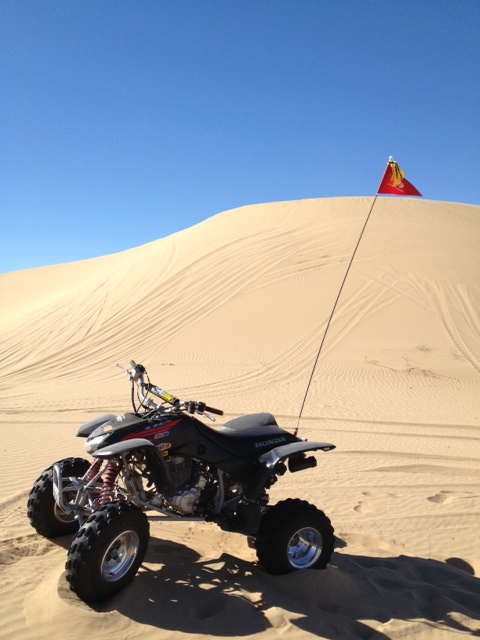
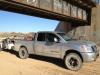
My daily driver, sorry she's filthy in this one weekend warrior Oh...and please ignore the panties tied onto my whip :blush:

-
Candurin, thanks for breaking it down like that, I've been looking at most of those on amazon, debating if they'd fit are not. Good to know.
-
I'm sure you will, but please post pics of the wheels if you opt for it. I have the same ones, was wondering how they would look with plasti on them.