Xtra
-
Posts
1,756 -
Joined
-
Last visited
-
Days Won
253
Content Type
Profiles
Forums
Gallery
Everything posted by Xtra
-
Hello everyone, It has been a long time. My 2016 Sport is still running strong, and GT Mustangs are still its favorite food. I just shipped a Carbon Fiber V2 Ram Air Intake, and WOW shipping has gone through the roof, $62.77 to ship ground!!! There is still one CF V2 in stock but, it has a small blemish about the size of a grain of rice. If interested I will sell it at the old price. If I were to do another batch it would be the Black ABS as the CF is still difficult to obtain and the cost has become prohibative. With the increase in shipping, material and molding costs, I would be forced to rase prices to cover expenses. For me to invest in a run like I use to and sit on them until a order came in would now require a substantial investment. That is something I cannot afford to do, I have been sitting on this last batch from April 2022 and just now have sold out except for the one blemished CF. I wish I could do another run but the economy, new Income Tax law on anything over $600 income a year taxed at 25%. It was $20,000 a year. That 20K limit helped millions of people hustle a side job and put food on the table, now with new laws and 80,000 new IRS agents.. forget about it ... The V2 would have to become a business and the price with shipping would be ridiculous. The business would be doomed to fail before it even started. This was my hobby and a labor of love that has been taken form me. It not only affects me, but my Edge brothers and sisters. I am very happy to have been able to contribute something however small to this group. Perhaps if 4 or more of you got together and were willing to invest then wait a couple months another run could be done. This is the old ABS price. I have always kept it to myself and to inquires only. Old price - ABS V2 Ram Air Intake- $125 + **$45 Shipping + $5 PayPal fee = Total of $175 shipped A new price would have to include the 25% tax I would have to pay, increase the shipping to $63, Increase the PayPal fee to $9 and increase the cost of the V2 to cover new inflation cost of materials and molding. Labor has always been free as it is my hobby. I am guessing about the molding and material cost. Let us just say for example it has gone up 30 bucks in the last two years. New price would be around $155 Black ABS-V2 Ram Air Intake + $63 Shipping + $9 PayPal = $227 + 25% tax $56.75 = $283.75 shipped. That is over $108 more than they were just two years ago. I just don't think at that price that anyone would be interested. This is just the economy we are living in, brought on by the current administration and their new tax law, otherwise the V2 could still be in production.
-
What have you done to/with your Edge/MKX today?
Xtra replied to WWWPerfA_ZN0W's topic in Accessories & Modifications
I tried to look up the Turbo Tech Racing RMM, and found nothing for the Edge. I am interested because at some point my aftermarket RMM might fail as well. Please keep us informed on this project, what you find out could help me in the future. -
What have you done to/with your Edge/MKX today?
Xtra replied to WWWPerfA_ZN0W's topic in Accessories & Modifications
That RMM is Toast! Way better than just a photo. Thanks.for posting -
What have you done to/with your Edge/MKX today?
Xtra replied to WWWPerfA_ZN0W's topic in Accessories & Modifications
First..\ First... Love that lift!! I have often thought of investing in one. Second, how about a photo of the damaged RMM as several of us here have these, including me. I am interested in seeing the carnage.. -
You have a good description of the exhaust system. Twin cats into the Resonanter, then two 2 1/4 inch pipes into the suitcase muffler at the back. Lots of Resonanter delete options are available. .
-
What have you done to/with your Edge/MKX today?
Xtra replied to WWWPerfA_ZN0W's topic in Accessories & Modifications
Nice ride, thanks for the photo. All you have to do is resize the photos and the site works great. -
What have you done to/with your Edge/MKX today?
Xtra replied to WWWPerfA_ZN0W's topic in Accessories & Modifications
How about a couple good photos. It sounds like it is a nice ride.? -
Thanks so much for your support over the years. Though I have ideas of what I would like to do next. I doubt that it will happen.
-
I am sold out of the V3 CAI. I have quit making them for now. There is still one remaining Ram Air V2 in carbon fiber. PM me for more info.
-
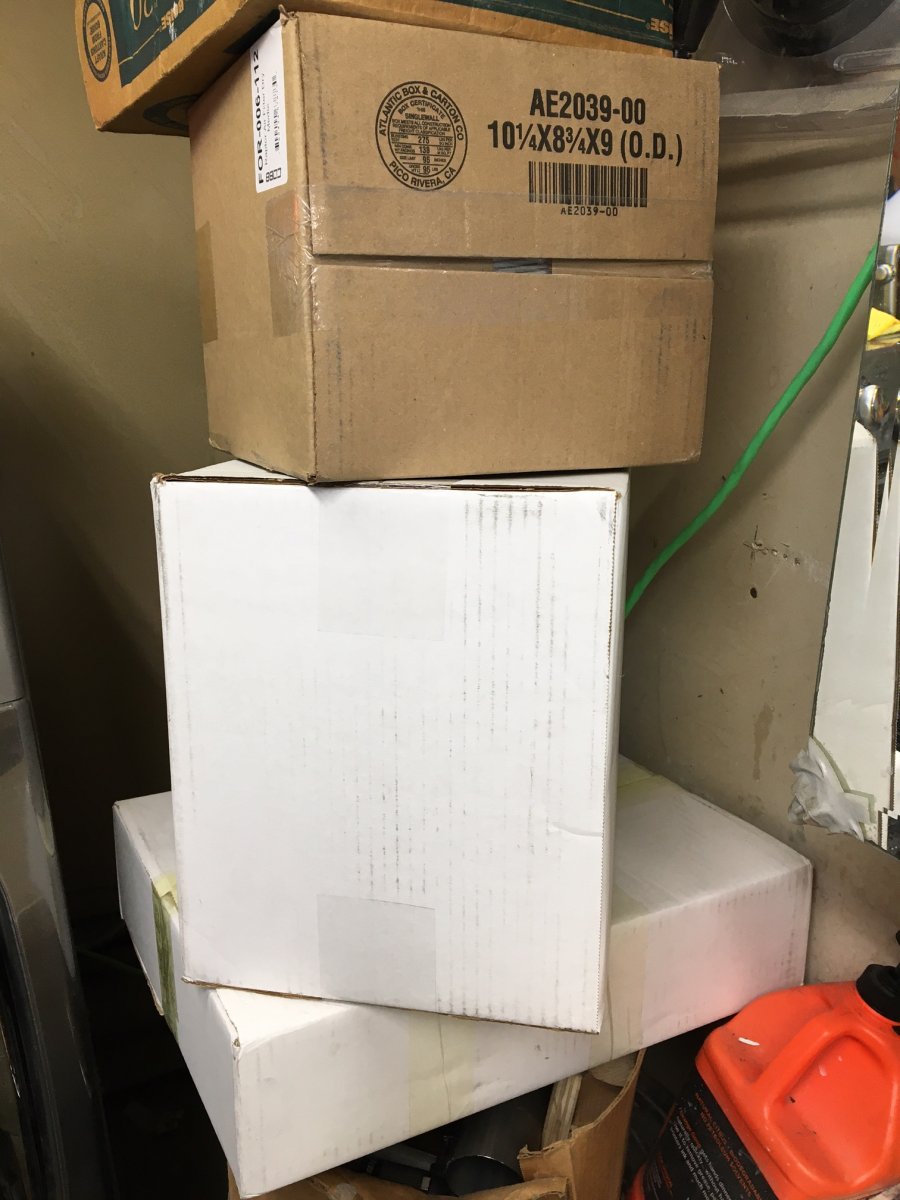
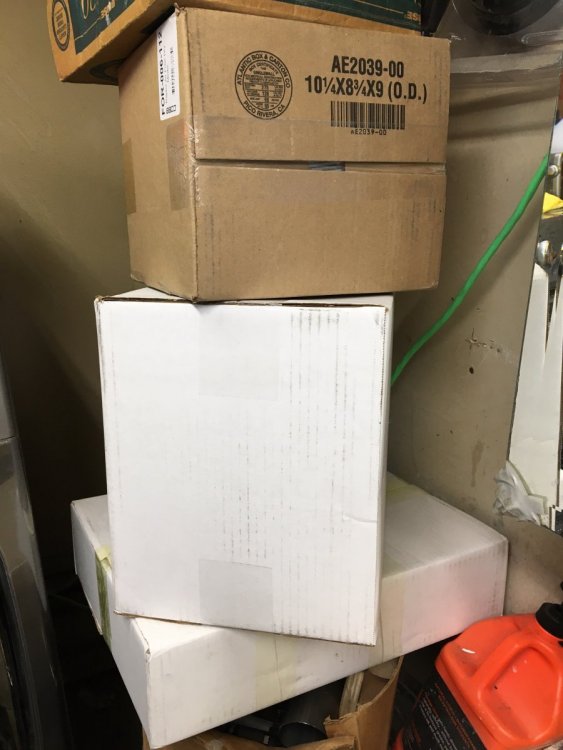
I want to thank all of you for your support and positive feedback. I hope that everyone enjoyed watching the development and implication of the V3 CAI. I decided to stop making them because of the high cost to make them. I have kept my price the same for years now. The pre-covid price is the same as now., but as everyone knows the price of everything has increased a lot in the last few years. I buy in bulk to save, and with this last batch I had to restock on a lot of the items. I posted a photo of a large pile of boxes that contained the parts needed to restock. As I have said in the past this is a hobby for me, and I am happy as long as it does not cost me anything to make them ....break even. But on this last run I lost money and it has become necessary to increase the price just to break even. As many now find the price of a V3 to be excessive, the cost of the V3 is just under $400, and I would have to increase the price to keep going , I have decoded to just stop and call it quits. When you add in the high cost of shipping and PayPals fees. It is just too much for me to ask for any price increase.. While aFee has improved their intake, the V3 with Aux Air is still the king and nothing out there outflows it. Sometimes it is best to stop when still on top. I have two remaining Carbon Fiber V2 Ram Air Intakes available at a discount. I will stop making the CF V2 for the same reason, the price of materials has increased too much to continue with them . I might continue with the ABS V2 as I can still maintain a good low price on them and keep them affordable. It depends upon the demand if I do another run of V2 or not. Thanks again, Xtra.
-
Going out of business sale. There is one remaining V3 in stock ready to go. This is the last one that I will ever build. Everything is polished even the rivets and clamps. PM me for more info. @ Below cost to make
-
What have you done to/with your Edge/MKX today?
Xtra replied to WWWPerfA_ZN0W's topic in Accessories & Modifications
OMG that's hot!!! 118 * @ 4 in the afternoon. -
The correct size elbow came in and the Elbow Reducers are ready to weld and polish.

-
What have you done to/with your Edge/MKX today?
Xtra replied to WWWPerfA_ZN0W's topic in Accessories & Modifications
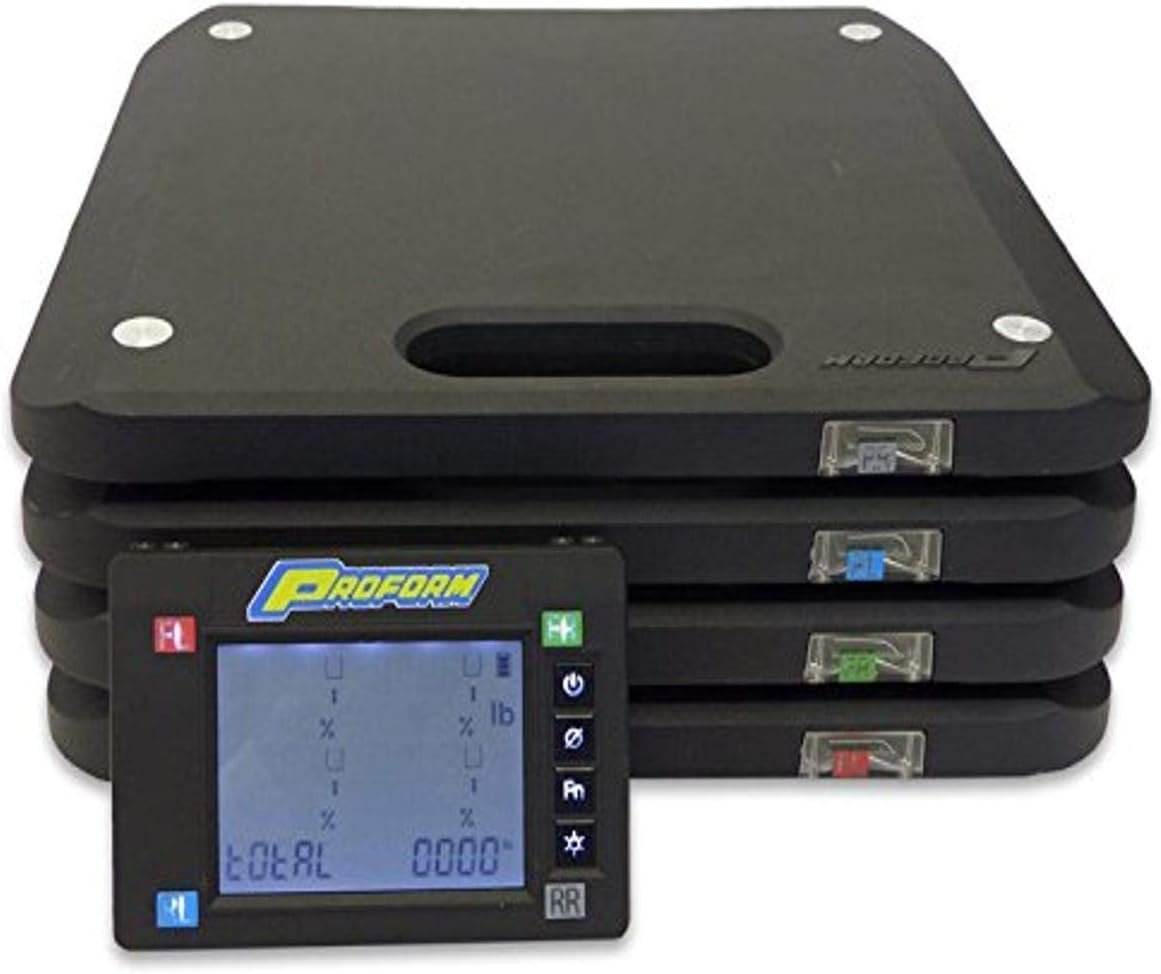
I like it!!!... Looking good. One of the great advantages of coil overs is the adjustability. Ride height , rebound. different weight and type springs. You can fine tune your suspension with coil overs, ride soft or firm, ride high or low with hundreds of combos. . Most people use the coil overs to set the ride height, and lower the car. But there is so much more that can be done. One of the better things that can be done no matter how you set it up is to weigh the car. By using 4 car scales you can sit in the car and balance the car left to right and front to back. By adjusting the shocks you can add or remove weight on a tire. It is standard practice on race cars to set them up this way, and is part of the alignment process. It makes a huge difference in how the car handles.. Scales are available on Amazon from just over $100 for the budget minded to professional sets that cost over $1,000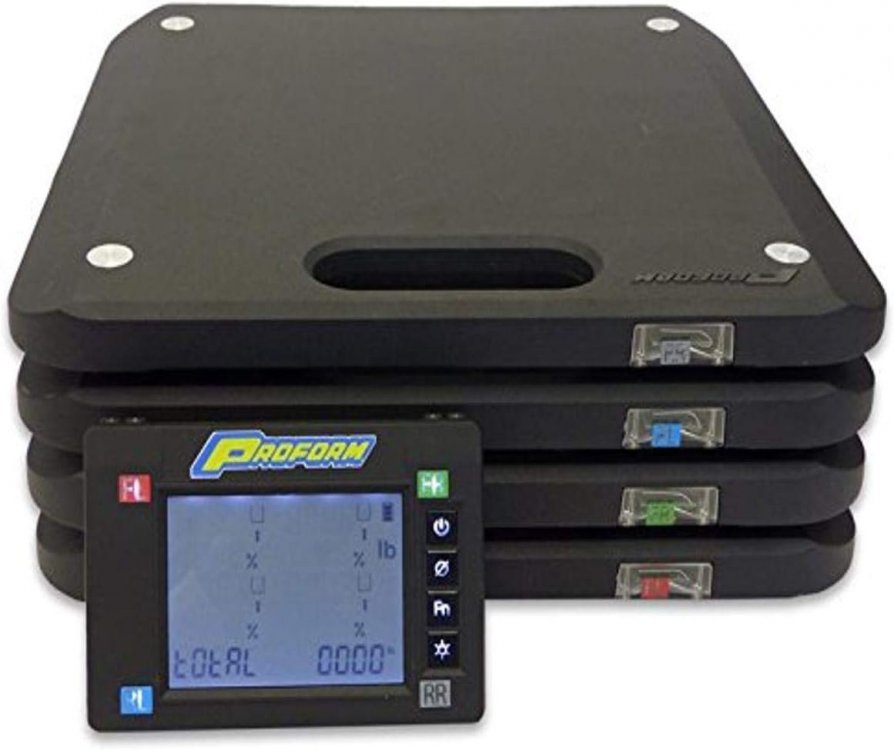
-
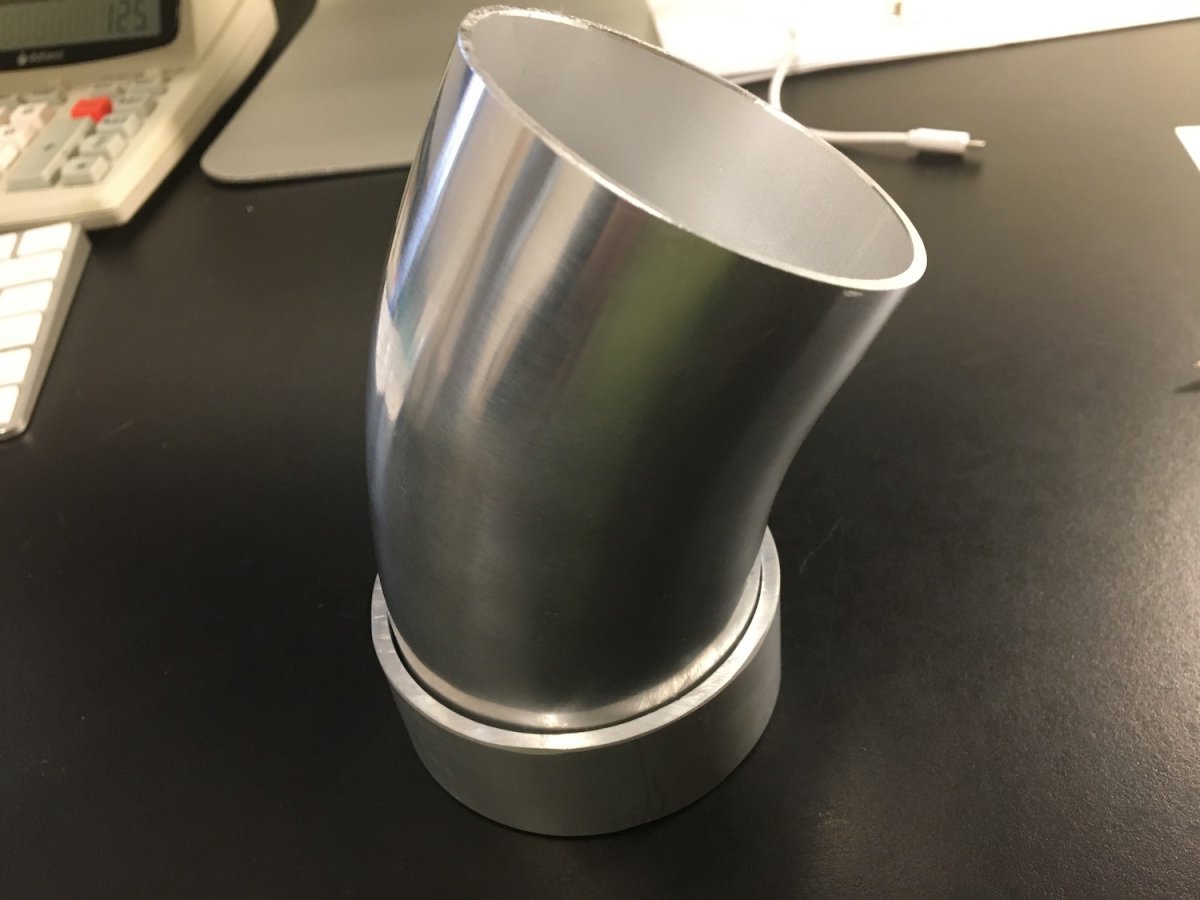
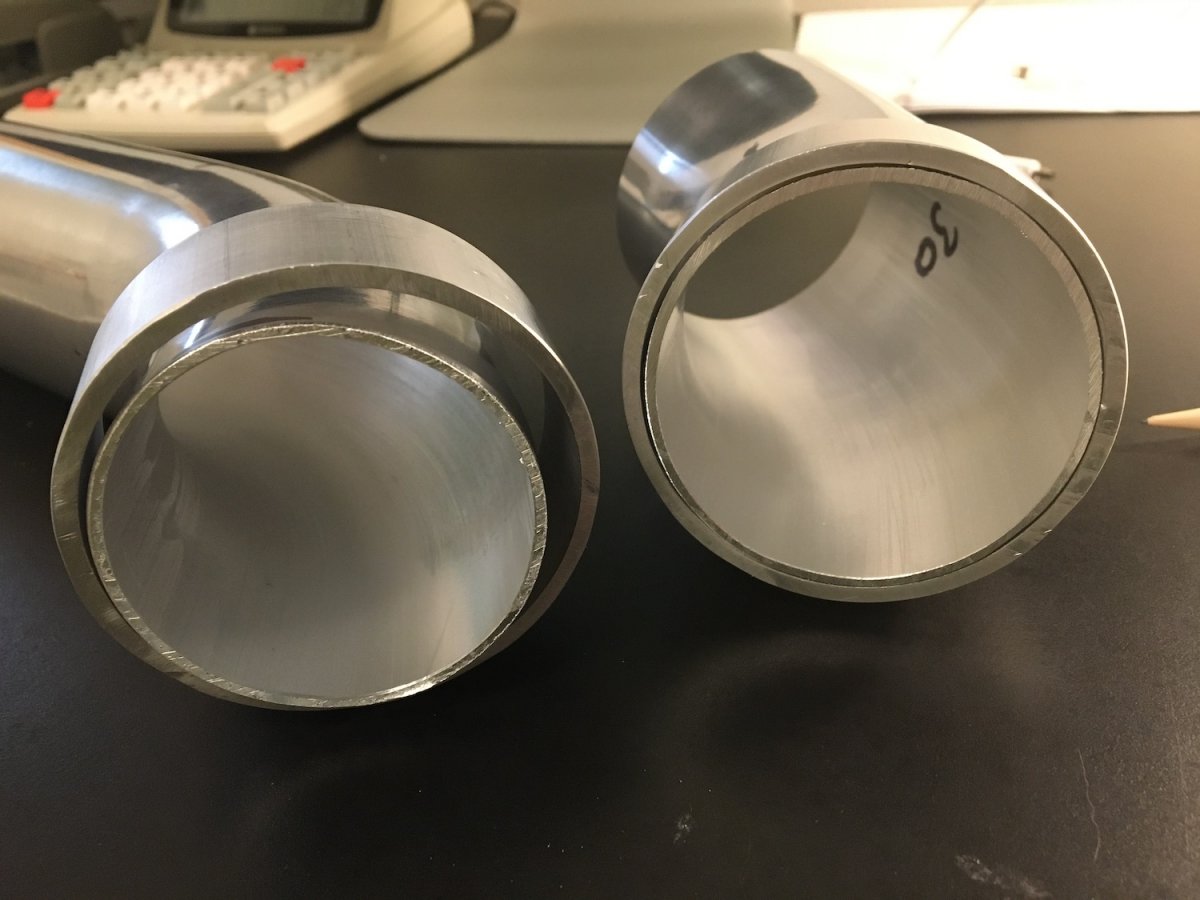
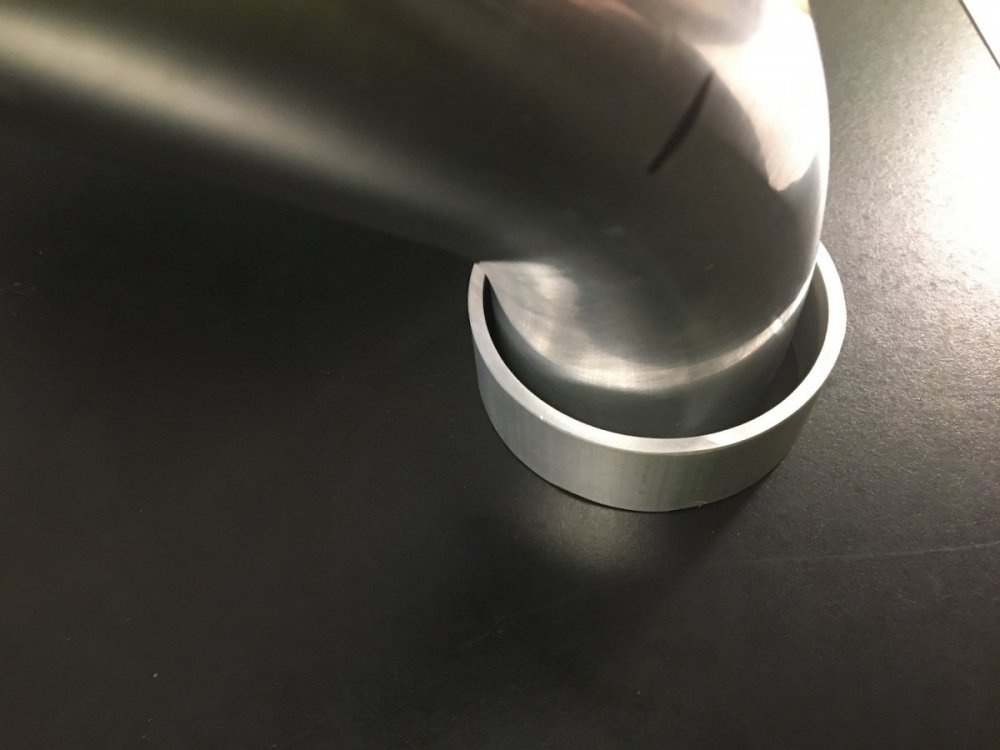
I have been busy the last few weeks with charity work and now that the 4th is over , I am back to work on the V3 as promised. I ran into a glitch when cutting the Reducer Elbows. I was shipped the wrong size 45* elbow and I did not realize it until I had made the first cut. Now I will have to reorder a new 45* elbow before I can proceed. The competed 30* elbow ready to weld. I have made the adaptor rings for both Elbows and after I cut the 45* elbow I did a test fit..And this is what I saw. Not good, I did not need this setback as I already had to stop work for a few weeks. I thought that I would do the fab today and the welding and polishing tomorrow. Ship by Friday . Now after posting this I will reorder up the new Elbow, and finish after they arrive.


-
More parts came in, as the finished V3’s went out.
-
Was able to get a couple V3 shipped today. The rest will go out later this week. Will be contacting the members receiving these later tonight or tomorrow with tracking and expected delivery date.

-
Thanks I appreciate the props. And feel for your Lincoln lol.
-
Final assembly of the V3 with Aux Air Intake ready to install. Should be shipping by next Monday.
-
Almost done, worked on some of the Mandrel Bent 6061 Aluminum Elbow Reducers today. As there are two Elbow Reducers per V3, it takes me a few days to finish them all.
-
VanDookie54 when these tires are done. Would you buy the same 295 X 35 R21size again or would you return to the stock 265 X 40 R21 size?
-
Installing the Sensor Port and Lid Gasket. All that remains is fabrication of the 6061 Mandrel bent Aluminum Elbow Reducers.
-
Adding the Aux Air Intake to the V3 lid. Once the Aux Air Intake Port is installed, the next thing is to deal with the Sensor Port.