Xtra
-
Posts
1,756 -
Joined
-
Last visited
-
Days Won
253
Content Type
Profiles
Forums
Gallery
Everything posted by Xtra
-
Though I have cut out all the V2s they still need finishing. I am going to try and finish all the V2s while I wait for the V3 Adaptor prototype to be molded. There are several V2s in stock, so this will be the last run of them for awhile.
-
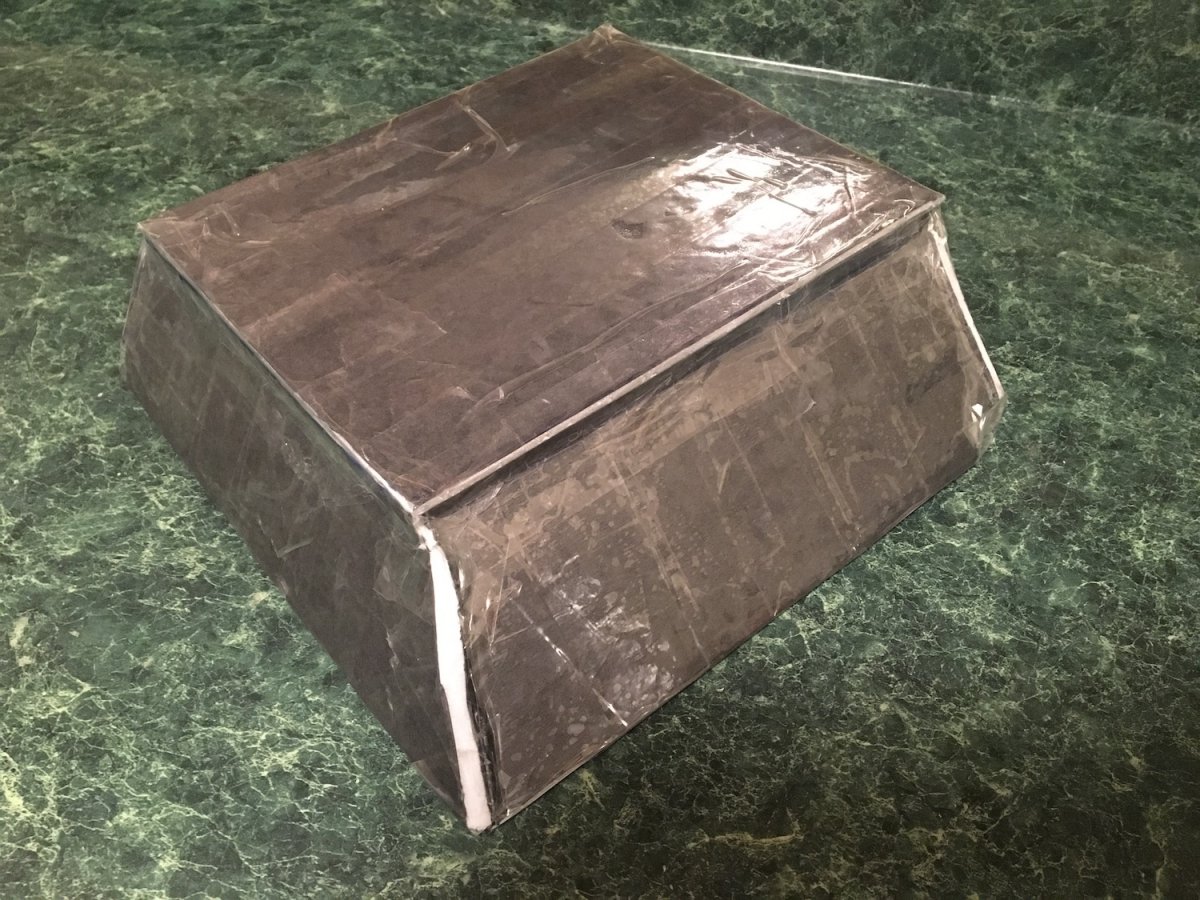
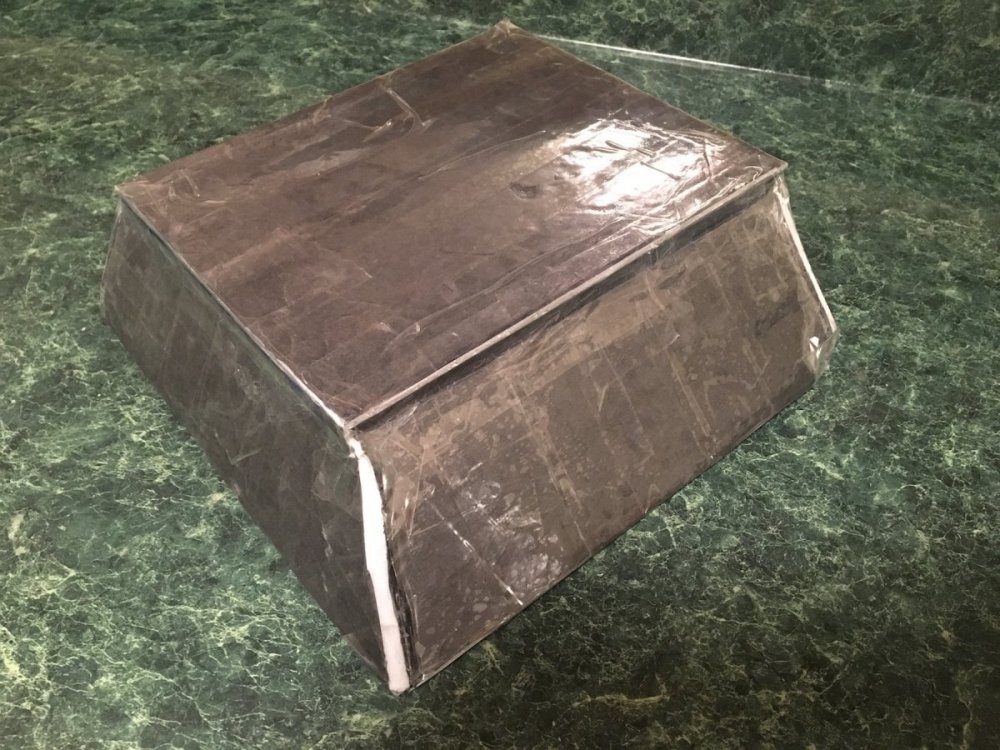
Dropped off the completed Adapter mold at the plastic shop today. They were unusually busy and won’t be able to get to it for at least a couple weeks. They are going to use the thicker ABS this time and hopefully it will be good on the first try. If that works, I will refine the latches and catches and make some jigs for them. And with a little luck have a finished working V3 Adapter prototype ready to test.
-
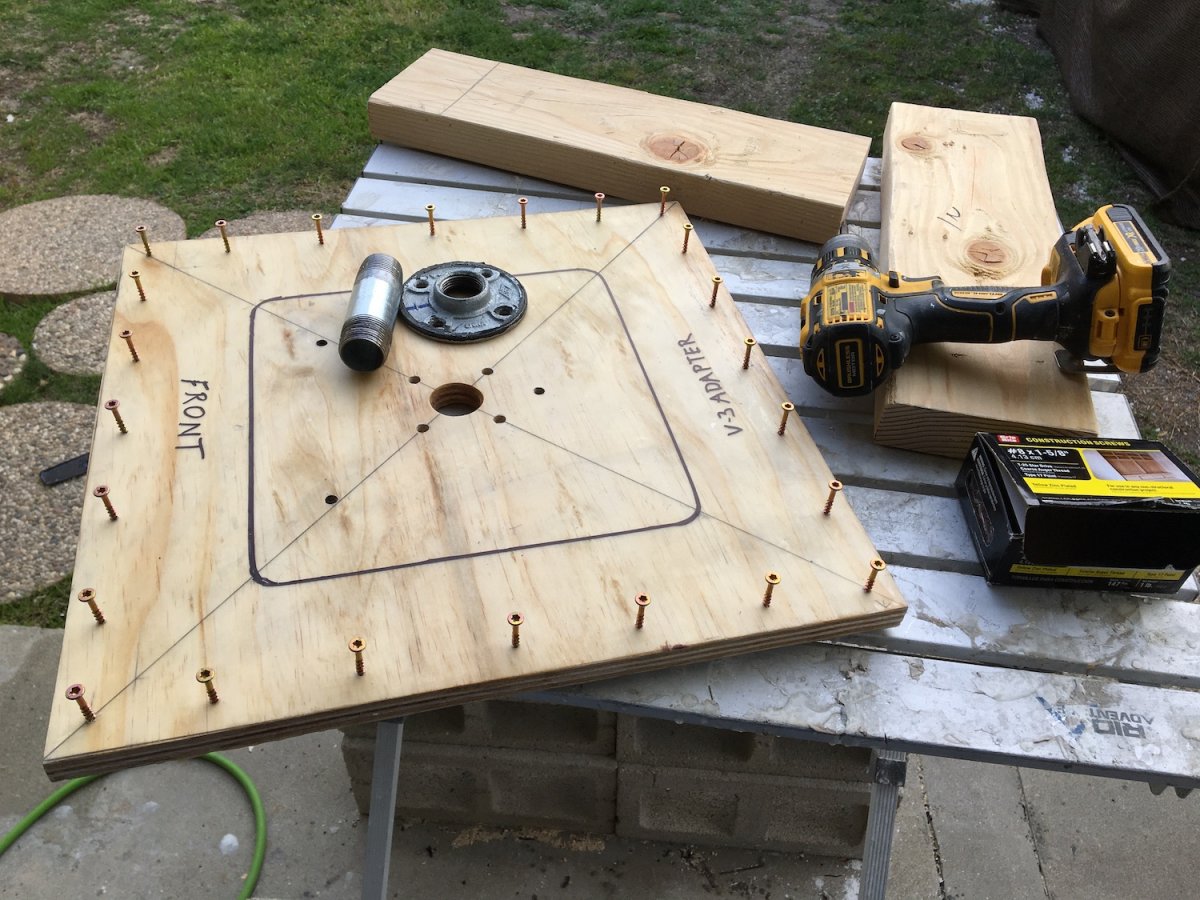
Assembled mold ready to take to the plastic shop for testing. Hopefully this fixed all the problems and it will start making useable parts.
-
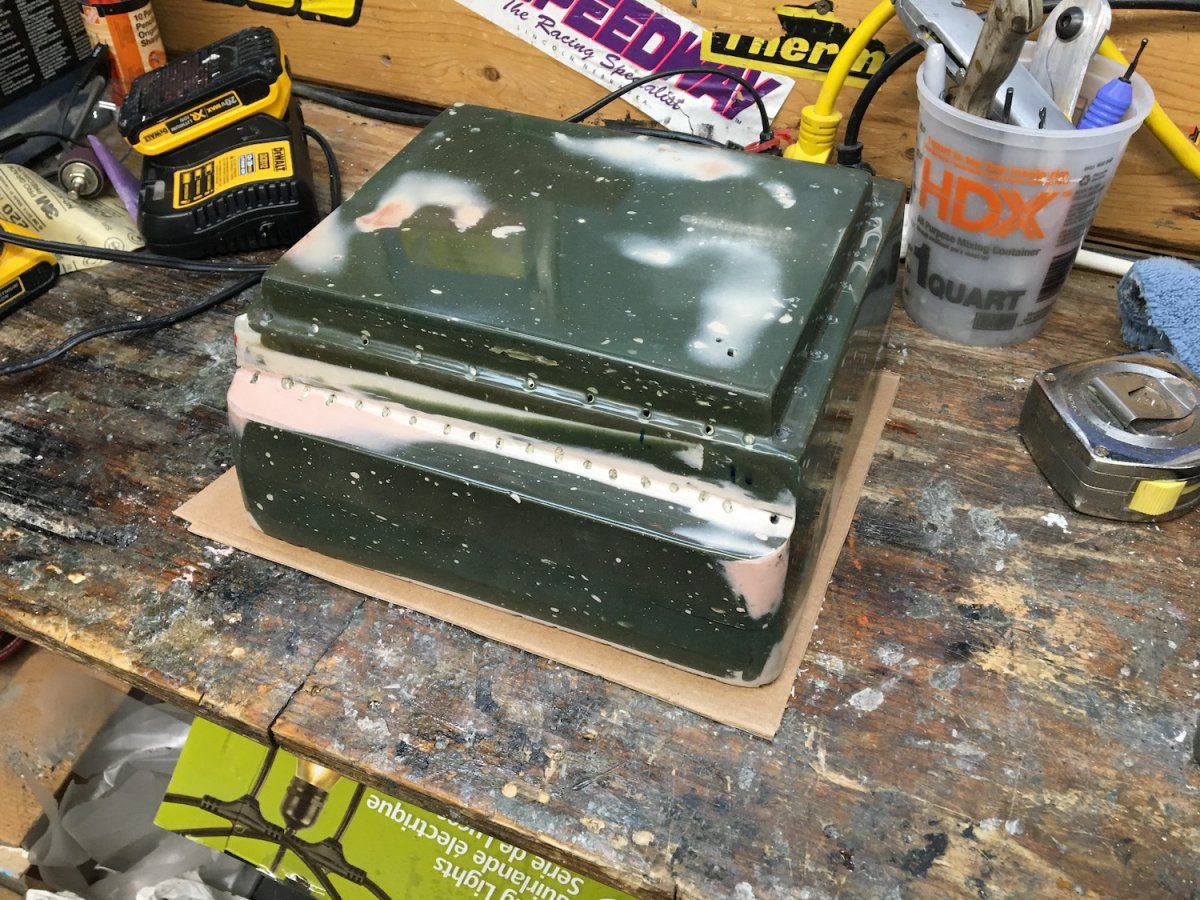
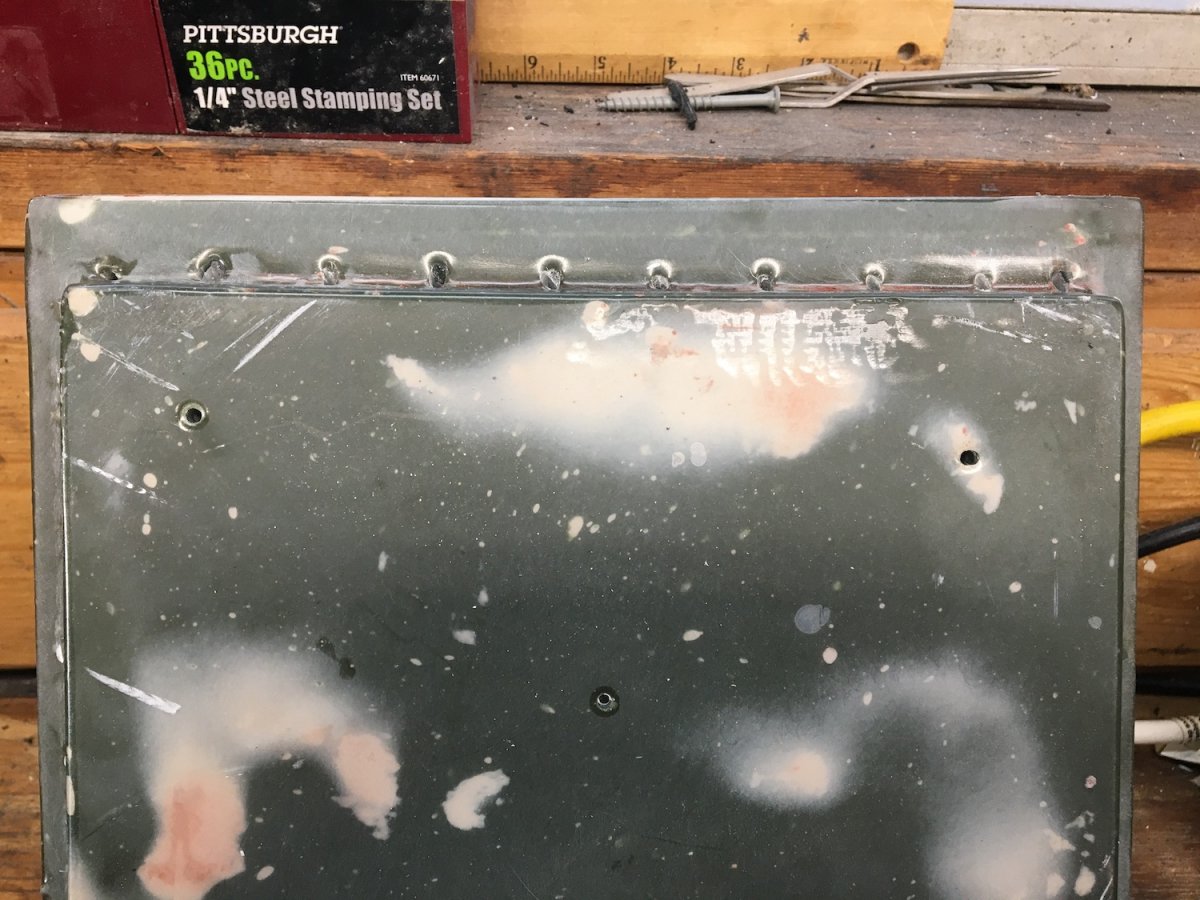
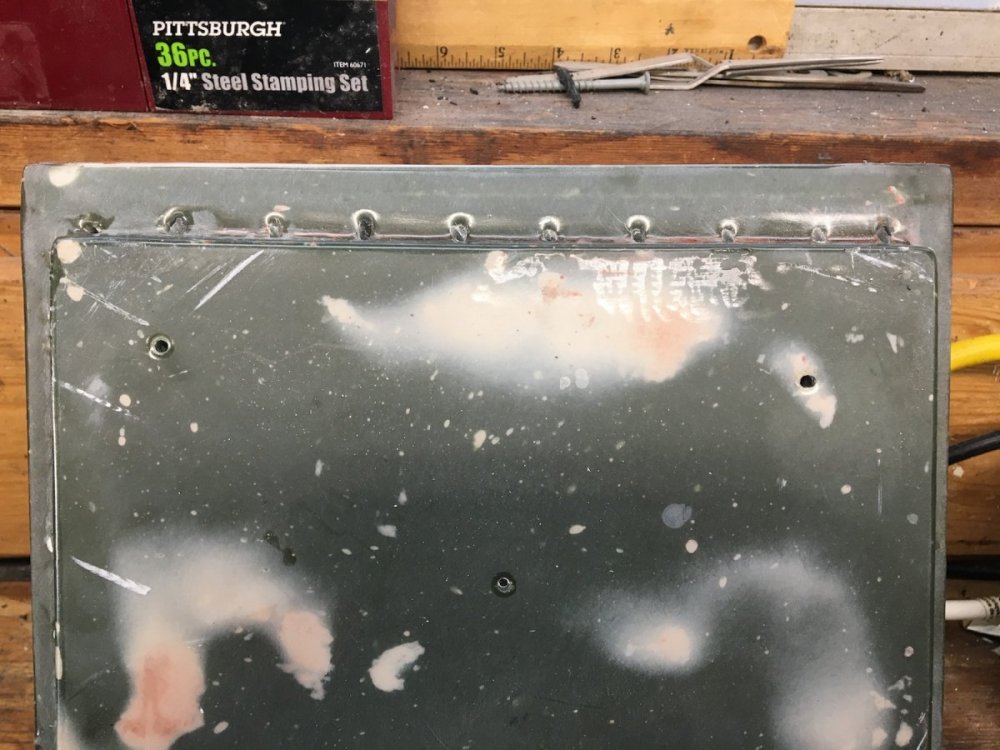
The fiberglass mold is rebuilt, polished and ready to bolt to the wood base.

-
The wood base is sanded, finished, and complete with vacuum hose bib.
-
I am currently running H&R springs and B6 shocks and struts and it is a great combination that really improves the handling. After my car was lowered with the H&R springs, I did a realignment and ran with the OEM shocks & struts for awhile until the B6 became available. Once the B6 were installed I did another alignment. I never ran a mix of the B6 struts and OEM shocks like you are thinking of doing.
-
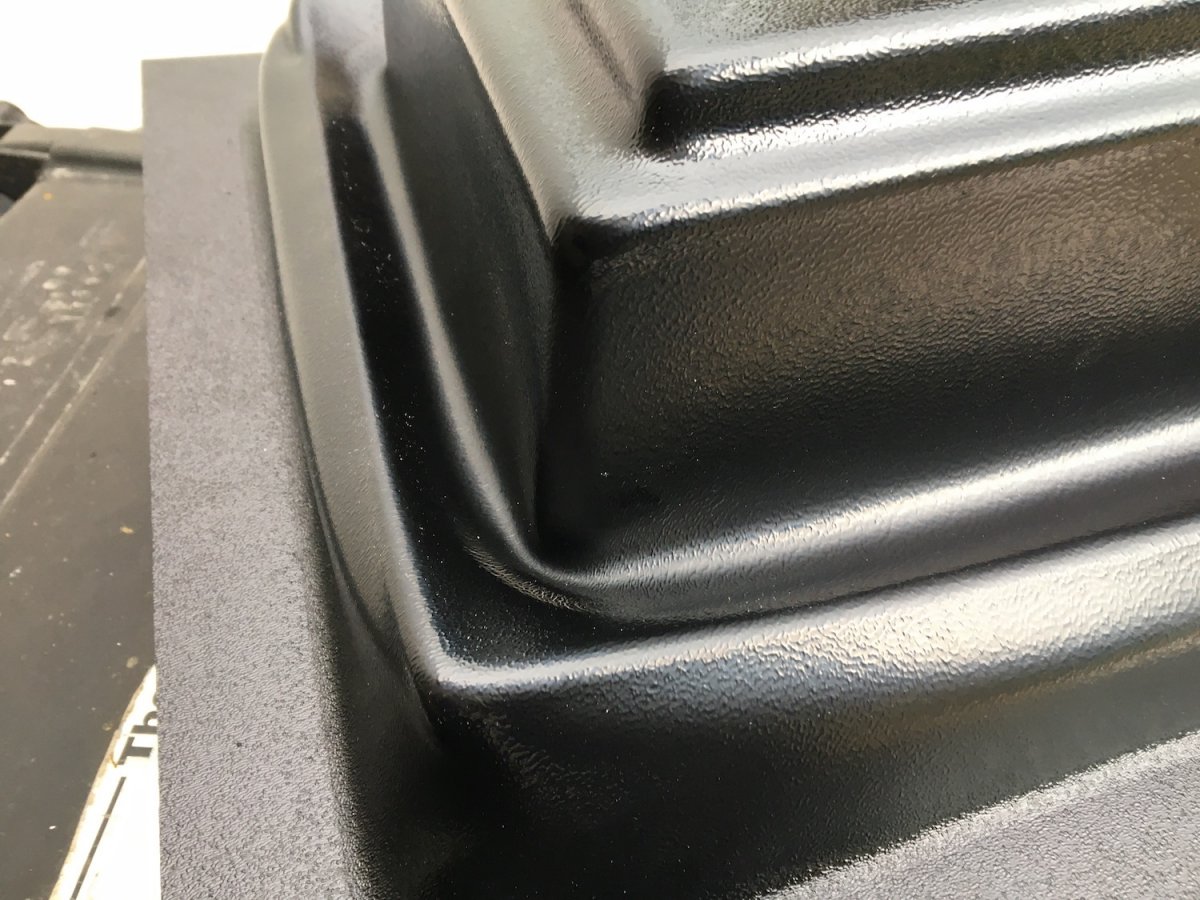
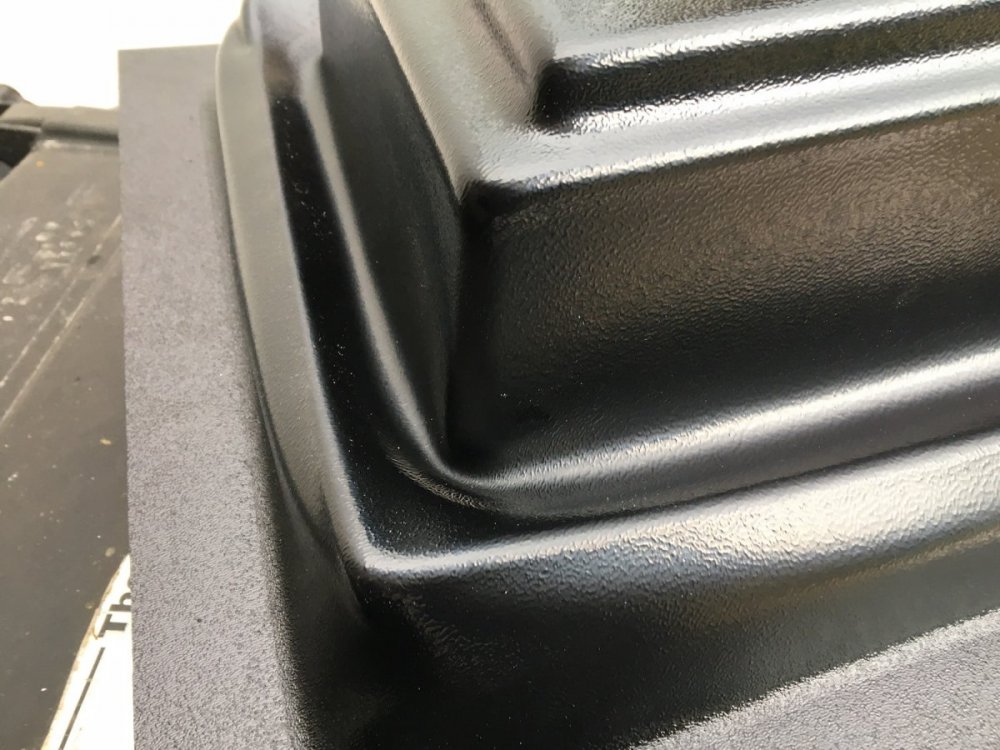
I also made some subtle changes to the mold. This rounded corner was difficult for the ABS to wrap around smoothly. The outside corners are now square. The mold needs wet sanding and polishing before it will be ready to mount to the wood box.
-
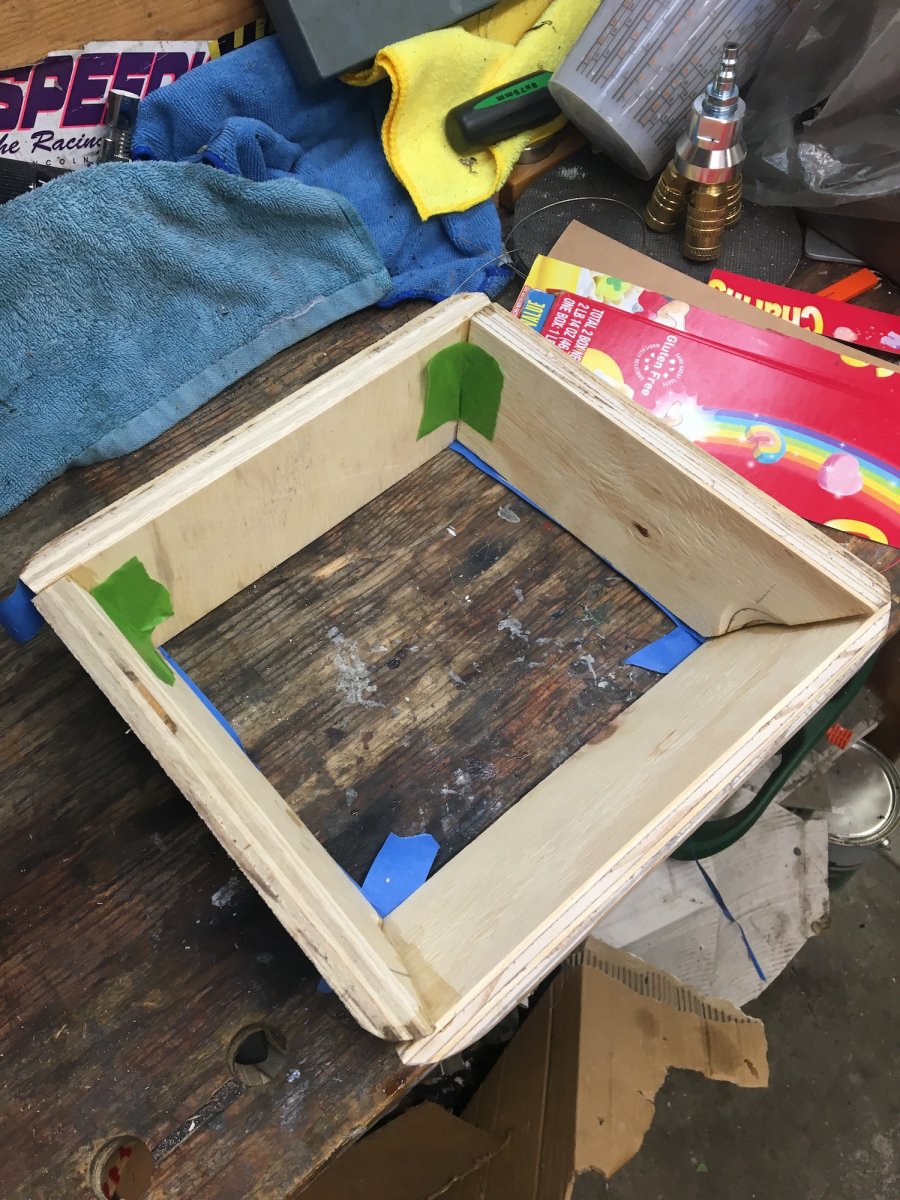
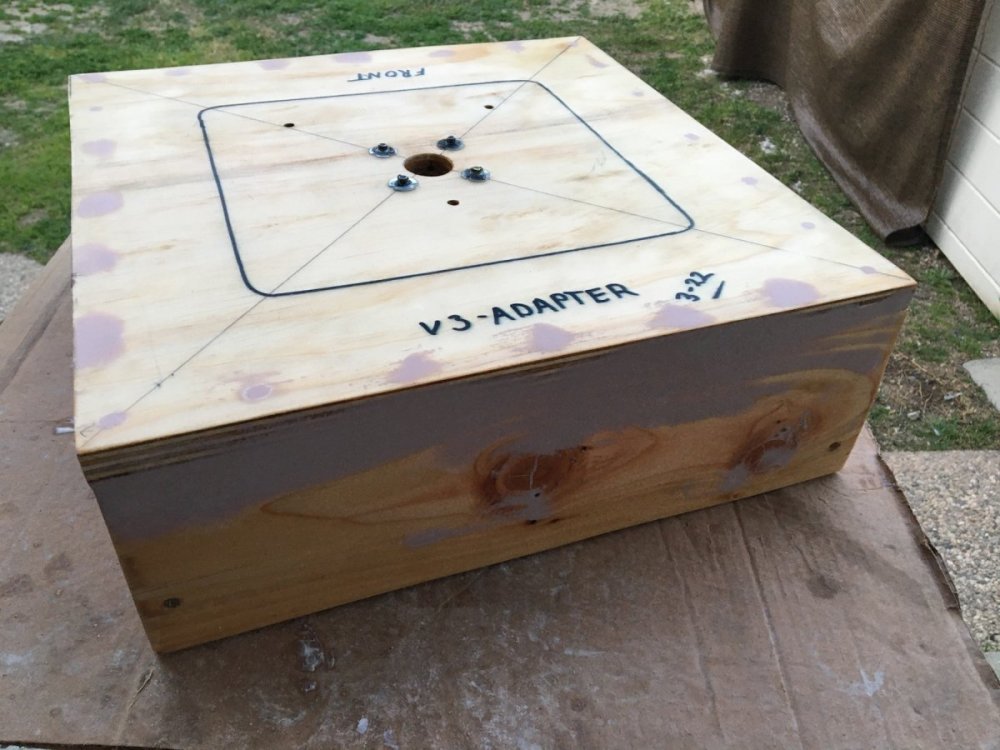
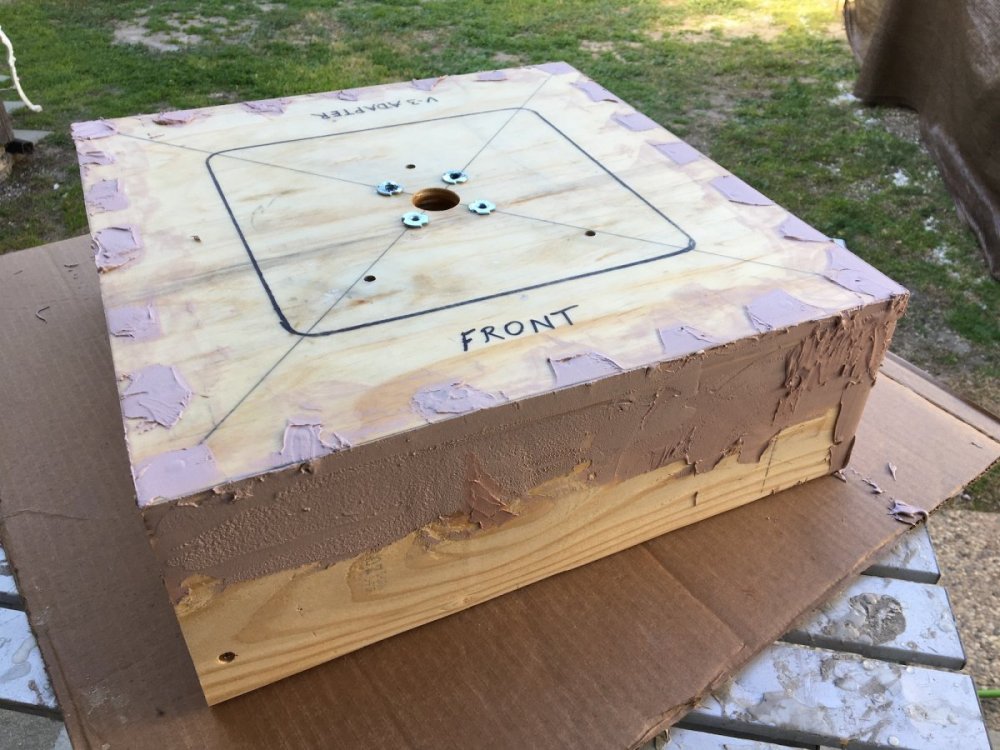
Have finished putting the wood box together. Have filled all the counter sunk screw heads with Bondo and sealed the edges and corners to prevent vacuum leaks. As soon as it drys I will sand it for the finish coat.
-
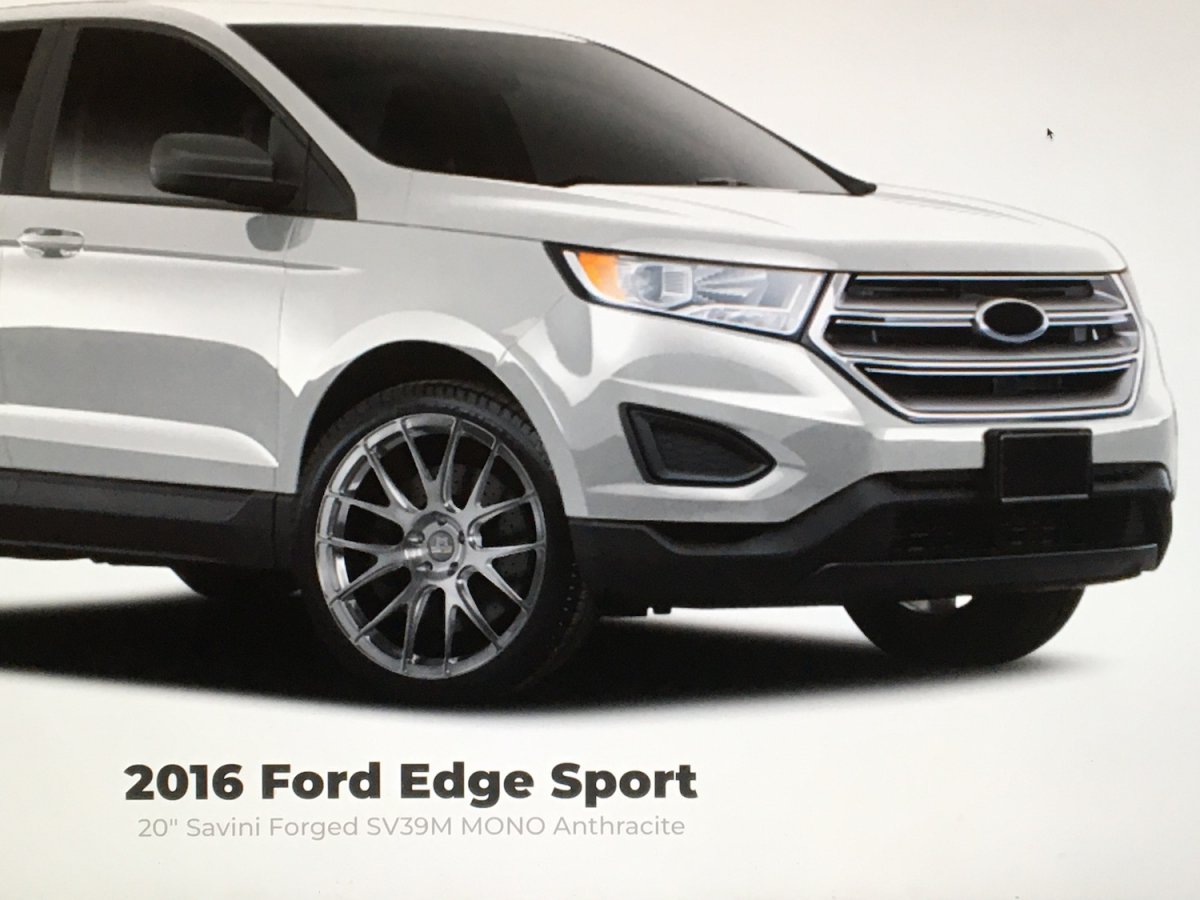
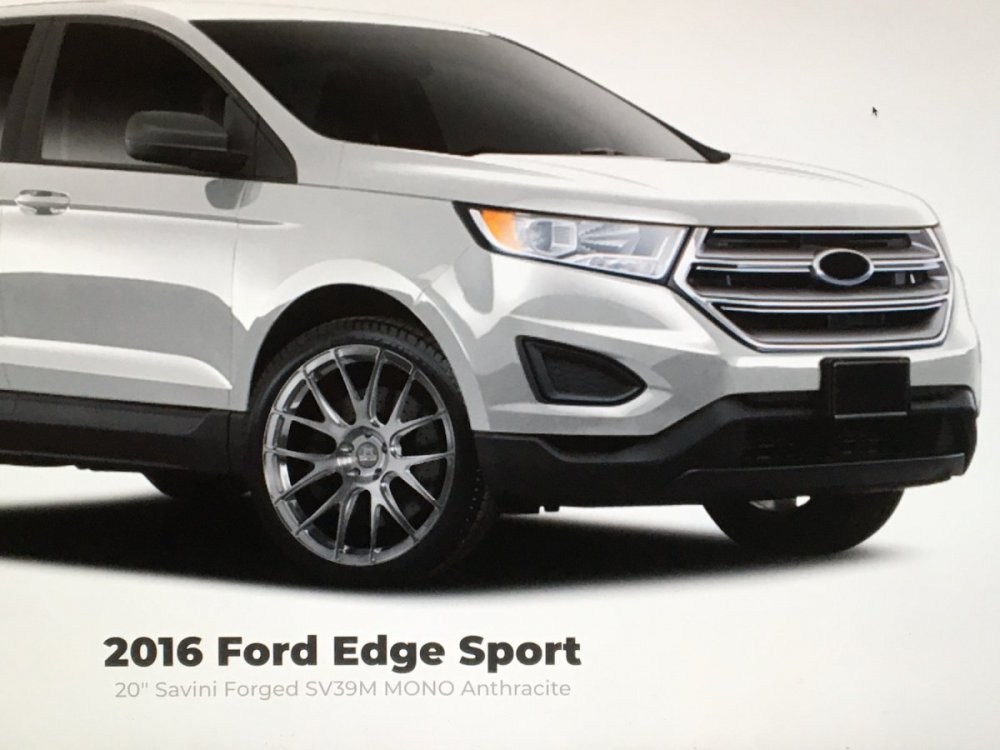
I don't want the wheel sticking out either. That is why Savani is the best choice for me as well. If I get a 20X10 with a 55 offset the wheel will only come out 1/2 inch and go in 1/2 inch . A 295 tire will stick out .1 to 2/10 past the wheel. They will fill up the wheel well and should be even with the fender. At least that is what my research says. It is tough because I have not tried them out and spending 6 or $ 700 for one wheel to find out is a lot for me. The 20 x10 is outside the recommended size for the Edge.
-
This is the new lid for the Adaptor mold wood box. It is larger to allow more ABS to draw from as it is pulled over the mold. This should allow the use of thicker ABS that will produce a stronger part. I will keep rebuilding it until it works properly and makes quality parts.

-
Have shipped all orders, and have ABS and CF-V2 in stock. Made it by the end of the week.
-
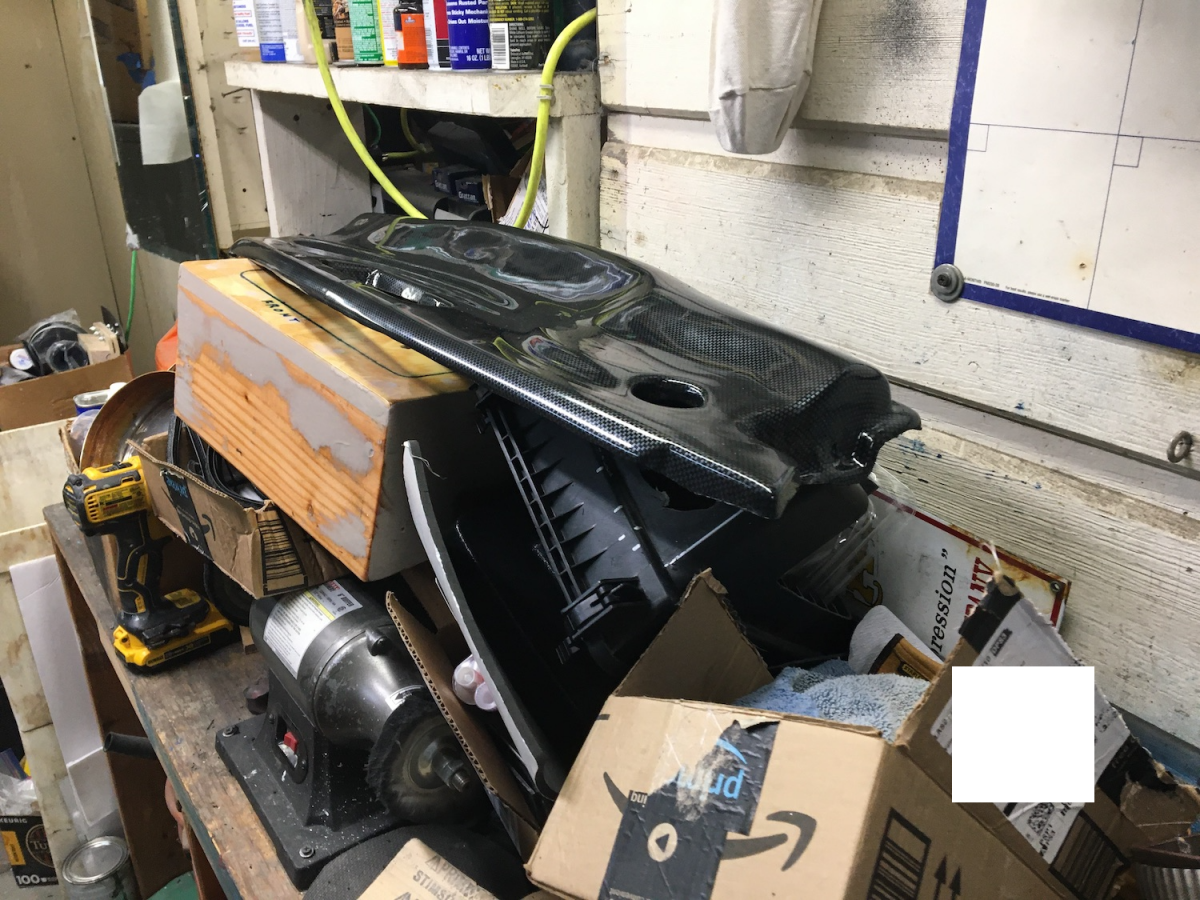
Finished cutting out all the CF V2 today with my trusty air saw. it takes about 30 minutes to get one to look like this. There is still a long way to go before it is finished , but it's ready for the next step.


-
Made some progress today and managed to cut out a CF V2 and do a little shaping on it. There are still some available in this run.
-
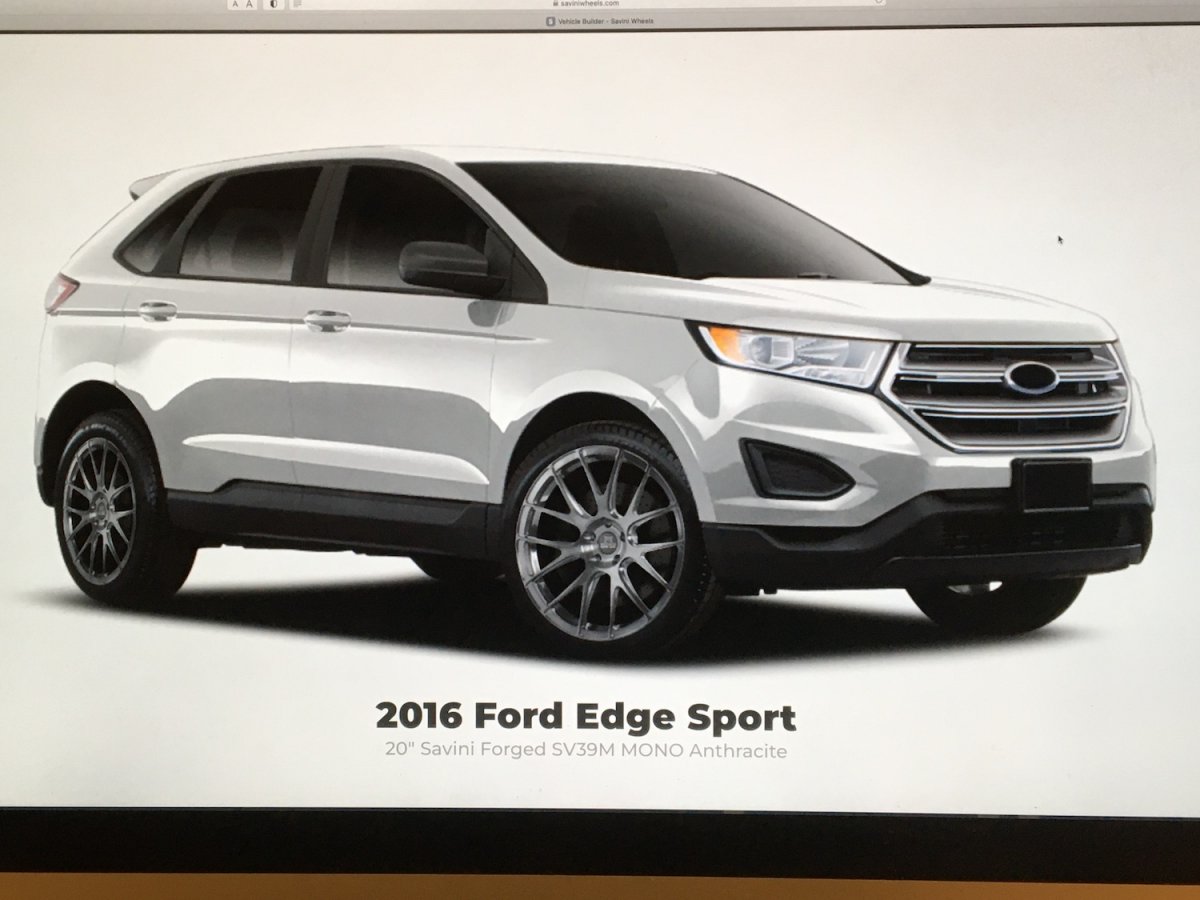
Savani Wheels SV39 come in any offset and are offered in 20 and 21 inch with any width. Several different finishes are available as well I am liking the SV39

-
I have been working on the V3. And now it is time to get to work on the V2 and ship some orders. Hopefully some will ship by the end of the week.
-
Just got back from the plastic shop and picked up the Adapter mold. Besides making the wood box larger the mold needs a small adjustment on two corners so the ABS will form better. Also did the test fit in the car and it fits great ??. Will fit in both the 2.7EB Sport and ST !!
-
I was going to put it in the car today, but i want to show it to the plastic shop first. I need to go there anyway to pick up the mold and work on the wood box.
-
Then I moved on to a wood model. Before committing to making a mold.


-
This is where it all started Foam core cardboard and hot melt glue.

-
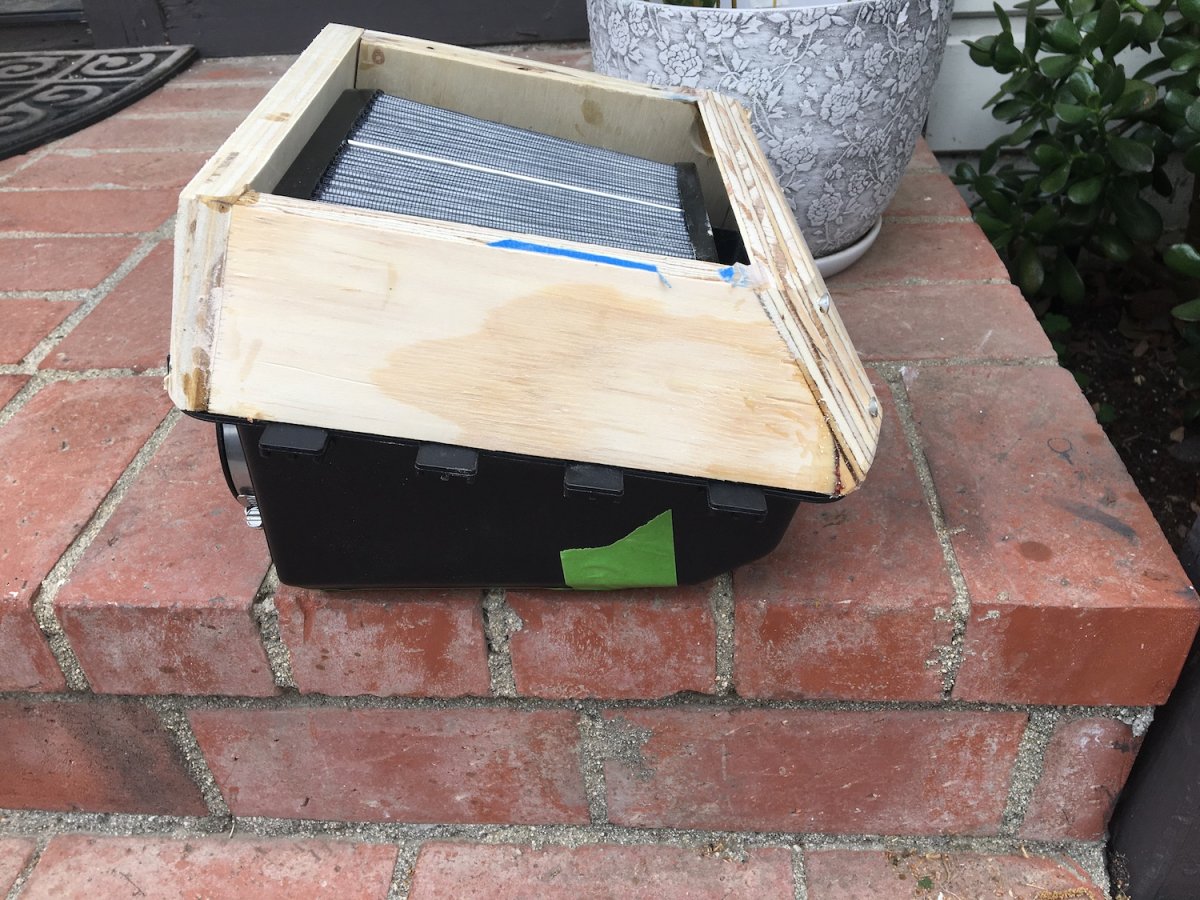
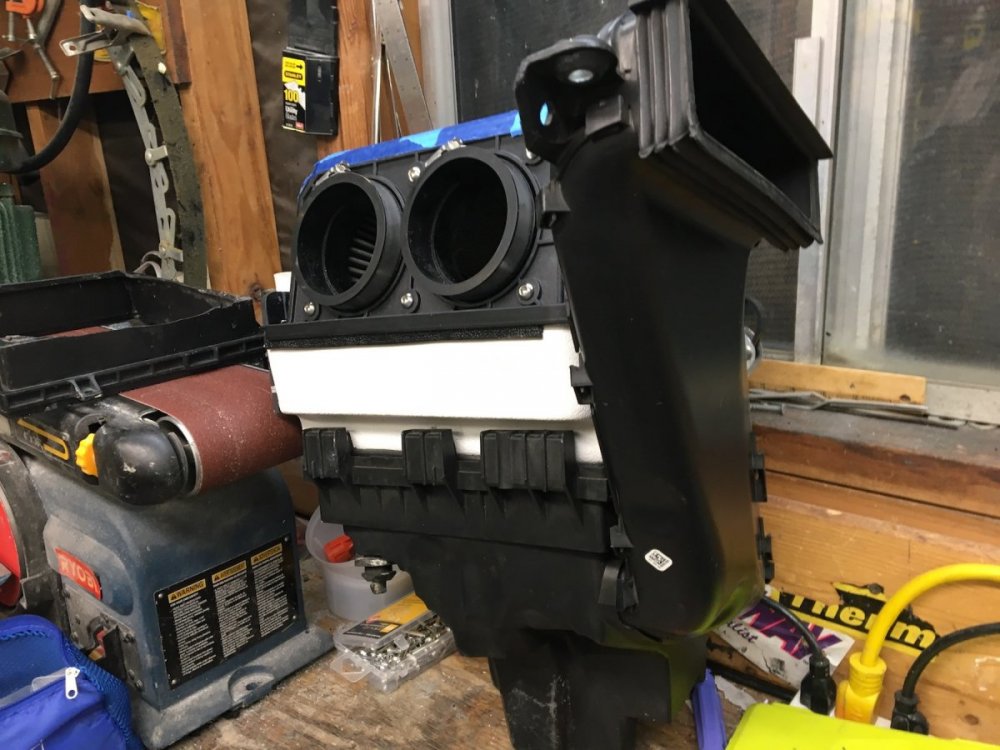
The lid, filter and Elbow Reducers are the only compatible items. This is a much simpler way to go. Making this is much less work, and easier to install. Because I am not cutting up a bunch of OEM Ford parts to make it, that translates into savings. This sits higher than the original V3 and I still need to check that it fits in the car.
-
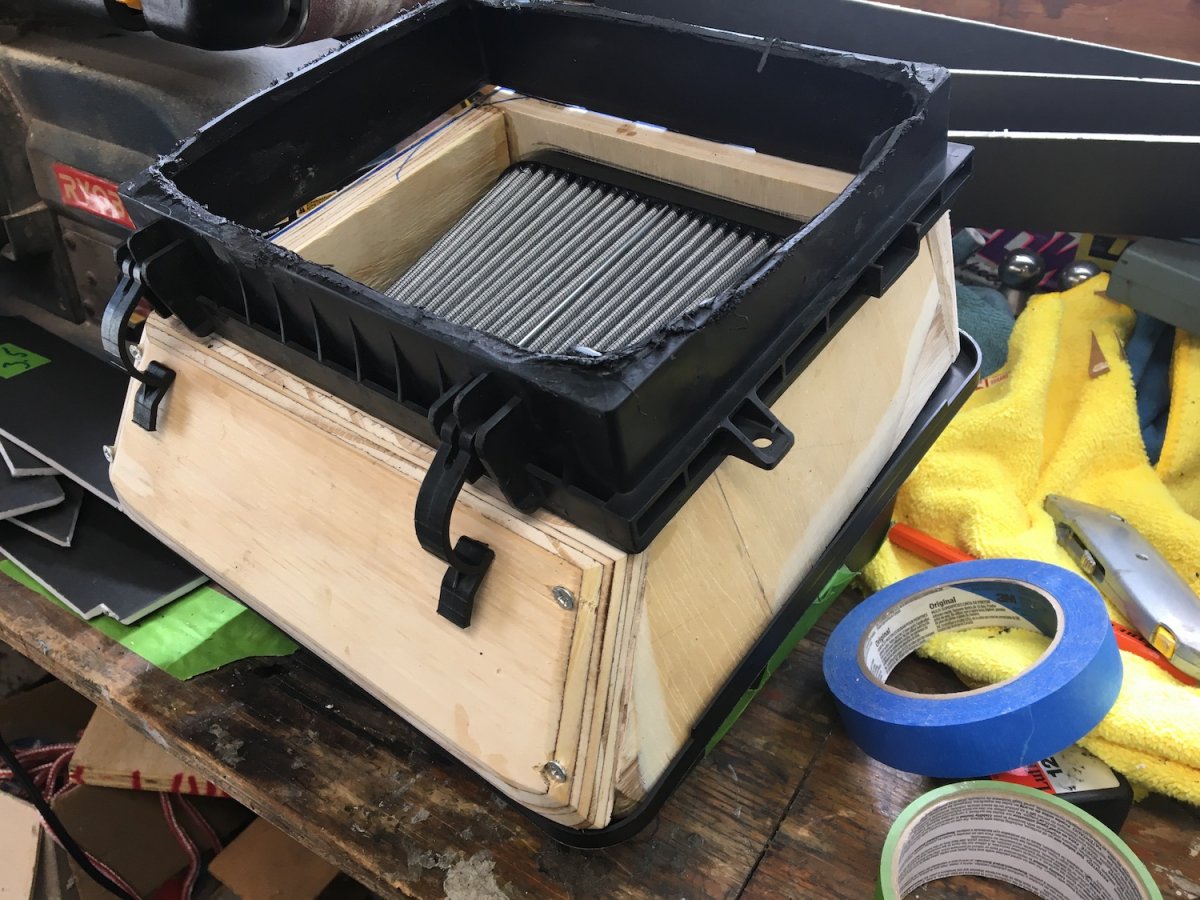
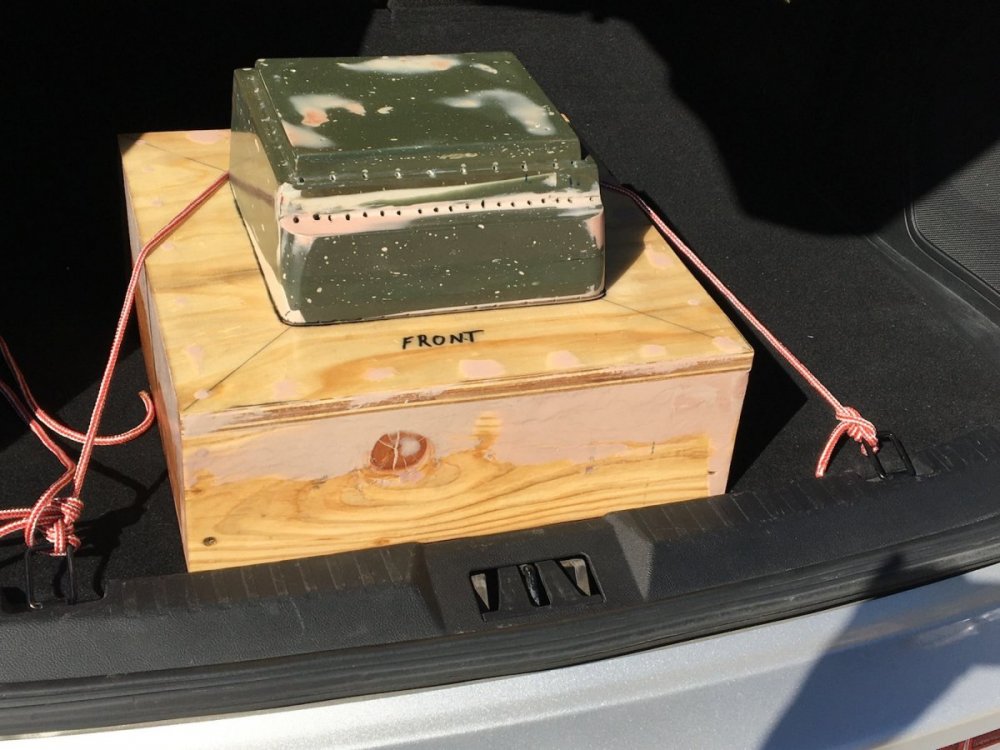
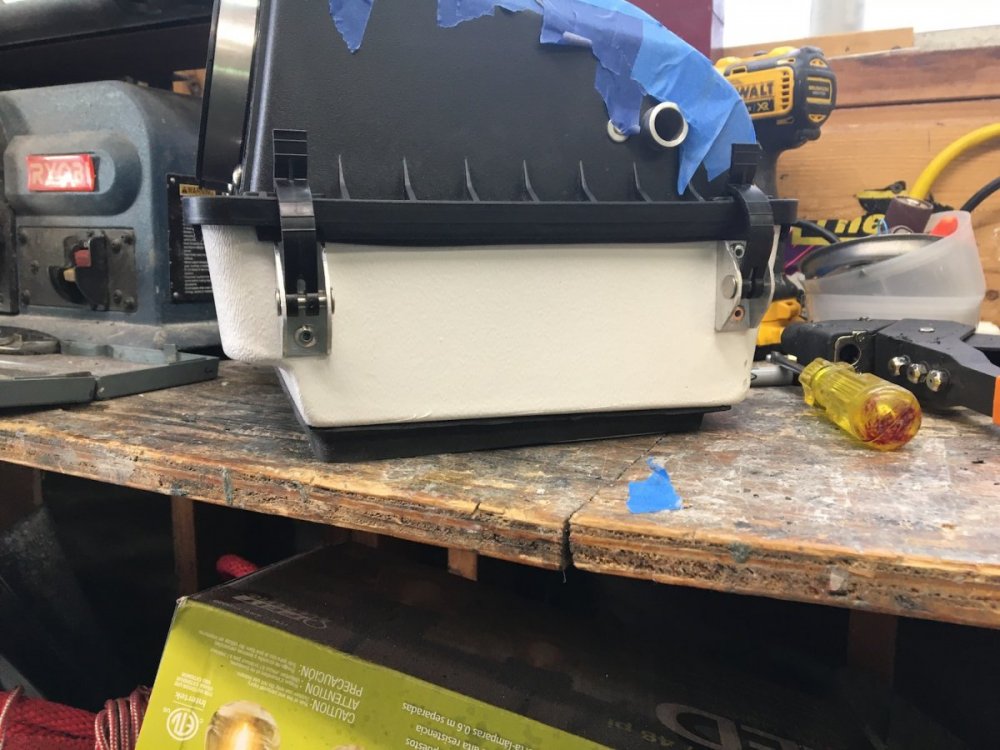
Here is the complete bottom half of the OEM Air Box with the Adaptor and the V3 lid and filter in place. It is a great fit with no rattles or slop. I still have to see if it fits in the car as it sits up a little more than the OEM lid by a couple inches.
-
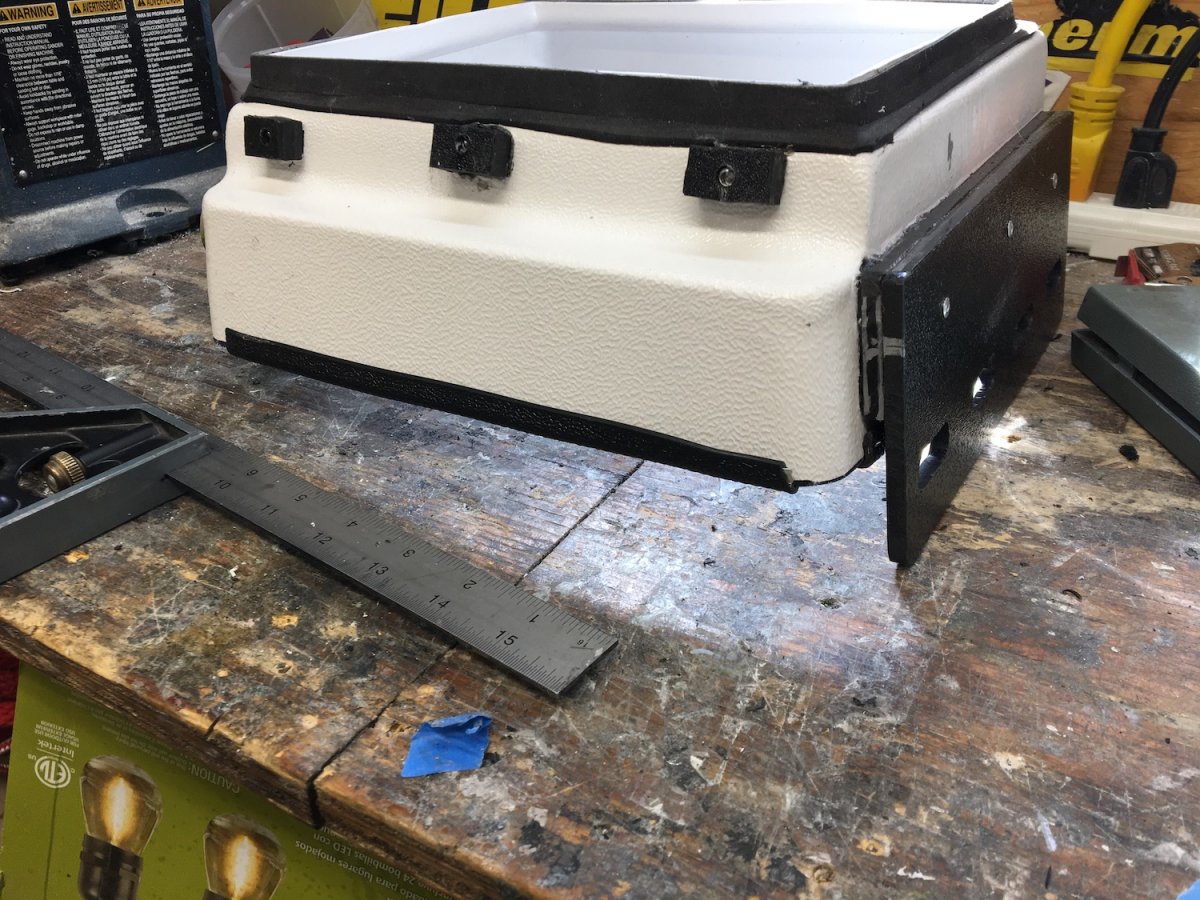
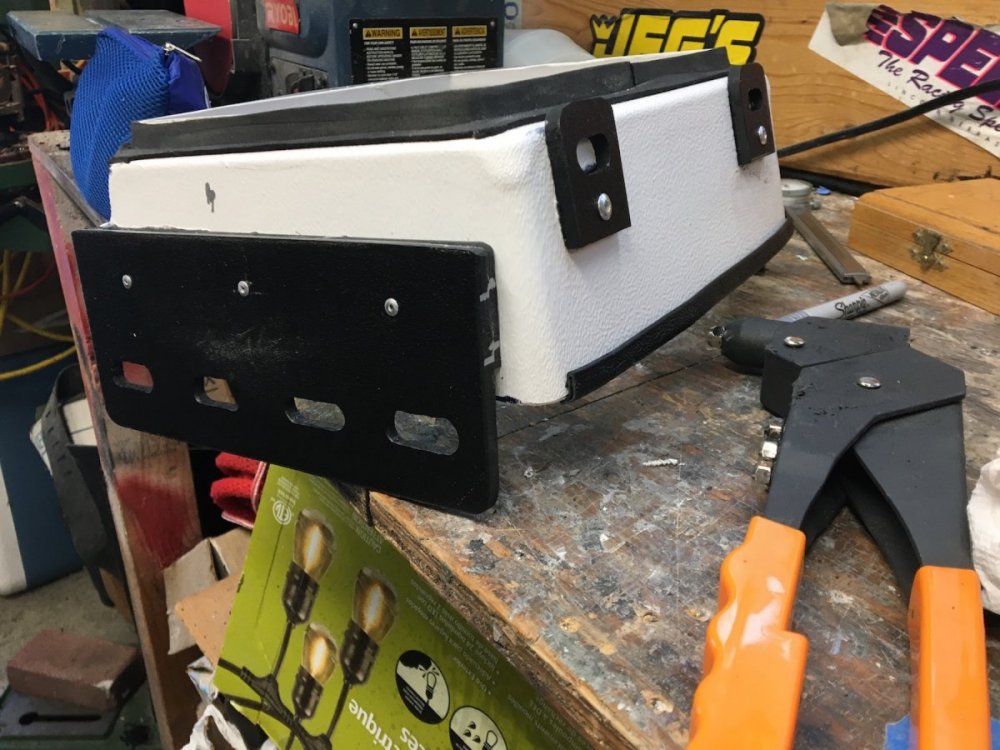
I have replaced all but one of the the latches with ABS, and it looks much cleaner. The glue I used melts the ABS then when it drys the parts are welded together. The rivets held the parts while the glue dried and adds a mechanical connection. Most likely the rivets will not be used on the finished units as the glue is more than enough. This is one of the things I learned with this prototype. These are the same parts in aluminum on the first prototype. This is the one aluminum part remaining on the Adaptor.

-
These three small tabs replace the aluminum hooks, and are invisible once installed on the OEM Air Box. The first prototype looked like this. Yuk!!


-
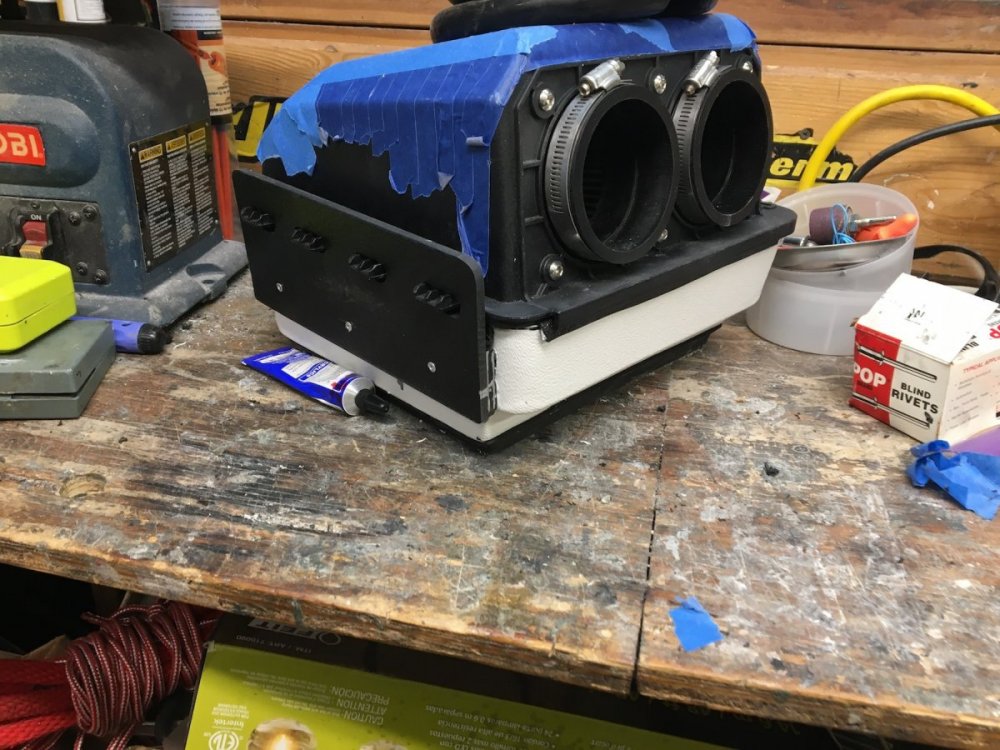
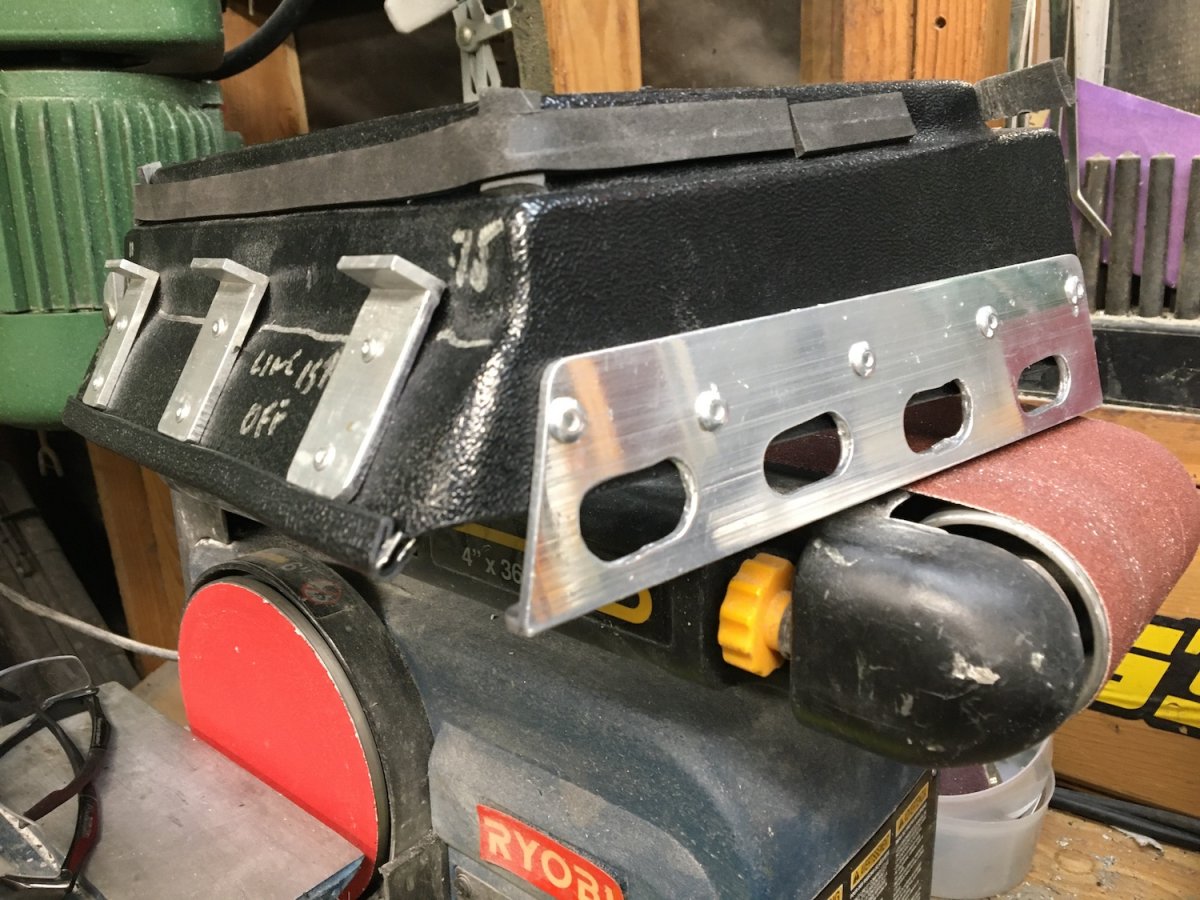
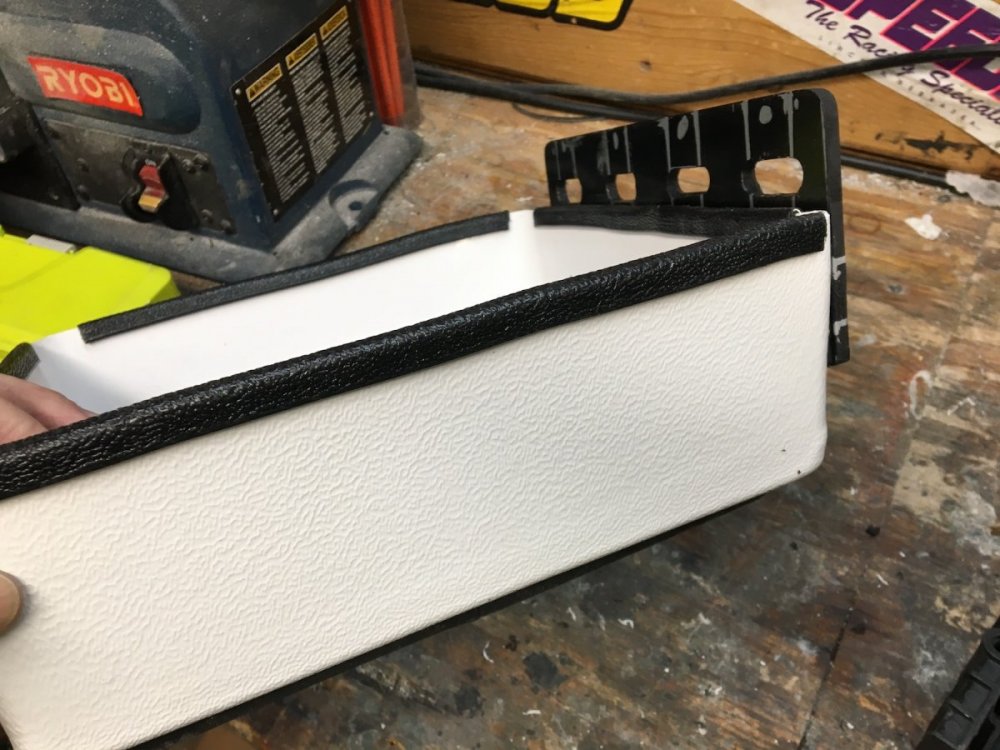
The bottom edge of the Adaptor will have this black gasket/ edge protector material go all the way around. It was distorting the shape of the thin material and that is why the corners are not on this prototype. I did have to put the gasket on in order to set the final height so the latches will clip properly. There is a 1/4 inch thick pad that the Gate attaches to. This creates a standoff so the Gate does not get in the way, and the gasket can sit properly to create an air tight seal.
-
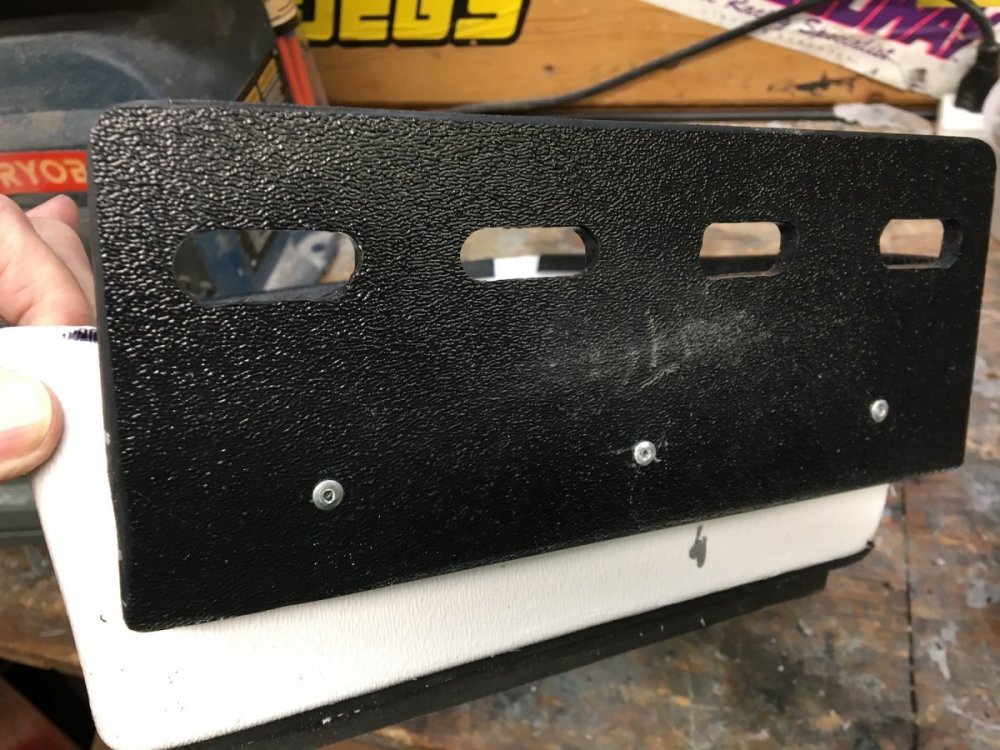
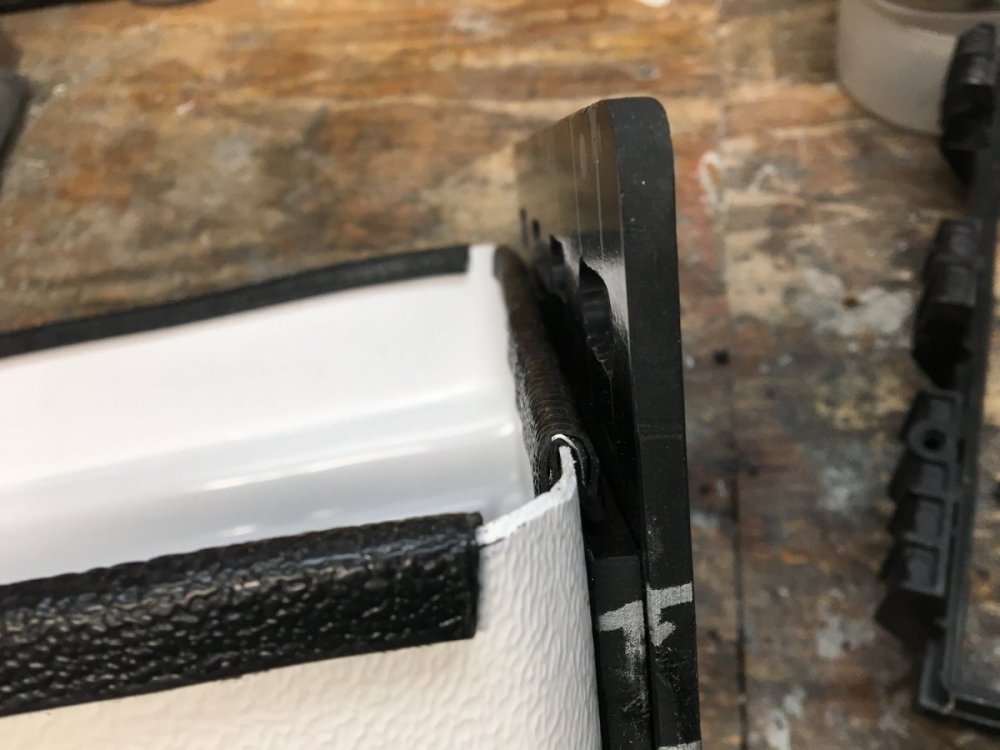
Working with aluminum for the latches was difficult and expensive, but it did do a good job for the proof of concept prototype. I just redesigned the Gate as I call it, for lack of a better term, in 1/4 inch thick ABS. The ABS is much easier to work with and I can use a combination of rivets and glue to create a very strong bond. The rivets hold everything together as the glue drys. My drill press that I use as a mill can deal with ABS much better than aluminum. I am able to cut much nicer slots in the ABS without much effort, but they still suck. . These slots are not perfect, but I am no longer fighting the machine and my skill will get better with time. The aluminum fought me as the press shook and vibrated making straight cuts impossible. This is not the final shape of the gate ( now called the C-Clip ), but it is very close.