dadrett
-
Posts
111 -
Joined
-
Last visited
-
Days Won
1
Content Type
Profiles
Forums
Gallery
Everything posted by dadrett
-
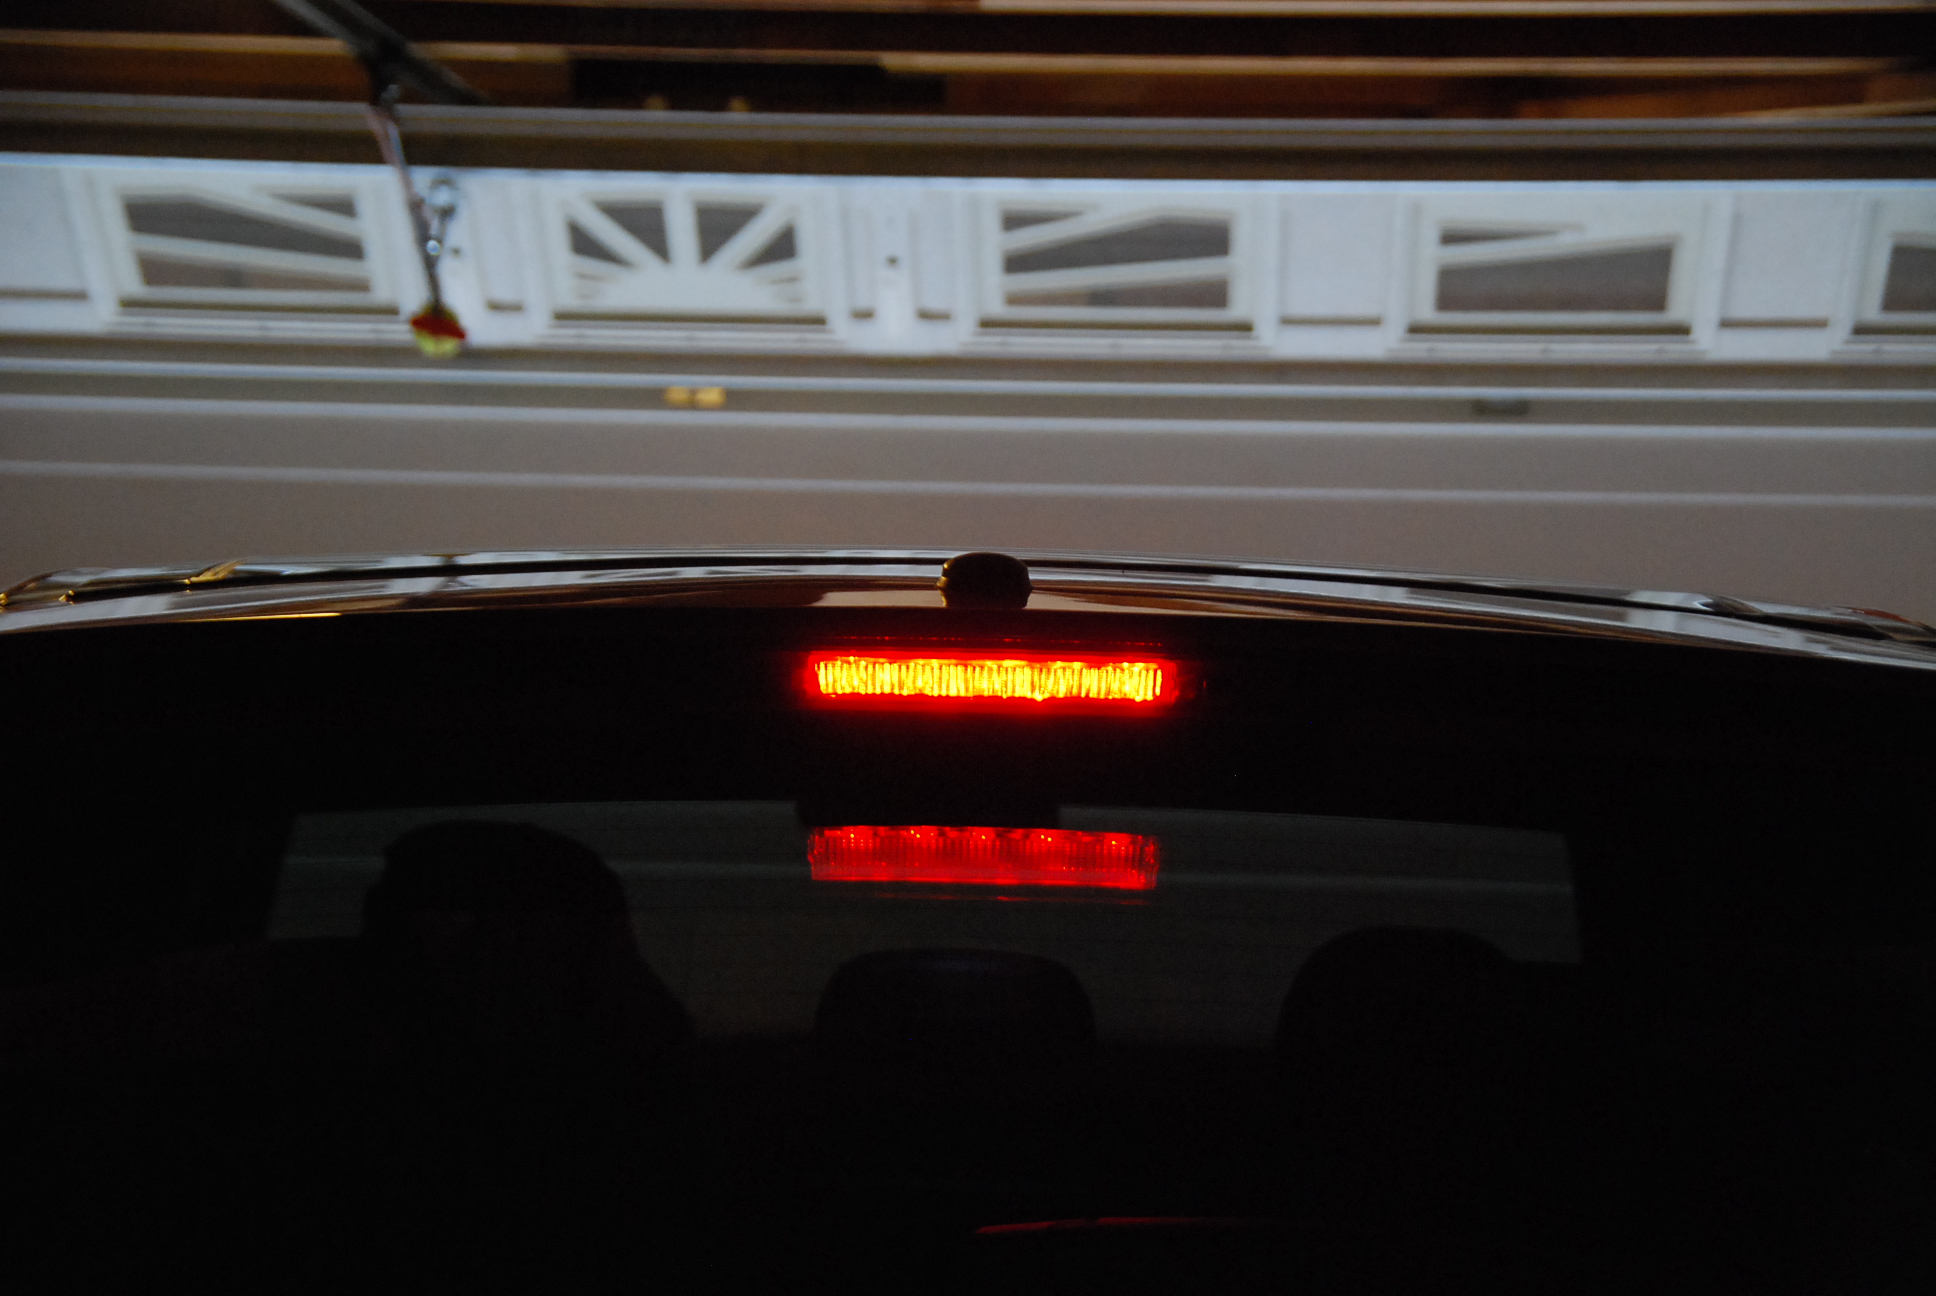
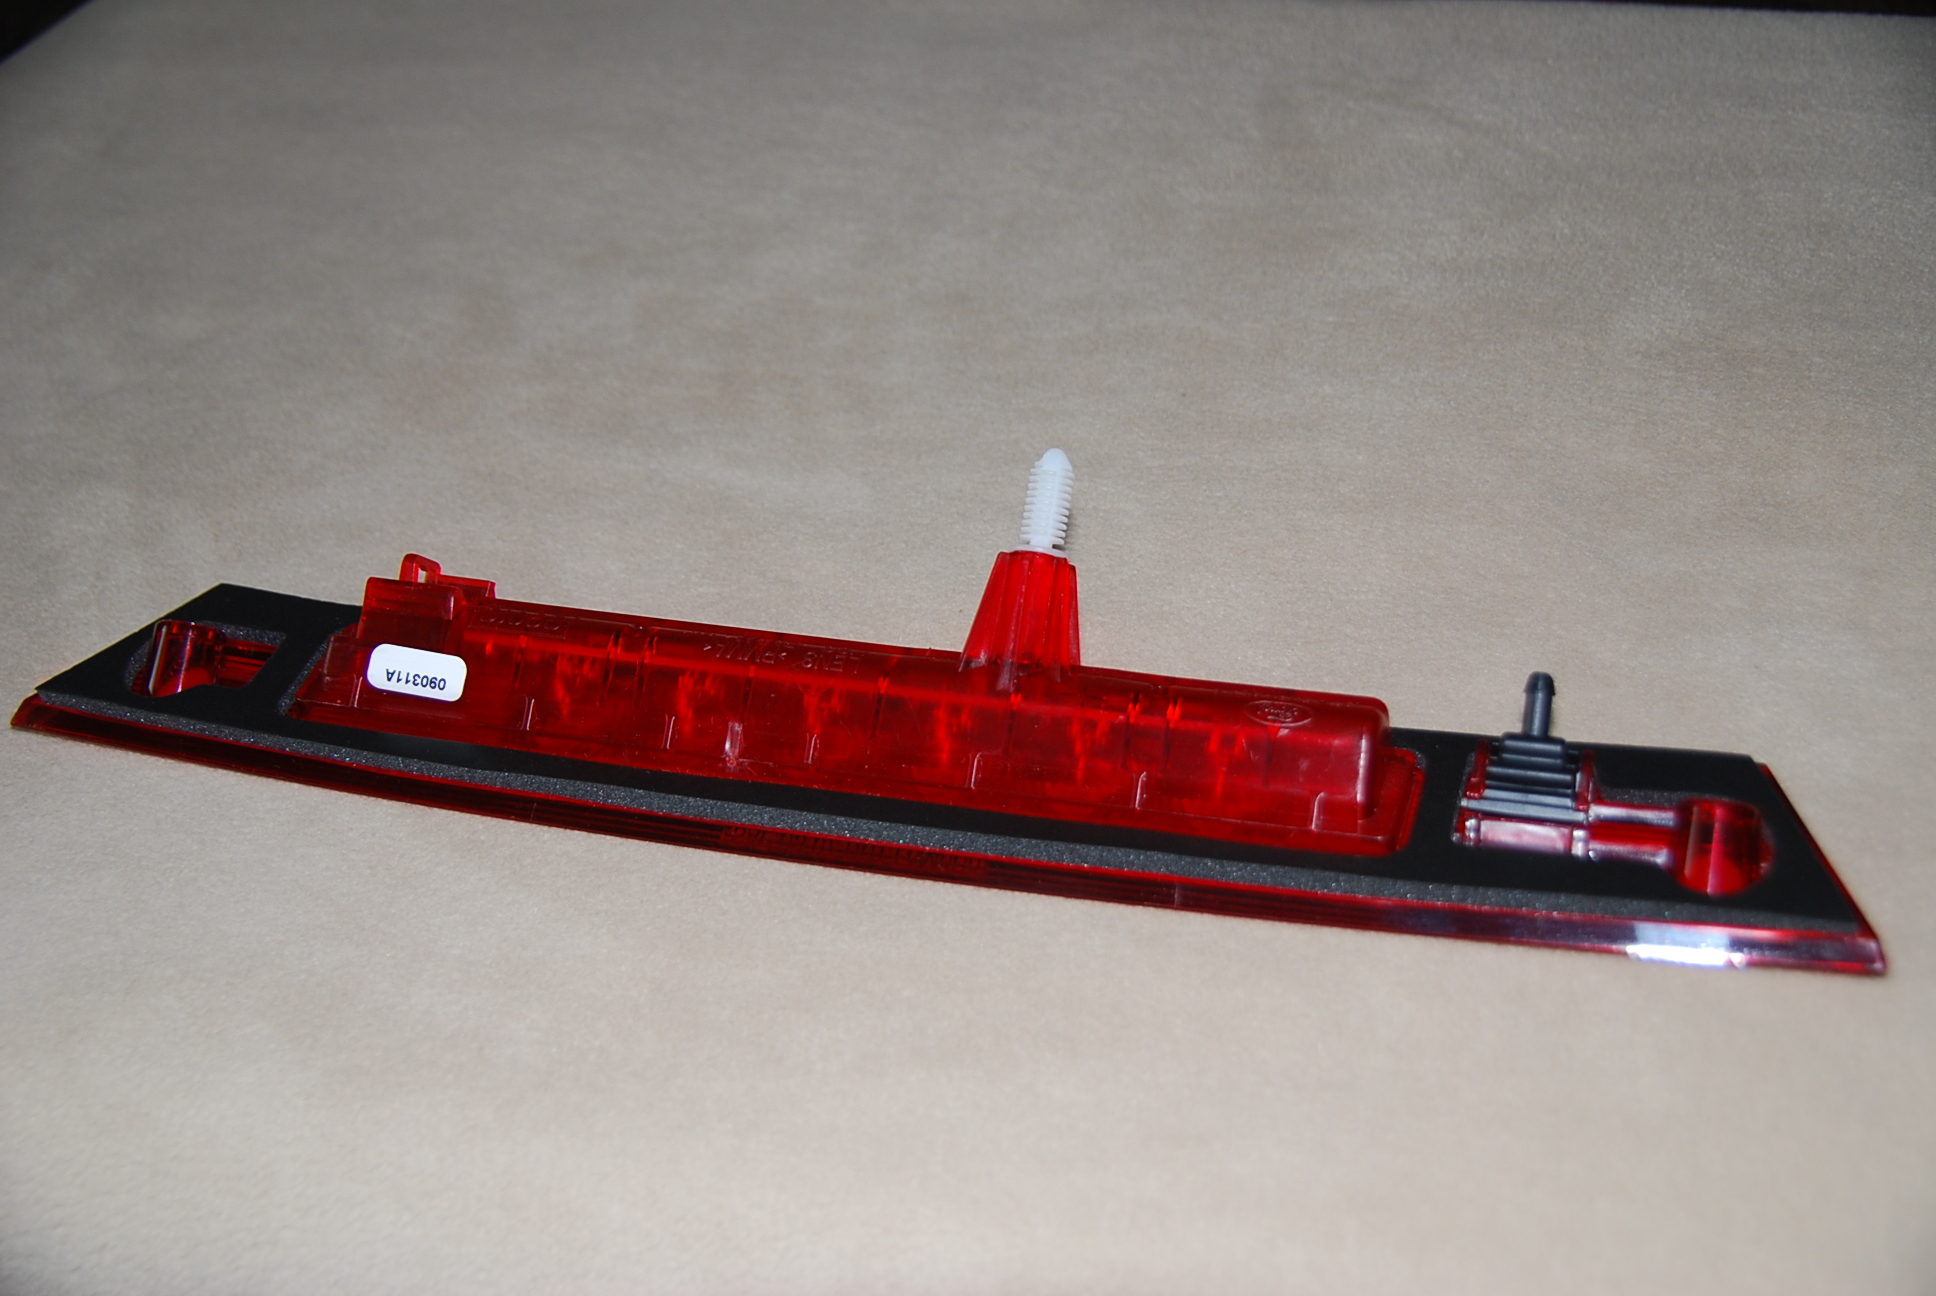
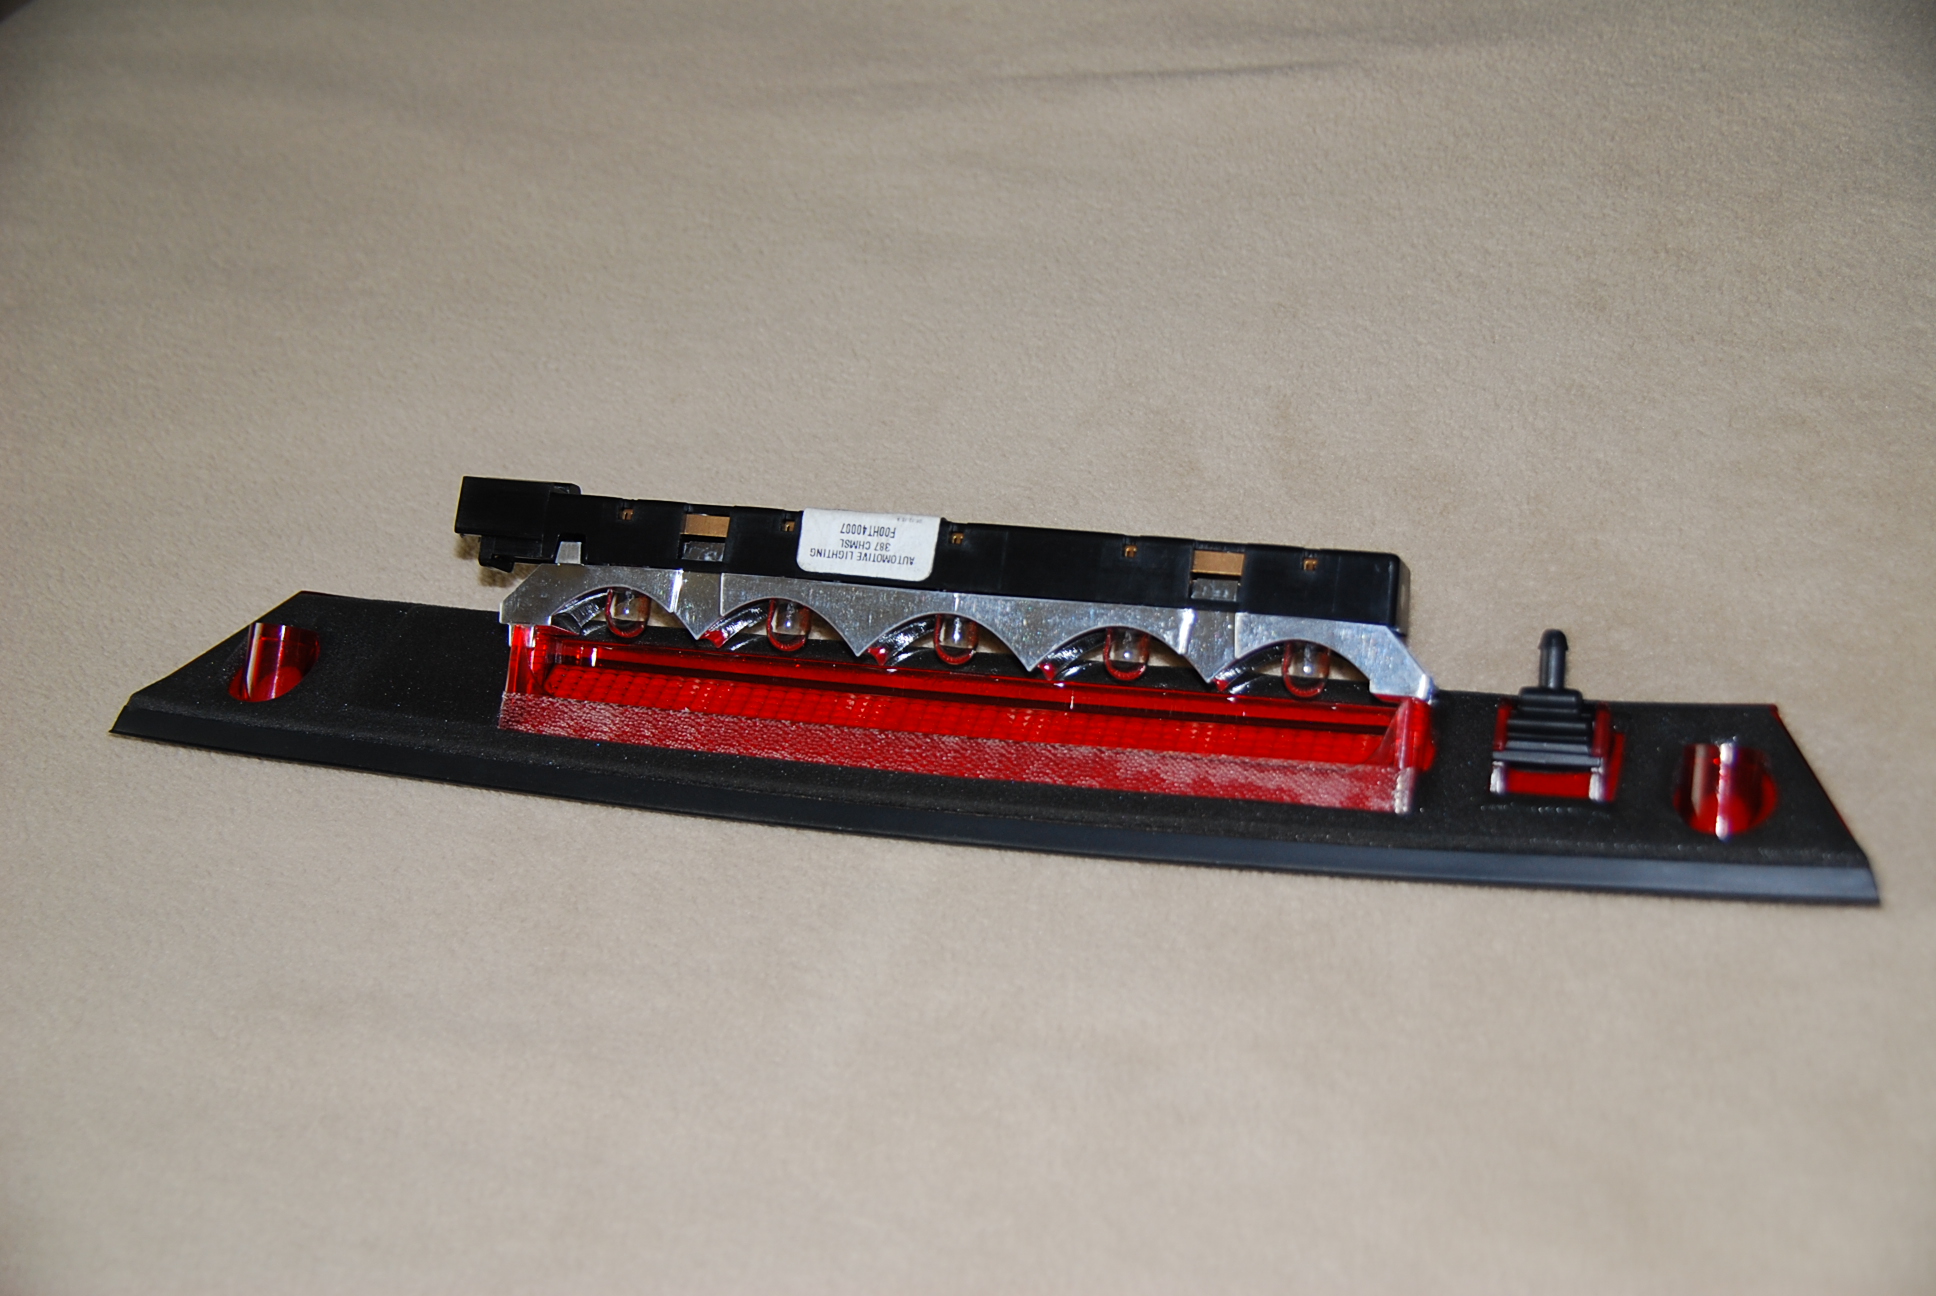
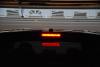
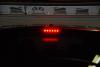
This post started by error Mar 15 & had no content, but never got taken down by moderators. So I've decided to put it to use. 4-28-09: Ever notice how we use excuses to find bargains? (Of course not buying is even cheaper. :yup: ) Purchased ’08 LED high mount unit from Ford. Cost $44.84. Got price of $30.86 + $10.00 S&H from Tascaparts.com. Ford parts mgr. agreed to match, but had to charge CA sales tax (9.75% - thank U Aaanooold!). Saved $42.89 (almost half off.) As U might imagine, it wasn’t quite a direct swap. First off, connector is turned 180 degrees, but once U figure that out & tug out a little more wire, it plugs right in. Second, notice the “finned” locating pin. It reminds U of trim & panel fasteners, but fins are thicker & therefore stiffer. Hole that accepts this pin is back in behind light, but is not used in ’07. High mount unit for ’07 is a little difficult to grab hold of & remove. Only purpose I can think of for this finned pin is to make it even more difficult to remove & therefore a little less susceptible to theft. If anyone knows reason, please inform. I didn’t want difficulty removing in future, so I ground away fins to reduce diameter of pin. Could just as easily have drilled out hole. (1) Stock ’07 with 5 incandescents, (2) ’07 with 5 LED bulbs (each bulb has 4 side facing, 1 forward facing LEDs), (3) ’08 LED unit in place, (4) ’08 LED unit w/finned pin.
-
U'r just bragging. :glare: Yes I would one too, but cost of 5 LED bulbs was $11.98 as opposed to $87.73 for the real deal.
-
Sorry if this sounds like I'm preaching to the choir, :bowdown: but each piece of information gets U closer to U'r solution. After 7000 miles, including 2K trip to Pacific Northwest, had right side seal replaced. Had not experienced burning smell, only oily coating on underside of car & leaks on garage floor. Within the week leak was back with an occasional burnt oil smell. I told dealer leaks where not red, were thick & sticky & smelled like gear oil not trans fluid. Was determined that gear oil was blowing out of PTU vent due to possible internal damage. PTU replaced at 8700 miles. Now at 10125 things are still dry. Do some homework. Place an oil leak pan, piece of Plexiglas, old Formica (Everyone's got a piece of Formica laying around waiting to be useful don't they? ) or something else non-porous under car. Cardboard will show leaks but liquid soaks in & it's difficult to tell what it is. When U give service writer info about what's leaking, he'll think U'r a genius :shades: & he can give the tech an of where to start looking.
-
U don't give details of blowout package, but sounds good as long as U'r not out any money. Any work they do will be covered under warranty. :yup: Warranty also covers cost of rental.
-
:yup: but wasn't added until '08. '07 uses incandescent (filament) bulbs which can be replaced w/red LEDs
-
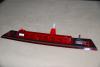
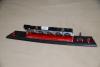
Converting to '08 LED high mount brake light costs $79.94 :blink: + 7.79 tax :angry: according to Ford parts. On ’07 there are 5 W5W bulbs in high mount light. Remove black bulb holder from red lens. Bulbs go thru openings with 4 positioning tabs spaced 90 degrees apart. Tabs interfere with LED bulbs I bought from eBay seller EnKMall. If U have same situation, carefully drill out, file, sand tabs so openings become round holes ½” in diameter. Insert red #194 LED bulbs, observing polarity, reassemble, & reinstall. Bulbs cost $11.98 (shipped free) PS: Pulling out 194 bulbs is easier when wearing nitrile gloves. They get U some traction. '07 assembly w/incandescent bulbs. (Pic of '08 LED unit @ Post #103) 4-28-09 - Ever notice how we use excuses to find bargains? (Of course not buying is even cheaper. :yup:) Purchased & installed ’08 LED high mount unit. More in Post #103 on next page.
-
leeandsasha, please :read: my post #94 about use of resistors. As jpark post #68 (pg 4) & Lex T post #75 (pg 4) indicate there is no flasher available.
-
Partial quote from Lex's post #75 (pg 4) ...so, inline (LOAD RESISTOR KITS) seems the only was to address the speedy flasher :shades: Please :read: my post #94 about wiring resistors in parallel not series. I'm concerned that use of the word inline might sound to mean that U cut hot turn/brake wire & splice in resistor. Rather, U connect resistor across brake/turn wire & ground wire.
-
gluman please :read: my post #95 about heat problem when mounting resistors.
-
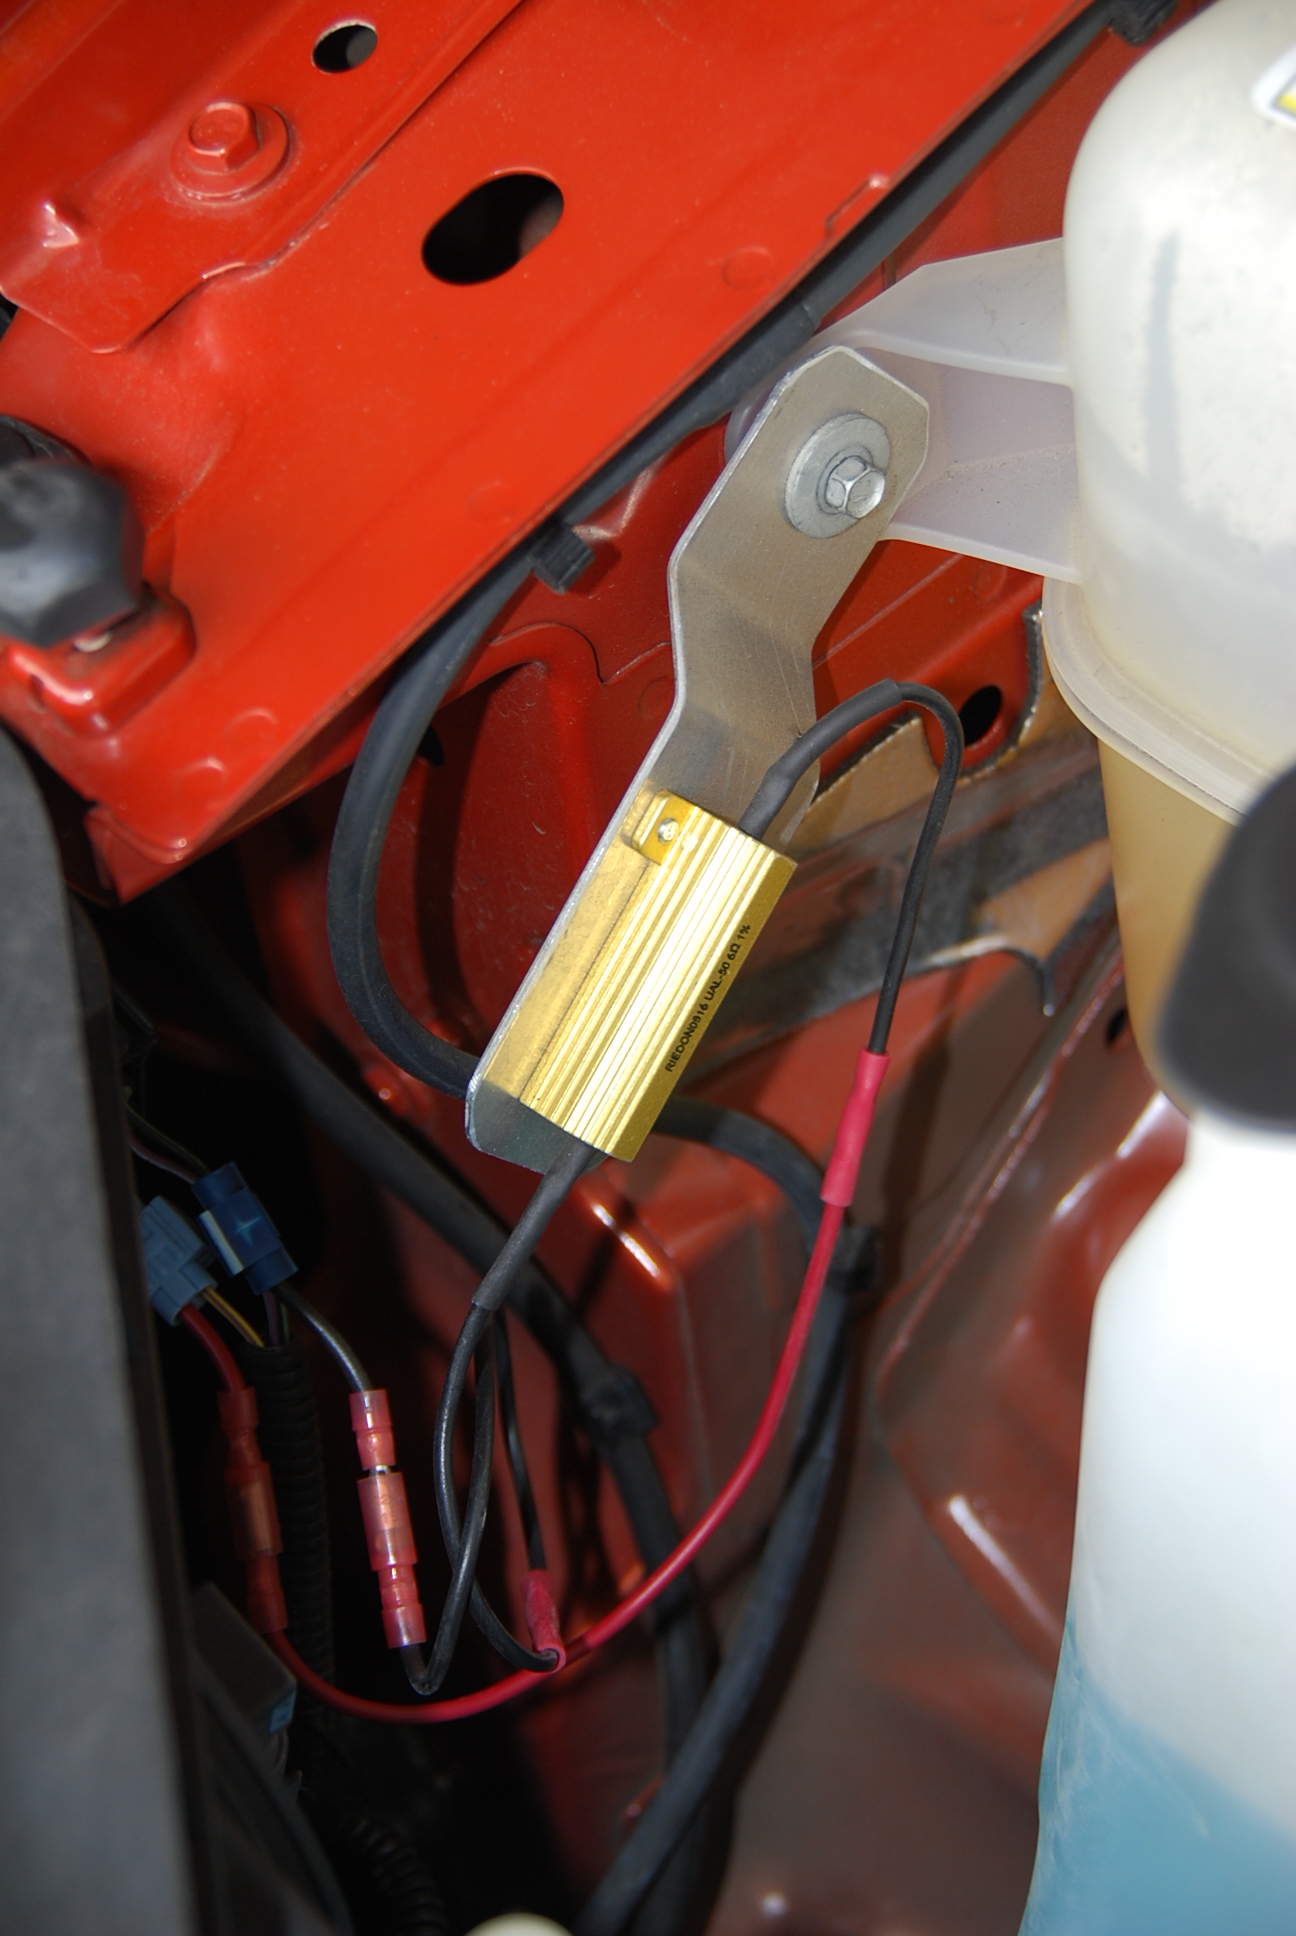
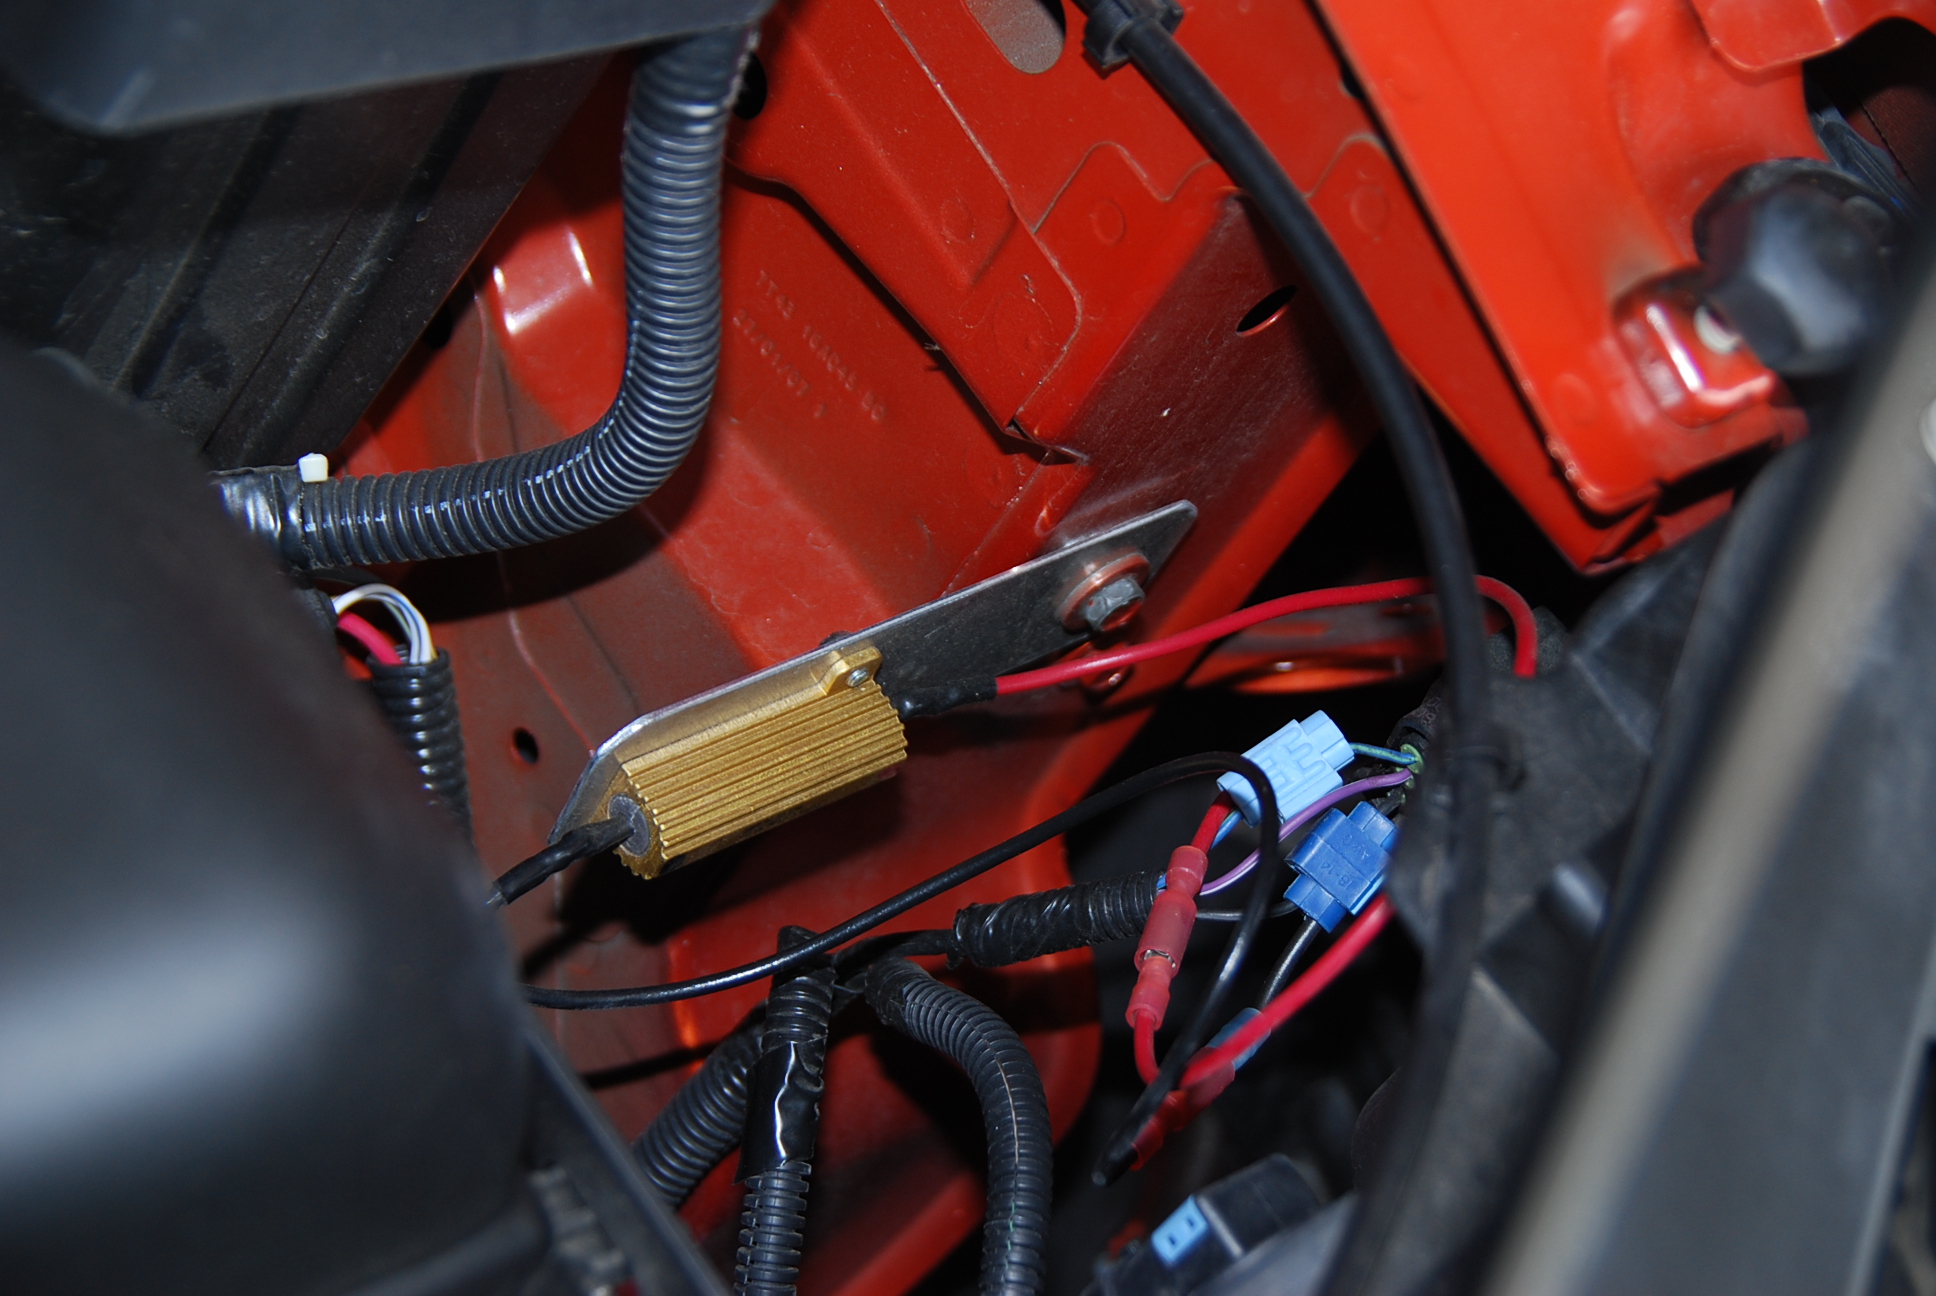
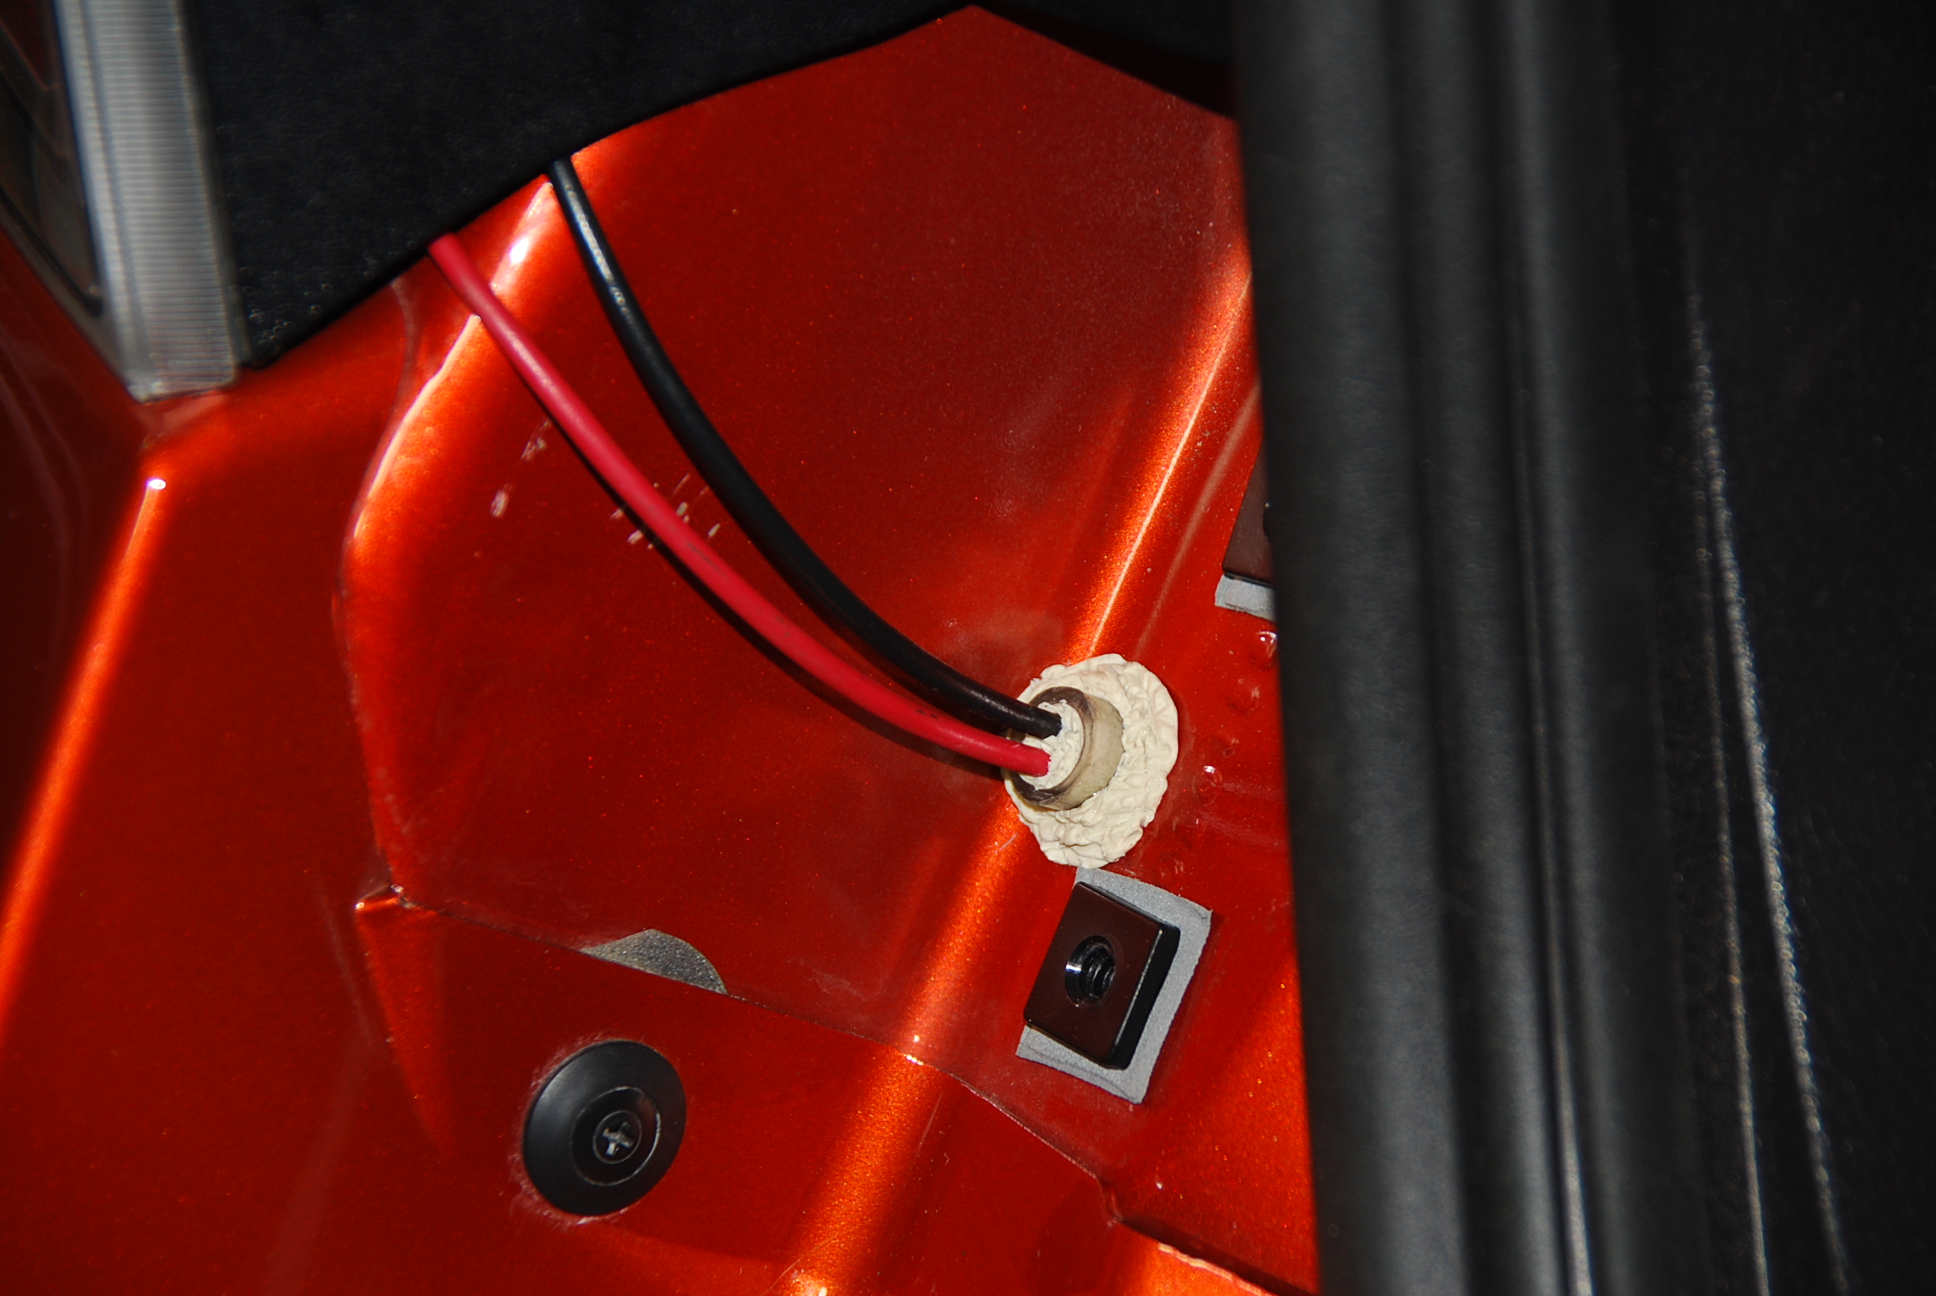
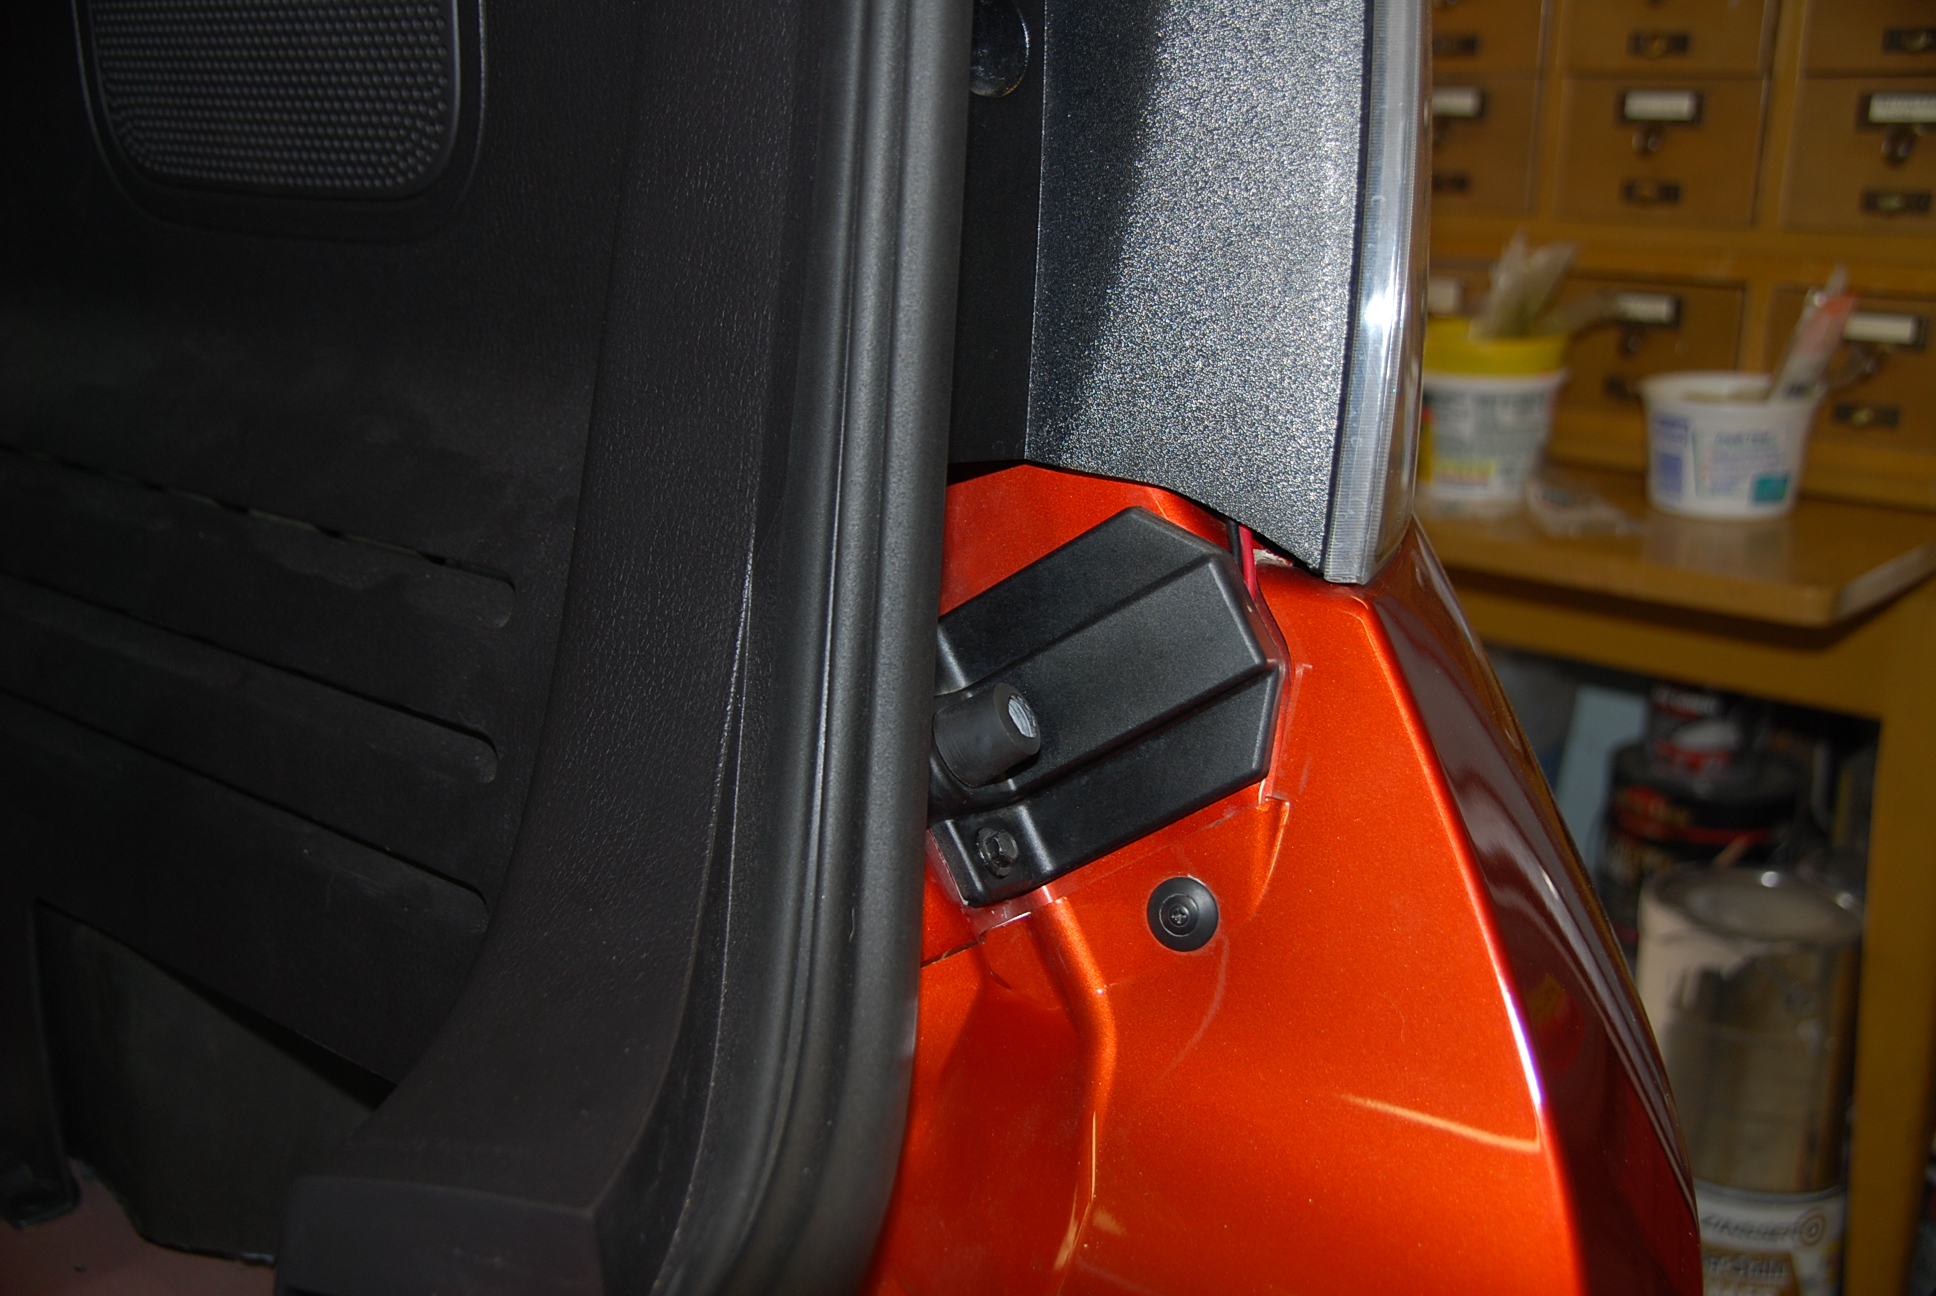
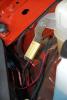
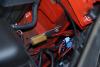
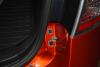
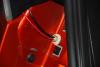
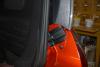
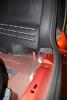
also: for gluman post #65 (pg 4) for Lex Talionis post #75 (pg 4) for leeandshasa post #79 (pg4) I recommend U locate resistors out in open because they'll get too hot :extinguish: to touch; enough to deform & maybe melt black taillight "bucket" or bumper. Burn paint too. Engine compartment is easy - there’s lot of open space. Make simple bracket from 20/22 gauge aluminum sheet. Aluminum will act somewhat as a heat sink. Attach w/existing bolts. In rear I ran wires through spare tire compartment to under car & mounted resistor on flat (no bends) aluminum sheet (1 3/4" x 12") attached with existing rearmost outside muffler heat shield bolt. Good source of resistors is Mouser Electronics in Texas. I used four 50 watt, 6 ohm aluminum power resistors (one for each corner). Mouser #71-RH50-6.0. Cost (Aug. 2008) was $4.26 each plus tax and shipping. These are wired in parallel with bulb not in series. On other cars U may find different requirements. :yup: My '05 F-150 needed only two 50 watt, 3 ohm (one for each side.) But, interestingly enough, they have to go in the rear. I first installed in front, but cruise control wouldn't work. :blink: My guess is Ford uses some small amount of current to allow cruise to work but not enough to light bulbs. (I have since been told that cruise is disengaged via high mount brake circuit.) I moved one to rear & cruise worked again but would kick out when I used turn signal on that side. So other one got moved to rear as well. (1) Passenger side front, (2) driver side front (resistor "ears" tapped for attachment screws), (3) wires from right taillight through tubing w/caulking in & around tubing which serves as grommet, (4) closer view of left side, (5) "bumper"/stop covers wires (6) wires through hose (using existing hole after removing plug) to under car. From start to finish only two holes drilled, by using existing bolts & holes. If I can manage a lift or similar I'll have pic of rear bracket.
-
Now that everyone seems to have a solution, let me muddy the waters with more information. I originally posted this to jpark at his web site shown above http://www.edge-central.com/viewtopic.php?f=19&t=19. He has since replied to me there. Click on his link & :read: his reply. I’ve got an ’07 & I’ve :read: U’r modification several times but I keep getting put off by headliner business. :yup: So I poked around & discovered that if U use any moon roof wire for power U get dimly lit LEDs. Not quite satisfactory. Then I got to thinking about Ford’s “battery saver” feature that turns off interior lights after 10 minutes if U leave door ajar. This works for interior lights U’ve turned on manually but forgot to turn off. So…...I poked around some more & found that yellow w/green stripe wire to front interior/map lights is controlled by "battery saver." So I’m suggesting for ‘07 owners that using this as power source will be an easier alternative to headliner remove/replace. LEDs will remain on for 10 min. after U leave car, but they're lit for hours when U take a long trip. Having these buttons lit at night is the way it should be from factory. However, now moon roof opens about 16" to "comfort position" rather than 6". I haven't used roof in a while so I'm not positive this is result of my tinkering. I'm guessing that things are just a little out of sync after 10000 miles. Sounds like it might be a warranty issue.