lildisco
-
Posts
726 -
Joined
-
Last visited
-
Days Won
37
Content Type
Profiles
Forums
Gallery
Everything posted by lildisco
-
Sitting overnight for 2 nights didn't help. The Edge does pick up on the tpms from my cx7 which is next to the edge & only 1 or 2 sensors at that. Just weird that the edge can't automatically pick up its own OEM tpms. Appointment set up for this evening
-
Welp, put the OEM wheels that came on the car on & i get a TPMS fault after a few miles of driving. I'm gonna try to roll for a bit & see what happens. If not, back to the tire place. I did try the hazard trick & drained my tire down to 15 psi & it still didn't learn them. Maybe sitting over night might help
-
SYNC 3 and CarPlay/Android Auto Information
lildisco replied to jmr061's topic in Audio, Backup, Navigation & SYNC
It wants me to confirm via an .XML file, but every time i submit it, I get an error. Maybe I'll try tomorrow & see if it confirms it or if the car will automatically confirms it. -
SYNC 3 and CarPlay/Android Auto Information
lildisco replied to jmr061's topic in Audio, Backup, Navigation & SYNC
It's finally available through Ford Owners website -
SYNC 3 and CarPlay/Android Auto Information
lildisco replied to jmr061's topic in Audio, Backup, Navigation & SYNC
Rut Row:

-
Instructions should be in your owner's manual. On a 2016, they're fairly easy.
-
Fairly certain mine doesn't do this, but we usually use the remote start function. I'm going to throw the summer wheels on this weekend so we'll see if it makes that noise when i move it around in the garage
-
How much oil do you have? I've heard this happen before when the oil isn't to the top of the dipstick full or max level. Could also be the injectors, but usually on cold start ups, the oil accumulates at the bottom of the pan, which is when you should check it or wait at least 15 minutes after you turn off the engine. Once the engine is warmed up, the oil is circulated through the engine & the noise stops or is hardly noticeable.
-
Well, i ordered the Cquartz Dlux stuff. I'm going to apply it to the summer wheels sometime this week & when the winter come off, I'll apply it to them. We'll see how this works!
-
I wonder how well it works with direct injection & blowby & gas dilution. I was curious about this myself, but will probably just stick with M1 Full Syn. I end up changing my oil roughly every 4 months/4,000 miles anyway. My oil life monitor is never under 50%, but gives me piece of mind to change the oil anyway. I believe that the 2.0 Ecoboost has low friction rings to help with fuel economy, which results in this being injected back into your intake manifold. Had around 750 highway miles when i drained my Catch Can & a fresh oil change with Mobil1.

-
What have you done to/with your Edge/MKX today?
lildisco replied to WWWPerfA_ZN0W's topic in Accessories & Modifications
2008 GT AWD. I've had a lot of fun in that car. Probably done things i shouldn't have done, but it's been the 1st 4 cylinder that I've had that has had more that 160HP.


-
What have you done to/with your Edge/MKX today?
lildisco replied to WWWPerfA_ZN0W's topic in Accessories & Modifications
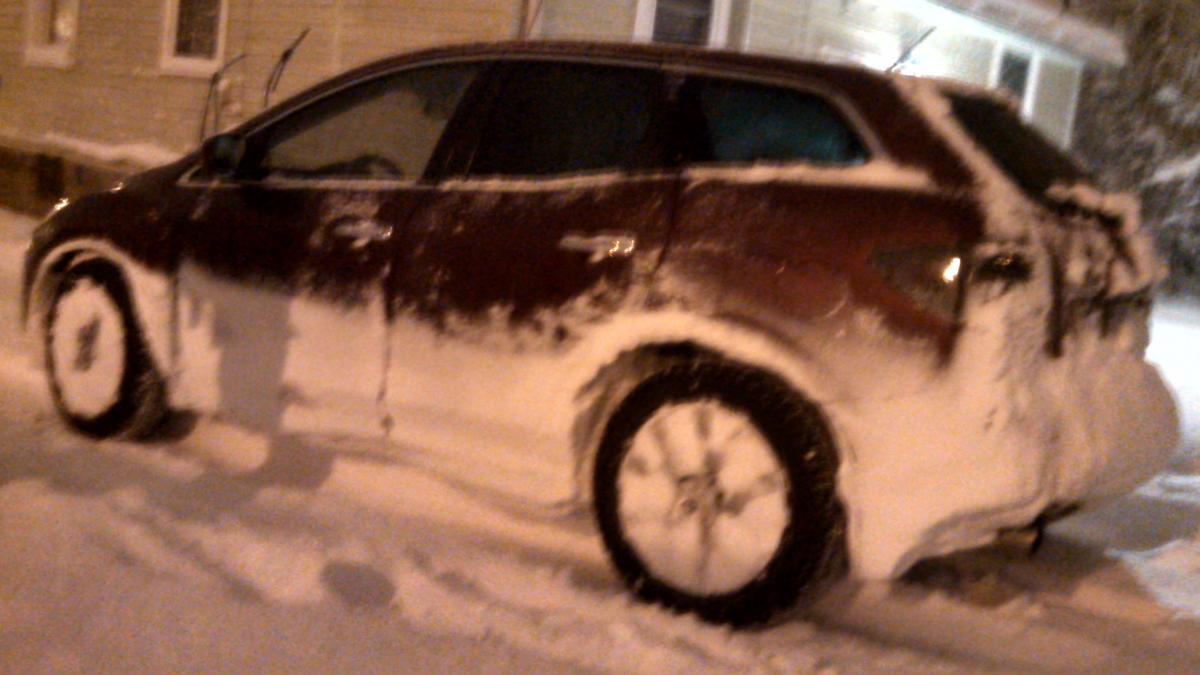
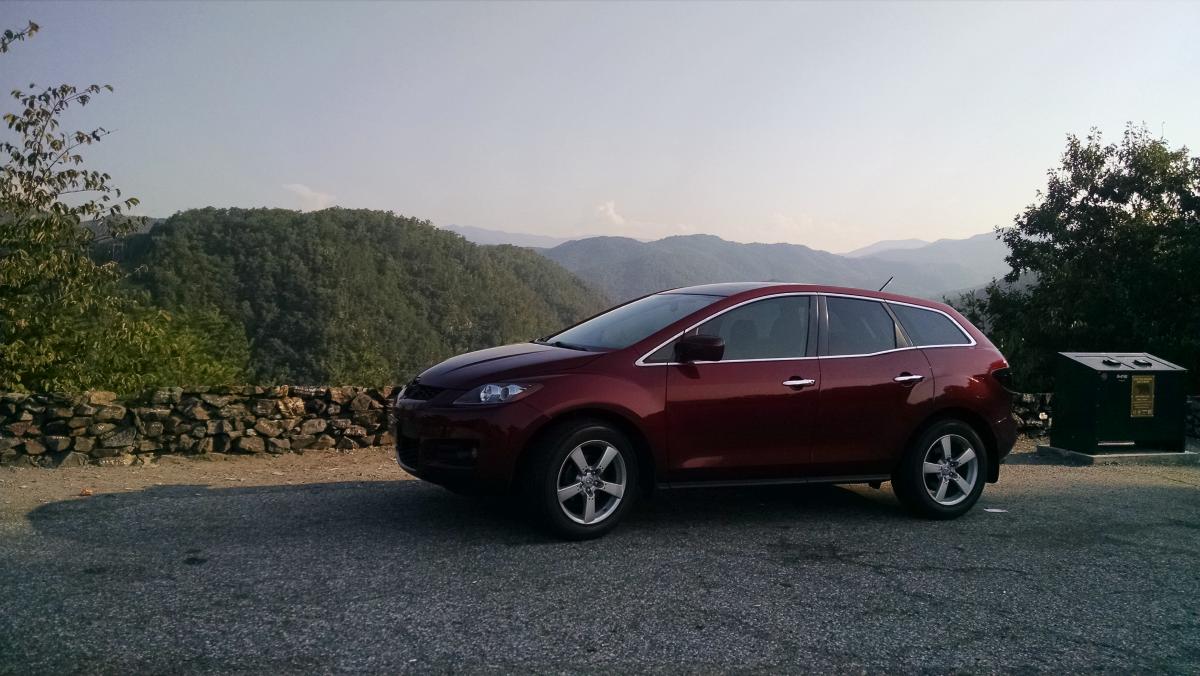
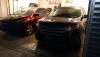
Washed the Edge & CX7, drained the catch can & changed the oil on my CX7. Maybe if it stays warm enough the next few weeks, I'll put the summer tires on both vehicles. -
I use Chemical Guys Diablo Gel Wheel Cleaner. Definitely cleans the wheels. As far as a protective coating to help prevent brake dust build up, I haven't been able to find anything that works....yet.
-
I've used Chemical Guy's Wheel wax on them & it doesn't help. Any other suggestion for a sealant? I figured with the low mileage on the car & it not being a track car, simply changing the pads would be all that's necessary. I mean literally all 4 corners deal with excessive brake dust, the fronts are worse than the rears obviously, but this is ridiculous. Guess it's a wait & see kinda thing.
-
I been looking around for pad upgrade as the stock pads coat the inside & outside of the wheels in like a grease like substance. I'm pretty sure that the pads are really cheap & putting out a crap ton of brake dust. The Edge has slightly over 13,000 & I've cleaned the wheels AT LEAST 10 times probably more in the past year of ownership. I've tried wheel wax & it doesn't help. Figured I'd change the pads out since front & rear should be around $100. Problem is, new vehicle, less options. I've been looking at Centric & Hawk as I've had great experience with then in the past, but i know a ceramic pad is going to give off less dust. At this point, I'm willing to try nearly any brand that will provide slightly better braking & hopefully a lot less dust. According to Centric, there's a part # 105.18180, but nothing is available at this time. According to Hawk, there's nothing available, even for a 2015. According tirerack.com, there's pads available, but seem to be for the previous gens. I'm pretty sure that brakes were redesigned on the 2015's & up, so i think that there's nothing currently available for the latest Edge's out of my preferred brands. So, i guess my question is, has anyone had any success with replacing their current pads? I know that it's a long shot, but figured it was worth a shot.
-
You should hear the fuel pump prime the system before you actually start the car. Move the key to the run position (the 1 before you engage the starter) & you should hear the fuel pump turn on. There's also a reset button somewhere inside the car. I believe it's in the passenger side floorboard on the outside panel.
-
Where on 71 is the speed limit 80?
-
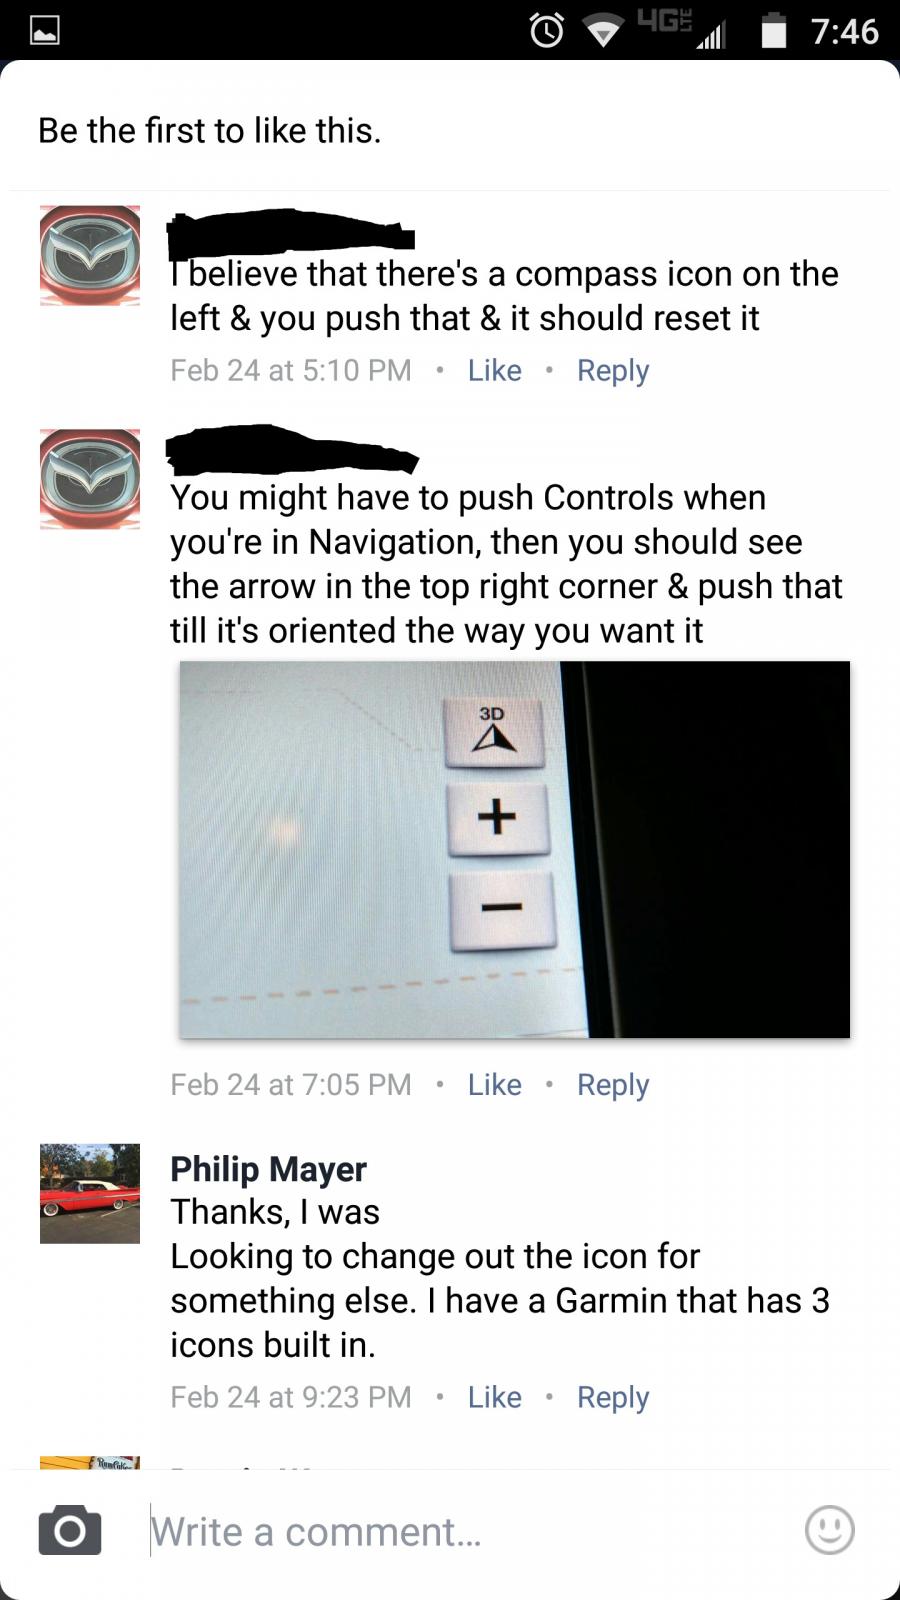
What does your screen say? Which way is north? You may have to push the compess on the screen to get it NOT to show map as North being up


-
2008 Limited AWD rear caliper bracket question.
lildisco replied to Shhlogan's topic in Brakes, Chassis & Suspension
Your bracket probably needs to be replaced. If you haven't already done so, they probably are really dirty & need to be cleaned. Try taking a small brush & see if there's any rust/dirt in there. If they look clean, you're definitely going to need a new caliper bracket. My mom's 2012 fusion had to have 1 replaced last year & was only $40 or so. Sounds like you stripped the threads out on the bracket to be honest -
Depends on the quality of fuel you're using. Gas isn't gas anymore. Look into Top Tier fuel & see if there's a station around you. http://www.toptiergas.com Other factors are tire pressure, how hard you accelerate, ambient air temp, are you using a/c, etc. I know in my 2016 SEL 2.0 Ecoboost, the owners manual claims that the gas mileage is going to be all over for the 1st 2,000 miles, i believe. I know that our Edge averages about 23-24 in winter with winter mix gas & 25-26 on summer mix. I know that 3.5 V6's average around 17-19 http://www.fuelly.com/car/ford/edge/2016?engineconfig_id=102&bodytype_id=&submodel_id= 2.7L Edges seem to average less, but there's not too many people in Sports tracking their mileage compared to the others: http://www.fuelly.com/car/ford/edge/2016?engineconfig_id=49&bodytype_id=&submodel_id=
-
I would definitely love to hear the turbo more. One day, I'll investigate the turbo inlet pipe & see if it has a silencer on it in my 2.0.
-
Because they're on the dash underneath the speedometer? The shifter should be in the same general location for PRNDS
-
That might be awhile. The tube from the intercooler that connects to the bottom of the intake manifold is a pain in the arse to get back on. Didn't take too long to get off, just a pain to get back on, at least for me.
-
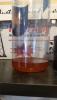
Gonna have to wait almost 2 years for that outcome. We usually put about 12-13,000 a year on it. It's definitely catching stuff from re-entering the intake. I'm just glad it's in the can & not put back into the engine.
-
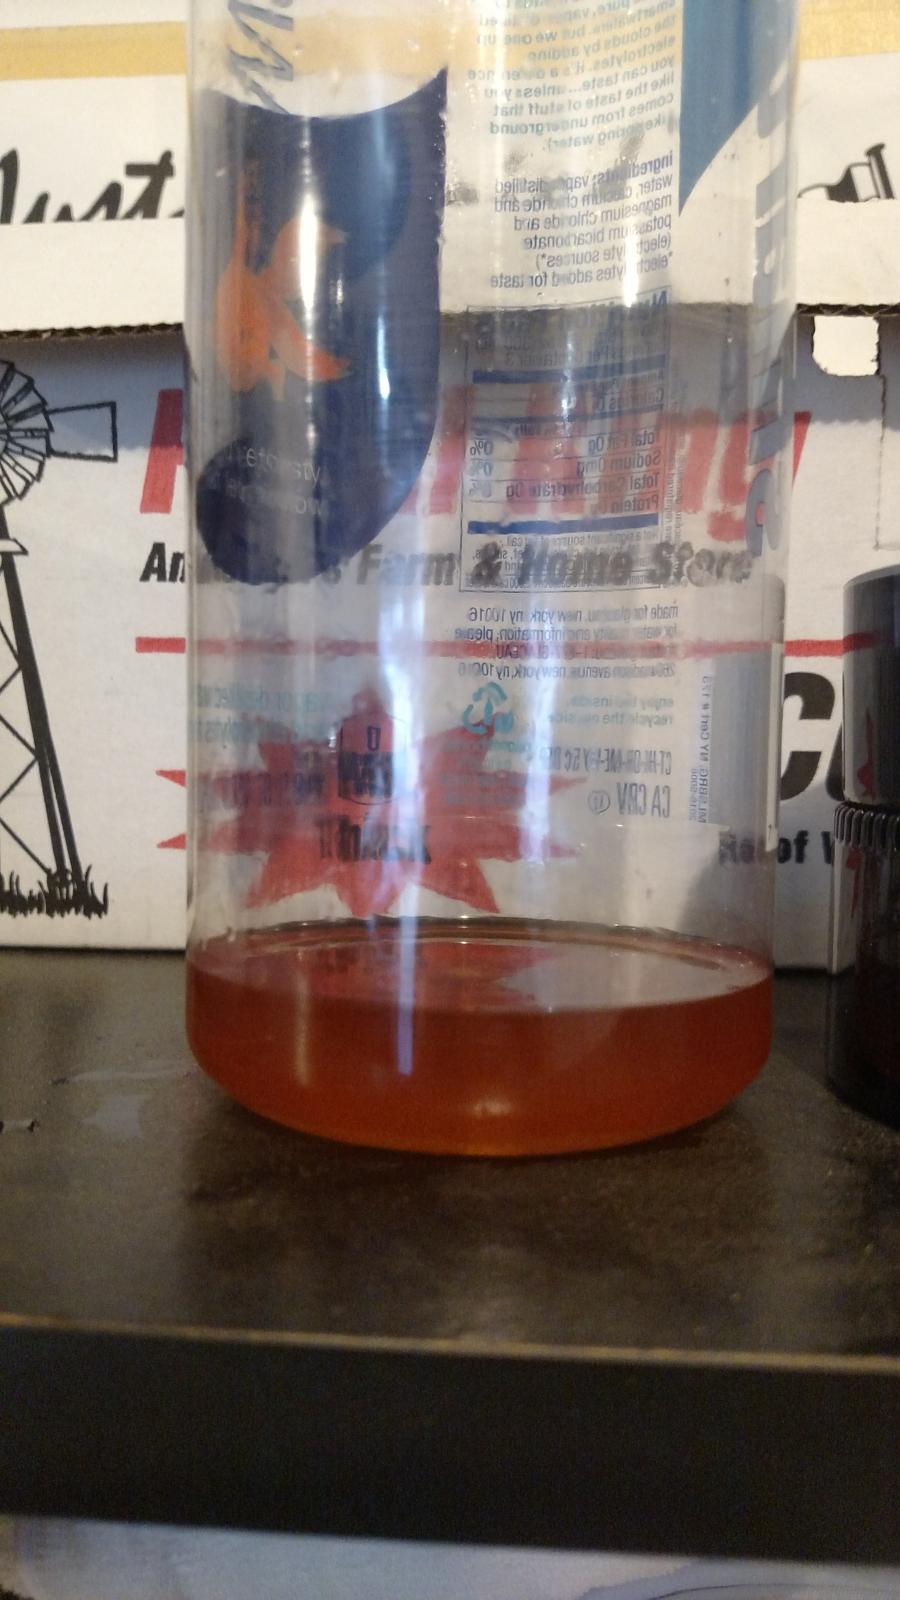
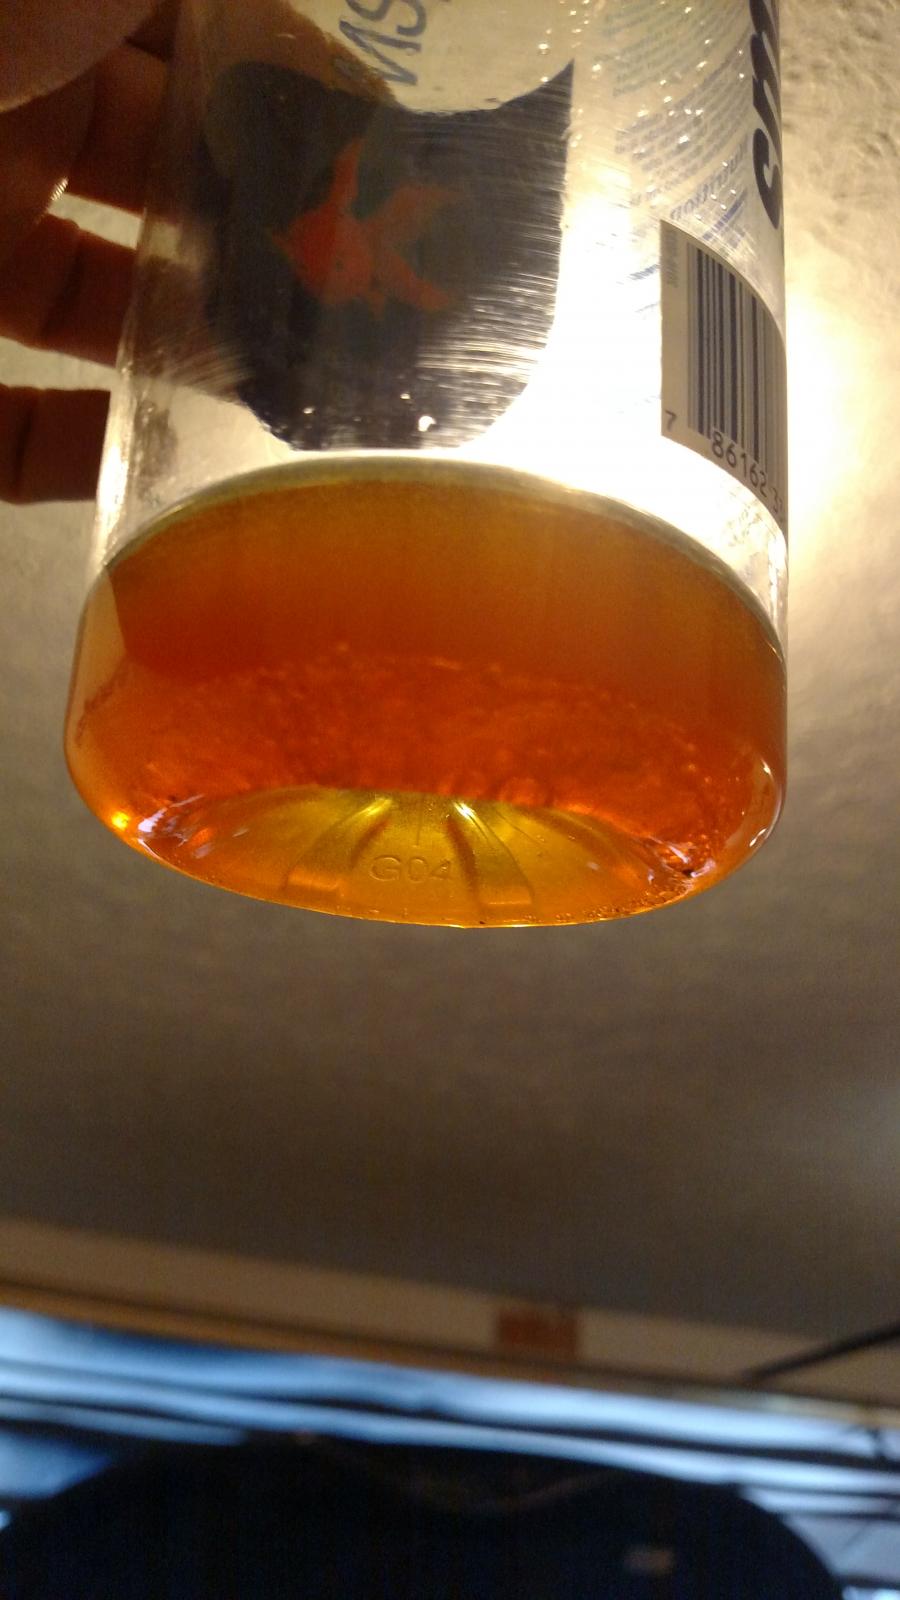
Ask & ye shall receive. Roughly 700 miles since the last time the can was drained. There's a little bit still in there, but i think that it's some residual stuff that i couldn't get clean before. Not the very best pics, but definitely less oil/crap in the intake manifold & Throttle Body.